はじめに
本記事は、
-
「これまでサーバ構築を行ったことがない」、もしくは「これからサーバ構築をしてみたい!」と考えるエンジニアの卵に向けての記事とする。
-
最低限必要な知識としてLinuxOSに触れ、LAMP環境を構築することによりLinux基本設定の仕方を身に着け、サーバエンジニアとしての勉学の初歩とする。
※また、工数の多さから、記事を3部に分けることとする。本編は第1編である。
※自身のPCがMacであるため、必然的にMacユーザー視点になることを断る。
第1編 『仮想マシンの構築』『仮想マシンとホストのSSH接続』
第2編 『Apache』『PHP』『MariaDB』の環境構築←ここ
第3編 『WordPress』『特定IPアドレス以外からのアクセス拒否制限』『SSL証明書の取得とhttps化』
目次
1. Apacheの環境構築
2. PHPの環境構築
3. MariaDBの環境構築
環境や使用条件(OS・ミドルウェア、バージョン)
- 環境構築は仮想マシン(VirtualBox)上で行う。
OSおよびミドルウェアとバージョン
| 機能 | OS・ミドルウェア | バージョン |
|---|---|---|
| OS | CentOS | 7.9 |
| webサーバ | Apache | 2.4 |
| データベース | MariaDB | 10.6 |
| 言語 | PHP | 8.0 |
| 機能 | 詳細 |
|---|---|
| macOS | Ventura13.0.1 |
| MacBook Air | Retina, 13-inch, 2020 |
| プロセッサ | 1.1 GHz デュアルコア Intel Core i3 |
| メモリ | 8 GB 3733 MHz LPDDR4X |
Apacheの環境構築
- Apache httpdをインストールする
# yum -y install httpd
- Apache httpdの自動起動をオンにする
# systemctl enable httpd
- ファイアウォールのhttpとhttpsを通信許可する
# firewall-cmd --add-service=http --zone=public --permanent
# firewall-cmd --add-service=https --zone=public --permanent
- ファイアウォールをリロードする
# firewall-cmd --reload
- Apache httpdを起動する
# systemctl start httpd
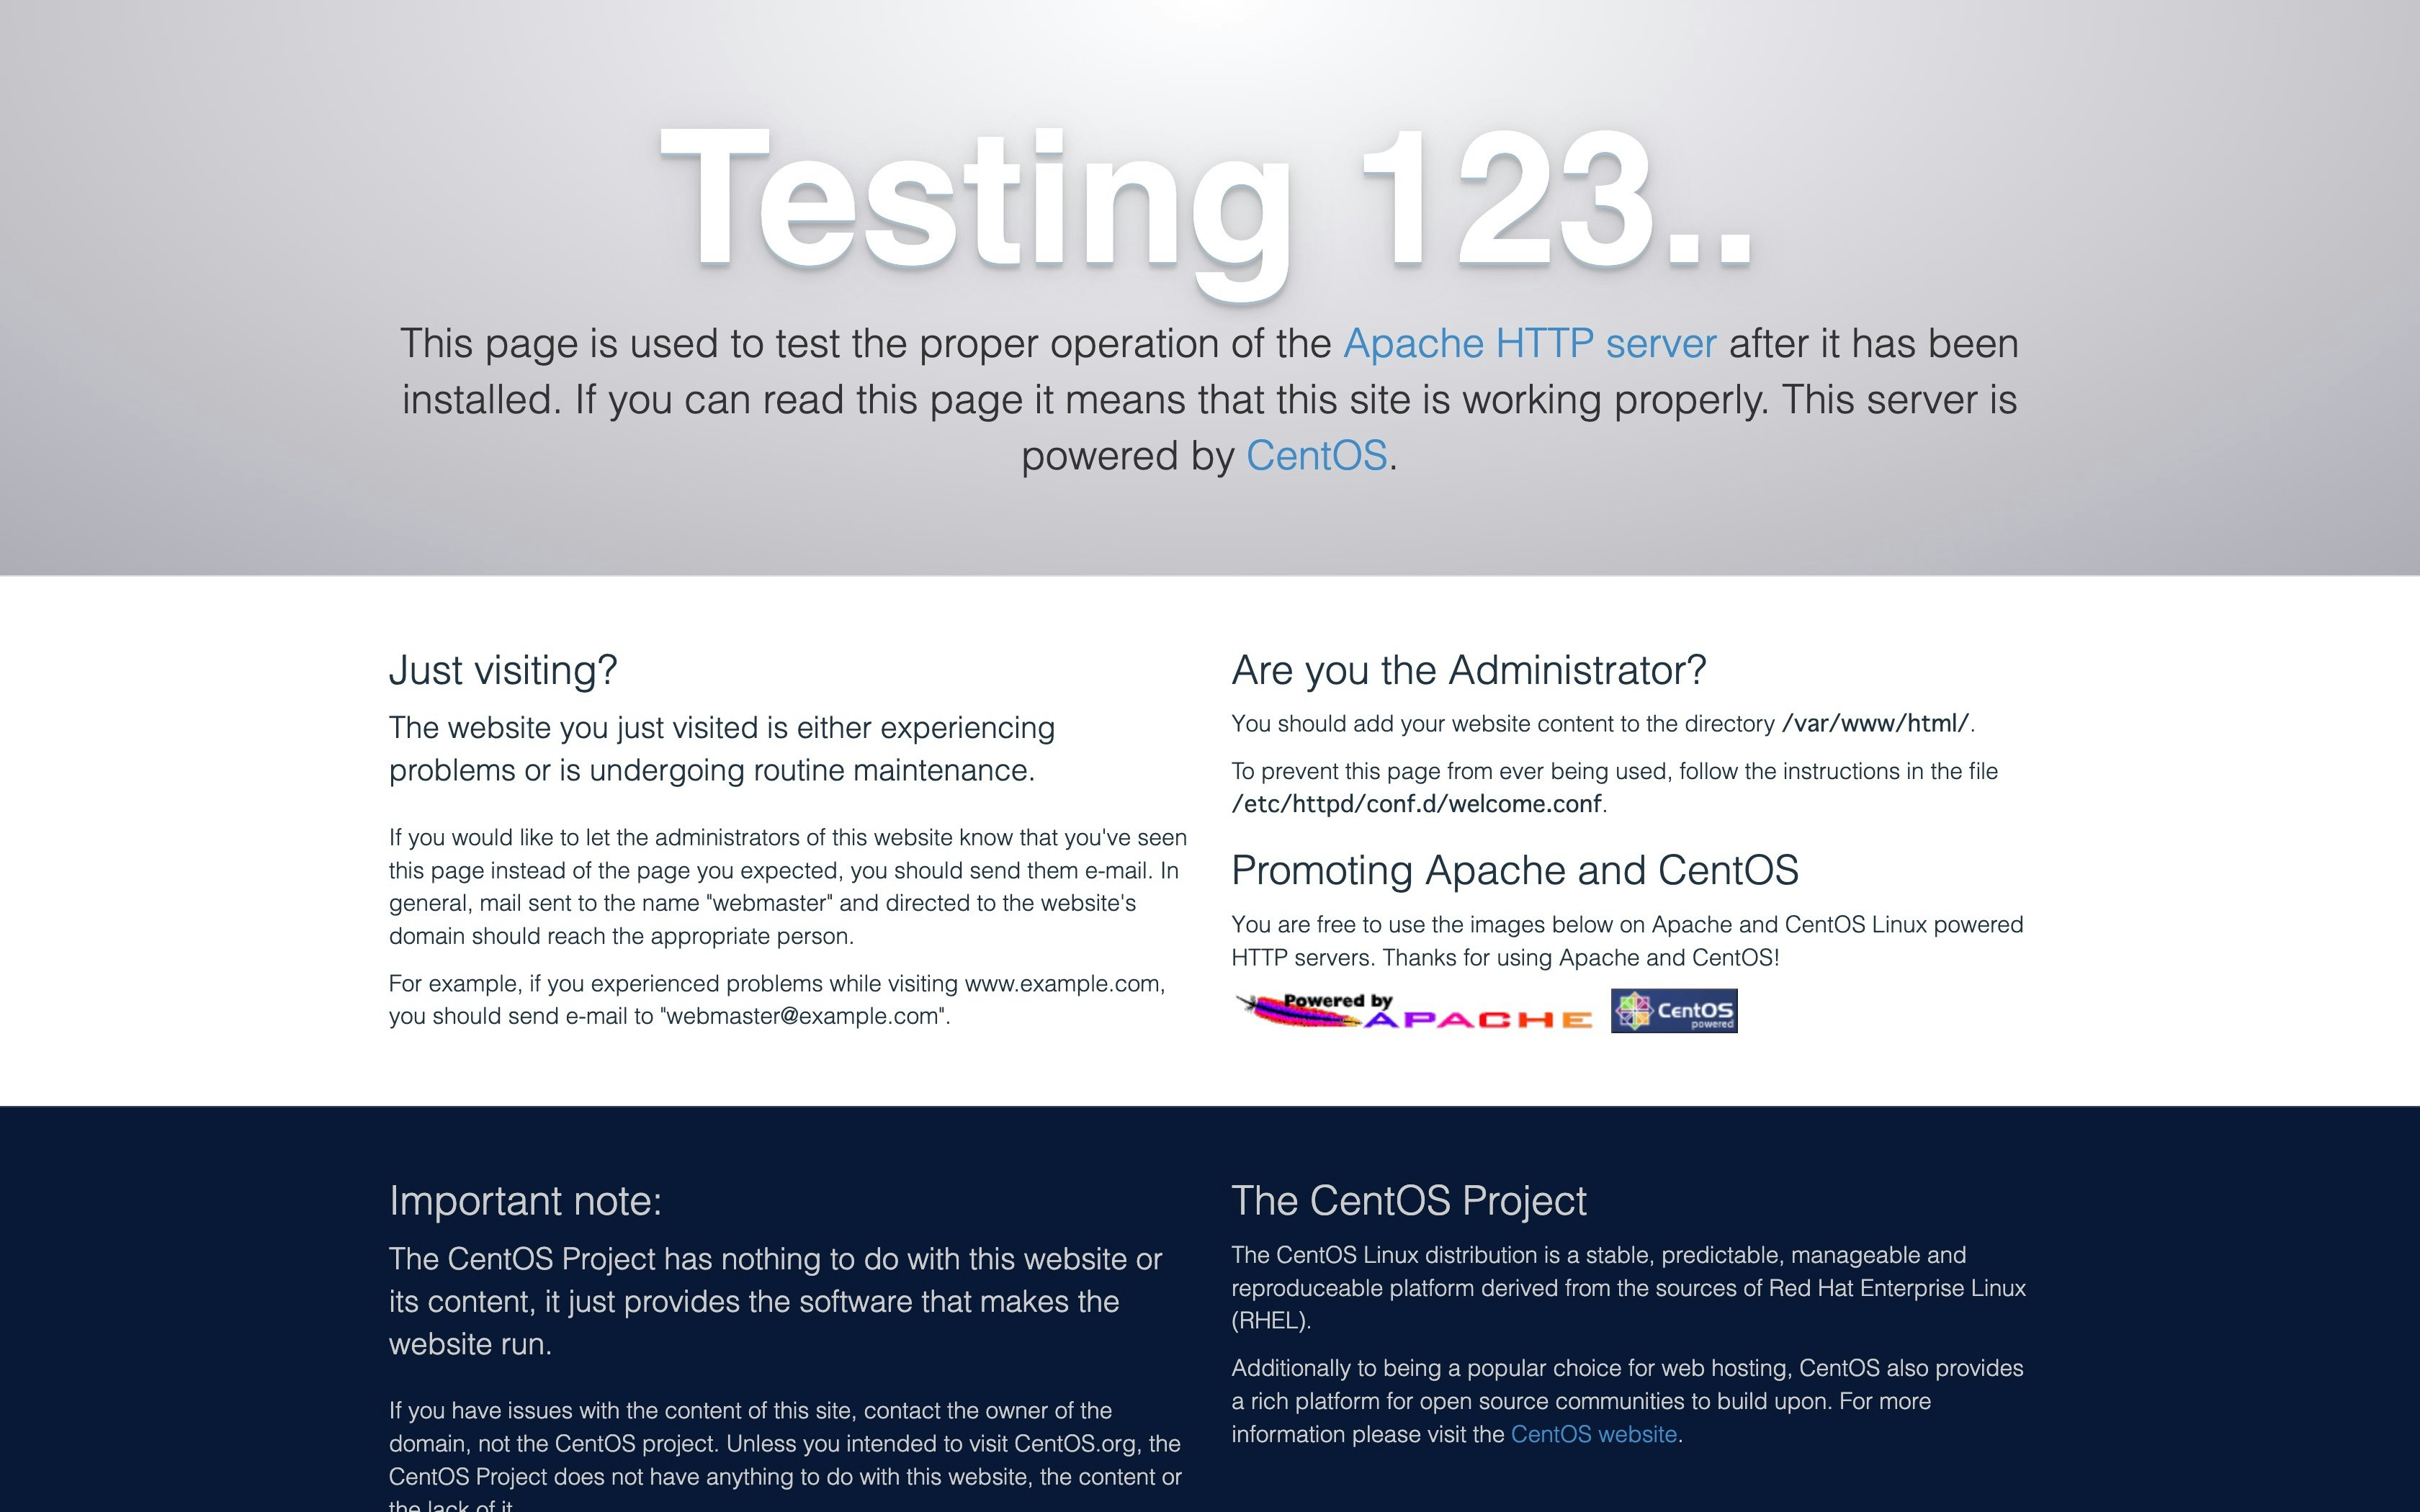
- ブラウザを起動し、http://ゲストIP(enp0s8のinetにあるIPアドレス) をアドレスバーに入力し、以下のようなテスト画面が表示されれば、環境構築完了。
PHPの環境構築
- はじめに、すでにphp関連のパッケージがインストールされていた場合のための処理として、以下の処理を行う
# yum remove php*
- remiレポジトリのインストールを行う
# yum -y install http://rpms.famillecollet.com/enterprise/remi-release-7.rpm
- PHPのインストールを行う
# yum -y install −−enablerepo=remi-php80 php80 php80-php php80-php-xml php80-php-xmlrpc php80-php-pecl-mcrypt php80-php-fpm php80-php-pecl-apcu php80-php-mbstring php80-php-gd php80-php-json php80-php-pecl-json-post php80-php-pdo php80-php-mysqlnd php80-php-pecl-mysql php80-php-opcache php80-php-pear php80-php-soap php80-php-intl php80-php-pear
- シンボリックリンク(ショートカット)を設定する
# ln -sf /usr/bin/php80 /usr/bin/php
- PHPの基本設定として、php.iniの変更を行う(以下はバックアップのためのコマンド)
# cp -p /etc/opt/remi/php80/php.ini /etc/opt/remi/php80/php.ini.org
- viコマンドでphp.iniファイルを開く
# vi /etc/opt/remi/php80/php.ini
以下が変更後の内容である
    expose_php = Off
    post_max_size = 20M
    upload_max_filesize = 20M
    date.timezone = "Asia/Tokyo"
    mbstring.language = Japanese
    mbstring.internal_encoding = UTF-8
    mbstring.http_input = UTF-8
    mbstring.http_output = pass
    mbstring.encoding_translation = On
    mbstring.detect_order = auto
    mbstring.substitute_character = none
- /var/www/html/配下にinfo.phpを作成し、以下のコードを記述する
# vi /var/www/html/info.php
<?php phpinfo(); ?>
- Apache httpdを再起動する
# systemctl restart httpd
- ブラウザを開き、http://ゲストIP(enp0s8のinetにあるIPアドレス)/info.php をアドレスバーに入力し、PHPの情報が表示されれば、環境構築完了。

MariaDBの環境構築
- はじめに、すでにMariaDB関連のパッケージがインストールされていた場合のための処理として、以下の処理を行う
# yum remove mariadb-libs
-
https://mariadb.org/download/?t=repo-config にアクセスし、リポジトリファイルの中身を取得する
-
mariadb.repoファイルを作成する
# vi /etc/yum.repos.d/mariadb.repo
# MariaDB 10.6 CentOS repository list - created 2022-12-04 07:07 UTC
# https://mariadb.org/download/
[mariadb]
name = MariaDB
baseurl = https://ftp.yz.yamagata-u.ac.jp/pub/dbms/mariadb/yum/10.6/centos7-amd64
gpgkey=https://ftp.yz.yamagata-u.ac.jp/pub/dbms/mariadb/yum/RPM-GPG-KEY-MariaDB
gpgcheck=1
↓取得したコードに追加して記述する
enable=1
- MariaDBのインストールを行う
# yum -y install MariaDB-devel MariaDB-client MariaDB-server
- MariaDBを起動する
# systemctl start mariadb
- MariaDBの自動起動をオンにする
# systemctl start mariadb
- mariadb-secure-installationの基本設定を行う
    Switch to unix_socket authentication [Y/n] y
    Change the root password? [Y/n] n
    Remove anonymous users? [Y/n] y
    Disallow root login remotely? [Y/n] y
    Remove test database and access to it? [Y/n] y
    Reload privilege tables now? [Y/n] y
- server.cnfの設定を変更する(文字化け対応)
# cp -p /etc/my.cnf.d/server.cnf /etc/my.cnf.d/server.cnf.org
- viコマンドでserver.cnfを開く
# vi /etc/my.cnf.d/server.cnf
    [server]
    character-set-server=utf8
    # ↑ 追加
    # this is only for the mysqld standalone daemon
- MariaDBを再起動する
# systemctl restart mariadb
- 以上で、MariaDBの環境構築は完了。
次回は、第3編として『WordPress』『特定IPアドレス以外からのアクセス拒否制限』『SSL証明書の取得とhttps化』を行う。
