概要
先日投稿した記事のようにStorybookを触ってみたらとても良かったので、実際に弊社のプロジェクトにStorybookを導入してみました。
現在私が開発に携わっているVideo Kicksでは、Atomic Designを採用しています。
その中でもまずは、コンポーネント増減が少なくstorybook関連ファイルのメンテナンスコストが低いatomsに対して導入し、
様子を見つつStoryを随時追加していくことを目標とします。
この記事では、Storybook導入の中で詰まったポイントと解決方法を紹介します。
Storybookそのものの紹介はしないので、それが知りたい場合は、Storybookを触ってみたらとても良かったまたは、公式ドキュメントをご確認ください。
作業環境
- Vue.js・・・3.2.31
- storybook/vue3・・・6.5.16
etc..
ディレクトリ構成
以下のように、srcディレクトリ配下とstoriesディレクトリ配下の構造が同じになるように設定します。
※本記事で触れないディレクトリは省略しています。
root/
 ├ _templates/stories/new/
 ├ .storybook/
 ├ public/img/
 ├ src/
 |  └components/atoms/
 └ stories/
    └components/atoms/
vueファイルとstoriesファイルを同じディレクトリに配置する以下のような方法もあるようですが、
現状のsrcディレクトリ配下の構成に極力影響を与えないために、上の構成を採用しています。
src/
 └ components/
       └ atoms/
           └ button/
                └ Button.stories.mdx
                └ Button.vue
詰まったポイント
画面にコンポーネントが表示されない

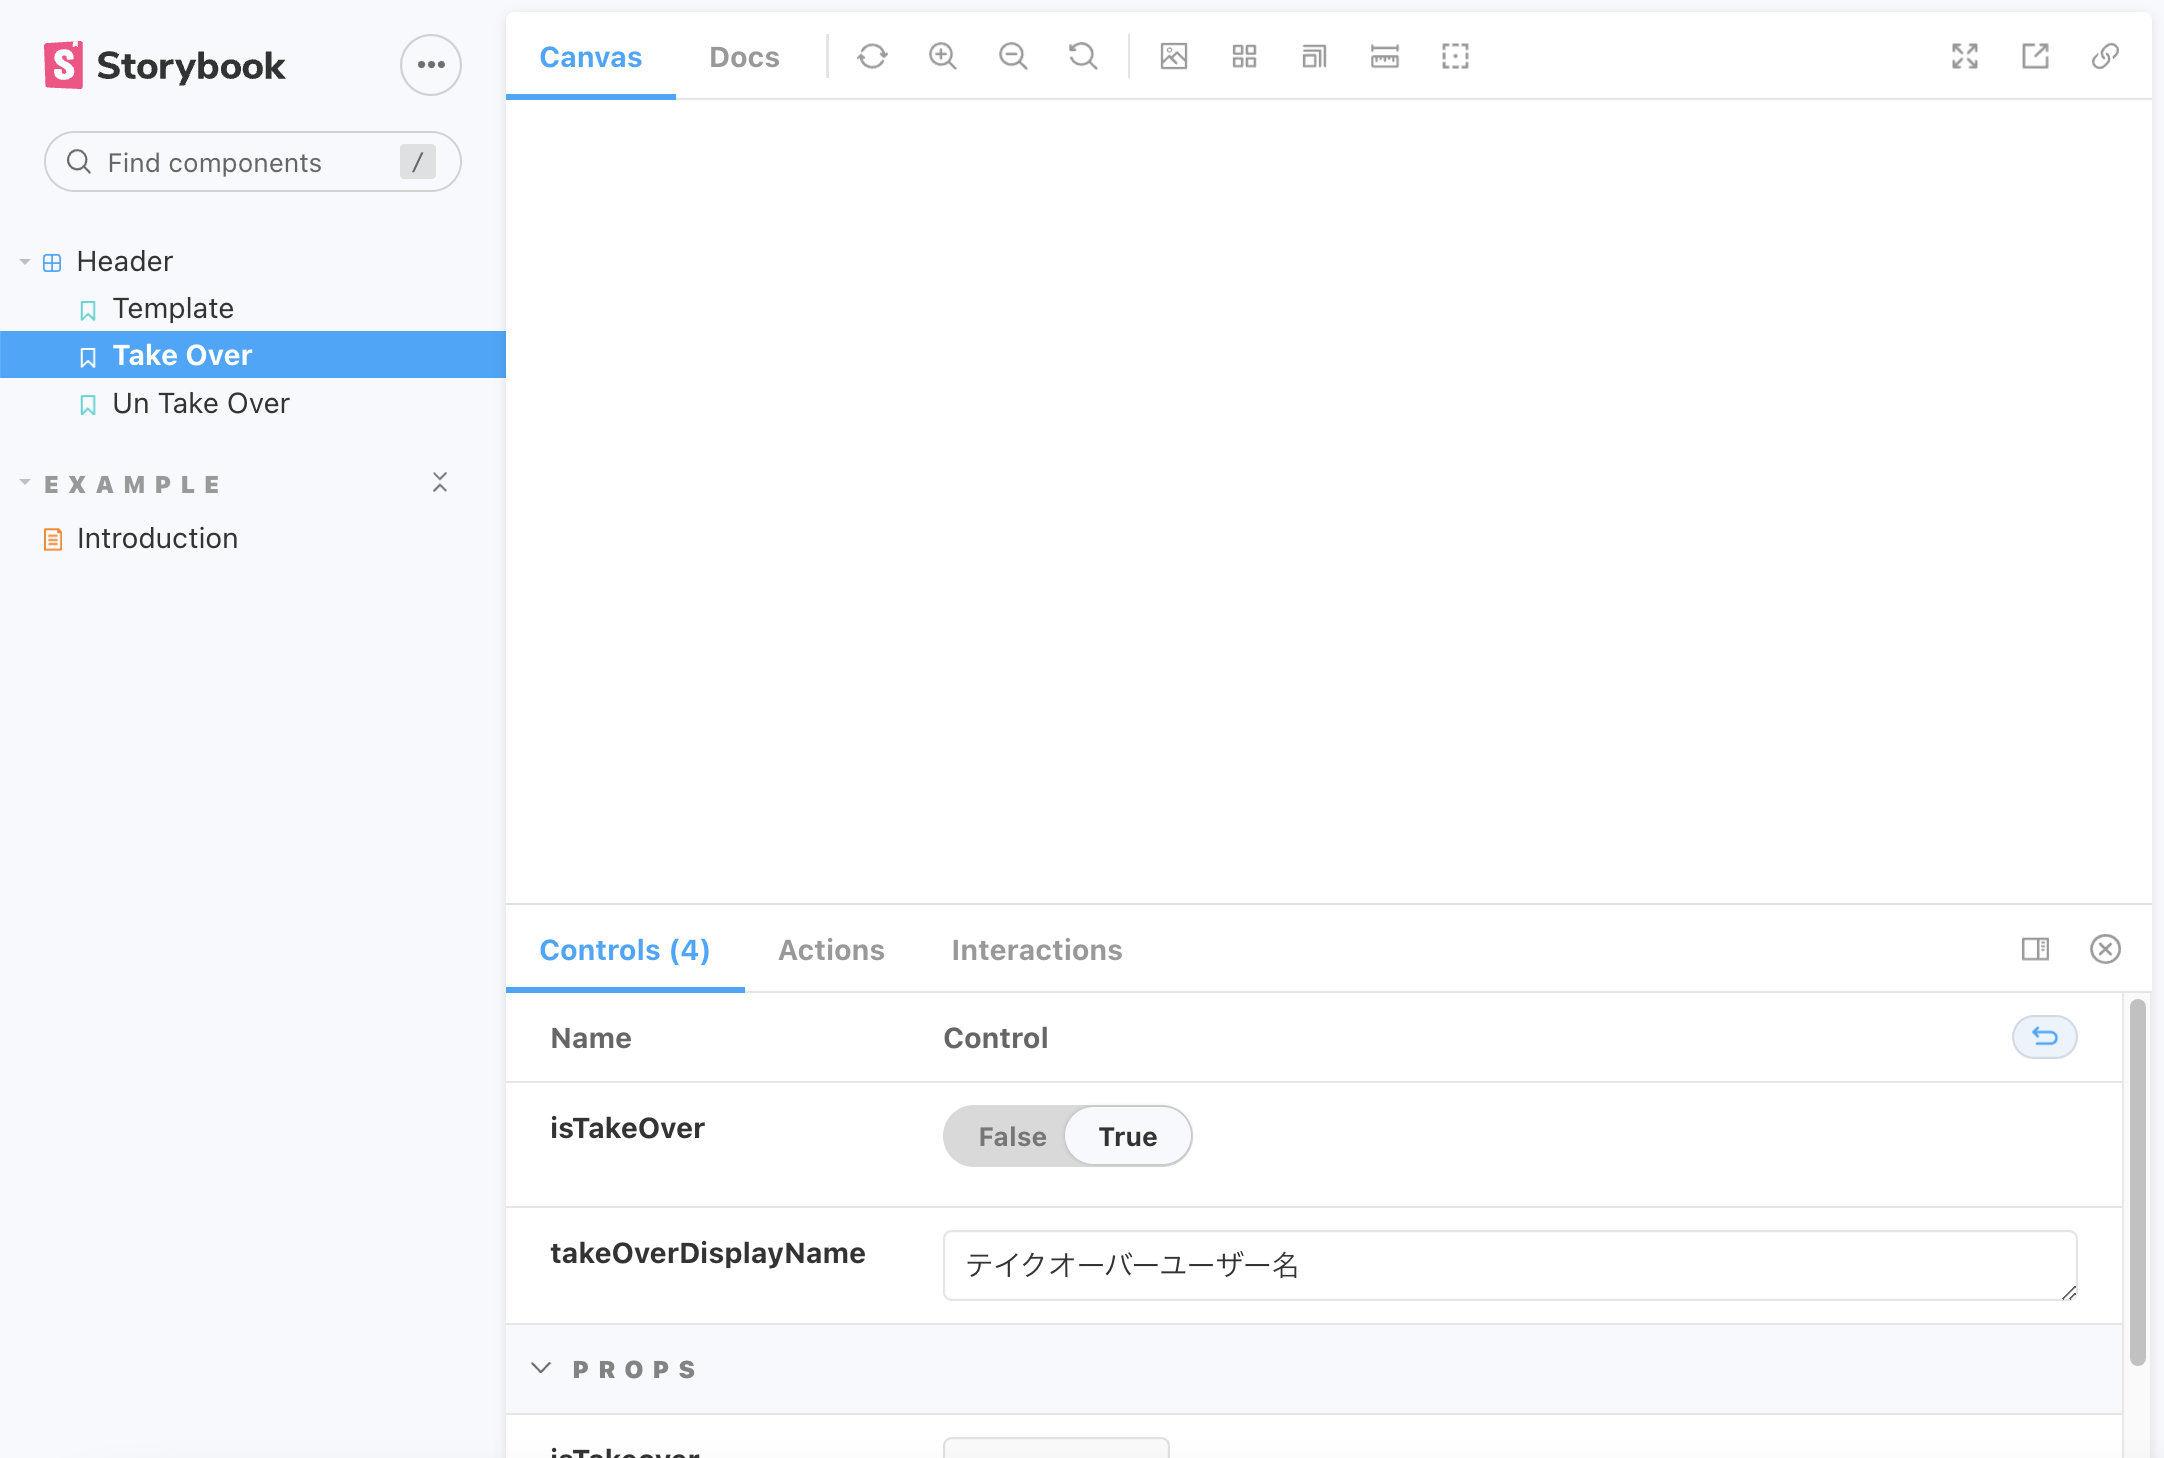
このように、ツリー部分にはコンポーネント名、ストーリー名が表示されていますが、Canvasタブにコンポーネントが表示されません。
原因
vueファイル内のstyleが読み込めていないことが原因でした。
解決方法
- .storybook/main.jsを以下のように修正します。
const path = require("path");

module.exports = {
  "stories": ["../src/**/*.stories.mdx", "../src/**/*.stories.@(js|jsx|ts|tsx)"],
  "addons": ["@storybook/addon-links", "@storybook/addon-essentials", "@storybook/addon-interactions"],
  "framework": "@storybook/vue3",
  core: {
    builder: "webpack5"
  },
  webpackFinal: async (config) => {
    config.resolve.alias = {
      '@': path.resolve(__dirname, '../src'),
      'vue$': 'vue/dist/vue.esm-bundler.js'
    }
    // ここから
    config.module.rules.push(
      {
        test: /\.scss$/,
        use: [
          'vue-style-loader',
          'css-loader',
          'sass-loader'
        ]
      }
    );
    // ここまで
    return config
  }
};
画像が表示されない
画像を使用したコンポーネントや、propsとして画像のパスを渡すコンポーネントで、画像が表示されませんでした。
原因
画像のパスが解決できていないことが原因でした。
解決方法
- .storybook/main.jsに以下の設定を追加します。
staticDirs: ['../public'],
こうすることで/img/hogehoge.jsで../public/img/hogehoge.jsへアクセスできるようになります。[ ]内の値はディレクトリ構成によって変わります。
グローバルなVueコンポーネントを登録したい
Video Kicksでは、atomsに当たるコンポーネントはインポートなしで読み込めるようにグローバル登録しています。
これをstorybook上でも同様に利用できるようにします。
解決方法
.storybook/preview.jsを以下のように編集します。
import { app } from '@storybook/vue3'; // storybookで使用されるvue3
import * as components from "@/components/atoms/components";  // グローバル登録したいコンポーネントをインポート

export const parameters = {
  actions: { argTypesRegex: "^on[A-Z].*" },
  controls: {
    matchers: {
      color: /(background|color)$/i,
      date: /Date$/,
    },
  },
}

// appにコンポーネントを登録
export default class VKUI {
  static install = (app) => {
    for (const key in components) {
      const component = (components)[key];
      app.component(key, component);
    }
  };
}

app.use(VKUI);
そうすると、以下のように storiesファイル内でも<vk-row>や<vk-col>をimportなしで使用することができます。
// 一部抜粋
export const Template = (args) => ({
  components: { ImageUploader },
  setup() {
    return { args };
  },
  template: `
    <vk-row>
      <vk-col class="w-80">
        <image-uploader
          v-bind="args"
          @change="${args.change}"
          @delete="${args.delete}"
        >
      </vk-col>
    </vk-row>
  `,
});
グローバルなcssを登録
アプリ全体で共通使用しているcssを登録します。
解決方法
import "@/assets/init.css";
import "@/assets/grid.css";
イベントに対応するアクションを定義しても反応しない
例えば、changeイベント発火時に動作するActionsを定義したときに、動作しない状況があります。
原因
argsとして定義する際の命名が間違っていたようです。
解決策
"@storybook/addon-actions”を使用します。
アクションの定義
また、命名は以下のようになっています。
アクション名は
onXXXという命名にすることで、自動的にXXXに対応するイベントのハンドラとして定義されます。
従って、changeのイベントハンドラはonChangeで定義します。
<Story
    name="Uploaded"
    args={{
      src: "/img/linkcore.png",
      id: "uploader-id",
      disabled: false,
      name: "uploader-name",
      onChange: action('changeImage'),
      onDelete: action('deleteImage'),
    }}>
    {Template.bind({})}
</Story>
そうすると、以下のようにActionsタブにイベント発火時の情報が表示されるようになります。

Docsタブの内容を自動生成したい
記述したStoryに応じて、Docsタブの内容を生成します。
解決方法
@storybook/addon-docsを使用します。
- Meta
- title・・・ツリーに表示されるコンポーネント名
- argTypes・・・propsに関する設定を行う
- Canvas・・・この中に記述したStoryはDocs上に表示する枠が生成される
- ArgsTable・・・storyに特定のStoryのname属性値を渡すことで、argsに関する表が生成される
import { Meta, Story, ArgsTable, Canvas } from "@storybook/addon-docs";
import { action } from '@storybook/addon-actions';
import VkBackLinkBtn from '@/components/atoms/VkBackLinkBtn.vue';

<Meta
  title="components/atoms/VkBackLinkBtn"
  argTypes={{
    to: {
      description: '遷移先のパス',
      table: {
        category: 'props',
        defaultValue: { summary: "" },
      },
    },
    slotValue: {
      description: 'slotsの内容',
      table: {
        category: 'slots'
      },
    },
  }}
/>

export const Template = (args) => ({
  components: { VkBackLinkBtn },
  setup() {
    return {...args};
  },
  template: `
    <VkBackLinkBtn :to="to">
      <template v-if="${"slotValue" in args}" v-slot>${args.slotValue}</template>
    </VkBackLinkBtn>
  `,
});

# VkBackLinkBtn
<br/>

## Component
<Canvas>
  <Story
    name="VkBackLinkBtn"
    args={{
      to: "/release/music_video/list",
      slotValue: "ボタンの文字"
    }}
    >
    {Template.bind({})}
  </Story>
</Canvas>

## Usage
```vue
<vk-back-link-btn to="/release/music_video/list">
    一覧へ戻る
</vk-back-link-btn>
```

## Props

<ArgsTable story="VkBackLinkBtn" />
このようなDocsが生成されます。

cssのFontAwesomeアイコンが認識されない
.error-message:before {
  font-family: "FontAwesome";
  padding: 0 4px 0 0;
  content: "\f06a"; // これ
  color: $c_text3;
}
storybookをブラウザのdevtoolで確認した時CSSは以下のようになっていました。
.error-message[data-v-60e39706]:before {
font-family: "FontAwesome";
padding: 0 4px 0 0;
content: ""; // 文字化け
color: #ff6e54;
}
解決策
FontAwesomeを読み込むmain.scssを追加し、preview.jsからインポートします。
@import "https://netdna.bootstrapcdn.com/font-awesome/4.7.0/css/font-awesome.css"
import { app } from '@storybook/vue3';
import * as components from "@/components/atoms/components";
import "@/assets/init.css";
import "@/assets/grid.css";
import "./main.scss"; // これを追加
.stories.mdxファイルの雛形を自動生成したい
これは本当に導入した方がいいです。すごく時短になります。
解決策
このツールを使用します。
Hygen
まずは、以下のコマンドを実行します。
$ cd projectroot

$ npm install --save-dev hygen

$ hygen init self

	Loaded templates: /Users/fukuju.t/.nodebrew/node/v16.14.0/lib/node_modules/hygen/src/templates
       added: _templates/generator/help/index.ejs.t
       added: _templates/generator/with-prompt/hello.ejs.t
       added: _templates/generator/with-prompt/prompt.ejs.t
       added: _templates/generator/new/hello.ejs.t
       added: _templates/init/repo/new-repo.ejs.t

$ hygen generator new --name stories

	Loaded templates: _templates
	       added: _templates/stories/new/hello.ejs.t
そして、_templates/stories/new/配下にprompt.jsを配置します。
const inputValidator = (input) => {
  if (input !== '') {
    return true
  }
}

module.exports = [
  {
    type: 'input',
    name: 'name',
    message: 'コンポーネントの名前を指定してください。ex) Header',
    validate: inputValidator,
  },
  {
    type: 'input',
    name: 'directory',
    message: 'storyを生成する対象のコンポーネントが配置されているディレクトリの、src以下のパスを指定してください。ex) components/atoms、pages/release/music_video',
    validate: inputValidator,
  },
  {
    type: "confirm",
    name: "have_slots",
    message: "Slotsを持ちますか?",
    choices: ["Yes", "No"],
    initial: "Yes",
  },
]
ここでは、ファイル自動生成コマンドの実行時に対話形式で入力する内容を定義します。
さらに、_templates/stories/new/配下にstories.mdx.ejs.tファイルを作成します。
これは、生成される.stories.mdxファイルの雛形となり、
prompt.jsのnameプロパティが、<%= %>で囲まれた値と対応しています。
---
to: ./stories/<%= directory %>/<%= name%>.stories.mdx
---

import { Meta, Story, ArgsTable, Canvas } from "@storybook/addon-docs";
import { action } from '@storybook/addon-actions';
import <%= name %> from '@/<%= directory %>/<%= name %>.vue';

<Meta
  title="<%= directory %>/<%= name %>"
  argTypes={{
    argName: {
      description: 'description',
      table: {
        category: 'props',
        defaultValue: { summary: "value" },
      },
    },
    <% if (have_slots) { -%>
    slotValue: {
      description: 'slotの内容。',
      table: {
        category: 'slots',
      },
    },
    <% } -%>
  }}
/>

export const Template = (args) => ({
  components: { <%= name %> },
  setup() {
    return {...args};
  },
  template: `
  <% if (!have_slots) { -%>
    <<%= name %>
      :propName="propName"
    />
  <% } -%>
  <% if (have_slots) { -%>
    <<%= name %>
      :propName="propName"
    >
      <template v-if="${"slotValue" in args}" v-slot>${args.slotValue}</template>
    </<%= name %>>
  <% } -%>
  `,
});

# <%= name %>
<br/>

## Component
<Canvas>
  <Story
    name="<%= name %>"
    args={{
      propName: "value",
      <% if (have_slots) { -%>
        slotValue: "slotValue",
      <% } -%>
    }}
    >
    {Template.bind({})}
  </Story>
</Canvas>

## Usage
```vue
somecode here
```

## Props

<ArgsTable story="<%= name %>" />
package.jsonのscriptsに以下を追加します。
"hygen:stories": "hygen stories new"
hygenコマンドの第一引数(generator名)、第二引数(action名)は
stories.mdx.ejs.tやprompt.jsを配置した、_templates/stories/new/のディレクトリ名に対応しています。
コマンドを実行し、質問に答えると・・・
npm run hygen:stories

> client_vue@0.1.0 hygen:stories
> hygen stories new

✔ コンポーネントの名前を指定してください。ex) Header · HogeHoge
✔ storyを生成する対象のコンポーネントが配置されているディレクトリの、src以下のパスを指定してください。ex) components/atoms、pages/release/music_video · components/atoms

✔ Slotsは持ちますか? (Y/n) · false

Loaded templates: _templates
       added: ./stories/components/atoms/HogeHoge.stories.mdx
生成されるのが以下のファイルです。
import { Meta, Story, ArgsTable, Canvas } from "@storybook/addon-docs";
import { action } from '@storybook/addon-actions';
import HogeHoge from '@/components/atoms/HogeHoge.vue';

<Meta
  title="components/atoms/HogeHoge"
  argTypes={{
    argName: {
      description: 'description',
      table: {
        category: 'props',
        defaultValue: { summary: "value" },
      },
    },
        slotValue: {
      description: 'slotの内容。',
      table: {
        category: 'slots',
      },
    },
  }}
/>

export const Template = (args) => ({
  components: { HogeHoge },
  setup() {
    return {...args};
  },
  template: `
    <HogeHoge
      :propName="propName"
    >
      <template v-if="${"slotValue" in args}" v-slot>${args.slotValue}</template>
    </HogeHoge>
  `,
});

# HogeHoge
<br/>

## Component
<Canvas>
  <Story
    name="HogeHoge"
    args={{
      propName: "value",
      slotValue: "slotValue",
    }}
  >
    {Template.bind({})}
  </Story>
</Canvas>

## Usage
```vue
somecode here
```

## Props

<ArgsTable story="HogeHoge" />
これで、別のstoriesファイルからコピペする手間がなくなりました!
導入して良かった点
導入前は、コンポーネントをドキュメント化し、動きや状態をメンバー間で共有できることがメリットであると考えていました。
実際に導入すると、それに加えて以下の点が良かったこととして挙げられます。
- 各コンポーネントへの理解が深まる
- 責務が重複していたり、使用していないコンポーネントが見つかる
まとめ
個人的に触ってみたStorybookを実際のプロジェクトに導入してみましたが、チュートリアル通りいかないことも多々あり苦労しました。
しかし、1からの導入をさせてくれるというのはありがたいですね!とてもいい経験になりました。

