はじめに
ラズベリーパイにて、I2Cデバイスを使用する場合、
通常はSDA.1, SCL.1(BCM2, BCM3)を利用します。
今回は、SDA.0, SCL.0(BCM0, BCM1)を利用する方法を紹介します。
紹介する内容
作業環境
- ラズベリーパイ3P
- Linux raspberrypi 4.14.79-v7+ #1159 SMP Sun Nov 4 17:50:20 GMT 2018 armv7l GNU/Linux
- Python 3.6.6 (default, Jan 24 2019, 20:40:14)
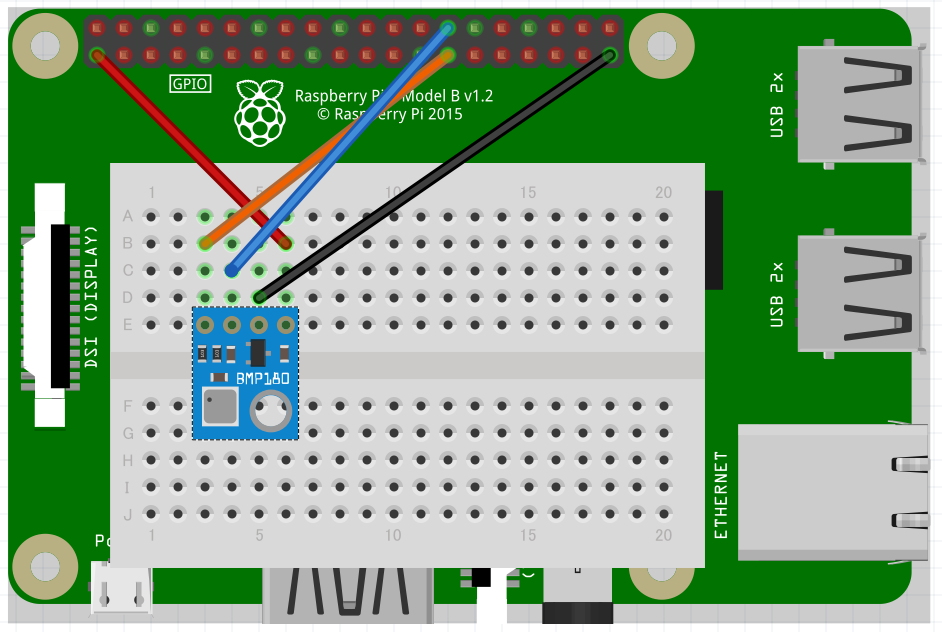
接続図
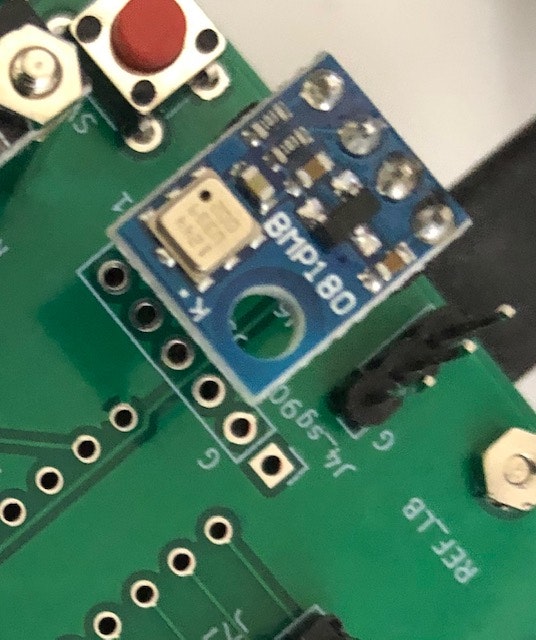
- 大気圧センサーBMP180を使用して説明を行います。
| BMP180 | ラズパイ側 | 備考 |
|---|---|---|
| VCC | 3.3V | |
| GND | GND | |
| SCL | SCL.0(BCM1) | ※通常はSCL.1(BCM3)を使用する |
| SDA | SDA.0(BCM0) | ※通常はSDA.1(BCM2)を使用する |
手順
現在の状態を確認する
本手順はスキップしても問題ありません。
~$ ls -l /dev/i2c-*
crw-rw---- 1 root i2c 89, 1  5月 24 16:54 /dev/i2c-1
"/dev/i2c-1"が、[SCL.1(BCM3), SDA.1(BCM2)]となります。
現時点では、SCL.0(BCM1), SDA.0(BCM0)は使用できません。
/boot/config.txt を編集し、適用する
- /boot/config.txtのファイルに、以下を追記します。
dtoverlay=i2c-gpio,i2c_gpio_sda=0,i2c_gpio_scl=1,i2c_gpio_delay_us=2
- nanoを使用して、追記しました。
$ sudo nano /boot/config.txt

↓最後の行に追記
dtoverlay=i2c-gpio,i2c_gpio_sda=0,i2c_gpio_scl=1,i2c_gpio_delay_us=2
- 0, 1は、BCMにて指定します
- i2c_gpio_delay_us=2は、100kHzの意味となります
適用するために再起動を実施します。
$ sudo reboot
適用されているかを確認する
~$ ls -l /dev/i2c-*
crw-rw---- 1 root i2c 89, 1  5月 24 16:54 /dev/i2c-1
crw-rw---- 1 root i2c 89, 3  5月 24 16:54 /dev/i2c-3
/dev/i2c-3が[SCL.0(BCM1), SDA.0(BCM0)]となります。
また、i2c-3にbmp180(device-address == 0x77)があり、
$ i2cdetect -y 3
     0  1  2  3  4  5  6  7  8  9  a  b  c  d  e  f
00:          -- -- -- -- -- -- -- -- -- -- -- -- --
10: -- -- -- -- -- -- -- -- -- -- -- -- -- -- -- --
20: -- -- -- -- -- -- -- -- -- -- -- -- -- -- -- --
30: -- -- -- -- -- -- -- -- -- -- -- -- -- -- -- --
40: -- -- -- -- -- -- -- -- -- -- -- -- -- -- -- --
50: -- -- -- -- -- -- -- -- -- -- -- -- -- -- -- --
60: -- -- -- -- -- -- -- -- -- -- -- -- -- -- -- --
70: -- -- -- -- -- -- -- 77
で確認できます。
BMP180(温度/大気圧)を取得する
Pythonにて動作確認を行います。
必要なライブラリをインストールする
$ pip install smbus
コードの修正をする
m-rtijn/bmp180
を使用させていただきます。
そのまま使用すると、/dev/i2c-1にアクセスしてしまい、修正が必要となります。
修正箇所は以下となります。
ファイル名:bmp180.py
import smbus
import math
from time import sleep

class bmp180:
    # Global variables
    address = None
    # bus = smbus.SMBus(1)  # comment
    bus = smbus.SMBus(3) # add
動作を確認する
ファイル構成
$ ls -l
-rw-r--r-- 1 pi pi 6941  5月 24 17:41 bmp180.py
-rw-r--r-- 1 pi pi 6941  5月 24 17:41 sample.py
sample.py
from bmp180 import bmp180

bmp = bmp180(0x77)

print("Temp: " + str(bmp.get_temp()) + " Celcius")
print("Pressure: " + str(bmp.get_pressure()) + " Pascal")
print("Altitude: " + str(bmp.get_altitude()) + " meter")
実行結果
$ python3 sample.py
Temp: 32.6840866979166 Celcius
Pressure: 100093.18191775003 Pascal
Altitude: 0.1028604404914446 meter

