はじめに
先日、Zabbix Conference Japan 2022に行ってきたんですが、そこで渡邉さんが便利なTemplateの紹介をしていて「やや!私ったらいつまでも自前のシェルスクリプト書いてzabbix_senderで送る一昔前の方法でやってた!」と気づき、せっせこ設定をしてみました。
この記事はその作業内容をまとめたものです。
概要
テンプレート「Template App Apache by HTTP」を使用します。
Apacheが稼働しているWebサーバでserver-statusを有効にし、その値をZabbixで監視できるようにするテンプレートです。
手順
Zabbixサーバの準備
まず、Zabbixサーバを用意します。でもそこの手順は割愛します(何)
手っ取り早くテンプレートを試したかったので、私は以下の構成でZabbix6.2を立ち上げました。
- EC2:AlmaLinux OS 9 (x86_64)
- インスタンスタイプ:t3.small
- Zabbix:6.2.4
- Apache:Apache/2.4.53
- DB:MySQL 8.0.30
- PHP:8.0.20
監視対象ホスト側の設定
- status_moduleが読み込まれているか確認。
# httpd -M 2>/dev/null | grep status_module
status_module (shared)
- server-statusの設定
- /etc/httpd/conf.d/httpd-info.confの設定
    <Location "/server-status">
    SetHandler server-status
    Require local
    </Location>
※server-statusのパスが /server-status じゃなかったりする場合は、Zabbixサーバ側のホストマクロに{$APACHE.STATUS.PATH}を設定してあげましょう。
確認
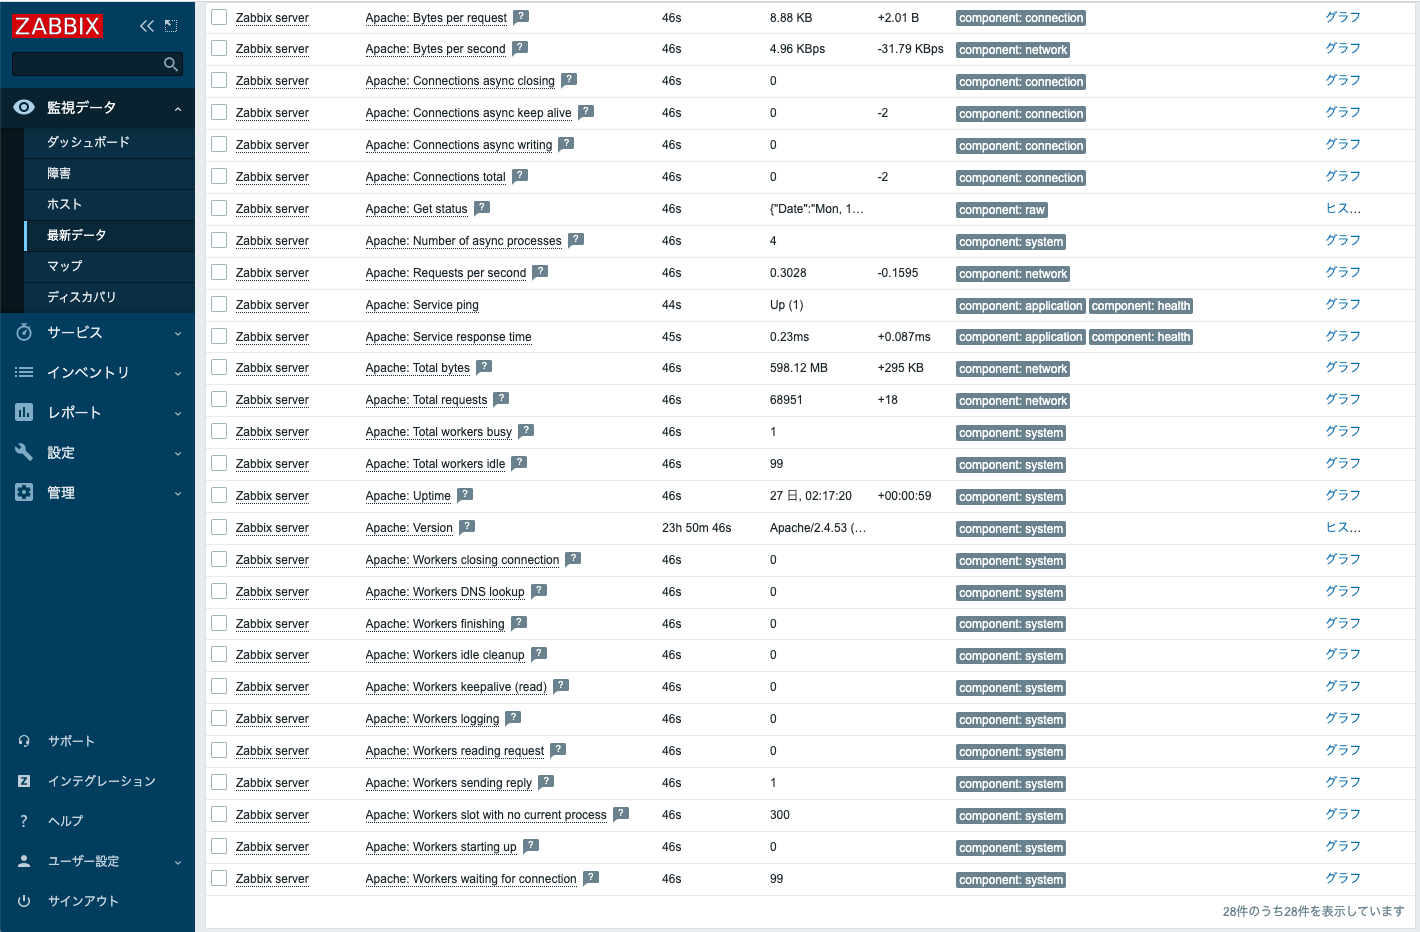
監視データ>最新データ で、以下のような「Apache: なんちゃら」といったデータが取得できています!
・Apache: Bytes per request
・Apache: Bytes per second
・Apache: Connections total
・Apache: Requests per second
…などなど
おわりに
既存の知識もたまには棚卸しをして新しいものに入れ替えていかないと、化石みたいなエンジニアになってしまいますね🦖
日々精進です!
