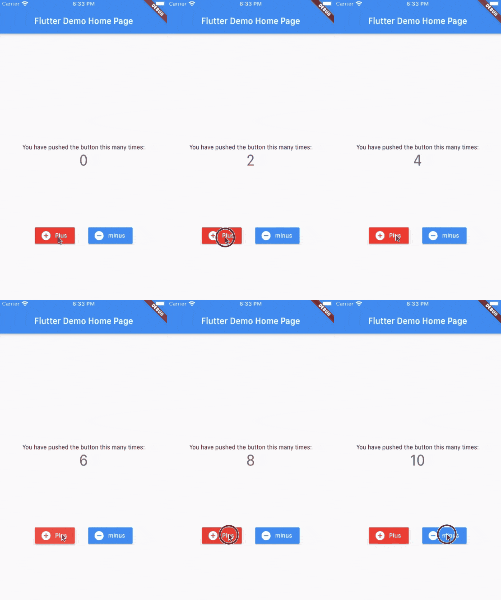
はじめに
この記事は「HTC Advent Calendar 2020」の1日目の記事です。
執筆はHTCチームの開発担当のこーたです。
普段は、SI企業に勤め、インフラエンジニアとして働いています。
今回はチームメンバの技術向上のためにアドベントカレンダーにチームで参加してみることにしました。
いやHTCってなに?!って感じだと思うので、HTCについて簡単に触れておきますね。
「ONE JAPAN HACKATHON 2020」というハッカソンに参加した際に結成されたチームです。
ハッカソンで作成した作品についてはチームメンバーが記事を書いてくれているので、興味がある方はこちらをご覧ください。
本記事はタイトルにも記載している通り、はじめてFlutterをやってみたという内容です。
似たような記事が多くあり、新規性は皆無ですが、個人的なアウトプットと後学のために書かせて頂きます。
対象読者
- はじめてFlutterの開発を行う人
- Flutterの環境構築が完了している
実行環境
- macOS Catalina バージョン10.15.7
- Flutter バージョン1.20.4
- Dart バージョン2.9.2
Flutterとは
Googleが提供しているUIツールキットです。モバイル・Webおよびデスクトップようにネイティブコンパイルされた、美しいアプリケーションを単一のコードベースから構築できると言われています。
今回作るもの
ボタンが2つあり、足し算と引き算ができるカウントアプリを作ります。

アプリの実装
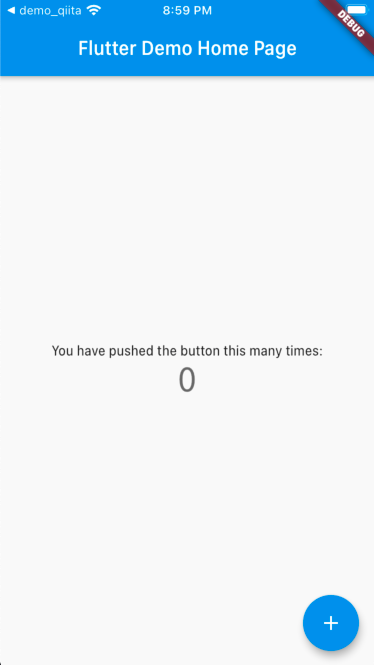
まずは、新規Flutterプロジェクトの作成を行い、以下のような画面が表示されることを確認します。

ボタンの追加
次にボタンの追加を行います。今回はRaisedButtonを使用します。
.icon()を使用することでアイコン付きのボタンになります。
Icons.add_circleでアイコンを選択することができます。こちらからアイコン一覧を確認することができます。
onPressed: _incrementCounter:ボタンをタッチした際の処理を指定できます。
// ... 略
class _MyHomePageState extends State<MyHomePage> {
// ... 略
  @override
  Widget build(BuildContext context) {
// ... 略
      body: Center(
        child: Column(
          mainAxisAlignment: MainAxisAlignment.center,
          children: <Widget>[
            Text(
              'You have pushed the button this many times:',
            ),
            Text(
              '$_counter',
              style: Theme.of(context).textTheme.headline4,
            ),
            Row(
              mainAxisAlignment: MainAxisAlignment.center,
              children: <Widget>[
                RaisedButton.icon(
                  icon: const Icon(
                    Icons.add_circle,
                    color: Colors.white,
                  ),
                  label: const Text('Plus'),
                  onPressed: _incrementCounter,
                  color: Colors.red,
                  textColor: Colors.white,
                ),
                SizedBox(width: 30),
                RaisedButton.icon(
                  icon: const Icon(
                    Icons.remove_circle,
                    color: Colors.white,
                  ),
                  label: const Text('minus'),
                  onPressed: _decrement,
                  color: Colors.blue,
                  textColor: Colors.white,
                ),
              ],
            ),
// ... 略
  }
}
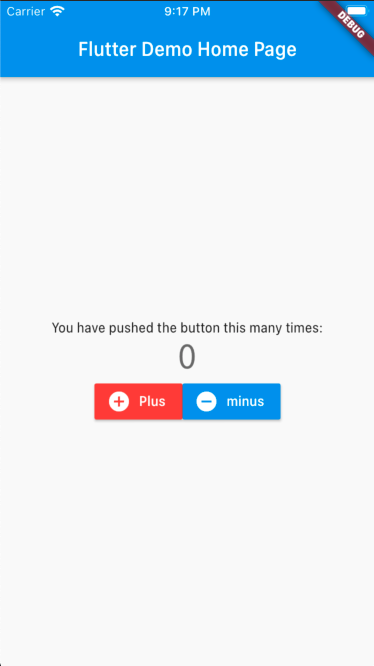
ボタン追加後はこのような画面になっていると思います。
全てのパーツが中央に寄っていますが、とりあえずボタンの配置は完了です。

マイナス処理の追加
ボタンを押すたびに加算される処理は最初から実装されているので、ここでは減算処理を追加します。
class _MyHomePageState extends State<MyHomePage> {
  int _counter = 0;

  void _incrementCounter() {
    setState(() {
      _counter++;
    });
  }

  void _decrement() {
    setState(() {
      _counter--;
    });
  }
// ... 略
}
レイアウトの変更
最後に簡単にレイアウトを整えます。方法はいくつかあるようですが、今回はSpacerとSizedBoxを使用しました。
Spacerは文字通りスペースをとるためのウィジェットです。RowやColumnウィジェットでmainAxisAlignmentプロパティだけでは制御できないレイアウトを作るときによく利用されるようです。
SizedBoxウィジェットは、指定されたサイズの箱を作れます。プロパティはwidth、height、childだけとなっています。
class _MyHomePageState extends State<MyHomePage> {

// ... 略

  @override
  Widget build(BuildContext context) {

// ... 略

      body: Center(
        child: Column(
          mainAxisAlignment: MainAxisAlignment.center,
          children: <Widget>[
            Spacer(
              flex: 2,
            ),
            Text(
              'You have pushed the button this many times:',
            ),
            Text(
              '$_counter',
              style: Theme.of(context).textTheme.headline4,
            ),
            Spacer(),
            Row(
              mainAxisAlignment: MainAxisAlignment.center,

// ... 略

            ),
            Spacer(),
          ],
        ),
      ),
    );
  }
}
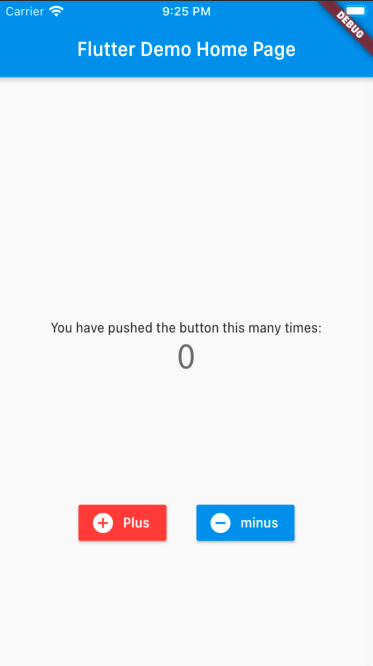
レイアウトを変更した結果が以下になります。簡単にボタンやテキスト間にスペースをとることができました。
(Flutter初心者過ぎて、このようなアプリ設計が正しいのかわからないので、どなたか詳しい方がいたら教えていただきたいです。)

参考文献
Flutter Doc JP
https://flutter.ctrnost.com/basic/