きっかけ
マテリアルなボタン作りたいなーとか、かっこよく動くボタン欲しいなあとか考えて作ってみました。
環境
Xcode 8で作りました。swift3を使って作ったんですけど、多分4でも動作します。
作り方① classを作成
新しいSwiftファイルの作成をします。ここでは CustomButton.swiftという名前で作りました。その後、以下のようにclassを作りましょう。
CustomButton.swift
import UIKit


class CustomButton: UIButton{

}
作り方② ボタンクラスの雛形の生成
あらかじめ用意されている関数のうち、以下の関数を追記してください。
CustomButton.swift
import UIKit


class CustomButton: UIButton {

    //コードによるボタンの生成時に呼ばれる
    override init(frame: CGRect) {
        super.init(frame: frame)
    }

    //storyboardによる生成時に呼ばれる
    required init?(coder aDecoder: NSCoder) {
        super.init(coder: aDecoder)
    }

    override func touchesBegan(_ touches: Set<UITouch>, with event: UIEvent?) {
        super.touchesBegan(touches, with: event)
        //ここに押された時の動作を書く
    }
    override func touchesEnded(_ touches: Set<UITouch>, with event: UIEvent?) {
        super.touchesEnded(touches, with: event)
        //ここに押され終わった時の動作を書く
    }

    override func touchesCancelled(_ touches: Set<UITouch>, with event: UIEvent?) {
        super.touchesCancelled(touches, with: event)
        //ここに動作が中断された時の動作を書く
    }
}
作り方③ 影を付けるボタンの生成
影のついたボタンにするために、影を設定する関数を生成します。また、ここでは分かりやすいように"CustomButton"というタイトルをつけています。
CustomButton.swift
import UIKit


class CustomButton: UIButton {
//上に書いているので省略
}

// MARK: - Private functions
extension CustomButton {

    //影付きのボタンの生成
    internal func commonInit(){
        self.layer.shadowOffset = CGSize(width: 1, height: 1 )
        self.layer.shadowColor = UIColor.gray.cgColor
        self.layer.shadowRadius = 5
        self.layer.shadowOpacity = 1.0
    }
}
作り方④ 影をつける関数を呼び出す
影をつける関数を呼びだし、デザインを反映できるようにします。
CustomButton.swift
import UIKit


class CustomButton: UIButton {

    override init(frame: CGRect) {
        super.init(frame: frame)
        commonInit() //ここに追加
    }

    required init?(coder aDecoder: NSCoder) {
        super.init(coder: aDecoder)
        commonInit() //ここに追加
    }
}
作り方⑤ アニメーションの関数の作成
アニメーションを始める関数、終了する関数を作ります。
CustomButton.swift
class CustomButton: UIButton {
//上に書いているので省略
}

// MARK: - Private functions
extension CustomButton {

    //影付きのボタンの生成
    internal func commonInit(){
        self.layer.shadowOffset = CGSize(width: 1, height: 1 )
        self.layer.shadowColor = UIColor.gray.cgColor
        self.layer.shadowRadius = 5
        self.layer.shadowOpacity = 1.0
    }

    //ボタンが押された時のアニメーション
    internal func touchStartAnimation() {
      UIView.animate(withDuration: 0.1, delay: 0.0, options: UIViewAnimationOptions.curveEaseIn, animations: {() -> Void in
            self.transform = CGAffineTransform(scaleX: 0.95, y: 0.95);
            self.alpha = 0.9
        },completion: nil)
    }

    //ボタンから手が離れた時のアニメーション
    internal func touchEndAnimation() {
        UIView.animate(withDuration: 0.1, delay: 0.0, options: UIViewAnimationOptions.curveEaseIn, animations: {() -> Void in
            self.transform = CGAffineTransform(scaleX: 1.0, y: 1.0);
            self.alpha = 1
        },completion: nil)
    }
}
作り方⑥ アニメーションを呼び出す
作り方⑤で作ったクラスで関数の呼び出しをします。
CustomButton.swift
import UIKit

class CustomButton: UIButton {

    override init(frame: CGRect) {
        super.init(frame: frame)
        commonInit()
    }

    required init?(coder aDecoder: NSCoder) {
        super.init(coder: aDecoder)
        commonInit()
    }

    override func touchesBegan(_ touches: Set<UITouch>, with event: UIEvent?) {
        super.touchesBegan(touches, with: event)
        touchStartAnimation() //ここに追加
    }
    override func touchesEnded(_ touches: Set<UITouch>, with event: UIEvent?) {
        super.touchesEnded(touches, with: event)
        touchEndAnimation() //ここに追加
    }

    override func touchesCancelled(_ touches: Set<UITouch>, with event: UIEvent?) {
        super.touchesCancelled(touches, with: event)
        touchEndAnimation() //ここに追加
    }
}
これでクラスを作るのは以上です。
完成したコード
作ったswiftのコードをここに載せておきます。面倒な方はこれ全部コピーすれば使えます。
CustomButton.swift
import UIKit


class CustomButton: UIButton {

    override init(frame: CGRect) {
        super.init(frame: frame)
        commonInit()
    }

    required init?(coder aDecoder: NSCoder) {
        super.init(coder: aDecoder)
        commonInit()
    }

    override func touchesBegan(_ touches: Set<UITouch>, with event: UIEvent?) {
        super.touchesBegan(touches, with: event)
        touchStartAnimation()
    }

    override func touchesEnded(_ touches: Set<UITouch>, with event: UIEvent?) {
        super.touchesEnded(touches, with: event)
        touchEndAnimation()
    }

    override func touchesCancelled(_ touches: Set<UITouch>, with event: UIEvent?) {
        super.touchesCancelled(touches, with: event)
        touchEndAnimation()
    }
}


// MARK: - Private functions
extension CustomButton {

    //影付きのボタンの生成
    internal func commonInit(){
        self.layer.shadowOffset = CGSize(width: 1, height: 1 )
        self.layer.shadowColor = UIColor.gray.cgColor
        self.layer.shadowRadius = 5
        self.layer.shadowOpacity = 1.0
    }

    //ボタンが押された時のアニメーション
    internal func touchStartAnimation() {
        UIView.animate(withDuration: 0.1, delay: 0.0, options: UIViewAnimationOptions.curveEaseIn, animations: {() -> Void in
            self.transform = CGAffineTransform(scaleX: 0.95, y: 0.95);
            self.alpha = 0.9
        },completion: nil)
    }

    //ボタンから手が離れた時のアニメーション
    internal func touchEndAnimation() {
        UIView.animate(withDuration: 0.1, delay: 0.0, options: UIViewAnimationOptions.curveEaseIn, animations: {() -> Void in
            self.transform = CGAffineTransform(scaleX: 1.0, y: 1.0);
            self.alpha = 1
        },completion: nil)
    }
}
ここからはこのクラスの使い方の一例を紹介します。
使い方① 部品の配置
まず、storyboardにUIButtonの部品を配置します。

使い方② クラス名の設定
このUIButtonのクラスを作成したクラスの名前にします。ここでは、CustomButtonとします。

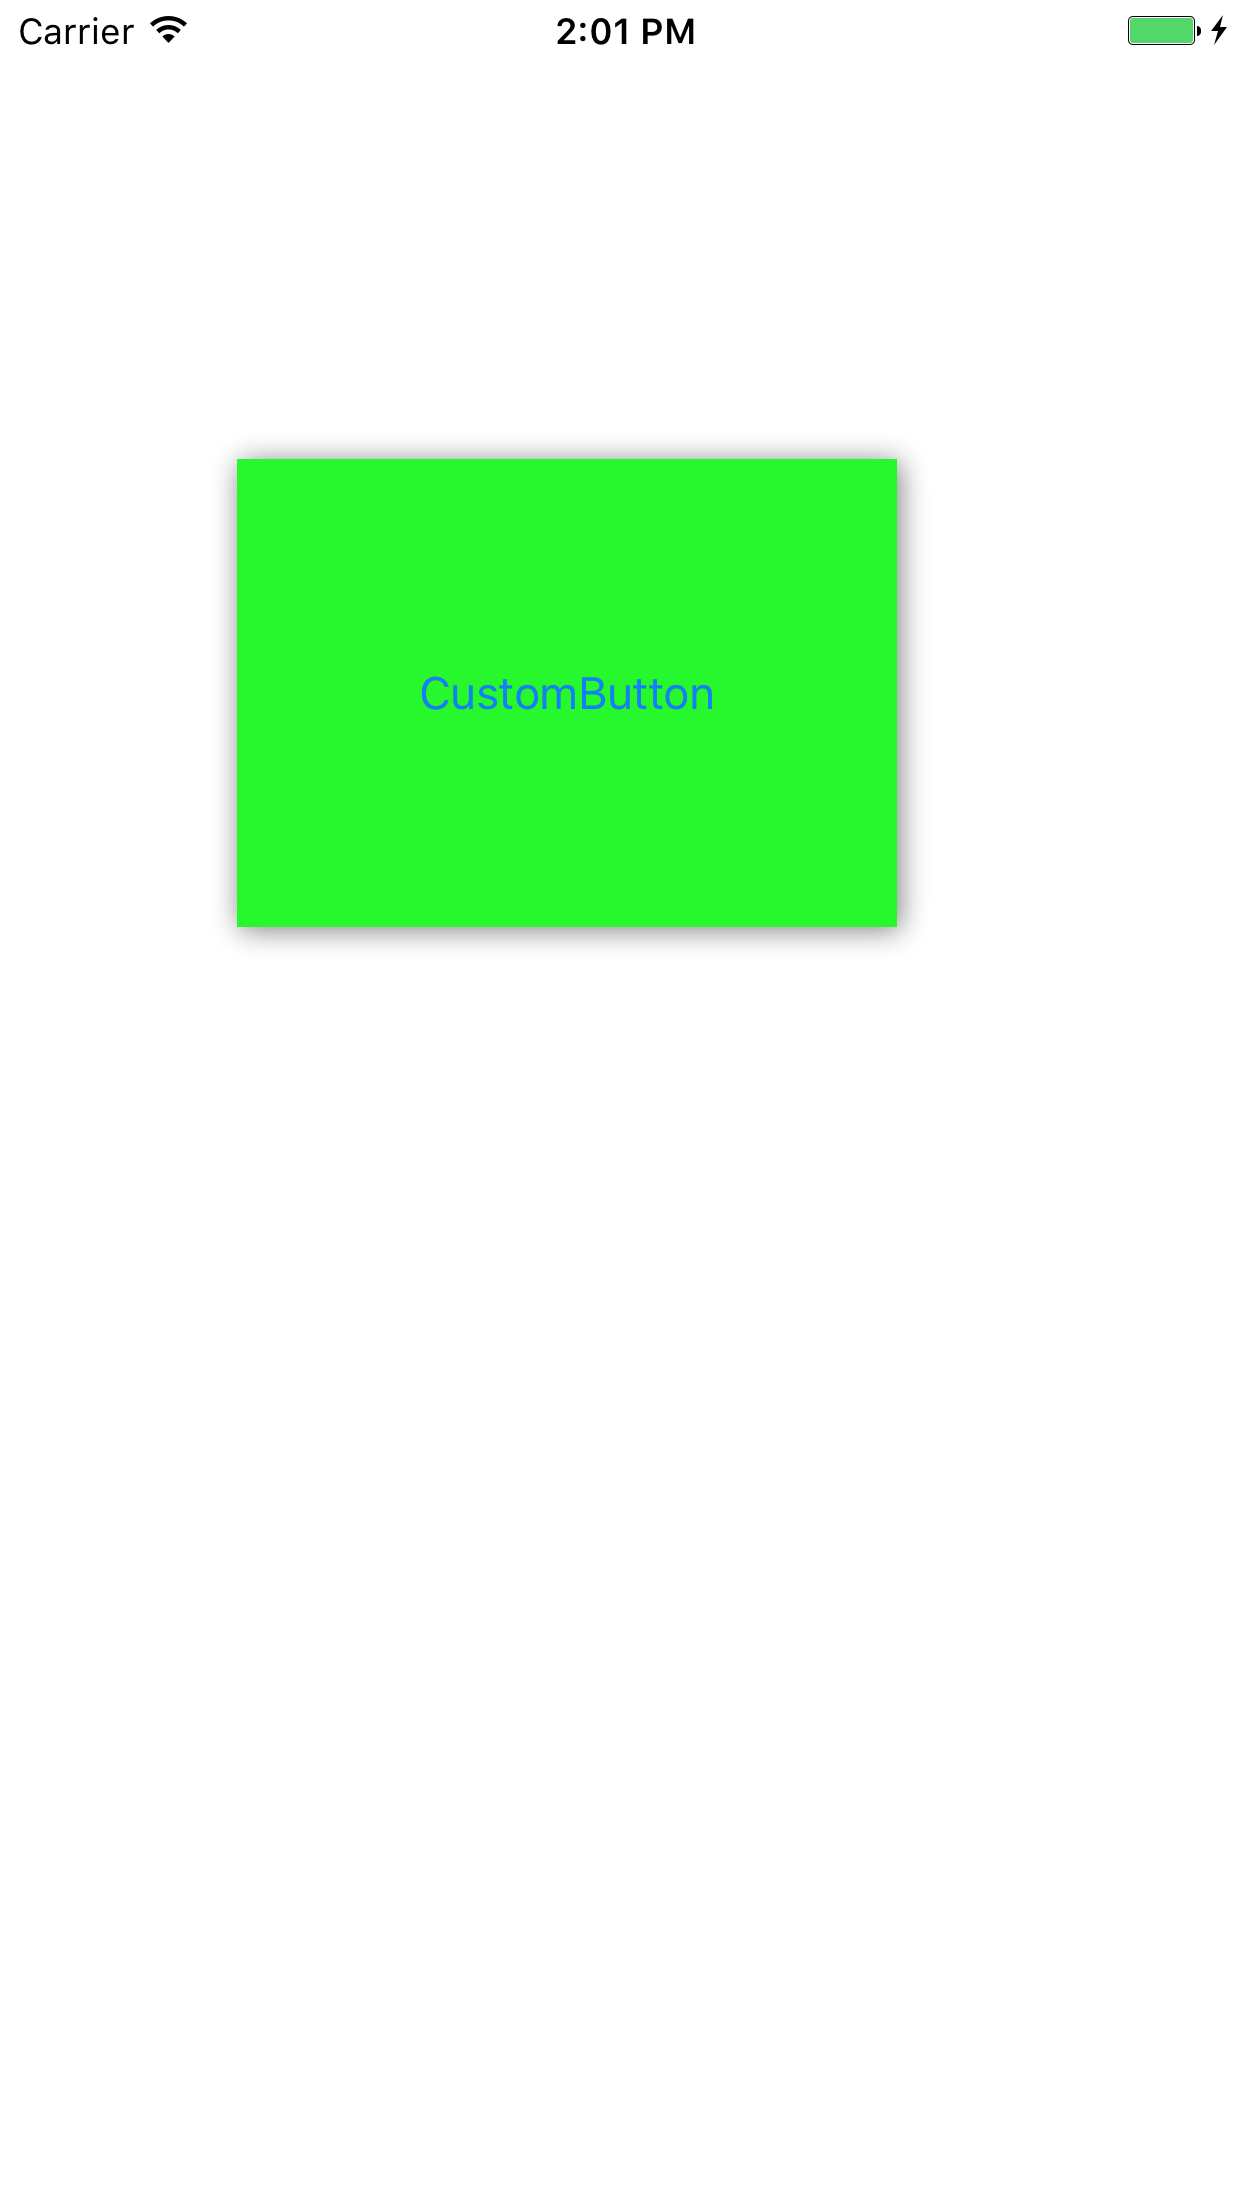
使い方③ 実行
実行してみるとこのような画面が出ると思います。ボタンを実際に押してみると影が消えることが確認できると思います。

以上です。
参考までにxcodeでサンプルを作ってみたのでこちらを参考にしてみてください。
参考資料とかあったんですけど忘れました。すみません。
その他、間違っているところとかあったら教えてください。