これは何
iOS 7 から追加された MKMapSnapshotter を用いて、地図のスナップショット(画像)を取得する方法をメモします。
なぜスナップショットを取得するのか
ユーザーが地図を操作する必要が無い場合、静止画として表示した方が負荷を抑えられるためです。
特に UITableView のセルにいくつも地図を表示する場合など、効果を発揮します。
実行環境
- Xcode 9
- Swift 4
実装方法
まずは下記のサンプルコードを実行してみましょう。
let coordinate = CLLocationCoordinate2DMake(37.331652997806785, -122.03072304117417)
let span = MKCoordinateSpanMake(0.003, 0.003)

let options = MKMapSnapshotOptions()
options.size = CGSize(width: 300, height: 300)
options.region = MKCoordinateRegion(center: coordinate, span: span)
options.scale = UIScreen.main.scale
options.mapType = .standard

let snapshotter = MKMapSnapshotter(options: options)
snapshotter.start(completionHandler: {(snapshot, error) in
    let image = snapshot?.image
})
実行結果
image には次のような画像がセットされます。
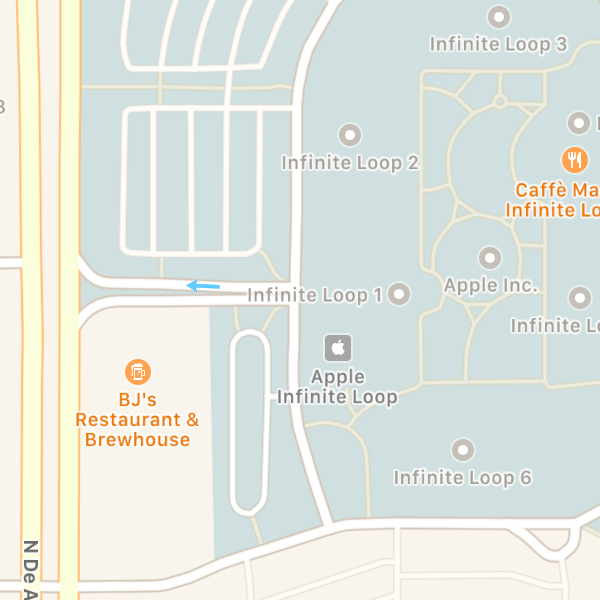
以下、ソースコードの内容を解説していきます。
解説
まずは地図の中心点(緯度と経度)、表示する範囲をセットします。
let coordinate = CLLocationCoordinate2DMake(37.331652997806785, -122.03072304117417)
let span = MKCoordinateSpanMake(0.003, 0.003)
次に、MKMapSnapshotOptions を用いて取得するスナップショットのサイズ、解像度、地図タイプ(航空写真など)をセットします。
let options = MKMapSnapshotOptions()
options.size = CGSize(width: 300, height: 300)
options.region = MKCoordinateRegion(center: coordinate, span: span)
options.scale = UIScreen.main.scale
options.mapType = .standard
最後に MKMapSnapshotter の start() メソッドを実行し、スナップショットを非同期で取得します。
let snapshotter = MKMapSnapshotter(options: options)
snapshotter.start(completionHandler: {(snapshot, error) in
    let image = snapshot?.image
})
補足
MKMapSnapshotOptions の showsBuildings, showsPointsOfInterest プロパティによって、地図上の建物やPOIの表示・非表示を切り替えることができます。
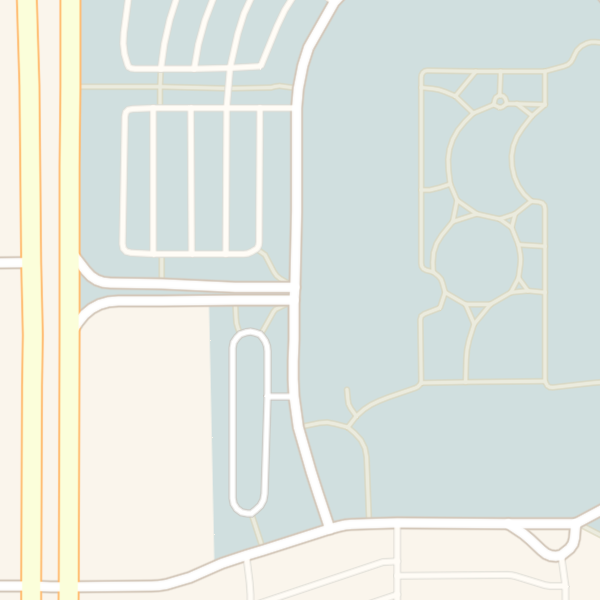
▲何も表示しない例
リンク
- Putting Map Kit in Perspective - WWDC 2013 - Videos - Apple Developer
-
Swift 3 Add custom annotation pin to MKMapSnapShotter snapshot - Stack Overflow -
MKAnnotationViewで表示したピンもスナップショットに収めたい場合はこのQ&Aが参考になります。