自己紹介
じゅんじゅんと言うニックネームで、関西を拠点に活動しているフロントエンドエンジニアです。
HAL大阪3回生です。(2017/04/24現在)
イベントや、勉強会に参加してるので是非お会いした際はお声掛けください!
まえがき
Goの記事書いていますが、しっかりGo言語を始めたのは先週からです。
なので、構造的にいけてない実装などがあったりすると思いますが良ければプルリク投げてください!
Go言語とは

Go言語は2009年にGoogleによって作られたオープンソースの静的言語で、Linux・Mac・WindowsやAndroidで動作します。
最近では、Google App Engineで使うこともできます。
- シンプルな言語構造
- コンパイル・実行速度がはやい
- 安全性が高い
- 同期処理が容易に行える
- オープンソースである
Google Calendar API
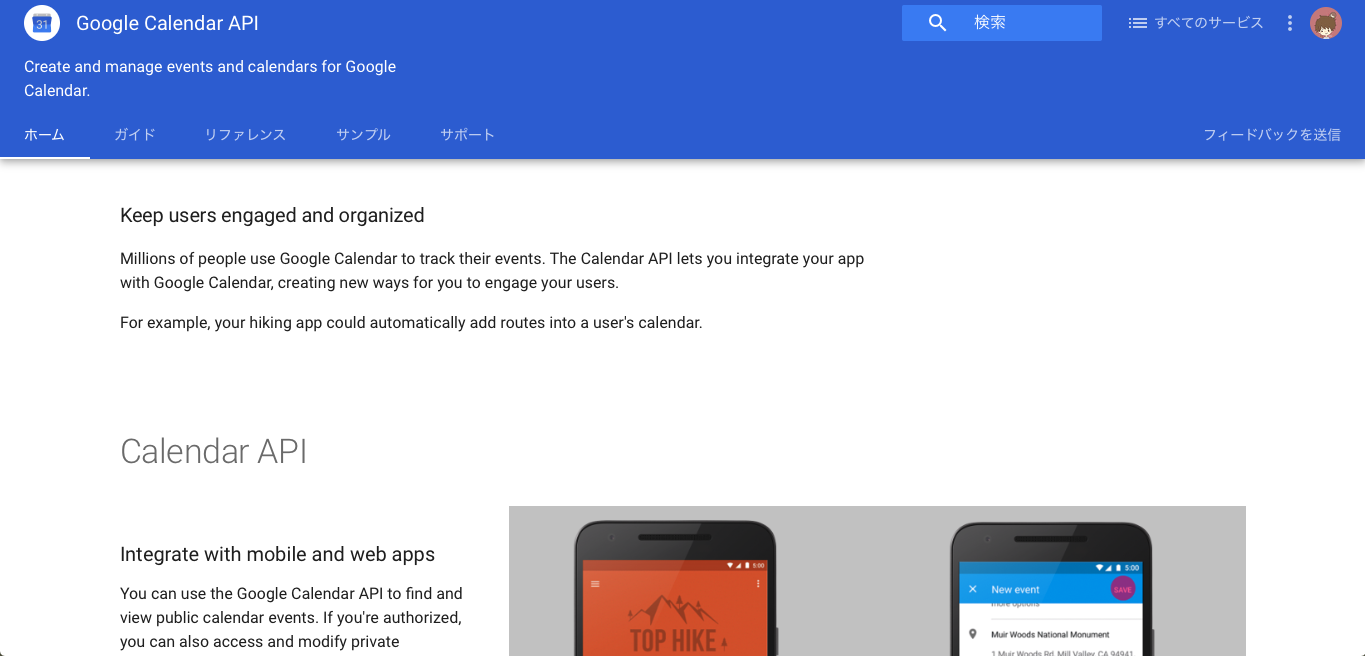
Google Calendar API | Google Developers
Google Calendarの機能を使うためのAPIです。
今回はCSV区切りのデータを元に一気にカレンダーへ予定を登録していこうと思います。
google-api-go-client
google-api-go-clientは、Googleが作っているGoogle APIを扱うための言語別のライブラリです。今回は、生で書いてたり誰か他の人がつくってるクライアントを使ってる人もいますがこのライブラリを使いたいと思います。
APIを有効にする
まずCalendar APIを使うためにコンソールでAPIを有効にしないといけません。
まずconsoleへ移動します。
https://console.developers.google.com
まずプロジェクトを選択するか、新しくプロジェクトを作ります。
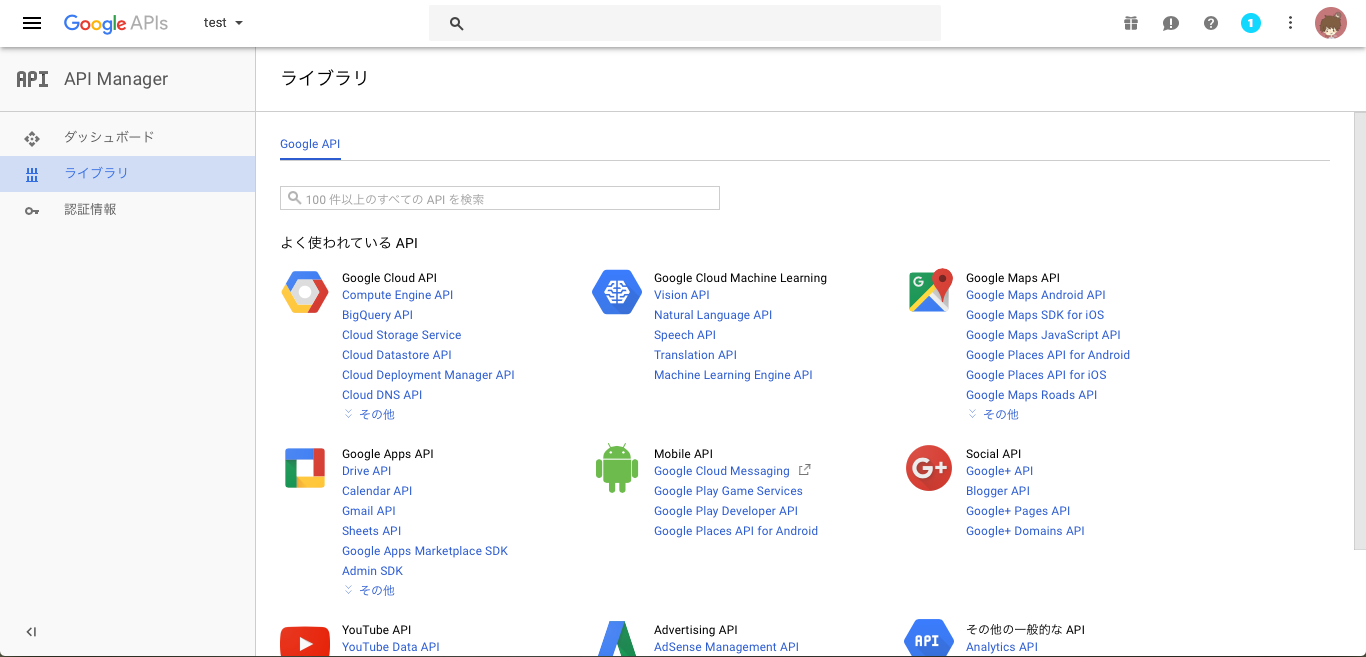
すると、どのAPIを有効にするか選択する画面がでてきます。
Google Calendar APIを選択します。
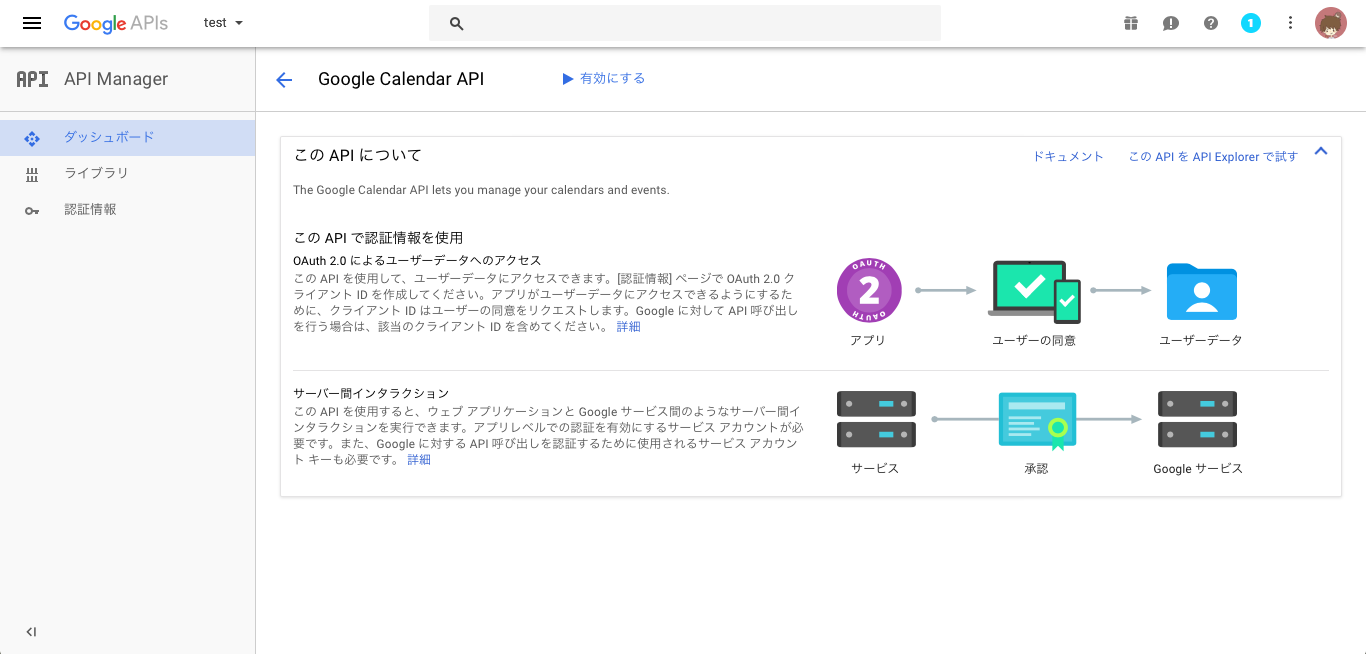
するとこの画面なので、有効にするボタンを押します。
その後、認証情報ボタンを押して認証情報を追加します。
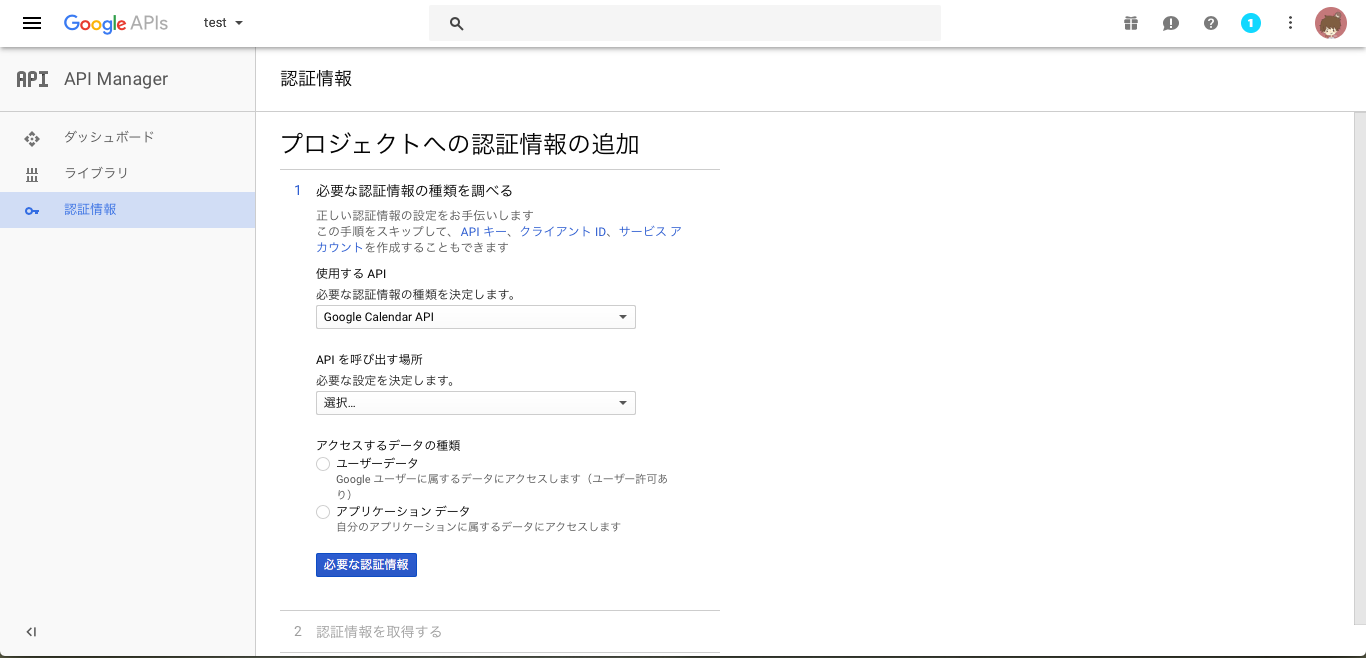
使用するAPIはGoogle Calendar APIになっていると思います。
APIを呼び出す場所はウェブサーバに設定しておきましょう。
使用するデータの種類は、アプリケーションデータにしてGoogle App EngineかGoogle Compute Engineを使いますか?という問は、いいえを選択します。
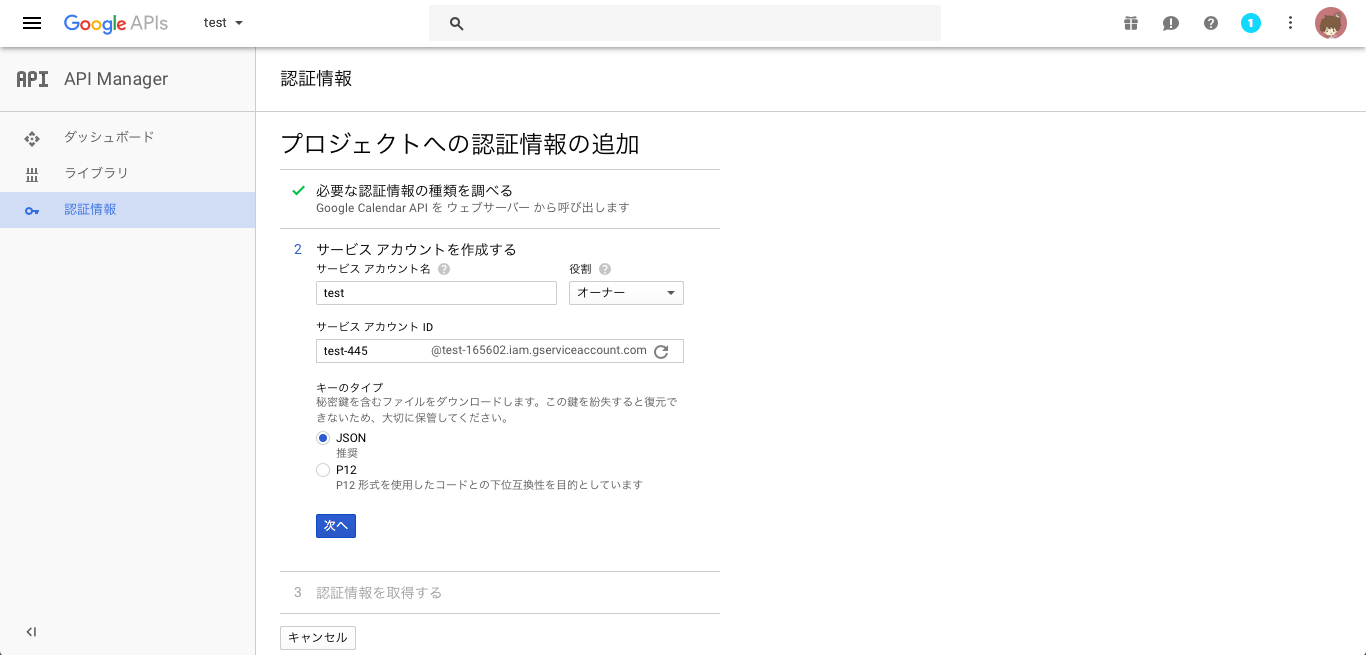
サービスアカウント名を追記して役割を適当に設定して、次へを押します。
すると、jsonファイルをダウンロードさせられると思います。
しかし、今までの工程は流れなので作りましたが別の認証情報を追加しないといけません。
まず上のタブのOAuth同意画面を選択し、ユーザに表示するサービス名を任意に入力します。
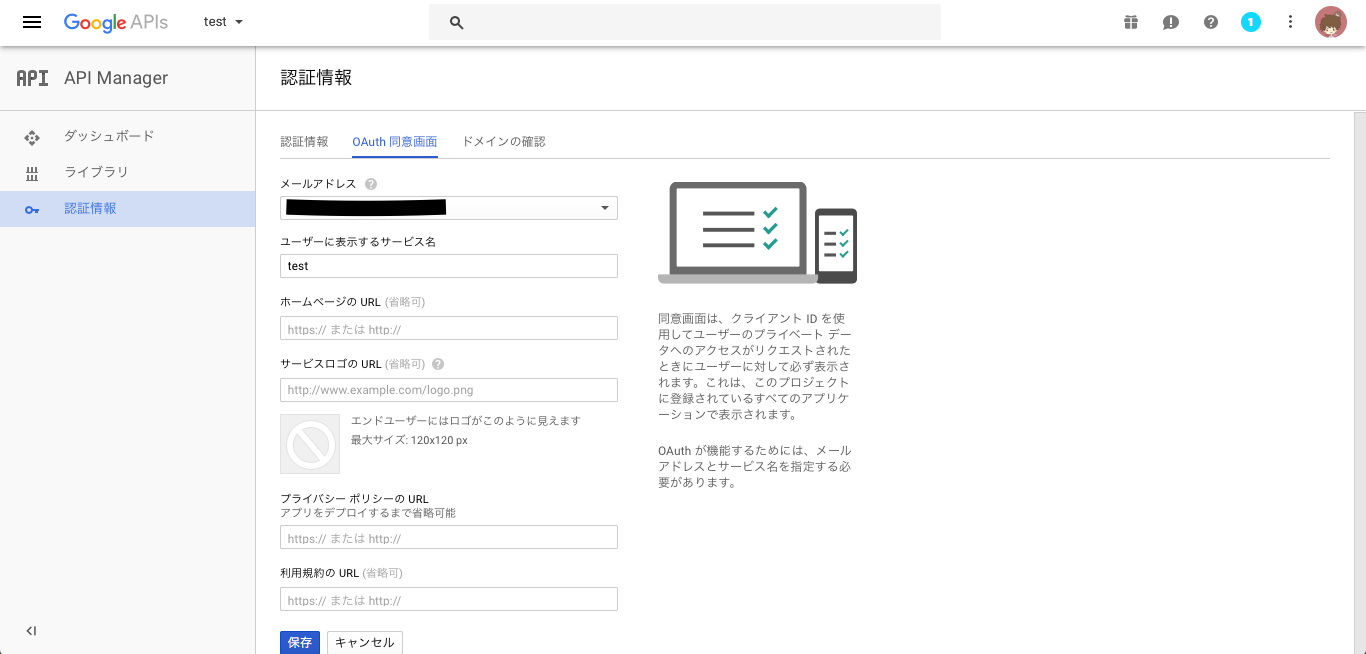
これで保存を押します。
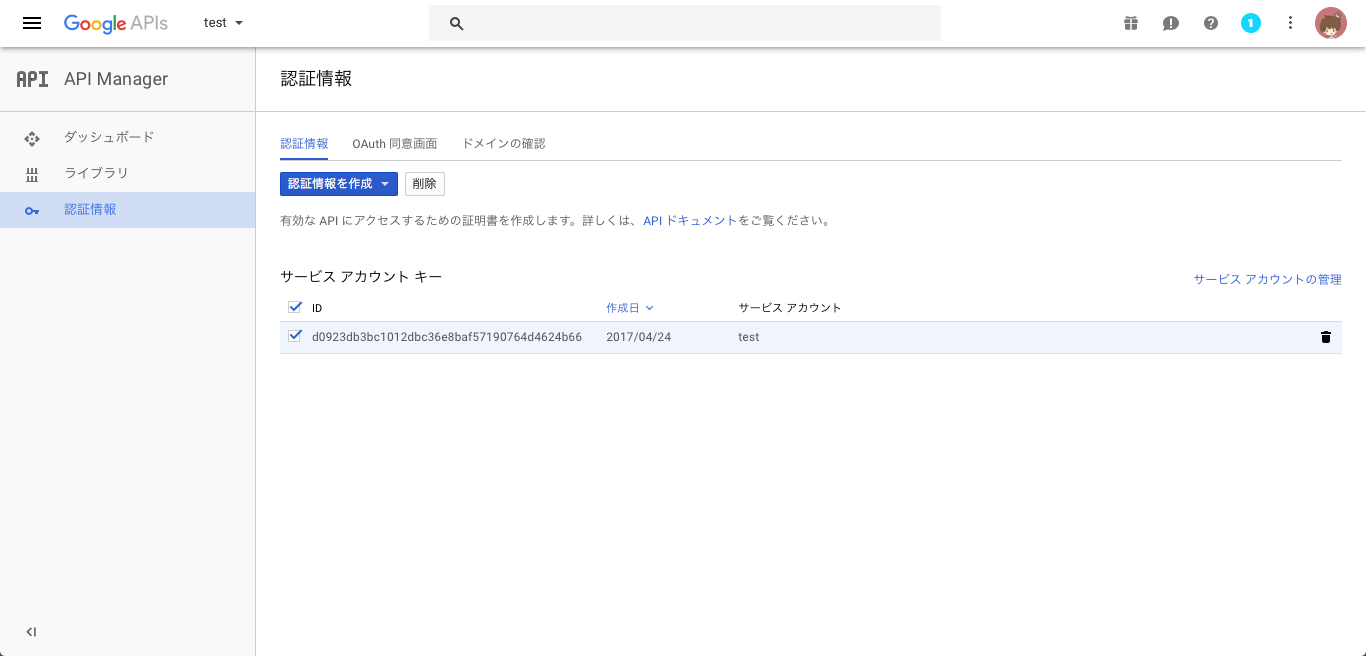
こんな画面になったら、上に認証情報を作成というボタンがあるのでOAuthクライアントIDを選択して新しい認証情報を作ります。
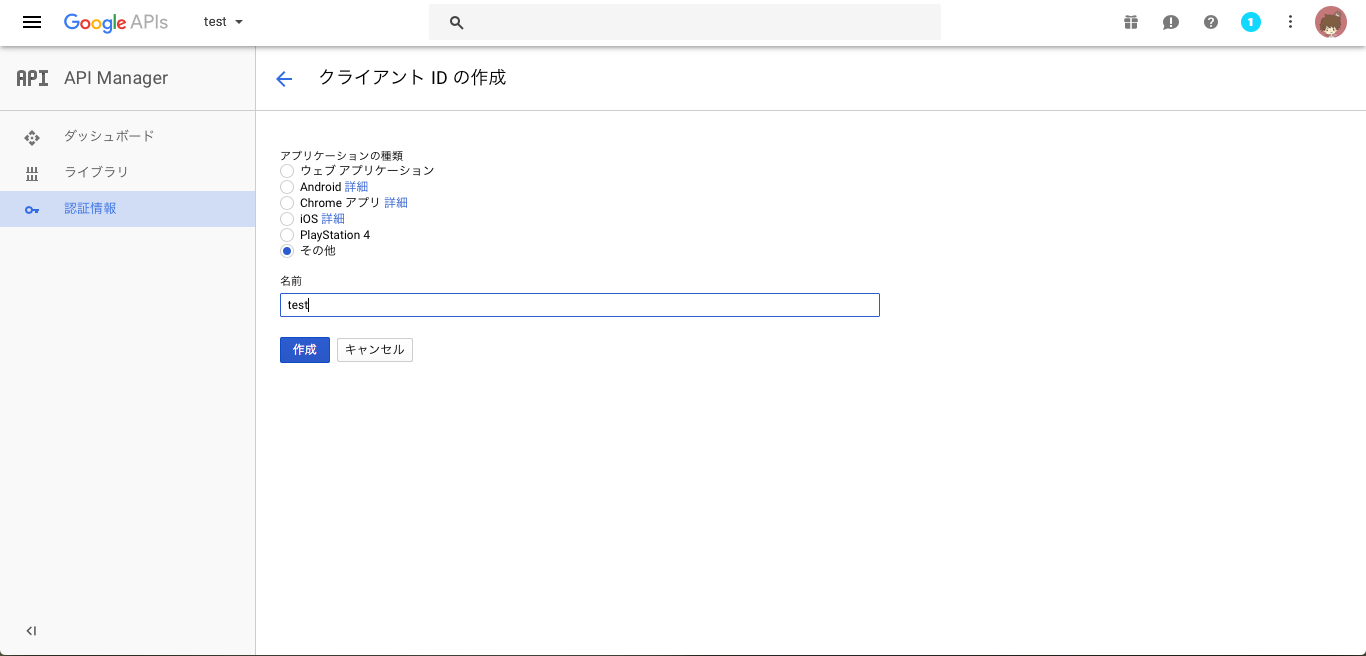
アプリケーションの種類は、その他を選択し作成を押して認証情報を作成します。
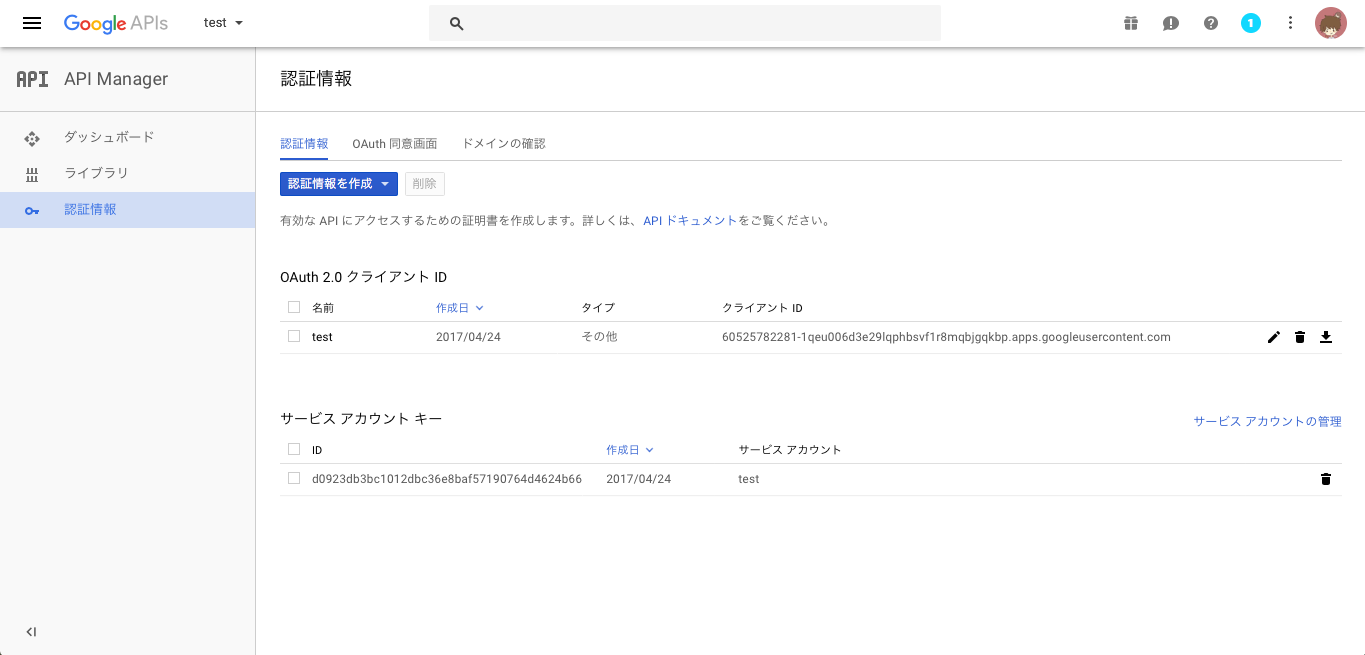
すると、OAuth認証情報が追加されていると思います。
その新しく追加された行の一番最後にダウンロードするボタンがあると思います。
ここでダウンロードされるファイルはとても重要なものです。
ダウンロードしたら自分の作業ディレクトリへ移動して、そのディレクトリへコピーします。
名前はcliend_secret.jsonと変えてください。
ここまでで、準備を終えました。
では、やっとGo言語かいて行きましょう!
csvの読み込み
今回のディレクトリ構成は
main.go
|
|- Utils/
   |
   |- calendarUtils.go
   |- fileUtils.go
|- schedule.csv
|-client_secret.json
とします。
schedule.csvの形式は、
title,location,year,month,day,start,end

<例>
買い物,ヒカリエ,2017,04,24,13:00,14:00
とします!
fileUtils.goを書いていきます。
package Utils

import(
  "encoding/csv"
  "log"
  "os"
)

func errorMessage(err error){
  if err != nil {
    log.Fatal("Error: ",err)
  }
}

func Read(filename string) [][]string {
  fr,err := os.Open(filename)
  errorMessage(err)
  defer fr.Close()

  r := csv.NewReader(fr)
  rows, err := r.ReadAll()
  errorMessage(err)

  return rows
}
これで、2次元配列としてcsvの内容を取得できます。
このfileUtils.goは、mainパッケージでないためgoで実行することができません。
このReadを呼ぶ実装をmain.goにしていきましょう。
package main

import (
  "fmt"

  "github.com/konojunya/generate-shedule-calendar/Utils"
)

func main(){
  datas := Utils.Read("<csvファイル名>")
  for _, data := range datas {
    fmt.Println("行一欄",data)
  }
}
この時、main.goではimportにgithub.com/konojunya/generate-schedule-calendar/Utilsがあります。
これは、他人のモジュールとしてgo getで取得した時などに使う書き方です。
自分自身で作っている場合は、$GOPATH/src以下にコピーします。
今回の場合は、$GOPATH/src/github.com/konojunya/generate-schedule-calendar/Utilsにコピーします。
実行方法は、コンパイルして実行する
$ go run main.go
か、自分でコンパイルして実行ファイルを実行する
$ go build main.go
./main
のどちらか好きな方で実行してください。
すると、行一欄が取得できたと思います。
APIしばこう!
では、APIしばきましょう()
APIの実装自体はUtils/calendarUtils.goに書いていきましょう。
まずはスケジュールの構造を書いておきます。
type Schedule struct {
  Title string
  Location string
  Year string
  Month string
  Day string
  Start string
  End string
}
これが予定を追加するのに、必要なものだとします。
Titleは、予定の名前
Locationは、予定がある場所
Yearは、予定のある年
Monthは、予定がある月
Dayは、予定がある日
Startは、予定の開始時間
Endは、予定の終了時間
です。
では、関数の実装をしていきます。
google-api-go-clientのサンプルを元につくっているので実装がかぶっている部分が少しあります。
まずパブリックな関数は、SetSchedule,CreateEventの2つになります。
プライベートは関数は、getClient,getTokenFromWeb,tokenCacheFile,tokenFromFile,saveToken,createEventDataの6つです。
では、パブリックな関数から実装していきます。
SetScheduleはさっき定義した構造体にスケジュールを追加していきます。
func SetSchedule(schedule []string) *Schedule {
  return &Schedule{
    Title: schedule[0],
    Location: schedule[1],
    Year: schedule[2],
    Month: schedule[3],
    Day: schedule[4],
    Start: schedule[5],
    End: schedule[6],
  }
}
csvから呼んできた1行を引数にとってます。
返り値として、Scheduleを返します。
次に予定を追加するCreateEventを実装します。
func CreateEvent(schedule *Schedule, calendarId string){
  ctx := context.Background()
  b, err := ioutil.ReadFile("client_secret.json")
  errorLog("Unable to read client secret file: ", err)

  config, err := google.ConfigFromJSON(b, calendar.CalendarScope)
  errorLog("Unable to parse client secret file to config: ", err)

  client := getClient(ctx, config)
  srv, err := calendar.New(client)
  errorLog("Unable to retrieve calendar Client: ", err)

  _, err = srv.Events.Insert(calendarId, createEventData(schedule)).Do()
  errorLog("Unable to create event. ", err)

  fmt.Println(schedule.Title)
}
ここで、cliend_secret.jsonというファイルを読み込んでいるのがわかると思います。
srv.Events.Insertというメソッドでイベントを追加しています。
calendarIdは、自分のgmailアドレスだと思います。
この中でcreateEventDataという関数がでてきています、これは僕が作った構造体の中身をGoogleのAPIのパラメータの形に整形し直すものです。
func createEventData(schedule *Schedule) *calendar.Event {
  start_datatime := schedule.Year + "-" + schedule.Month + "-" + schedule.Day + "T" + schedule.Start + ":00+09:00"
  end_datatime := schedule.Year + "-" + schedule.Month + "-" + schedule.Day + "T" + schedule.End + ":00+09:00"

  event := &calendar.Event{
    Summary:  schedule.Title,
    Location: schedule.Location,
    Start: &calendar.EventDateTime{
      DateTime: start_datatime,
      TimeZone: "Asia/Tokyo",
    },
    End: &calendar.EventDateTime{
      DateTime: end_datatime,
      TimeZone: "Asia/Tokyo",
    },
  }

  return event
}
では、全貌を一度見ておきましょう。
package Utils

import (
	"encoding/json"
	"fmt"
	"io/ioutil"
	"log"
	"net/http"
	"net/url"
	"os"
	"os/user"
	"path/filepath"
	"time"

	"golang.org/x/net/context"
	"golang.org/x/oauth2"
	"golang.org/x/oauth2/google"
	"google.golang.org/api/calendar/v3"
)

const CALENDAR_ID string = "osaka.hal.iw13a727@gmail.com"

type Schedule struct {
	Title    string
	Location string
	Year     string
	Month    string
	Day      string
	Start    string
	End      string
}

func SetSchedule(schedule []string) *Schedule {
	return &Schedule{
		Title:    schedule[0],
		Location: schedule[1],
		Year:     schedule[2],
		Month:    schedule[3],
		Day:      schedule[4],
		Start:    schedule[5],
		End:      schedule[6],
	}
}

func CreateEvent(schedule *Schedule) {
	ctx := context.Background()
	b, err := ioutil.ReadFile("client_secret.json")
	errorLog("Unable to read client secret file: ", err)

	config, err := google.ConfigFromJSON(b, calendar.CalendarScope)
	errorLog("Unable to parse client secret file to config: ", err)

	client := getClient(ctx, config)
	srv, err := calendar.New(client)
	errorLog("Unable to retrieve calendar Client: ", err)

	_, err = srv.Events.Insert(CALENDAR_ID, createEventData(schedule)).Do()
	errorLog("Unable to create event. ", err)

	fmt.Println(schedule.Title)
}

func errorLog(message string, err error) {
	if err != nil {
		log.Fatalf(message, err)
	}
}

func getClient(ctx context.Context, config *oauth2.Config) *http.Client {
	cacheFile, err := tokenCacheFile()
	errorLog("Unable to get path to cached credential file.: ", err)

	tok, err := tokenFromFile(cacheFile)
	if err != nil {
		tok = getTokenFromWeb(config)
		saveToken(cacheFile, tok)
	}
	return config.Client(ctx, tok)
}

func getTokenFromWeb(config *oauth2.Config) *oauth2.Token {
	authURL := config.AuthCodeURL("state-token", oauth2.AccessTypeOffline)
	fmt.Printf("Go to the following link in your browser then type the authorization code: \n%v\n", authURL)

	var code string
	if _, err := fmt.Scan(&code); err != nil {
		log.Fatalf("Unable to read authorization code %v", err)
	}

	tok, err := config.Exchange(oauth2.NoContext, code)
	errorLog("Unable to retrieve token from web: ", err)

	return tok
}

func tokenCacheFile() (string, error) {
	usr, err := user.Current()

	if err != nil {
		return "", err
	}

	tokenCacheDir := filepath.Join(usr.HomeDir, ".credentials")
	os.MkdirAll(tokenCacheDir, 0700)
	return filepath.Join(tokenCacheDir, url.QueryEscape("generate-schedule-calendar.json")), err
}

func tokenFromFile(file string) (*oauth2.Token, error) {
	f, err := os.Open(file)
	if err != nil {
		return nil, err
	}
	t := &oauth2.Token{}
	err = json.NewDecoder(f).Decode(t)
	defer f.Close()
	return t, err
}

func saveToken(file string, token *oauth2.Token) {
	fmt.Printf("Saving credential file to: %s\n", file)
	f, err := os.Create(file)
	errorLog("Unable to cache oauth token: ", err)

	defer f.Close()
	json.NewEncoder(f).Encode(token)
}

func createEventData(schedule *Schedule) *calendar.Event {

	start_datatime := schedule.Year + "-" + schedule.Month + "-" + schedule.Day + "T" + schedule.Start + ":00+09:00"
	end_datatime := schedule.Year + "-" + schedule.Month + "-" + schedule.Day + "T" + schedule.End + ":00+09:00"

	event := &calendar.Event{
		Summary:  schedule.Title,
		Location: schedule.Location,
		Start: &calendar.EventDateTime{
			DateTime: start_datatime,
			TimeZone: "Asia/Tokyo",
		},
		End: &calendar.EventDateTime{
			DateTime: end_datatime,
			TimeZone: "Asia/Tokyo",
		},
	}

	return event
}
calendarUtils.goが完成したらmain.goから呼ぶように設定しないといけません。
package main

import (
  "fmt"

  "github.com/konojunya/generate-schedule-calendar/Utils"
)

func main(){
  datas := Utils.Read("schedule.csv")

  for _, schedule := range datas {
    s := Utils.SetSchedule(schedule)
    Utils.CreateEvent(s)
  }

  fmt.Println("finished!")
}
これで実装をやりきったので、実行していきます。
$ cp -r <Utilsのpath> $GOPATH/src/github.com/konojunya/generate-schedule-calendar
として、importで呼ばれる先の更新を忘れないようにしてください。
$ go run main.go
or
$ go build main.go
$ ./main
で実行するとcsvのファイルを呼んで、calendar APIを使って予定が追加されていると思います。
あとがき
Twitterしています。
是非フォローしてください! @konojunya
コードはkonojunya/generate-schedule-calendarにあるので、参考にしてみてください。
プルリクをマージしているので、この記事の時点のコミットだとここになります。