こちらの記事で作成した、DETRの学習済みモデルを使って、動画での物体検知を行います。
記事の概要
上記のqiitaで学習済みモデルを作成した前提で手順を作成しています。
環境構築
フォルダ構成は以下の想定です。
■フォルダ構成
detr_own_data
 ∟ coco-viewer ※使わない
 ∟ detr_own_data_env
    ∟ detr
     ∟ outputs
       ∟ checkpoint.pth
     ∟ 【ここでプログラムを実行】
     ∟ 【output動画ファイル.mp4】
 ∟ image_data ※使わない
 ∟ labelme_env ※使わない
 ∟ 【input動画ファイル.mp4】
「checkpoint.pth」(200epochでファインチューニングしたモデル)と【input動画ファイル.mp4】(今回は「miharu.mp4」)を配置していますので、フォルダ構成に沿って、ファイルを配置する。
動画から物体を検知
「detr_own_data>detr_own_data_env>DETR」でコマンドプロンプトを起動し、以下のコマンドを実行する。
..\Scripts\activate
「detr_own_data>detr_own_data_env>DETR」で以下のプログラムを実行する。
import torch, torchvision
import torchvision.transforms as T
import matplotlib.pyplot as plt
from pathlib import Path
from PIL import Image, ImageDraw
import numpy as np
import cv2

log_directory = [Path('\\outputs')]

# 実線 ... トレーニング結果(train_loss)
# 破線 ... 検証結果(val_loss)
fields_of_interest = (
    'loss',
    'mAP',
)
# plot_logs(log_directory, fields_of_interest)

finetuned_model = torch.hub.load('facebookresearch/detr',
                       'detr_resnet50',
                       pretrained=False,
                       num_classes=3)
checkpoint = torch.load('.\\outputs\\checkpoint.pth',
                        map_location='cpu')
finetuned_model.load_state_dict(checkpoint['model'], strict=False)
finetuned_model.eval()

original_model = torch.hub.load('facebookresearch/detr', 'detr_resnet50_dc5', pretrained=True)
original_model.eval()

# 可視化用クラスラベル
oid_labels = [
  'N/A',
  'miharu',
  'nemuru',
]
coco_labels = [
    'N/A', 'person', 'bicycle', 'car', 'motorcycle', 'airplane', 'bus',
    'train', 'truck', 'boat', 'traffic light', 'fire hydrant', 'N/A',
    'stop sign', 'parking meter', 'bench', 'bird', 'cat', 'dog', 'horse',
    'sheep', 'cow', 'elephant', 'bear', 'zebra', 'giraffe', 'N/A', 'backpack',
    'umbrella', 'N/A', 'N/A', 'handbag', 'tie', 'suitcase', 'frisbee', 'skis',
    'snowboard', 'sports ball', 'kite', 'baseball bat', 'baseball glove',
    'skateboard', 'surfboard', 'tennis racket', 'bottle', 'N/A', 'wine glass',
    'cup', 'fork', 'knife', 'spoon', 'bowl', 'banana', 'apple', 'sandwich',
    'orange', 'broccoli', 'carrot', 'hot dog', 'pizza', 'donut', 'cake',
    'chair', 'couch', 'potted plant', 'bed', 'N/A', 'dining table', 'N/A',
    'N/A', 'toilet', 'N/A', 'tv', 'laptop', 'mouse', 'remote', 'keyboard',
    'cell phone', 'microwave', 'oven', 'toaster', 'sink', 'refrigerator', 'N/A',
    'book', 'clock', 'vase', 'scissors', 'teddy bear', 'hair drier',
    'toothbrush'
]
# 可視化用COLOR
COLORS = [[0.000, 0.447, 0.741], [0.850, 0.325, 0.098], [0.929, 0.694, 0.125],
          [0.494, 0.184, 0.556], [0.466, 0.674, 0.188], [0.301, 0.745, 0.933]]

# 標準的なPyTorchのmean-std入力画像の正規化
transform = T.Compose([
    T.Resize(800),
    T.ToTensor(),
    T.Normalize([0.485, 0.456, 0.406], [0.229, 0.224, 0.225])
])

def box_cxcywh_to_xyxy(x):
    """
    (center_x, center_y, width, height)から(xmin, ymin, xmax, ymax)に座標変換
    """
    # unbind(1)でTensor次元を削除
    # (center_x, center_y, width, height)*N → (center_x*N, center_y*N, width*N, height*N)
    x_c, y_c, w, h = x.unbind(1)
    b = [(x_c - 0.5 * w), (y_c - 0.5 * h), (x_c + 0.5 * w), (y_c + 0.5 * h)]
    # (center_x, center_y, width, height)*N の形に戻す
    return torch.stack(b, dim=1)

def rescale_bboxes(out_bbox, size):
    """
    バウンディングボックスのリスケール
    """
    img_w, img_h = size
    b = box_cxcywh_to_xyxy(out_bbox)
    # バウンディングボックスの[0~1]から元画像の大きさにリスケール
    b = b * torch.tensor([img_w, img_h, img_w, img_h], dtype=torch.float32)
    return b

def filter_bboxes_from_outputs(outputs, image_size, threshold=0.7):
    # 閾値以上の信頼度を持つ予測値のみを保持
    probas = outputs['pred_logits'].softmax(-1)[0, :, :-1]
    keep = probas.max(-1).values > threshold
    probas_to_keep = probas[keep]
    # [0, 1]のボックスを画像のスケールに変換
    bboxes_scaled = rescale_bboxes(outputs['pred_boxes'][0, keep], image_size)
    return probas_to_keep, bboxes_scaled

# run_worflow関数を変更(plt.show()を削除し、ImageDrawを使用して直接描画)
def run_worflow(my_image, my_model, labels, threshold=0.7):
    img = transform(my_image).unsqueeze(0)
    outputs = my_model(img)
    # 画像のサイズを取得
    image_size = my_image.size
    probas_to_keep, bboxes_scaled = filter_bboxes_from_outputs(outputs, image_size, threshold=threshold)
    plot_finetuned_results(my_image, probas_to_keep, bboxes_scaled, labels)

# plot_finetuned_results関数を変更(pltを使用せずにPIL Imageに直接描画)
def plot_finetuned_results(pil_img, prob=None, boxes=None, labels=None):
    draw = ImageDraw.Draw(pil_img)
    colors = COLORS * 100
    if prob is not None and boxes is not None:
        for p, (xmin, ymin, xmax, ymax), c in zip(prob, boxes.tolist(), colors):
            draw.rectangle([(xmin, ymin), (xmax, ymax)], outline=tuple(int(x * 255) for x in c), width=3)
            cl = p.argmax()
            text = f'{labels[cl]}: {p[cl]:0.2f}'
            draw.text((xmin, ymin), text, fill=(255, 255, 0))

# 動画処理関数
def process_video(video_path, model, labels, threshold=0.7):
    cap = cv2.VideoCapture(video_path)
    if not cap.isOpened():
        print("Error: Could not open video.")
        return

    frames = []
    while cap.isOpened():
        ret, frame = cap.read()
        if not ret:
            break

        frame = cv2.cvtColor(frame, cv2.COLOR_BGR2RGB)
        pil_img = Image.fromarray(frame)
        run_worflow(pil_img, model, labels, threshold)
        frame = cv2.cvtColor(np.array(pil_img), cv2.COLOR_RGB2BGR)
        frames.append(frame)

    cap.release()
    return frames

# 動画保存関数
def save_video(frames, output_path, fps):
    h, w, _ = frames[0].shape
    out = cv2.VideoWriter(output_path, cv2.VideoWriter_fourcc(*'mp4v'), fps, (w, h))
    for frame in frames:
        out.write(frame)
    out.release()

# 実行部分
video_path = '..\\..\\miharu_046.mp4'  # ここに動画のパスを指定
processed_frames = process_video(video_path, finetuned_model, oid_labels, 0.3)
save_video(processed_frames, 'output_video.mp4', 8)  # 30は動画のFPS
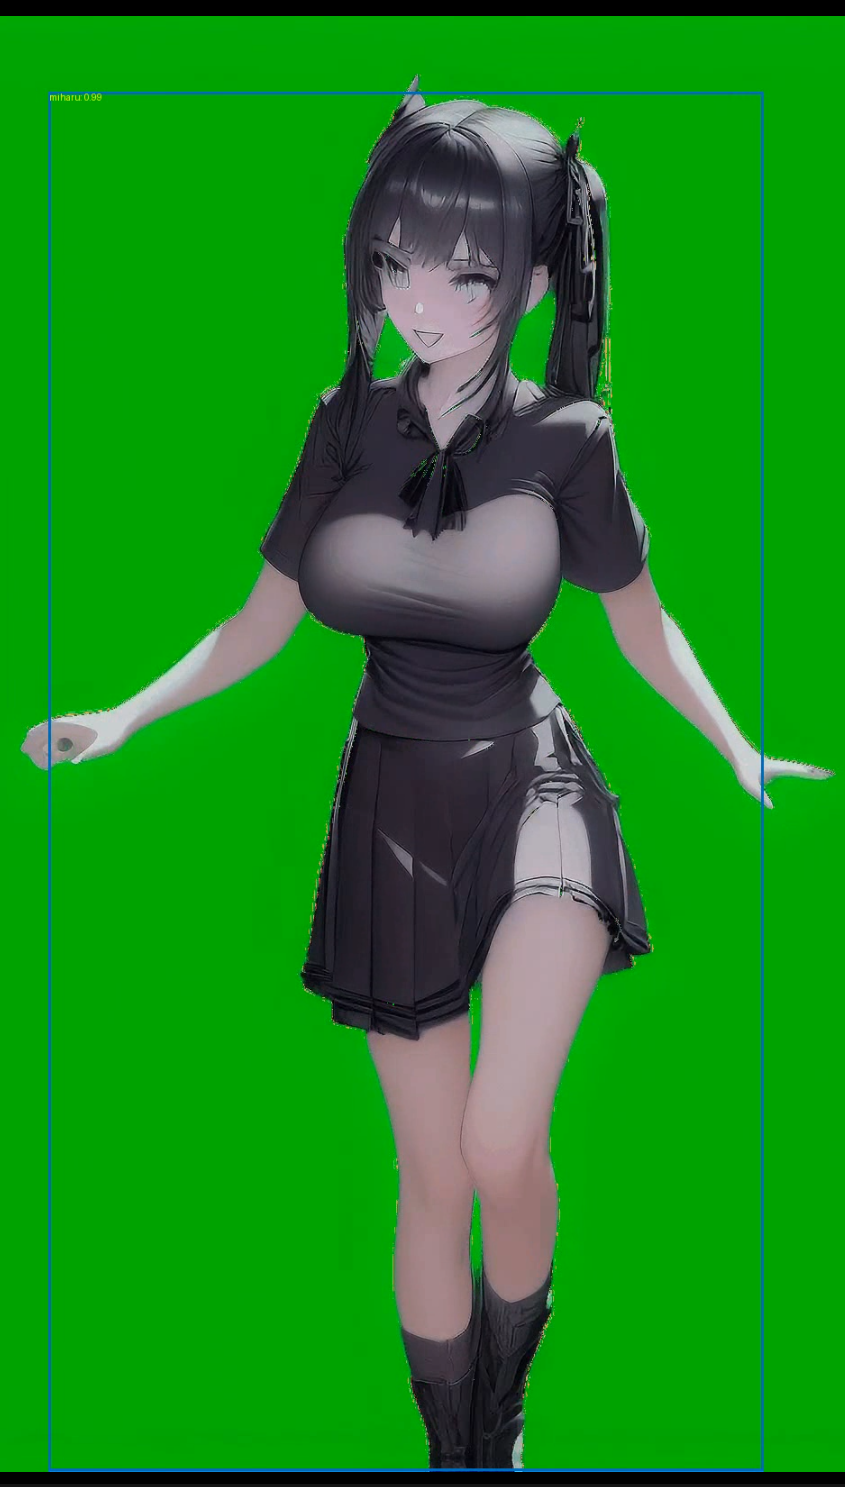
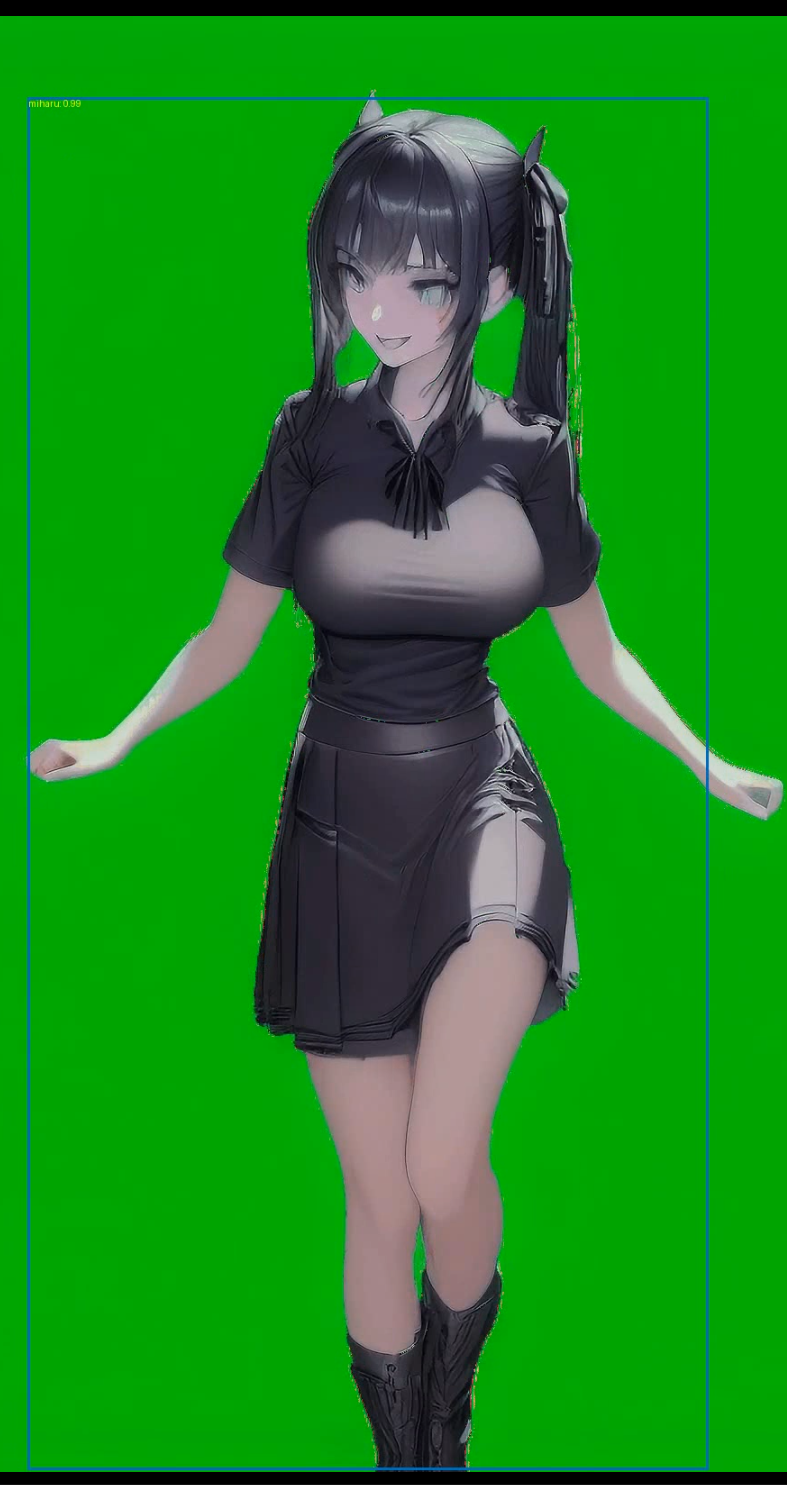
結果
「detr_own_data>detr_own_data_env>DETR」配下に、以下のようなにバウンディングボックスが出現した動画ファイルが出力される。