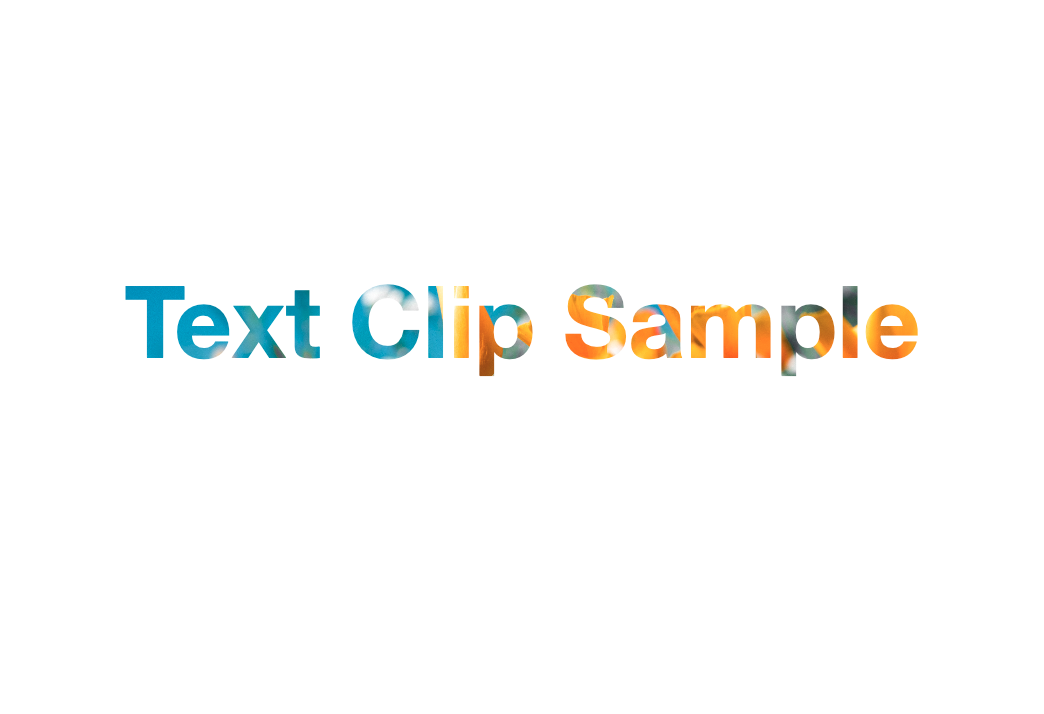
まずは、完成形の画像とコードを貼ります。
const canvas = document.querySelector('canvas.canvas')
const ctx = canvas.getContext('2d')
let width = window.innerWidth
let height = window.innerHeight
canvas.width = width
canvas.height = height

let image = new Image()
image.src = 'https://drive.google.com/uc?export=view&id=1Pp6a8w8ChESp4vYF_jhYUfNiidIEtaHT'

image.onload = () => {
  draw()
}

const draw = () => {
	const scale = Math.max(width / image.width, height / image.height);
	const ratioX = (width / 2) - (image.width / 2) * scale;
	const ratioY = (height / 2) - (image.height / 2) * scale;

	ctx.drawImage(image, ratioX, ratioY, image.width * scale, image.height * scale);

	ctx.globalCompositeOperation = 'destination-in';
	const text = "Text Clip Sample"
	ctx.font = `bold 100px Helvetica Neue`;
	const textWidth = ctx.measureText(text).width;

	ctx.fillText(text, ((width - textWidth) / 2), height / 2);
}

window.addEventListener('resize', () => {
	ctx.clearRect(0, 0, canvas.width, canvas.height);
	width = window.innerWidth
	height = window.innerHeight
	canvas.width = window.innerWidth
	canvas.height = window.innerHeight
	image = new Image()
	image.src = 'https://drive.google.com/uc?export=view&id=1Pp6a8w8ChESp4vYF_jhYUfNiidIEtaHT'
	image.onload = () => {
		draw()
	}
})
① 初期設定
HTMLに書いたcanvasタグから、getContext()を使って2Dグラフィック描画のためのメソッドやプロパティを取得します。
<canvas class="canvas"></canvas>
const canvas = document.querySelector('canvas.canvas')
const ctx = canvas.getContext('2d')
次にcanvasのサイズを設定します。
今回はwidth, height共に画面幅いっぱいになるようにします。
let width = window.innerWidth
let height = window.innerHeight

canvas.width = width
canvas.height = height
次に背景に使用する画像を読み込みます。
image要素を作成し、srcに画像のパスを設定します。
let image = new Image()
image.src = '画像パス'
画像を読み込んだ後に、canvasに描く処理を実行します。
後々リサイズの処理の際に使用するので、別の関数に切り出しておきます。
image.onload = () => {
	draw()
}
② 画像を描画する
では、実際にcanvasに画像を描画させていきます。
先ほど読み込んだ画像を描画するには、drawImage()を使用します。
引数にx, y, width, heightなどを細かく指定できるのですが、アスペクト比を保ちつつcanvasのサイズいっぱいに拡大させる、CSSで言うところの object-fit: cover;になるように描画したいと思います。
縦と横それぞれ倍率を出し、大きい方をscaleにセットします。
描画をする座標はデフォルトでは(0,0)(画面左上)になっているので、それぞれ拡大した大きさ分X座標(ratioX)とY座標(ratioY)をずらします。
const scale = Math.max(width / image.width, height / image.height);
const ratioX = (width / 2) - (image.width / 2) * scale;
const ratioY = (height / 2) - (image.height / 2) * scale;

ctx.drawImage(image, ratioX, ratioY, image.width * scale, image.height * scale);
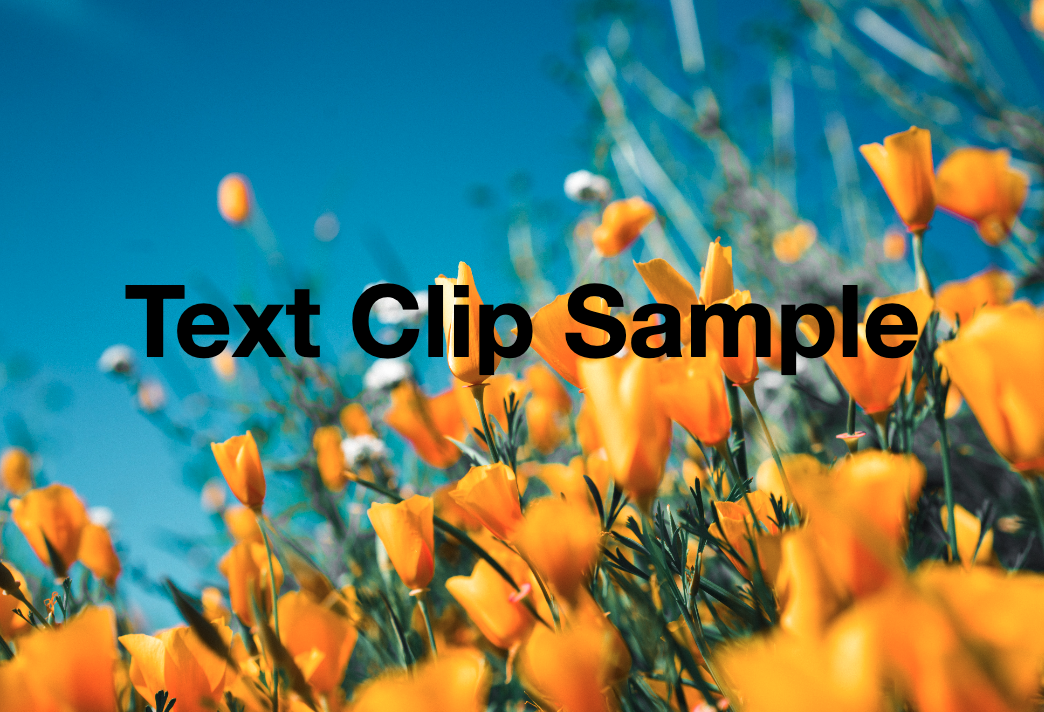
画像が描画されました。
③ テキストを描画する
次にテキストを画像の上から描画します。
画面中央にテキストを配置させたいので、画面幅からテキストの長さを引いた数字からX座標を割り出します。
textWidthはテキスト全体のwidthを取得しています。
const text = "Text Clip Sample"
ctx.font = `bold 100px Helvetica Neue`;
const textWidth = ctx.measureText(text).width;
ctx.fillText(text, ((width - textWidth) / 2), height / 2);
テキストが描画されました。
ではいよいよ画像をテキストでClipさせます。
方法は色々あると思いますが、今回はglobalCompositeOperationを指定することで実現したいと思います。
globalCompositeOperationとは、新たな図形を描くときに合成の種類やブレンドモードを指定できるプロパティです。
https://developer.mozilla.org/ja/docs/Web/API/CanvasRenderingContext2D/globalCompositeOperation
たくさん種類がありますが、今回はdestination-in を使用します。
ctx.globalCompositeOperation = 'destination-in';  // 追加
ctx.font = ${fontSize}px Helvetica Neue;
const textWidth = ctx.measureText(text).width;
ctx.fillText(text, ((width - textWidth) / 2), centerY / translateY);
いい感じになりました。
④ リサイズ処理
リサイズ時の処理もしておきます。
clearRect() で領域内に描画されていたものをリセットし、もう一度描画しなおします。
window.addEventListener('resize', () => {
	ctx.clearRect(0, 0, canvas.width, canvas.height);
	width = window.innerWidth
	height = window.innerHeight
	canvas.width = window.innerWidth
	canvas.height = window.innerHeight
	image = new Image()
	image.src = '画像パス'
	image.onload = () => {
		draw()
	}
})
今回は背景画像に静止画を使用しましたが、動画を使ったり、スクロールに合わせて文字が大きくしたり、色々な表現に応用できそうですね。
codepenに完成形を載せていますので、よければ参考にしてください。
https://codepen.io/bonji810/pen/YzxbxqW?editors=1011


