Azure Function の Python は Azure Portal でコードを編集することができないので、そのひとつの回避策として、GitHub から Azure Functions へ CI/CD のパイプラインを作成し、GitHub のコード編集機能を使用すれば Web ブラウザでコードをすることができます。
Visual Studio Code で Azure Functions を作成する
まずは VS Code で Azure Functions を作成します。VS Code に Python や Function の拡張機能をインストールする必要がありますが、今回はその手順は割愛します。詳しくはこちらです。
https://docs.microsoft.com/ja-jp/learn/modules/python-install-vscode/
今回は PythonFunc というフォルダに HttpTrigger1 という関数を作成します。

ここで注目するのは Azure Functions 用に作られたディレクトリ構造です。この構造がベースとなり GitHub から自動ビルドすることになるのでこの構造は変更できません。こんな感じのディレクトリ構造となっています。
<project_root>/
 | - .venv/
 | - .vscode/
 | - my_first_function/
 | | - __init__.py
 | | - function.json
 | | - example.py
 | - my_second_function/
 | | - __init__.py
 | | - function.json
 | - shared_code/
 | | - __init__.py
 | | - my_first_helper_function.py
 | | - my_second_helper_function.py
 | - tests/
 | | - test_my_second_function.py
 | - .funcignore
 | - host.json
 | - local.settings.json
 | - requirements.txt
 | - Dockerfile
Python のライブラリインストールなどの設定値は requirements.txt に記載されています。ビルドの際にはこのファイルに記載情報をベースに自動でライブラリがインストールされる感じです。デフォルトではファイルの中身はこんな感じになっています。
# DO NOT include azure-functions-worker in this file
# The Python Worker is managed by Azure Functions platform
# Manually managing azure-functions-worker may cause unexpected issues

azure-functions
これで Azure Functions にデプロイする Functions のコードが完成しました。本来であれば VS Code から直接 Azure にデプロイしたいところですが、今回は GitHub に向けてコードを流し込んでいきます。
GitHub へコードを Push する
まず GitHub にコードを Push するレポジトリを用意します。今回は Python2Functions というレポジトリを作成しました。
https://github.com/komiyasa/Python2Functions

こちらにソースコードをコミットします。VS Code の画面で Git Push してコードを入れていきます。※ VS Code にはショートカットが充実しているのでF1キー一発で Push することも可能です。
参考 : https://zenn.dev/bun913/articles/750754b8cf79be
これで GitHub 側の準備は完了です。
Azure Functions をデプロイする
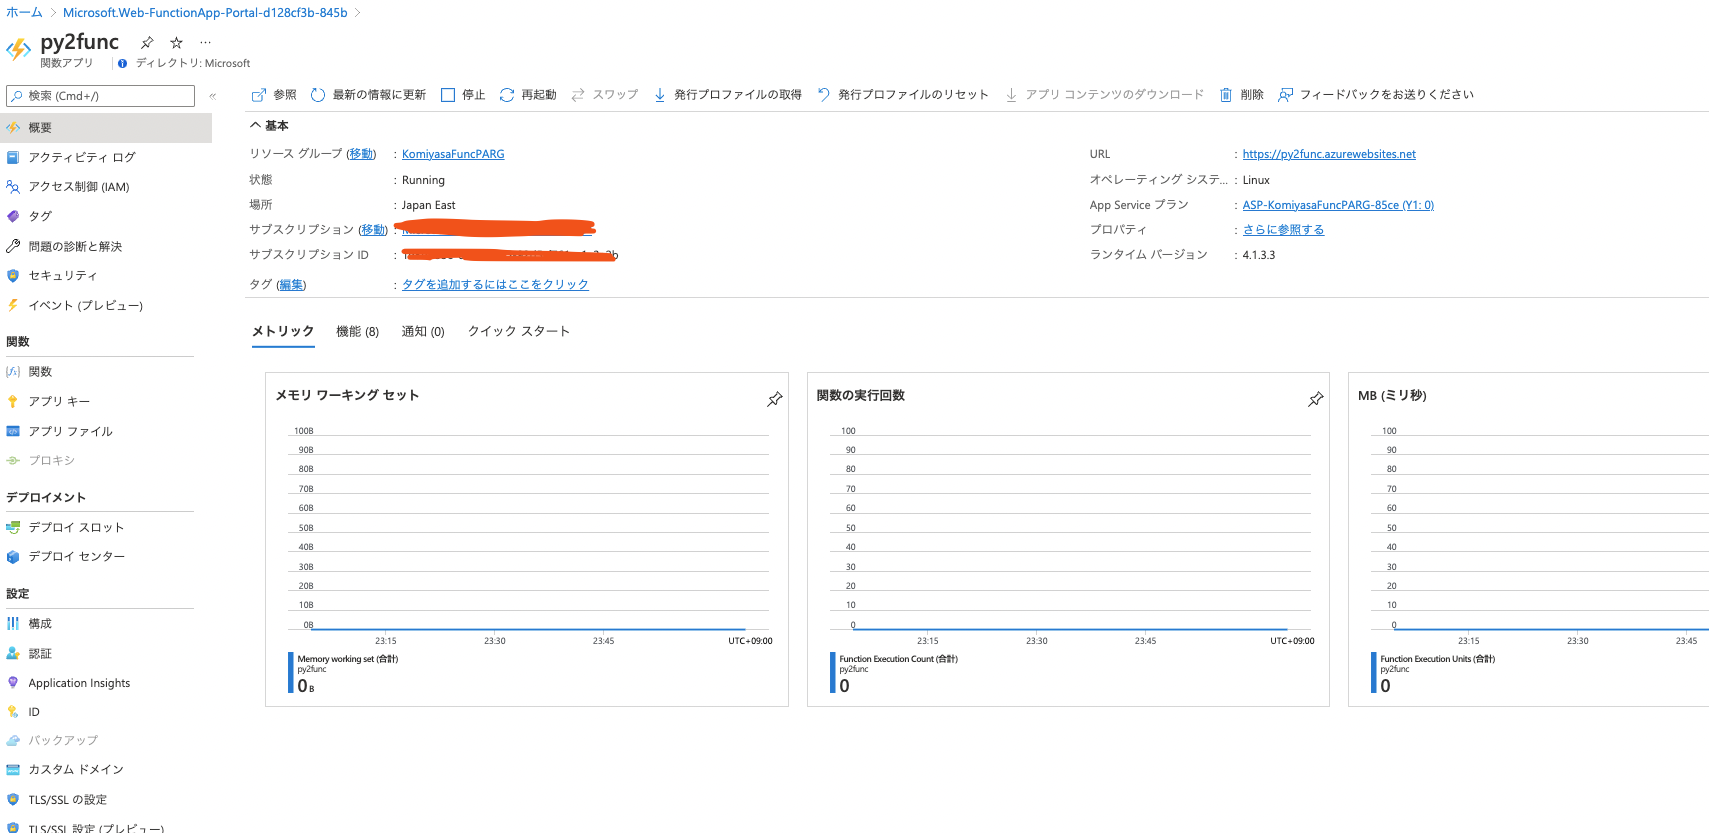
Azure Portal から Azure Functins リソースを作成します。今回は py2func という名前の Azure Functions を作成しました。もちろん Python ランタイムを選択します。

参考 : https://docs.microsoft.com/ja-jp/azure/azure-functions/functions-reference-python?tabs=asgi%2Cazurecli-linux%2Capplication-level
これでデプロイするガワができましたので、あとはデプロイセンターを使用して CI/CD の workflow ファイルを作成していきます。
デプロイセンターでCI/CDを構成する
デプロイセンターを開くとソースコードの参照先として GitHub が選択できます。C#ベースの Functions はその他にも外部 Git などを選択できるのですが、Python はその言語の特徴上自分の GitHub のみが選択できます。今回作成した Python2Functions というレポジトリを選択して保存ボタンを押します。

保存すると自動的に GitHub 側にワークフローファイルが作成され自動ビルド/デプロイが走り始めます。ワークフローファイルの中身はこんな感じになっています。このファイルが自動生成されるのは非常に便利です!
# Docs for the Azure Web Apps Deploy action: https://github.com/azure/functions-action
# More GitHub Actions for Azure: https://github.com/Azure/actions
# More info on Python, GitHub Actions, and Azure Functions: https://aka.ms/python-webapps-actions

name: Build and deploy Python project to Azure Function App - py2func

on:
  push:
    branches:
      - main
  workflow_dispatch:

env:
  AZURE_FUNCTIONAPP_PACKAGE_PATH: '.' # set this to the path to your web app project, defaults to the repository root
  PYTHON_VERSION: '3.9' # set this to the python version to use (supports 3.6, 3.7, 3.8)

jobs:
  build:
    runs-on: ubuntu-latest
    steps:
      - name: Checkout repository
        uses: actions/checkout@v2

      - name: Setup Python version
        uses: actions/setup-python@v1
        with:
          python-version: ${{ env.PYTHON_VERSION }}

      - name: Create and start virtual environment
        run: |
          python -m venv venv
          source venv/bin/activate
      - name: Install dependencies
        run: pip install -r requirements.txt

      # Optional: Add step to run tests here

      - name: Upload artifact for deployment job
        uses: actions/upload-artifact@v2
        with:
          name: python-app
          path: |
            .
            !venv/
  deploy:
    runs-on: ubuntu-latest
    needs: build
    environment:
      name: 'Production'
      url: ${{ steps.deploy-to-function.outputs.webapp-url }}

    steps:
      - name: Download artifact from build job
        uses: actions/download-artifact@v2
        with:
          name: python-app
          path: .

      - name: 'Deploy to Azure Functions'
        uses: Azure/functions-action@v1
        id: deploy-to-function
        with:
          app-name: 'py2func'
          slot-name: 'Production'
          package: ${{ env.AZURE_FUNCTIONAPP_PACKAGE_PATH }}
          publish-profile: ${{ secrets.AZUREAPPSERVICE_PUBLISHPROFILE_B99A38343CF447B98EE571FCD6A08F25 }}
          scm-do-build-during-deployment: true
          enable-oryx-build: true
この中の以下の部分が Python のライブラリなどをイストールする部分となります。これが他の言語と大きくことなるところですが、このコマンドも自動生成してくれるのは非常に便利ですね。
      - name: Install dependencies
        run: pip install -r requirements.txt
しばらく待ってみると Build/Deploy が無事に完了します。

Azure Function の方も見てみると作成した関数が無事に作成されていることが確認できました!

実際に Azure Portal から関数を見てみるとこんな感じに Read Only というように見えますが Github 側で編集することができるので、これでブラウザ経由で簡単な編集ならできる仕組みができました!

問題なく動いていることも確認できます。

まとめ
こんな感じで Python は Azure Portal では編集できないものの、GitHub にコードをコミットしたことをトリガーとして Auzre Functions をデプロイする仕組みを取り入れることでブラウザで簡単な編集ができることが確認できました。もしかしたら Azure Portal での編集は時間の問題でできるかもしれませんがしばらくはこの方法で回避ができそうです。