本家(Github)
1. インストール
2016年10月時点では本家によると
Devise 4.0 works with Rails 4.1 onwards.
とのことなので、Gemfileに以下を追加
gem 'devise', '4.0'
そしてbundle installを実行
2. deviseの各ファイルを生成
rails g devise:installを実行!
$ rails g devise:install
:
:
      create  config/initializers/devise.rb
      create  config/locales/devise.en.yml
===============================================================================

Some setup you must do manually if you haven't yet:

  1. Ensure you have defined default url options in your environments files. Here
     is an example of default_url_options appropriate for a development environment
     in config/environments/development.rb:

       config.action_mailer.default_url_options = { host: 'localhost', port: 3000 }

     In production, :host should be set to the actual host of your application.

  2. Ensure you have defined root_url to *something* in your config/routes.rb.
     For example:

       root to: "home#index"

  3. Ensure you have flash messages in app/views/layouts/application.html.erb.
     For example:

       <p class="notice"><%= notice %></p>
       <p class="alert"><%= alert %></p>

  4. If you are deploying on Heroku with Rails 3.2 only, you may want to set:

       config.assets.initialize_on_precompile = false

     On config/application.rb forcing your application to not access the DB
     or load models when precompiling your assets.

  5. You can copy Devise views (for customization) to your app by running:

       rails g devise:views

===============================================================================
なんか色々言われた。では、この通りに従っていこう。
[1] メーラーのセットアップ
Rails.application.configure do
  ...(省略)
  # Raises error for missing translations
  # config.action_view.raise_on_missing_translations = true

  # -------- ここから追加 ---------
  # Mailer setup
  config.action_mailer.default_url_options = { host: 'localhost', port: 3000 }
  # -------- 追加ここまで ---------
end
[2] ルートとなるページを作る
ルートとなるページを作る必要があるらしい。ログインに失敗したときにリダイレクト先にするとか、そういう目的でしょうか。既存のページがあればそれを指定しても良いでしょうし、無いなら作ります。
$ rails g controller StaticPages home
      create  app/controllers/static_pages_controller.rb
       route  get 'static_pages/home'
      invoke  erb
      create    app/views/static_pages
      create    app/views/static_pages/home.html.erb
      invoke  test_unit
      create    test/controllers/static_pages_controller_test.rb
      invoke  helper
      create    app/helpers/static_pages_helper.rb
      invoke    test_unit
      invoke  assets
      invoke    coffee
      create      app/assets/javascripts/static_pages.coffee
      invoke    scss
      create      app/assets/stylesheets/static_pages.scss
ページが生成されたので、root pathに指定します。
Rails.application.routes.draw do
  root to: 'static_pages#home'
end
[3] flashメッセージを表示
ログインに成功/失敗したときに画面上部に出るメッセージをflashメッセージといいます。それを表示できるようにします。
<!DOCTYPE html>
<html>
<head>
  <title>Workspace</title>
  <%= stylesheet_link_tag    'application', media: 'all', 'data-turbolinks-track' => true %>
  <%= javascript_include_tag 'application', 'data-turbolinks-track' => true %>
  <%= csrf_meta_tags %>
</head>
<body>
  <!-- 以下を追加 -->
  <p class="notice"><%= notice %></p>
  <p class="alert"><%= alert %></p>
  <!-- 追加ここまで -->
  <%= yield %>
</body>
</html>
[4] Heroku対応
If you are deploying on Heroku with Rails 3.2 only,...
とのことなので、Ruby 3.2を使っている場合限定の操作のようです。今回は無視します。
[5] viewカスタマイズを可能にする
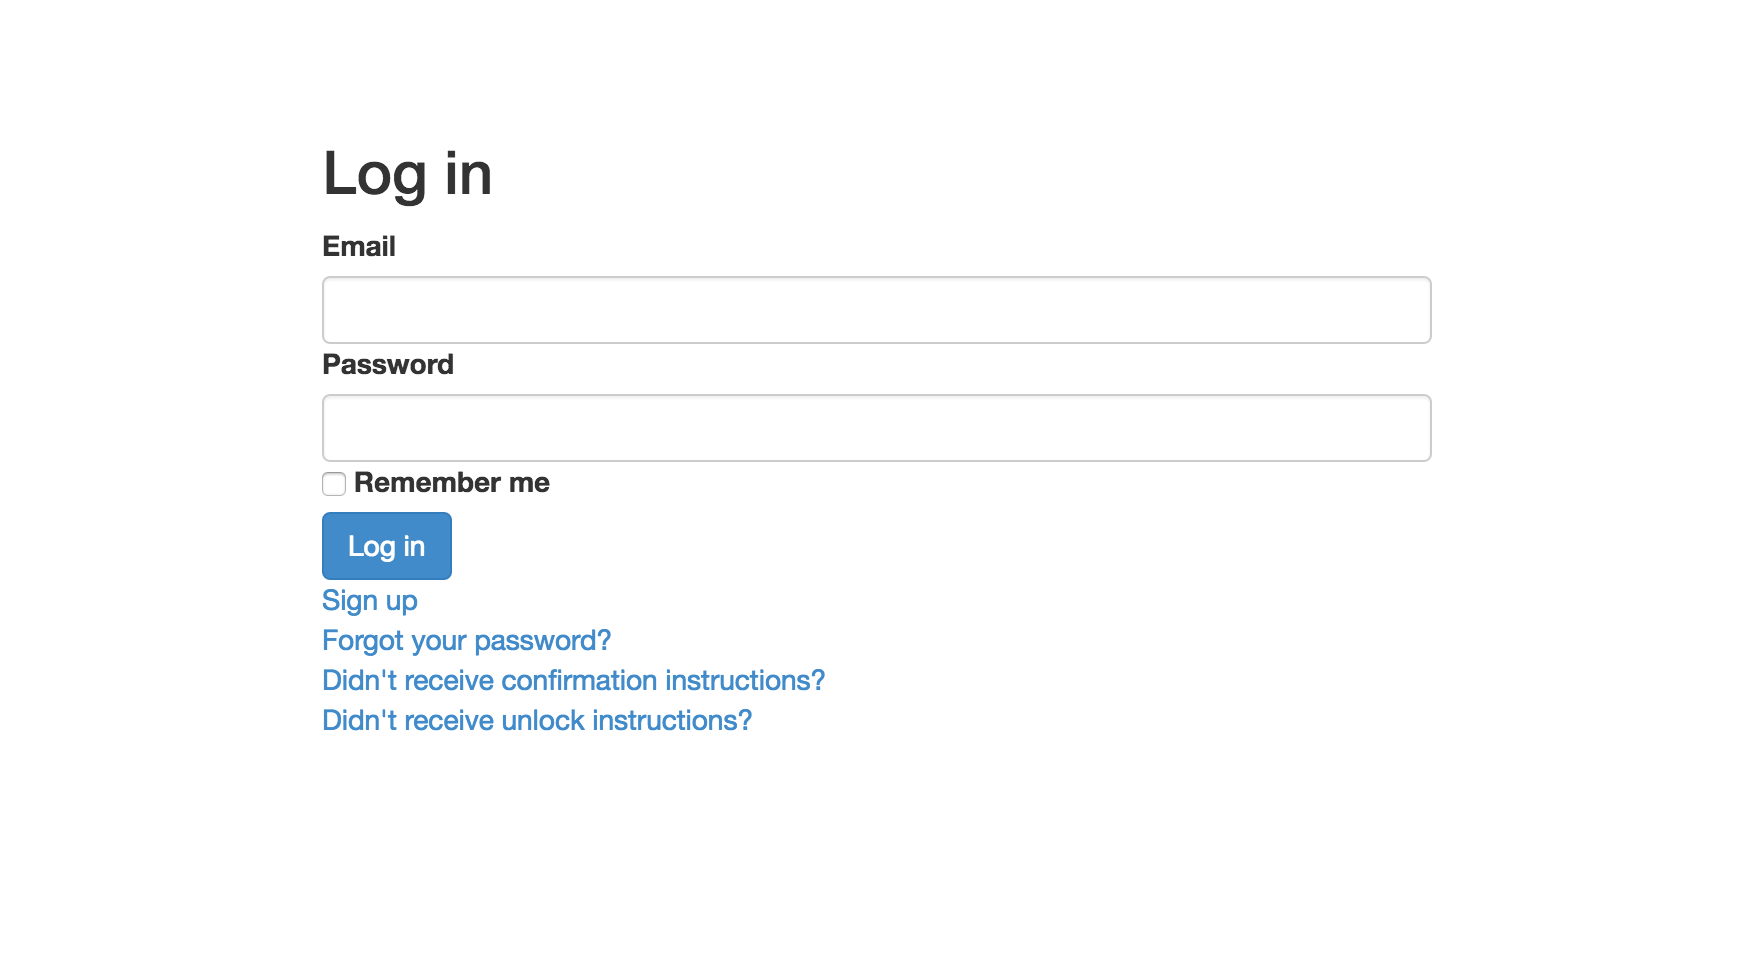
デフォルトでは貧相なUIのログインページしか与えられないので、自分でカスタマイズしたいときはviewを生成します。
$ rails g devise:views
      invoke  Devise::Generators::SharedViewsGenerator
      create    app/views/devise/shared
      create    app/views/devise/shared/_links.html.erb
      invoke  form_for
      create    app/views/devise/confirmations
      create    app/views/devise/confirmations/new.html.erb
      create    app/views/devise/passwords
      create    app/views/devise/passwords/edit.html.erb
      create    app/views/devise/passwords/new.html.erb
      create    app/views/devise/registrations
      create    app/views/devise/registrations/edit.html.erb
      create    app/views/devise/registrations/new.html.erb
      create    app/views/devise/sessions
      create    app/views/devise/sessions/new.html.erb
      create    app/views/devise/unlocks
      create    app/views/devise/unlocks/new.html.erb
      invoke  erb
      create    app/views/devise/mailer
      create    app/views/devise/mailer/confirmation_instructions.html.erb
      create    app/views/devise/mailer/password_change.html.erb
      create    app/views/devise/mailer/reset_password_instructions.html.erb
      create    app/views/devise/mailer/unlock_instructions.html.erb
なんか色々生成されました。
3. Userモデルの生成
$ rails g devise user
      invoke  active_record
      create    db/migrate/20161001085150_devise_create_users.rb
      create    app/models/user.rb
      invoke    test_unit
      create      test/models/user_test.rb
      create      test/fixtures/users.yml
      insert    app/models/user.rb
       route  devise_for :users
モデル、マイグレーションファイルが生成されました。 ここで本家のページをみての機能一覧を確認してみます。
It's composed of 10 modules:
Database Authenticatable: hashes and stores a password in the database to validate the authenticity of a user while signing in. The authentication can be done both through POST requests or HTTP Basic Authentication.
Omniauthable: adds OmniAuth (https://github.com/omniauth/omniauth) support.
Confirmable: sends emails with confirmation instructions and verifies whether an account is already confirmed during sign in.
Recoverable: resets the user password and sends reset instructions.
Registerable: handles signing up users through a registration process, also allowing them to edit and destroy their account.
Rememberable: manages generating and clearing a token for remembering the user from a saved cookie.
Trackable: tracks sign in count, timestamps and IP address.
Timeoutable: expires sessions that have not been active in a specified period of time.
Validatable: provides validations of email and password. It's optional and can be customized, so you're able to define your own validations.
Lockable: locks an account after a specified number of failed sign-in attempts. Can unlock via email or after a specified time period.
...とのこと。上から順に
- Database Authenticatable: セキュアなパスワード管理と認証ができる
- Omniauthable: OAuthが使えるようになる
- Confirmable: メールでアカウントを有効にする機能を使える
- Recoverable: パスワードリセットができる
- Registerable: ユーザ登録ができる
- Rememberable: ユーザを覚えたるためのクッキーを扱える
- Trackable: ログイン回数などを追跡できる
- Timeoutable: 長いことアクセスがない場合はタイムアウトできるようになる
- Validatable: emailやパスワードのバリデーションができる
- Lockable: アカウントロックできる
といったところでしょうか。今回は全部使うため、モデルとマイグレーションファイルを以下のように書き換えます。
class User < ActiveRecord::Base
  devise :database_authenticatable, :registerable,
         :recoverable, :rememberable, :trackable, :validatable,
         :confirmable, :lockable, :timeoutable, :omniauthable
end
class DeviseCreateUsers < ActiveRecord::Migration
  def change
    create_table :users do |t|
      ## Database authenticatable
      t.string :email,              null: false, default: ""
      t.string :encrypted_password, null: false, default: ""

      ## Recoverable
      t.string   :reset_password_token
      t.datetime :reset_password_sent_at

      ## Rememberable
      t.datetime :remember_created_at

      ## Trackable
      t.integer  :sign_in_count, default: 0, null: false
      t.datetime :current_sign_in_at
      t.datetime :last_sign_in_at
      t.string   :current_sign_in_ip
      t.string   :last_sign_in_ip

      ## Confirmable
      t.string   :confirmation_token
      t.datetime :confirmed_at
      t.datetime :confirmation_sent_at
      t.string   :unconfirmed_email # Only if using reconfirmable

      ## Lockable
      t.integer  :failed_attempts, default: 0, null: false # Only if lock strategy is :failed_attempts
      t.string   :unlock_token # Only if unlock strategy is :email or :both
      t.datetime :locked_at


      t.timestamps null: false
    end

    add_index :users, :email,                unique: true
    add_index :users, :reset_password_token, unique: true
    add_index :users, :confirmation_token,   unique: true
    add_index :users, :unlock_token,         unique: true
  end
end
あとはマイグレーションだけ...と思いきや、omniauthを使うためにはこのgemが必要らしいので、入れましょう。
# 以下を追加
gem 'omniauth', '1.3.0'
bundle installを実行!
その後、rake db:migrateでマイグレーション!
4. 日本語化
https://example.com/users/sign_up を開いて動作確認できますが、画面がしょぼいのと、英語のメッセージが目につきます。このあたりを修正していきます。まずは日本語化からです。
[1] localeの言語設定変更
# 以下を追加
config.i18n.default_locale = :ja
[2] 多言語化ファイルの用意
ついでにrails自体を日本語化しておきます。Railsアプリケーションを多言語化するには、config/locales/の下に多言語化ファイルを作成します。便宜上、ここでは、このディレクトリ直下を階層化して複数の多言語化ファイルを扱いやすくします。階層については参考サイトに倣って以下のようにするとします。
├── devises
│   ├── en.yml
│   └── ja.yml
├── defaults
│   ├── en.yml
│   └── ja.yml
├── models
│   ├── XXX
│   │   ├── en.yml
│   │   └── ja.yml
│   └── user
│       ├── en.yml
│       └── ja.yml
└── views
    ├── XXX
    │   ├── en.yml
    │   └── ja.yml
    └── user
        ├── en.yml
        └── ja.yml
次に、各ymlを読み込めるようにする必要があります。これはconfig/application.rbにpathを書けばOKです。
# 以下を追加
config.i18n.load_path += Dir[Rails.root.join('config', 'locales', '**', '*.{rb,yml}').to_s]
では、実際にdevises/**.ymlを作りましょう。1からスクラッチで書いても良いのですが、ここでは先人が書いたものを流用させていただきます。
# Additional translations at https://github.com/plataformatec/devise/wiki/I18n

ja:
  devise:
    confirmations:
      confirmed: 'アカウントを登録しました。'
      send_instructions: 'アカウントの有効化について数分以内にメールでご連絡します。'
      send_paranoid_instructions: "あなたのメールアドレスが登録済みの場合、本人確認用のメールが数分以内に送信されます。"
    failure:
      already_authenticated: 'すでにログインしています。'
      inactive: 'アカウントが有効化されていません。メールに記載された手順にしたがって、アカウントを有効化してください。'
      invalid: "%{authentication_keys} もしくはパスワードが不正です。"
      locked: 'あなたのアカウントは凍結されています。'
      last_attempt: 'あなたのアカウントが凍結される前に、複数回の操作がおこなわれています。'
      not_found_in_database: "%{authentication_keys} もしくはパスワードが不正です。"
      timeout: 'セッションがタイムアウトしました。もう一度ログインしてください。'
      unauthenticated: 'アカウント登録もしくはログインしてください。'
      unconfirmed: 'メールアドレスの本人確認が必要です。'
   :
   :
 (省略)
これでdeviseの日本語化は完了です。他の階層化された多言語化ファイルも用意したあと、https://example.com/users/sign_up を開いて日本語化されているかどうか確認してみてください。
5. Viewのカスタマイズ
次にViewをカスタマイズします。まずはBootstrapを入れます。
# 以下を追加
gem 'bootstrap-sass', '3.2.0.0'
cssを新規作成し、以下のようにBootstrapをインポートします。
@import "bootstrap-sprockets";
@import "bootstrap";
deviseのviewにスタイルを適用させます。
<div class="container">
  <div class="row">
    <div class="col-sm-6 col-sm-offset-3">
      <h2>Log in</h2>

      <%= form_for(resource, as: resource_name, url: session_path(resource_name)) do |f| %>
        <div class="field">
          <%= f.label :email %><br />
          <%= f.email_field :email, autofocus: true, class: "form-control"%>
        </div>

        <div class="field">
          <%= f.label :password %><br />
          <%= f.password_field :password, autocomplete: "off", class: "form-control"%>
        </div>

        <% if devise_mapping.rememberable? -%>
          <div class="field">
            <%= f.check_box :remember_me %>
            <%= f.label :remember_me %>
          </div>
        <% end -%>

        <div class="actions">
          <%= f.submit "Log in", class: "btn btn-primary"%>
        </div>
      <% end %>

      <%= render "devise/shared/links" %>
    </div>
  </div><!-- End of row -->
</div><!-- End of container -->
サーバを再起動させて画面を確認してみてください。
きれいにスタイルが反映されます。
6. メーラーの設定
ユーザ登録時に、登録したメールアドレスにアカウントを有効化するURLを送り、それをユーザがクリックして初めて登録が完了するようにします。この方式は多くのWebアプリケーションが採用しています。
ここでは、送信用アドレスにGmailを用います。あらかじめ、Googleアカウントの作成と2段階認証プロセスの有効化、アプリパスワードの取得を済ませておいてください。→ 参考サイト
それが済んだら、config/environments/development.rbに以下のように追記します。
  # mailer setting
  config.action_mailer.default_url_options = {
    host: ENV['HOSTNAME'],
    port: ENV['PORT']
  }
  config.action_mailer.raise_delivery_errors = true
  config.action_mailer.delivery_method = :smtp
  config.action_mailer.smtp_settings = {
    address: "smtp.gmail.com",
    port: 587,
    user_name: ENV['GOOGLE_USERNAME'],
    password: ENV['GOOGLE_PASSWORD'],
    authentication: :plain,
    enable_starttls_auto: true
  }
環境変数ENV[****]を用いてる理由は、パスワード等の情報をgitに上げないようにするためです。環境変数として情報を保持しておけば、それがgitに上がることはなく、また、プログラム上ではENV[****]という記法で取得することができます。ここでは、Webアプリのホスト名、ポート番号、Gmailのメールアドレス、Gmailのパスワードが、そうなっています。
環境変数に値を指定するには~/.bashrcにexport GOOGLE_PASSWORD="hogehoge"のように記述して~/.bashrcをリロードすればOKです。詳細はここでは省きます。
以上を終えたら、Webサーバを再起動してください。
ブラウザを開きユーザ登録してみると、以下のように「メールを送った」旨のメッセージが表示され、実際にメールが届いているはずです。
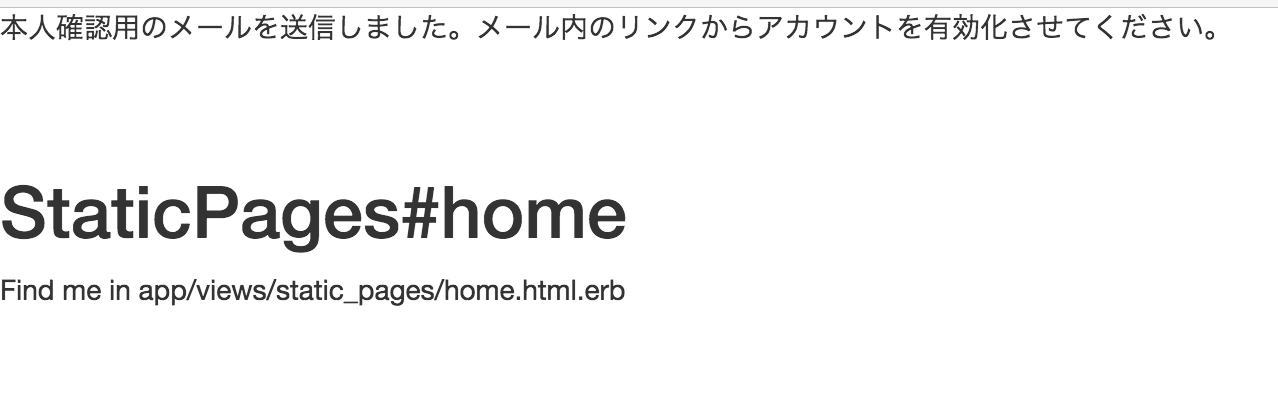
届いたメールを確認し、URLをクリックしてアカウントが有効化されたら成功です!
7. OAuthの有効化
OAuthとは、「フェイスブックでログインする」みたいなアレです。Facebook, Twitter, Goole plusなどのアカウントを使ってログインできるようになります。この記事ではFacebookを対象に説明しますが、他でもだいたい一緒です。
[1] Gemを入れる
まずはgemをインストールします。
gem 'devise', '4.0'
gem 'omniauth', '1.3.0'
gem 'omniauth-facebook', '4.0.0' # <=追加
bundle installを実行!
[2] Facebook Appを作成する
Facebook for developerのページに行ってアプリを新規作成します。アプリケーションIDとパスワードが発行されるので覚えておきましょう。
[3] devise initializersの設定
先程取得したFacebook アプリの情報を入力します。config/initializers/devise.rbに以下のように追記します。
  # ==> OmniAuth
  # Add a new OmniAuth provider. Check the wiki for more information on setting
  # up on your models and hooks.
  # config.omniauth :github, 'APP_ID', 'APP_SECRET', scope: 'user,public_repo'
  config.omniauth :facebook, ENV['FACEBOOK_APP_ID'], ENV['FACEBOOK_APP_SECRET'],
    scope: "email,public_profile",
    client_options: {
      site: 'https://graph.facebook.com/v2.7',
      authorize_url: "https://www.facebook.com/v2.7/dialog/oauth"
    },
    local: "ja_JP"
重要部分だけ説明すると、ENV[****]の部分は先述のアプリケーションIDとパスワードです。環境変数にしてます。次にscopeは、Facebookアカウントからどんな情報を入手するかを指定します。emailはメールアドレス、public_profileは基本情報(名前、プロフィール写真など)です。
[4] コントローラとモデルの設定
実はこの時点で、ログインページからFacebookのOAuth確認ページに飛ぶことはできます。ただ、リダイレクト先が無いので、認証は失敗します。これを解決するためにコントローラとモデルを作っていきます。まずはコントローラです。app/controllers/users/omniauth_callbacks_controller.rbというファイルを作り以下のように追記します。
class Users::OmniauthCallbacksController < Devise::OmniauthCallbacksController
  def facebook

    @user = User.from_omniauth(request.env["omniauth.auth"])

    if @user.persisted?
      flash.notice = "ログインしました。"
      sign_in_and_redirect @user
    else
      flash.notice = "失敗しました。"
      redirect_to new_user_registration_url
    end
  end
end
ここで、User.from_omniauthはUserモデルにこれから定義する関数で、Facebookページから取得した情報を使ってユーザを検索/新規作成する関数です。では、これをapp/models/user.rbに定義しましょう。
class User < ActiveRecord::Base
  devise :database_authenticatable, :registerable,
         :recoverable, :rememberable, :trackable, :validatable,
         :confirmable, :lockable, :timeoutable, :omniauthable

  def self.from_omniauth(auth)
    user = User.where(uid: auth.uid, provider: auth.provider).first

    unless user
      user = User.new(
        uid:      auth.uid,
        provider: auth.provider,
        email:    User.dummy_email(auth),
        password: Devise.friendly_token[0, 20]
      )

      user.skip_confirmation!
      user.save
    end

    user
  end

  private
    def self.dummy_email(auth)
      "#{auth.uid}-#{auth.provider}@example.com"
    end

end
ここでは、まずuid(Facebookアカウント固有の値)とprovider(=facebook)で、DB検索をかけてます。見つかったらそれを返し、見つからなかったら新規作成します。注意すべきが、user.skip_confirmation!の1行です。こうすると、メールを送ってアカウント有効化する手順をスキップできます。
さて、上述のuidとproviderをDBのカラムに追加するために以下のようにします。
$ rails g migration add_columns_to_users provider uid
$ rake db:migrate
これでDBが更新されました。
次に、コールバック先を変更し、先程作ったコントローラにします。
devise_for :users, controllers: { omniauth_callbacks: 'users/omniauth_callbacks' }
以上で、OAuthの実装は完了です。
8. 雑多な設定
ログアウトしようと、/users/sign_outにアクセスするとエラーになることがありました。どうやらHTTPメソッドをdeleteからgetに変更すると解決するようです。config/initializers/devise.rbを以下のように変更してください。
# config.sign_out_via = :delete <= これをコメントアウト
config.sign_out_via = :get  # <= 追記
以上。