AR Foundation Editor Remoteについて
公式ドキュメントを元にして、iOSで使う場合について説明します。
ARCompanionアプリをビルドしてiPhoneにインストールすると、iPhoneとPCでカメラの情報を通信できるようになり、UnityのGameSceneで確認ができるというものです。
自分の環境
Unity 2019.4.1f1
ARFoundation 3.0.1
ARKit XR Plugin 3.0.1
Macbook Pro 13 2017 Mid メモリ8GB
MacOS 10.14.6
iPhone XS
iOS 13.6
使い方
推奨環境
ARFoundation 3.0.1
ARKit XR Plugin 3.0.1
iOSのフェイストラッキングを有効にするには、パッケージマネージャ経由でARKit Face Tracking 3.0.1をインストールします
(XR Management パッケージ v.3.2.10以降をサポートしているUnityのバージョンでのみ必要です。
Project Settings → XR Plug-in Management → PC, Mac & Linux Standalone でAR Foundation Remote providerを有効にする)
1. ビルド
Package Managerから
ARFoundation 3.0.1
ARKit XR Plugin 3.0.1
をインストールします。
フェイストラッキングを使う場合、ARKit Face Tracking 3.0.1もインストールします。
Asset StoreからAR Foundation Editor Remoteをインポートして、iPhoneをPCと接続します。
ターゲットプラットフォームをiOSに変更して、Project/Plugins/ARFoundationRemoteInstallerのInstaller.assetのinstall AR Companion appボタンをクリックするとXcodeが立ち上がり、アプリのビルドが始まります。
この時Unityでエラーが起こっている場合はボタンを押す前に解決しておいてください。
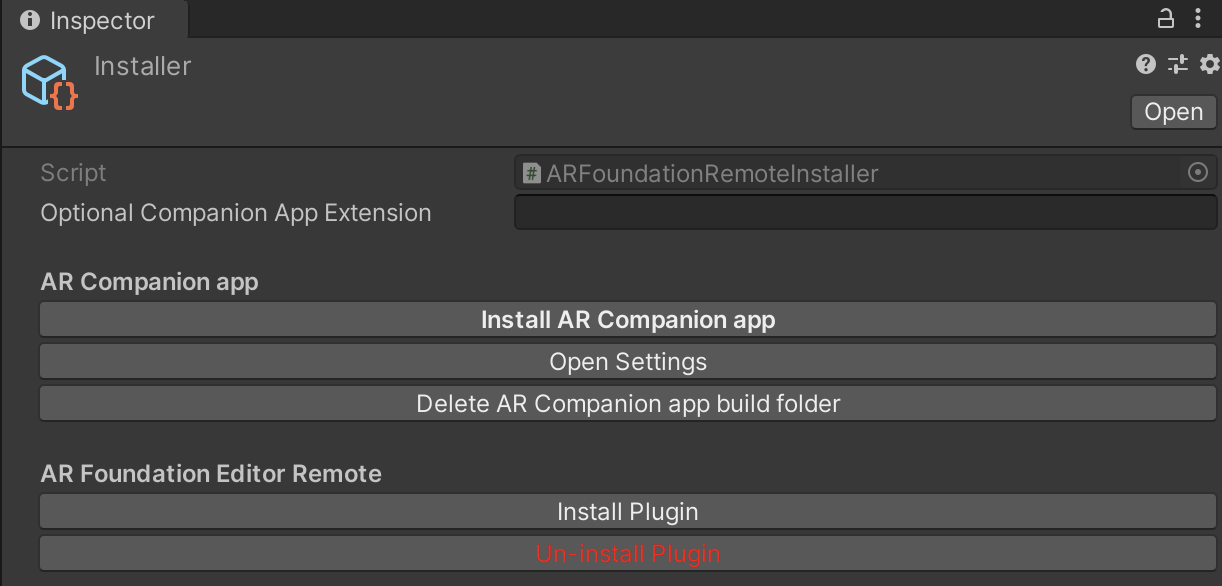
AR Companion appのインストールに失敗した場合は、エラーを修正し、Delete Companion app build folderボタンを押してからインストールを繰り返します。
Assets/Plugins/ARFoundationRemoteInstaller/Scenes/Senderに入っているSceneを変更するとビルドがうまくいかなくなります。
2. 実機テスト
iPhoneでARCompanion Appを起動します。
UnityのAssets/Plugins/ARFoundationRemoteInstaller/Resources/Settings.assetのIPに、iPhoneに表示されているIPを入力します。
iPhoneでアプリを立ち上げたままUnityをPlayすると、GameSceneでARの様子が確認できるようになります。
画面タップも反応します。
以上です!