この記事は
ペネトレーションテストをする必要があったのでOpenVASをセットアップしました。
Windows環境でのOpenVAS実行にはDockerコンテナとして実行する選択肢もありますが、この記事ではWSLでセットアップする方法を解説します。
ディストリビューションはKali linuxを使っていますが、任意のほかディストリビューションでもできると思います。多分。
やりかた
1. WSLとKali linuxをインストールする
2. Kali linuxを初回起動+設定
- デフォルトユーザーのユーザー名・パスワード設定
- systemdが動くようにする
- やり方はこちらの記事で
3. OpenVASをインストール+セットアップ+起動
$ sudo apt update
$ sudo apt upgrade -y
$ sudo apt dist-upgrade -y
$ sudo apt install openvas -y
$ sudo gvm-setup
setupにかなり時間がかかります。インターネット接続が途切れたりすると途中で失敗してしまうので注意。
gvm-setupが成功すると、最後に初期adminユーザー(admin)のパスワードが表示されるので、これをメモしておきます。
[*] Please note the password for the admin user
[*] User created with password 'xxxxxxxx-yyyy-zzzz-yyyy-xxxxxxxxxxxx'.
4. OpenVASを起動+GUIにアクセス
以下のようにgvm-startを実行します。
$ sudo gvm-start
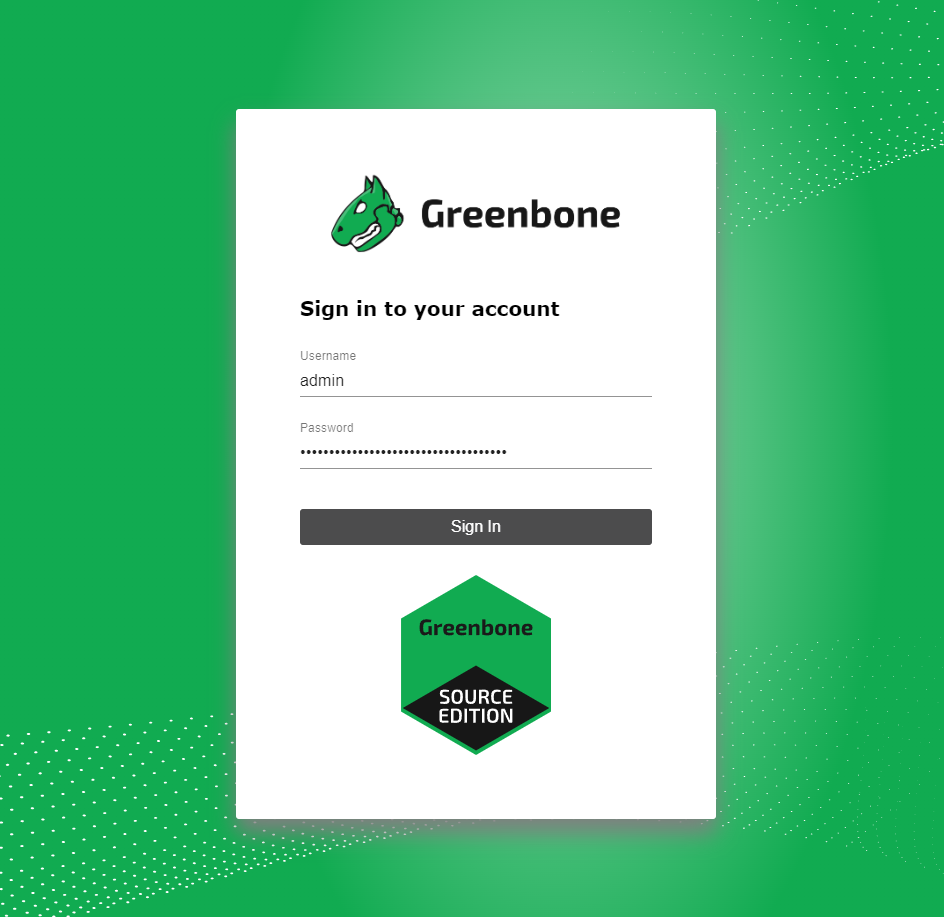
これで、 https://127.0.0.1:9392 でGUIにアクセスできるようになります。
ステップ3で確認したユーザーID・パスワードでログインしてください。
