はじめに
基本的には普通にブラウザに表示させるのと、手順は同じ。
色々と調べたが、IonicでネイティブのGoogle Mapは使えない?(かもしれない)
→ @ionic-native/google-maps + cordova-plugin-googlemaps
これで使えるようです!
Google Cloud Platform Consoleはよく画面の見た目(UI)が変わるので、画像とボタンの配置が違ったりする事はご了承を。。。
環境
Ionic5 + Angular9 + capacitor
FirebaseまたはGoogle Cloud Platformでプロジェクトを作成
公式ページであるGet an API KeyではGoogle Cloud Platformへのリンクが貼られてるが、Firebaseで作ってもどっちでもいい。
今回はFirebaseでプロジェクトを作成したとする。

APIキーを用意
Firebaseでプロジェクトを作った場合、すでに「Browser key (auto created by Firebase)」の名前でAPIキーが存在する。

しかし、これとは別に新たに作成しよう。
Maps JavaScript APIを有効にする
Google Cloud Platform Consoleへ行く。
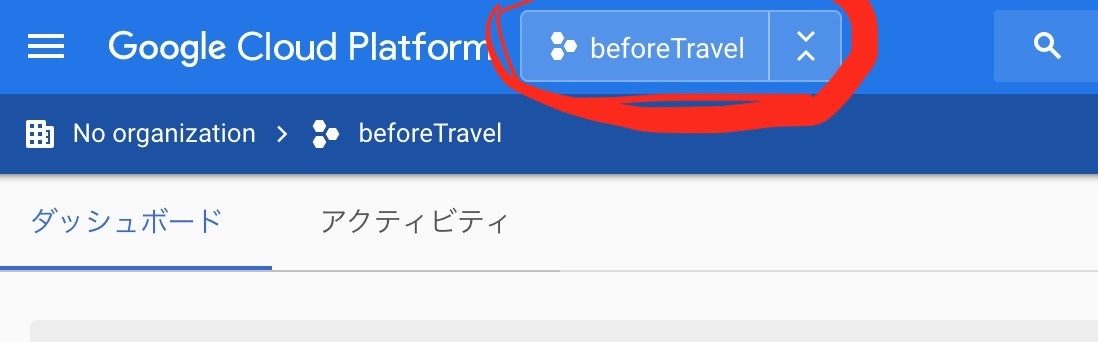
Firebaseで作成したプロジェクトを、上のタブから選ぶ
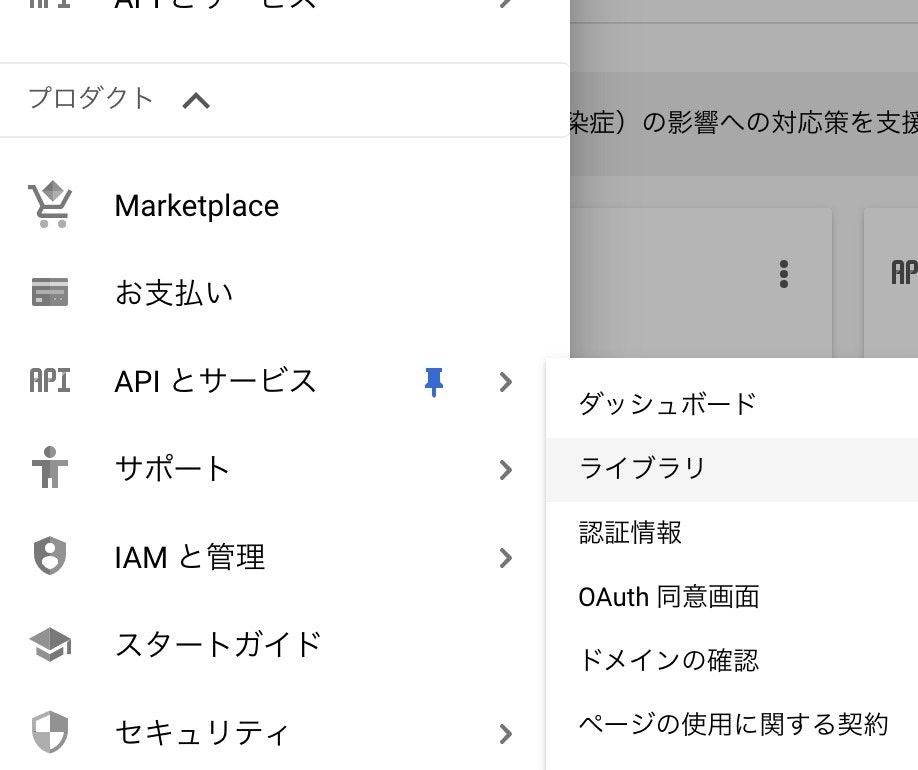
APIとサービス>ライブラリへ移動

Maps JavaScript APIを選択
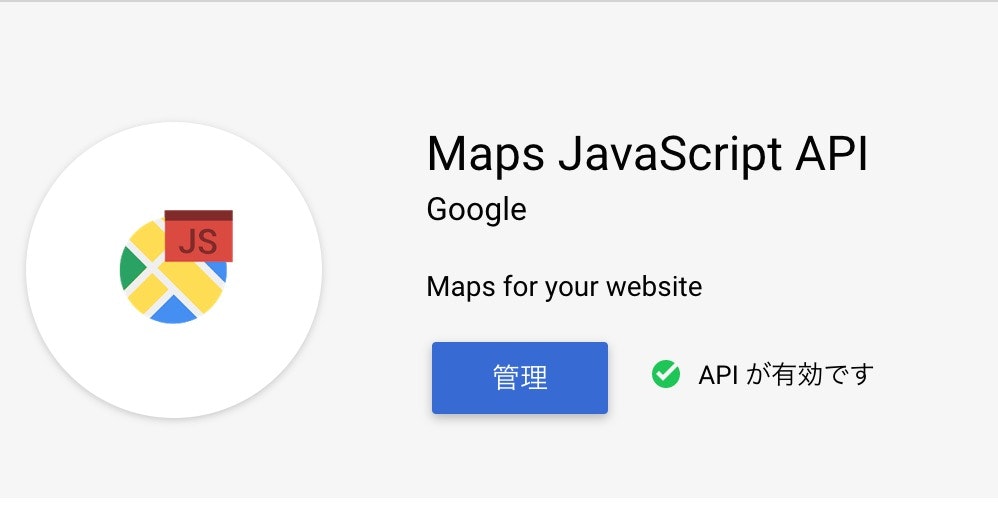
有効にする
認証情報を作成

APIとサービス>認証情報へ移動

上にある「+認証情報を作成」ボタンを押し、APIキーを選択
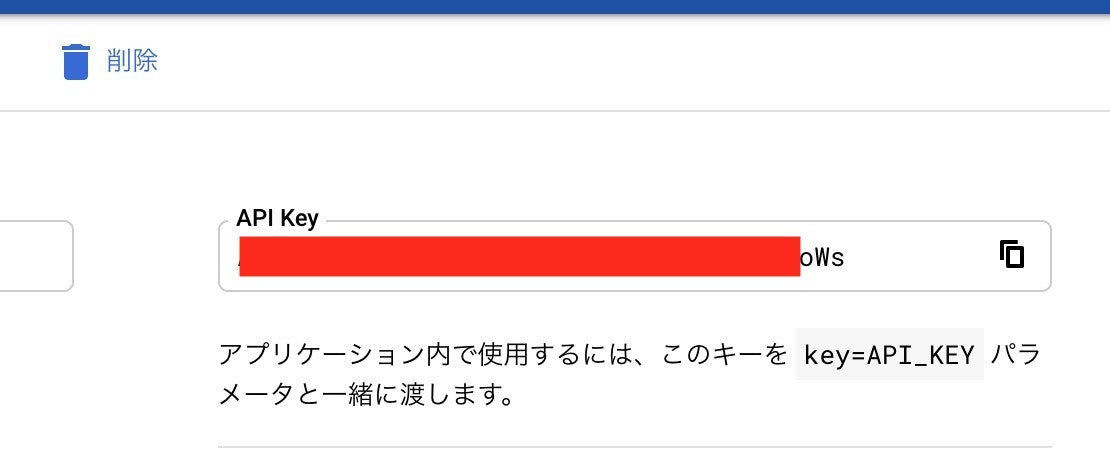
APIキーをコピーしておく

APIの制限で、Maps JavaScript APIを選択し保存
Ionicプロジェクト内のindex.htmlにAPIキーが入ったコードを追加
公式ページGet an API Keyの中にあるscriptタグをコピー

Ionicプロジェクト内のindex.html(結構上の階層にあるよ!)を開き、headの閉じタグの直前にscriptタグを追加
callback=initMapの部分は特にいらないので削除!
<!DOCTYPE html>
<html lang="en">

<head>
  <meta charset="utf-8" />
  <title>Ionic App</title>

  <base href="/" />

  <meta name="color-scheme" content="light dark" />
  <meta name="viewport" content="viewport-fit=cover, width=device-width, initial-scale=1.0, minimum-scale=1.0, maximum-scale=1.0, user-scalable=no" />
  <meta name="format-detection" content="telephone=no" />
  <meta name="msapplication-tap-highlight" content="no" />

  <link rel="icon" type="image/png" href="assets/icon/favicon.png" />

  <!-- add to homescreen for ios -->
  <meta name="apple-mobile-web-app-capable" content="yes" />
  <meta name="apple-mobile-web-app-status-bar-style" content="black" />

  <script async defer src="https://maps.googleapis.com/maps/api/js?key=Your_APIkey">
  </script>
</head>

<body>
  <app-root></app-root>
</body>

</html>
Mapを追加
<ion-header [translucent]="true">
  <ion-toolbar>
    <ion-title>
      マップを見るよー
    </ion-title>
  </ion-toolbar>
</ion-header>

<ion-content [fullscreen]="true">

<div #map id="map"></div>

</ion-content>
import { Component, OnInit, ViewChild, ElementRef } from '@angular/core';

declare var google;

@Component({
  selector: 'app-home',
  templateUrl: 'home.page.html',
  styleUrls: ['home.page.scss'],
})

export class HomePage implements OnInit {

// Map関係
  @ViewChild('map', { static: true }) mapElement: ElementRef;
  map: any;
  markers = [];

constructor() { }

ngOnInit() {
    console.log('ngOnInitです');
  }

  ionViewWillEnter() {
    this.loadMap();
  }

// Initialize a blank map
  loadMap() {
    let latLng = new google.maps.LatLng(51.9036442, 7.6673267);
    let mapOptions = {
      center: latLng,
      zoom: 5,
      mapTypeId: google.maps.MapTypeId.ROADMAP,
    };
    this.map = new google.maps.Map(this.mapElement.nativeElement, mapOptions);
  }

}
# map {
  width: 100%;
  height: 70%;
}
ブラウザで確認
ionic serveを実行!

最後に
こちらを参考にやりましたが、APIキーの部分でつまずいたので、、、![]()
Google MapのAPIキー取得はやったことあるのに、完全に忘れてしまった。。。