はじめに
BubbleではテキストのフォントにGoogleフォントを利用することが可能です。本記事では、BubbleでGoogleフォントを導入する方法をまとめます。
Googleフォントの導入方法
以下にGoogleフォントをBubbleアプリに導入する方法を記載します。
前提
フォントが変わっていることを確認するために、以下のようなテキストを記載したページを作成しています。

①利用したいフォントを決める
Googleフォントのサイトにアクセスして、アプリで利用するフォントを決めます。
本記事では、以下の「Kosugi Maru Static」を利用します。

②フォントのコードを取得する
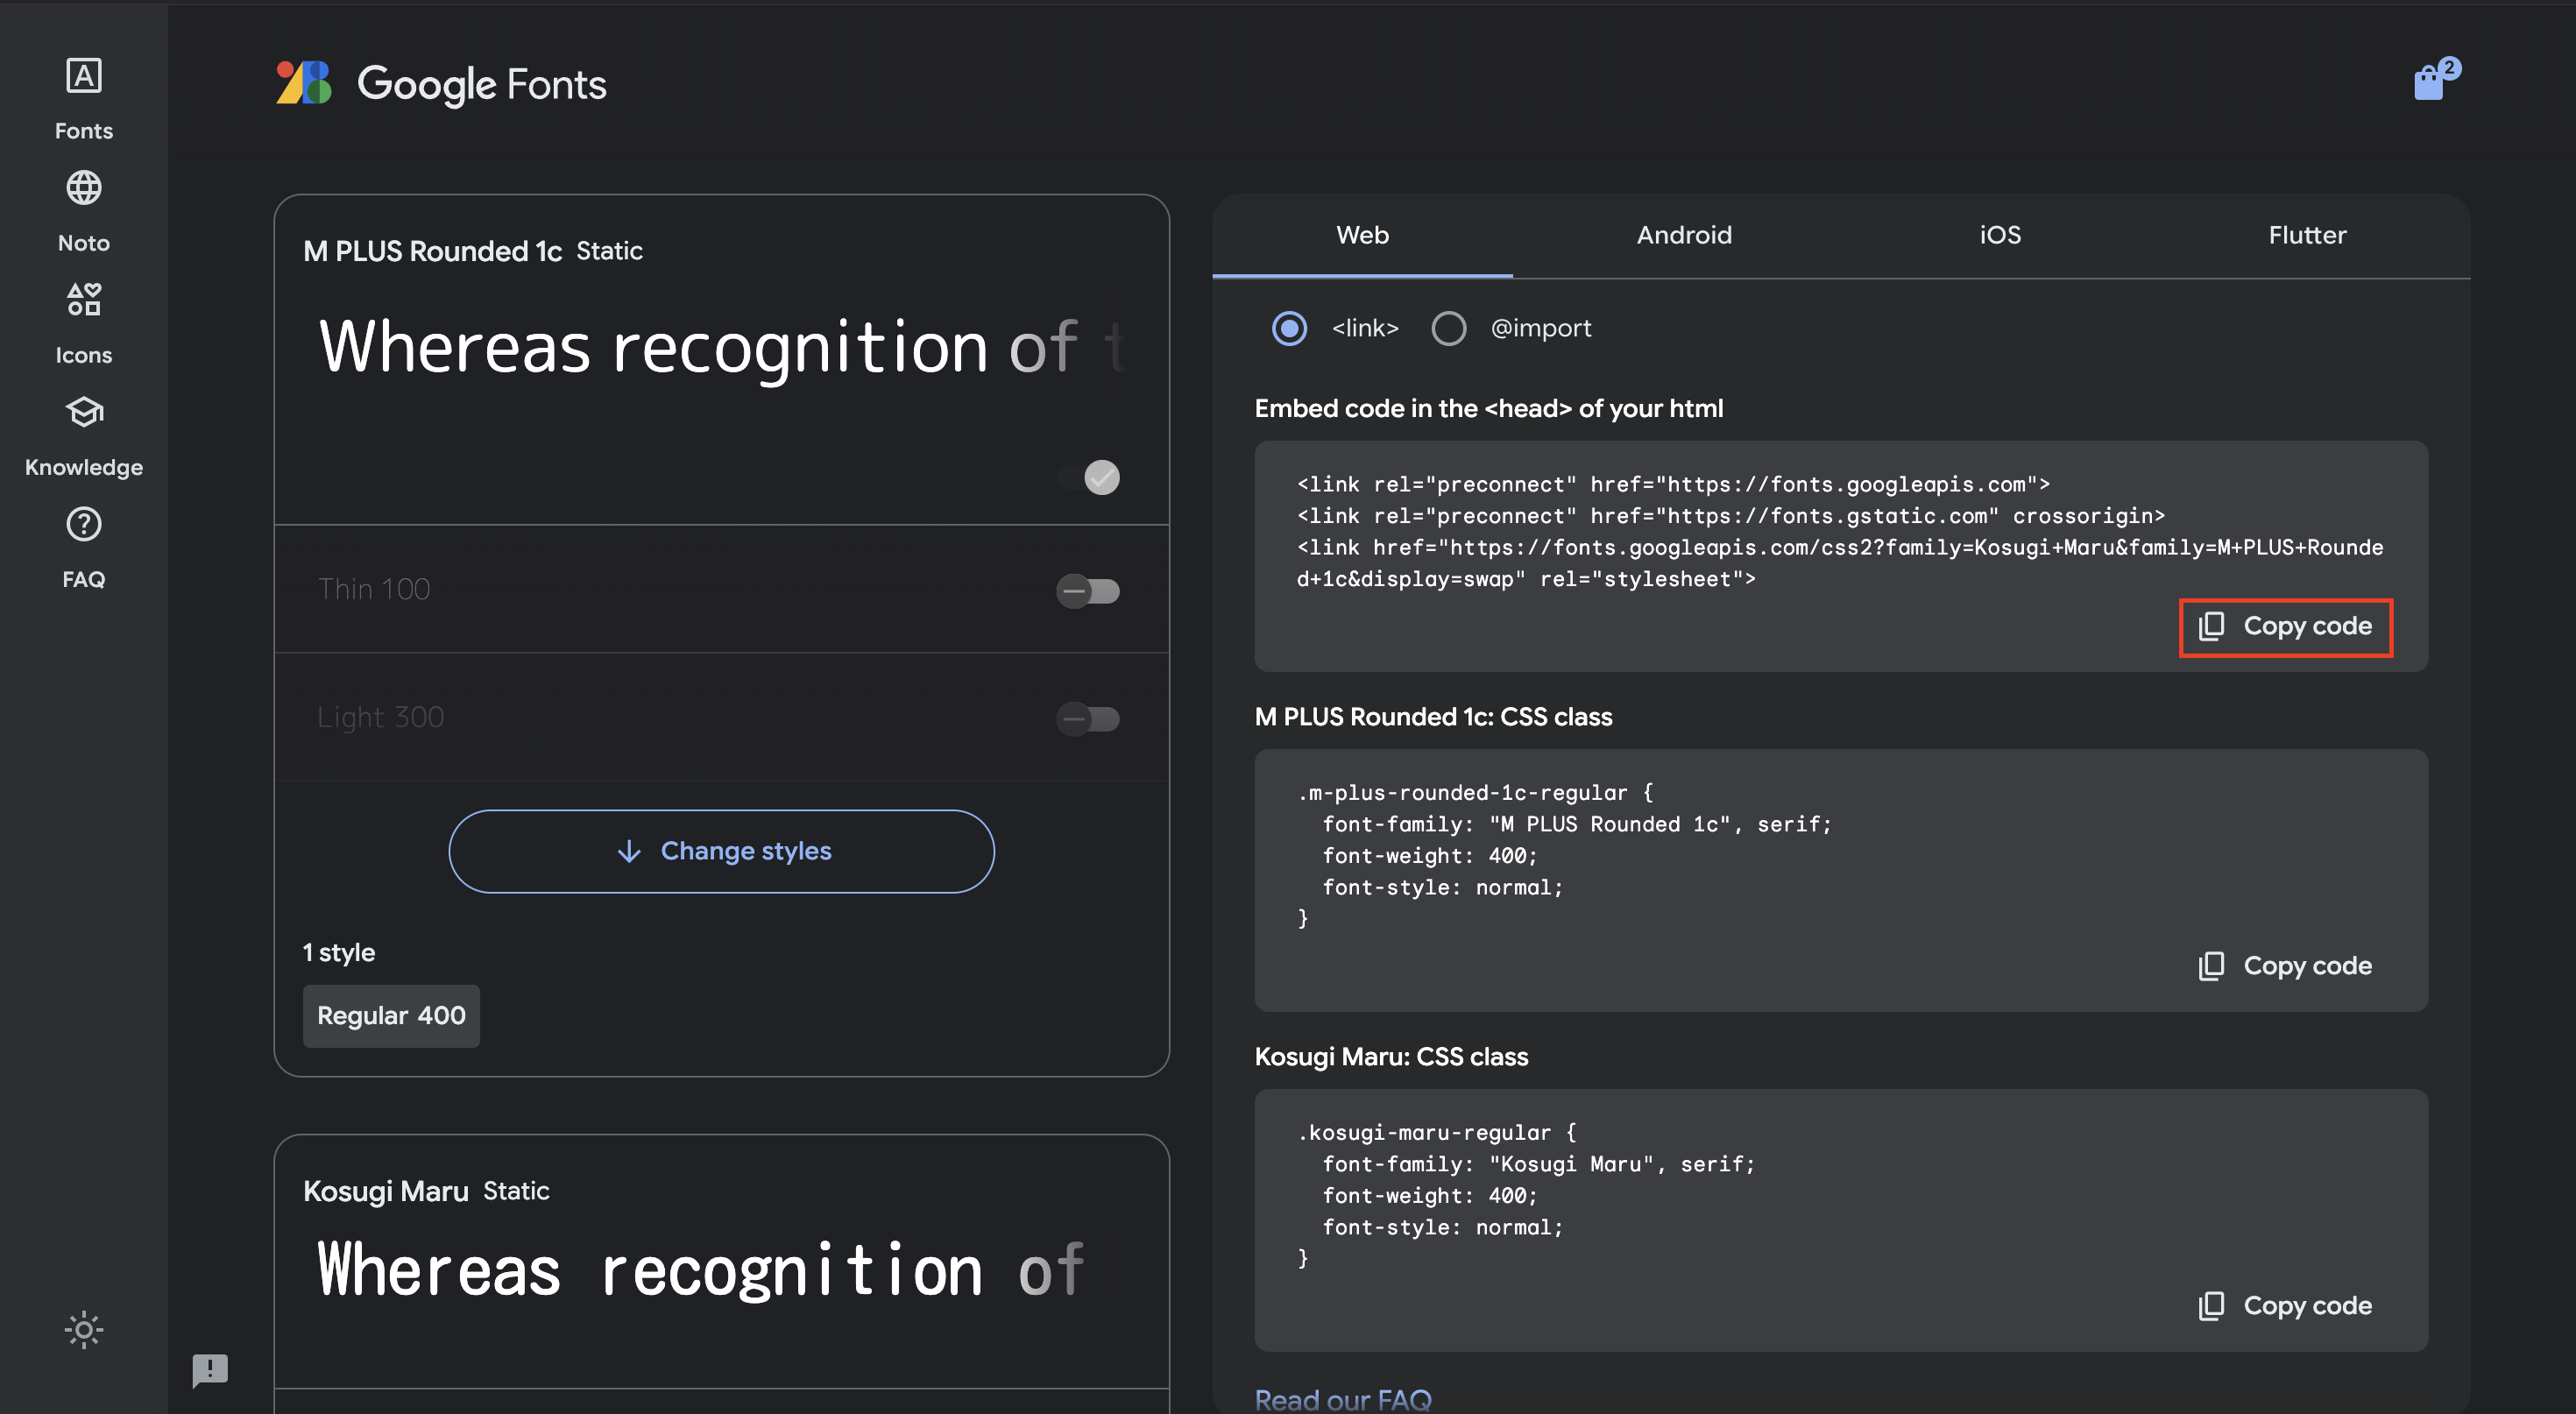
画面内の「<> Get Embeded code」をクリックし、遷移先の画面で「Embed code in the
of your html」のコードをコピーします。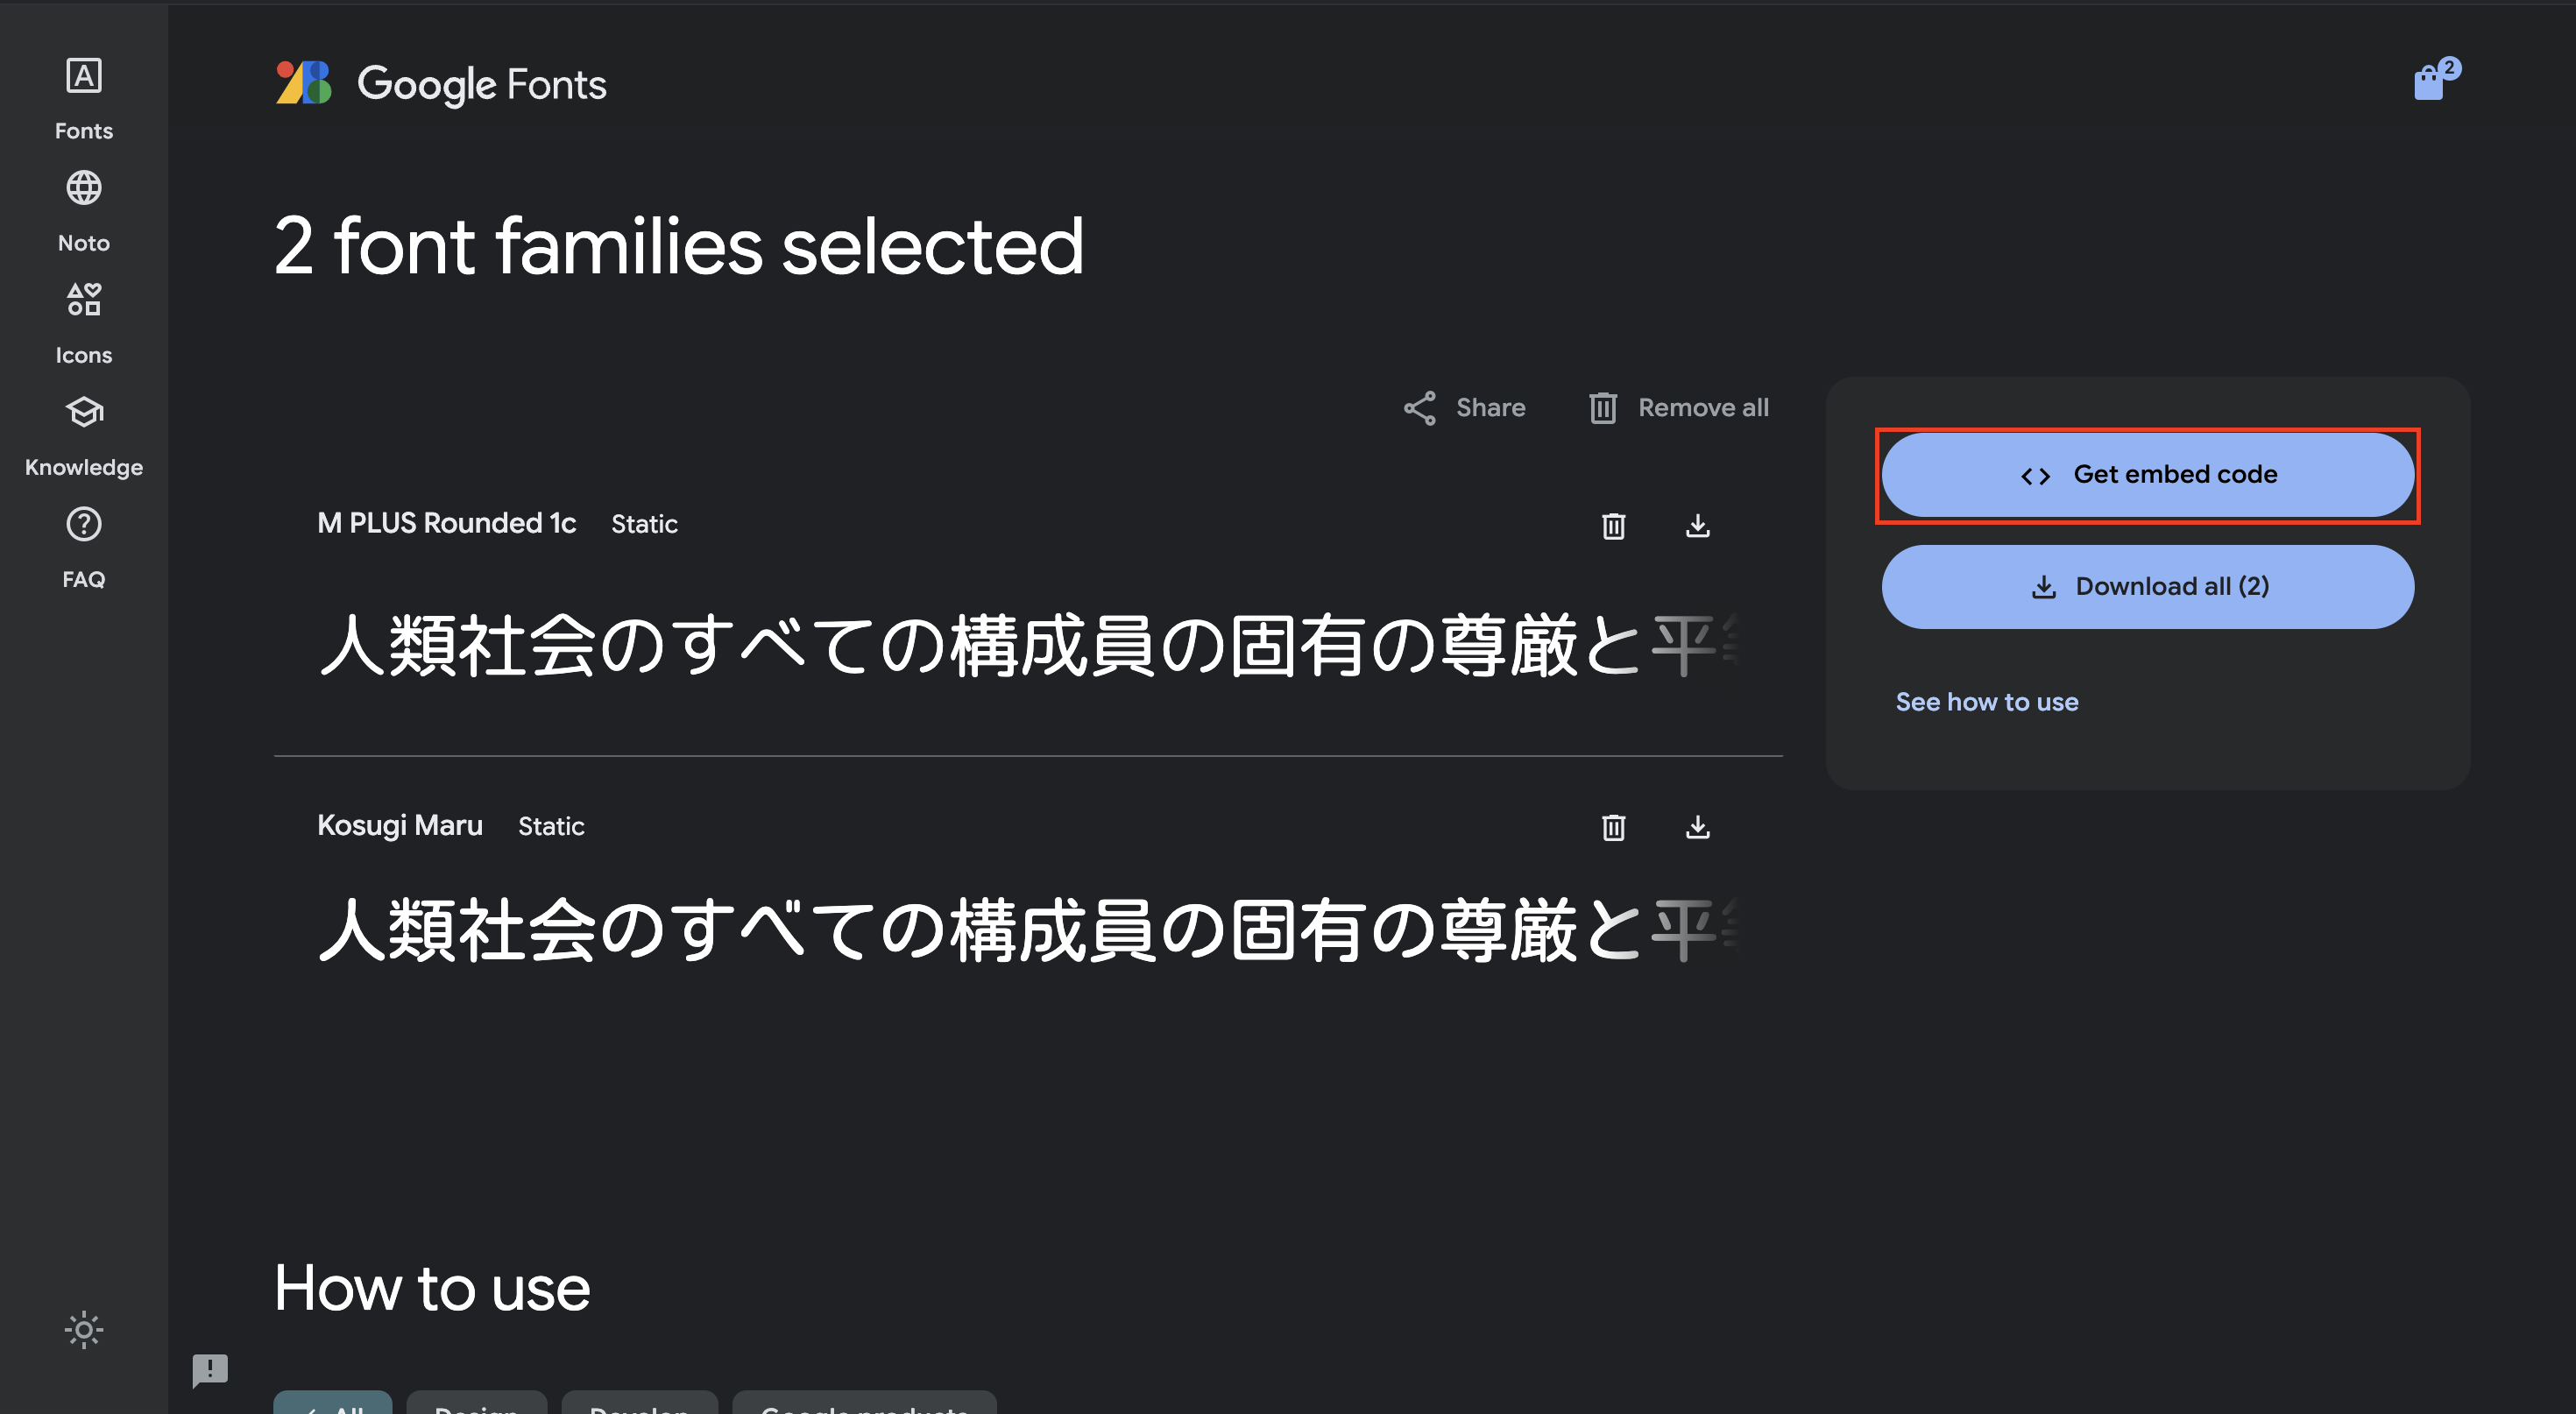
③コピーしたコードをBubbleアプリのヘッダーにペーストする
editor画面の左のツールバーから[Setting]を開き、[SEO / metatags]タブを開きます。[SEO / metatags]タブ内下部の[Script/meta tags in header]に、②でコピーしたコードをペーストします。

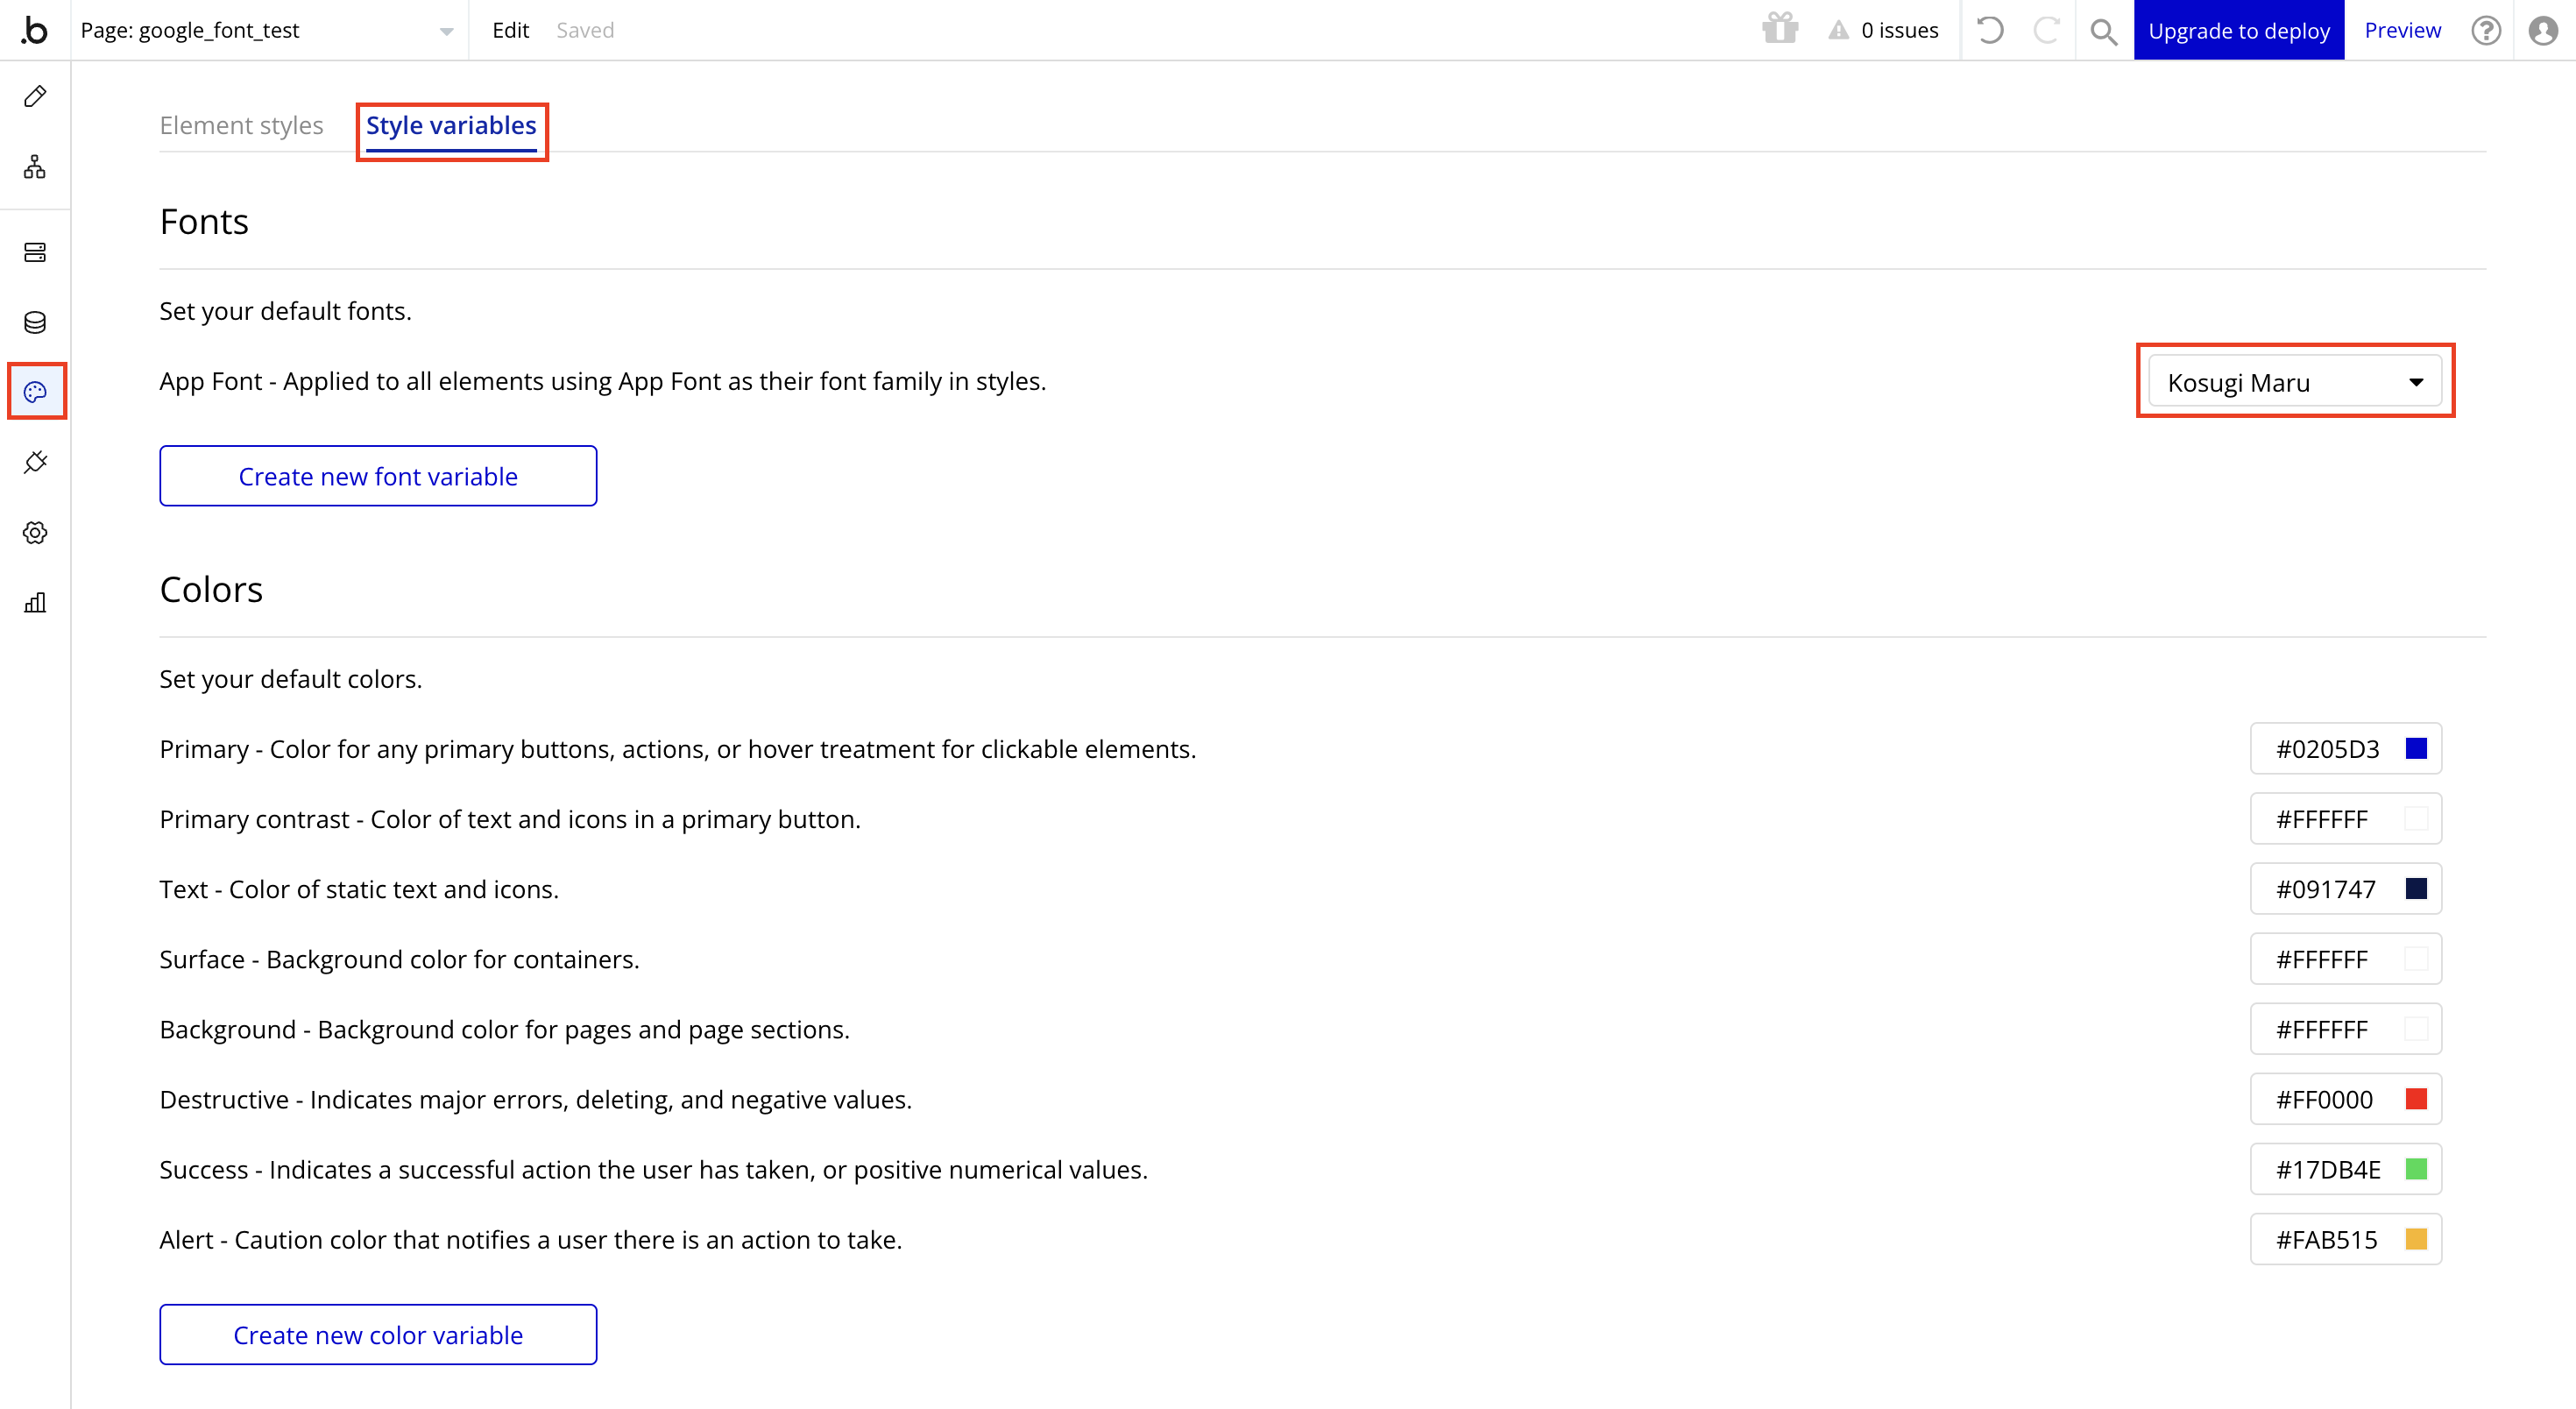
④デフォルトフォントにGoogleフォントを適用する
editor画面の左のツールバーから[Styles]を開き、[Style variables]タブを開きます。[Style variables]タブ上部にある[App Font - Applied to all elements using App Font as their font family in styles.]にて、①で選択したフォントを選びます。
※フォントの選択欄が複数ある場合は、その中でGoolgeフォントを適用したいもののみフォント選択を変更します
完成イメージ
以上の操作を完了しeditor画面でテキストを確認すると、以下のようにフォントが変更されていることが分かります。(以下の画像では、操作前と比較して文字が丸みを帯びていることが分かります)

終わりに
本記事に関して不明点やうまく設定できない箇所などありましたらコメントください。