はじめに
Unityでゲーム開発中に起きたバグを動画に記録し、チーム内に共有したい場合があります。
しかしUnityRecorderが標準で利用するH.264コーデックでは
録画ファイルのサイズが大きく記録用には向きません。
記録用には小さいファイルサイズで保存できるH265(HEVC)コーデックを使いたいです。
ここではUnityRecorderからFFmpegエンコーダーを介してH265(HEVC)コーデックを使って
Unity Editor上でプレイ動画を自動収録する方法を説明します。
満たしたい要件
| フレームレート | 60FPS |
|---|---|
| 画質 | ノイズが少ない |
| ファイルサイズ | 小さい |
| フォーマット | mp4 |
バージョン
| 名前 | バージョン |
|---|---|
| OS | Windows 11 |
| Unity | 6 (60000.0.23f1) |
| FFmpeg | 7.1 |
| Unity Recorder | 5.1.2 |
手順
FFmpegの準備
- FFmpeg公式サイト>Windowsダウンロードリンク (Windows builds from gyan.dev)を開きます。
- release builds > ffmpeg-release-full.7zをダウンロードして展開します。
- binの中身をAssets/ExternalAssets/FFmpeg/Win内にコピーします。
Unity Recoder カスタムレコーダーの準備
-
Unity起動>メニュー>Window>Package Managerを起動します。
-
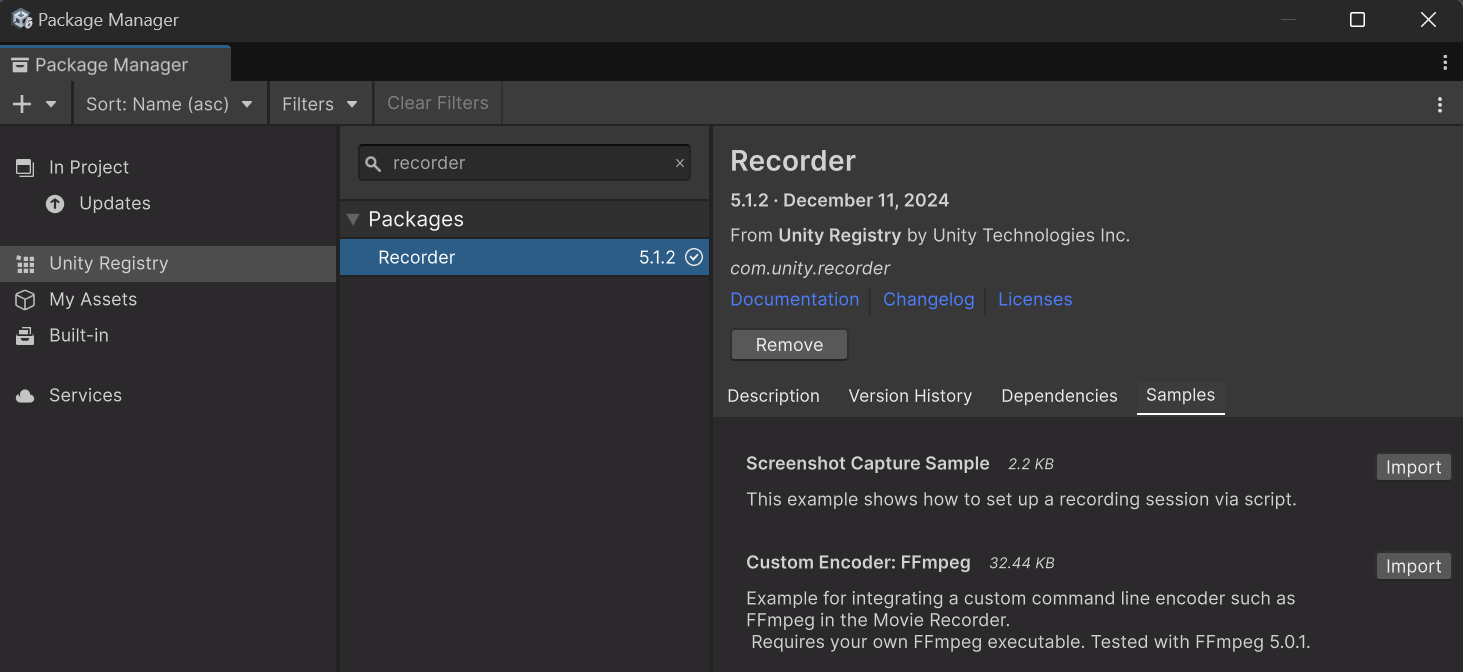
Unity RegistryからRecorderをインストールします。
-
Samplesタブ>Custom Encoder:FFmpeg>Importでカスタムエンコーダースクリプトを追加します。

-
Assets/ExternalAssets/Recorder/に配置します。
録画スクリプトScreenRecorderの準備
本来カスタムレコーダーのサンプルスクリプトであるFFmpegEncoderSettings.csを修正していくのですが、面倒なのでパスだけ外部から設定できるようにします。
あとは録画スクリプトを用意してプログラムから呼び出せるようにします。
-
FFmpegの設定を渡せるようにスクリプトAssets/ExternalAssets/Recorder/5.1.2/Custom Encoder_ FFmpeg/FFmpegEncoderSettings.csを以下のように修正します。
public sealed class FFmpegEncoderSettings : IEncoderSettings, IEquatable<FFmpegEncoderSettings> { [SerializeField] string ffmpegPath; // 修正前 //public string FFMpegPath => ffmpegPath; // 修正後 public string FFMpegPath{set => ffmpegPath = value; get => ffmpegPath;} // ... } -
録画スクリプトEditorScreenRecorder.csを以下のように用意します。
FFmpegEncoderSettingsをMovieRecorderSettingsに渡し、MovieRecorderSettingsをRecorderControllerSettingsに渡して初期化します。public class EditorScreenRecorder : IScreenRecorder { private RecorderControllerSettings _controllerSettings; private RecorderController _controller; private ScreenRecorderSettings _settings; public void Initialize(ScreenRecorderSettings settings) { _settings = settings; // FFmpegの設定 var ffmpegSettings = new FFmpegEncoderSettings { Format = GetOutputFormat(), }; ffmpegSettings.FFMpegPath = settings.FFmpegPath; // レコーダーの設定 var movieSettings = ScriptableObject.CreateInstance<MovieRecorderSettings>(); movieSettings.name = MovieRecorderSettingsName; movieSettings.Enabled = true; movieSettings.ImageInputSettings = new GameViewInputSettings { OutputWidth = _settings.resolution.x, OutputHeight = _settings.resolution.y }; movieSettings.EncoderSettings = ffmpegSettings; _settings.GenerateFileName(); movieSettings.OutputFile = _settings.OutputFilePath; // コントローラーの設定 _controllerSettings = ScriptableObject.CreateInstance<RecorderControllerSettings>(); _controllerSettings.AddRecorderSettings(movieSettings); _controllerSettings.ExitPlayMode = true; _controllerSettings.SetRecordModeToManual(); _controllerSettings.FrameRatePlayback = FrameRatePlayback.Constant; _controllerSettings.FrameRate = settings.frameRate; } // 録画を開始する public void StartRecording() { _controller = new RecorderController(_controllerSettings); _controller.PrepareRecording(); _controller.StartRecording(); Debug.Log($"録画開始 出力先: {_settings.OutputDirPath}"); } } -
制御用のスクリプトScreenRecorderControllerを用意してHierarchyにあるオブジェクトにアタッチします。
public class ScreenRecorderController : MonoBehaviour { [SerializeField] private ScreenRecorderSettings settings; public IScreenRecorder ScreenRecorder{ get; private set; } private void Awake() { InitializeScreenRecorder(); } private void Start() { // 起動時に自動録画 if(settings.allowAutoRecordOnStart) ScreenRecorder.StartRecording(); } private void InitializeScreenRecorder() { #if UNITY_EDITOR ScreenRecorder = new EditorScreenRecorder(); ScreenRecorder.Initialize(settings); #endif } } -
これでPlayすると自動的に録画されStopすると録画が停止します。
フルのコードはGitHubScreenRecorderに置いていますのでご参照ください
こちらでは録画設定をScriptableObjectのScreenRecorderSettingsにまとめてあります。
また起動時に古いファイルを消すスクリプトScreenRecordingFileCleanerも追加してあります。
パフォーマンス比較
以下①と②のケースを以下の設定で録画し、比較した結果を説明します。
| 録画時間 | 10分 |
|---|---|
| FPS | 60 |
| 解像度 | 1920×1080 |
ケース① UnityRecorder(H264)を手動で録画する方法
ケース② ScreenRecorder( UnityRecorder+FFmpeg+H265)で自動で録画する方法
| 手間 | ②のほうがGood |
|---|---|
| 画質 | ①と②は同程度 |
| ファイルサイズ | ②は①の1/4程度 |
画質
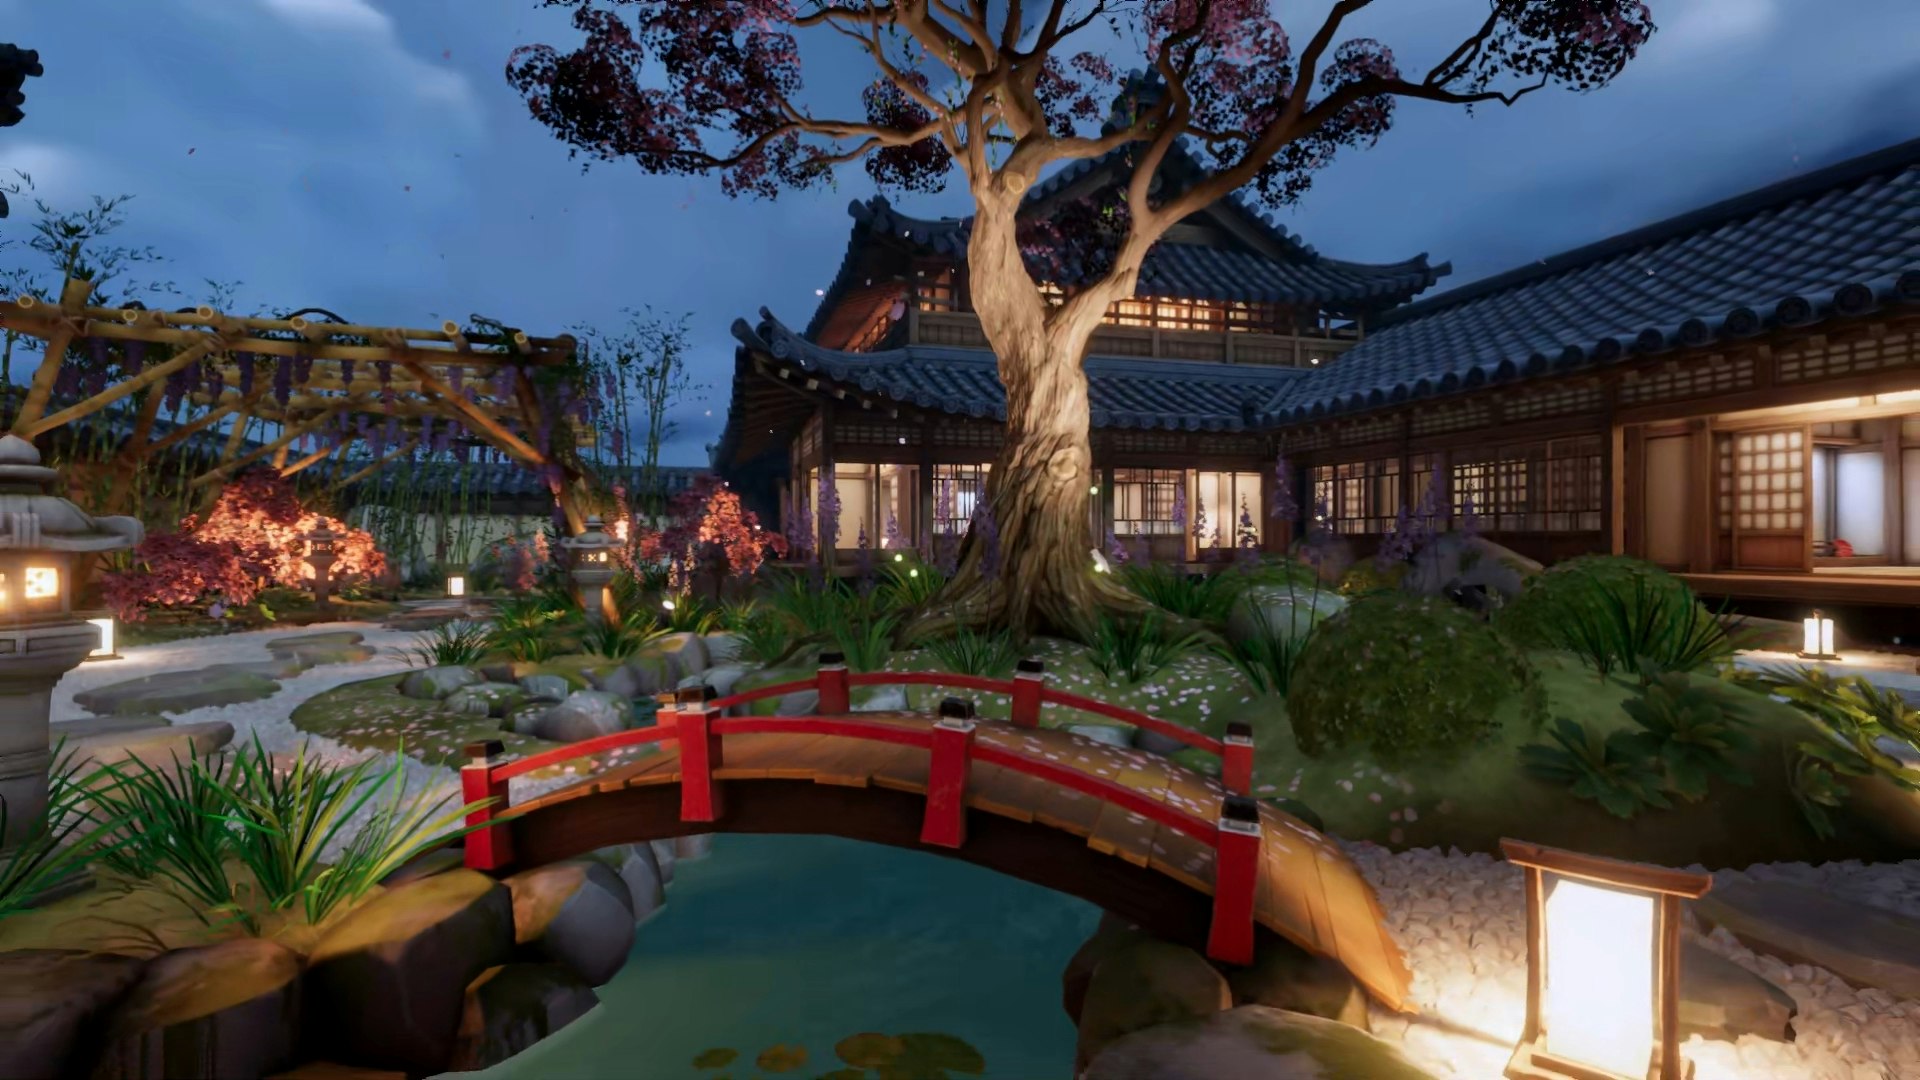
①と②は同程度でした。
| ① | ② |
|---|---|
 |
 |
ファイルサイズ
H265とH264のほぼ1/4のファイルサイズに抑えられています。
| コーデック | ファイルサイズ |
|---|---|
| H264 | 57.8MB |
| H.265(HEVC) | 15.1MB |
結論
- Unity開発中にプレイ動画を残してチームで共有することはバグ調査の効率化に有用です。
- Unity Recoder+FFmpeg+H265でより画質を維持しつつて少ないファイルサイズで動画を記録できます。
- ScreenRecorderのスクリプトでPlay時に自動で保存できるようにしました。
- フルのコードはGitHubScreenRecorderにあります。
- お役に立てたら幸いです!