機械学習でよく使うMNISTやCIFAR-10
これらのデータセットを呼び出せるRed Datasets というGemを使いながら紹介記事を書く。
Red Datasets について
Rubyから、機械学習でよく使うデータセットを呼びだすGemです。
- GitHub
- リファレンス
インストール
gem install red-datasets
利用可能なデータセット
2019年1月11日現在
| データセット | クラス |
|---|---|
| Adult Data Set | Adult |
| CIFAR-10 | CIFAR |
| CIFAR-100 | CIFAR |
| FashionMNIST | FashionMNIST |
| Iris Data Set | Iris |
| MNIST database of handwritten digits | MNIST |
| Penn Tree Bank (PTB) dataset | PennTreebank |
| Wine Data Set | Wine |
使い方
データを利用する
- Datasetのインスタンスを作成する
-
newの引数type:でtrain/test等を選べる
-
- イテレーターでRecordを取り出す
- RecordはRubyの構造体を継承している
-
pixelsで画素データが取り出せる
- データセットが自動保存される場所は
- Windowsでは
~/AppData - Macでは
~/Library/Caches - Linuxでは
~/.cache
- Windowsでは
データセットの情報
mnist = Datasets::MNIST.new
metadata = mnist.metadata

p metadata.id   # "mnist-train"
p metadata.name # "MNIST: train"
p metadata.url  # "http://yann.lecun.com/exdb/mnist/"
p metadata.licenses
p metadata.description
Irisを呼び出す
require "datasets"

iris = Datasets::Iris.new
iris.each do |record|
  p [
     record.sepal_length,
     record.sepal_width,
     record.petal_length,
     record.petal_width,
     record.label,
  ]
  # [5.1, 3.5, 1.4, 0.2, "Iris-setosa"]
  # [7.0, 3.2, 4.7, 1.4, "Iris-versicolor"]
end
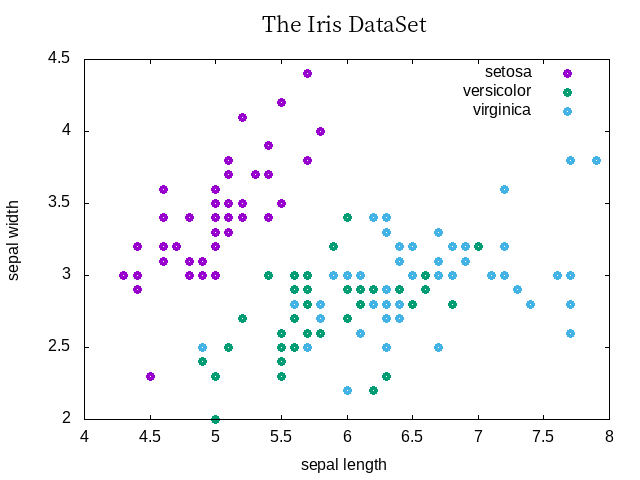
Irisのプロットを描いてみる
require 'datasets'
require 'numo/gnuplot'

iris = Datasets::Iris.new

setosa     = []
versicolor = []
virginica  = []

iris.each do |r|
  case r.label
  when 'Iris-setosa'
    setosa << r
  when 'Iris-versicolor'
    versicolor << r
  when 'Iris-virginica'
    virginica << r
  end
end

Numo.gnuplot do
  set :term, 'png'
  set :output, 'iris.png'
  set :title,  'The Iris DataSet', :font, 'Times,16'
  set :xlabel, 'sepal length'
  set :ylabel, 'sepal width'
  set :zlabel, 'petal width'
  opts = { w: :points, pt: 6, lw: 3 }
  plot [setosa.map(&:sepal_length),     setosa.map(&:sepal_width),     opts, t: 'setosa'],
       [versicolor.map(&:sepal_length), versicolor.map(&:sepal_width), opts, t: 'versicolor'],
       [virginica.map(&:sepal_length),  virginica.map(&:sepal_width),  opts, t: 'virginica']
end
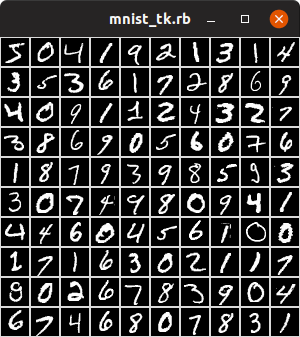
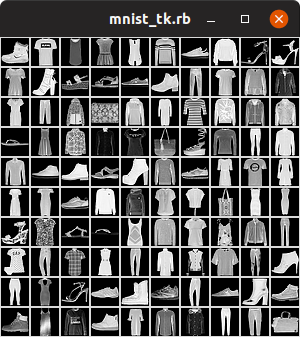
MNIST FashionMNIST CIFAR-10 CIFAR-100 を呼び出す
画素値とラベルの取り出し方
require 'datasets'

mnist = Datasets::MNIST.new
      # Datasets::MNIST.new(type: :train)
      # Datasets::MNIST.new(type: :test)

a = mnist.first
p a.pixels # [0, 0, 0 ... 0, 0, 0]
p a.label  # 5
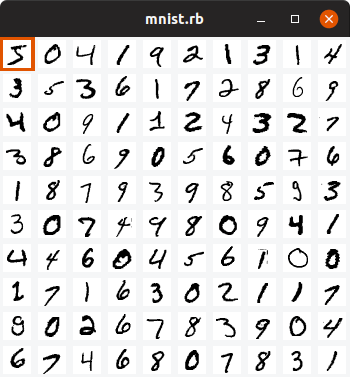
画像の表示。ここでは Ruby/Gtk を使っている。
# gem install gtk3
# gem install red-datasets-gdk-pixbuf
require 'datasets-gdk-pixbuf'
require 'gtk3'

mnist = Datasets::MNIST.new

win = Gtk::Window.new
win.set_size_request(350, 300)

flowbox = Gtk::FlowBox.new
flowbox.max_children_per_line = 10

mnist.take(100).each do |record|
  pb = record.to_gdk_pixbuf
  image = Gtk::Image.new(pixbuf: pb)
  flowbox.add image
end

win.add flowbox
win.show_all
Gtk.main
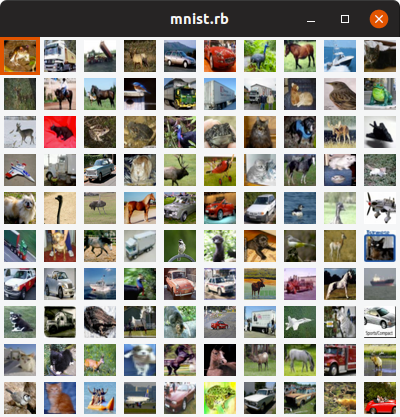
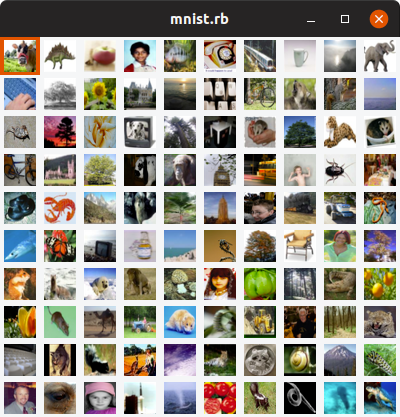
クラス名を変えることで、簡単にFashionMnistやCIFARを表示することができます。

PNMを用いて、Ruby/Tkで画像を表示してみます。
# gem install pnm
require 'datasets'
require 'tk'
require 'pnm'
require 'tempfile'

mnist = Datasets::MNIST.new

mnist.take(100).each_with_index do |record, index|
  Tempfile.create(['mnist', '.pgm']) do |f|
    ar = record.pixels.each_slice(28).to_a
    img = PNM.create(ar, maxgray: 255)
    img.write(f.path, :binary)
    tkimg = TkPhotoImage.new(file: f.path)
    TkLabel.new(image: tkimg).grid(row: (index / 10 + 1), column: (index % 10) + 1)
  end
end

Tk.mainloop
(つづく)