リモート端末管理用アプリのremot3.itにMac対応版のアプリケーションが出たらしいので、試してみた。
インストール
dmgファイルがダウンロードできるので、そちらを利用します。
インストールとデバイスの登録
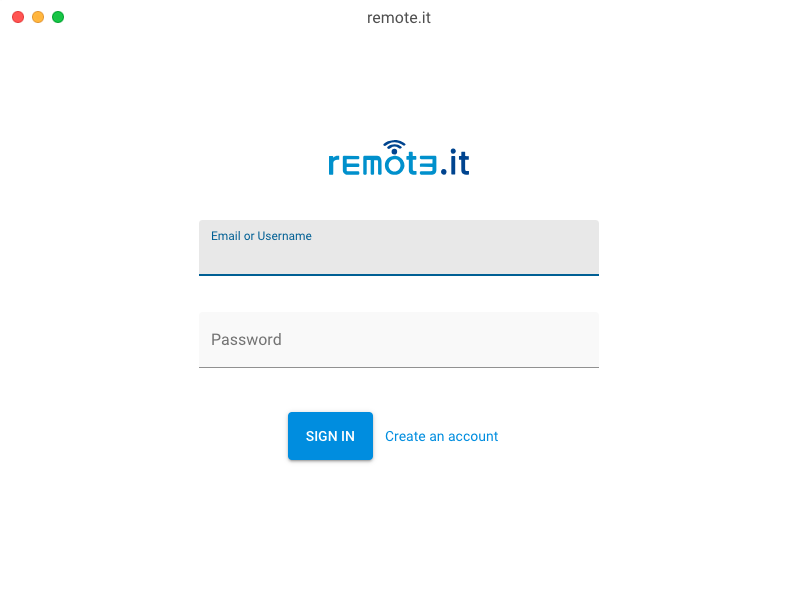
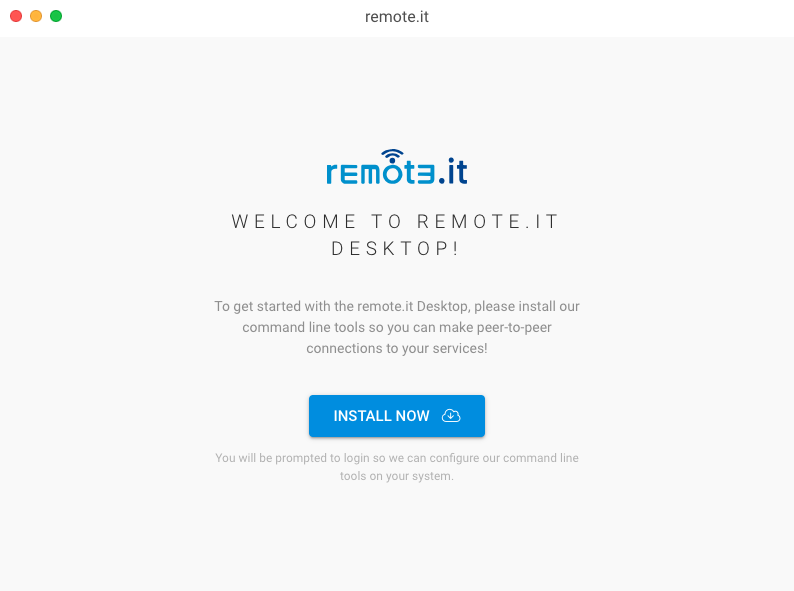
アプリをインストールしremote.itにサインインすると、CLIのインストールを促されます。これでremot3.itのCLIがMacで使えるようになります。
ログインしたらCLIのインストールを促されます。
諸々インストールが完了したら、ターミナルでsudo remoteit signinと実行すると、remot3.itへのログインができます。
$ sudo remoteit signin
Username XXXXXXXX@xxxx.xxx
Password ************
You have been signed in successfully!

You can now setup your device using "remoteit setup"

WARNING: You are using a development version of the remote.it CLI, please do not use this in production applications!
次いで、sudo remoteit setupコマンドとで利用しているMacのデバイス登録が自動で行われます。かなり楽チンです。
$ sudo remoteit setup
Device name kojis_mac_mini_local
Your device 'kojis_mac_mini_local' was registered successfully!

Please run 'remoteit add' to add services to your device.

WARNING: You are using a development version of the remote.it CLI, please do not use this in production applications!
しばらく待つとWebの管理画面にMacが登録されました。
プロトコルのインストール
remot3.itで通信するためのプロトコルのセットアップもCLIから簡単に行えます。対話式で進められるようになっているので、これも簡単です。試しにSSHとVNCを登録してみます。
$ sudo remoteit add
Which type of service is this? SSH
Port 22
Service name SSH
Your SSH service named 'SSH' has been added and is running at 127.0.0.1:22

WARNING: You are using a development version of the remote.it CLI, please do not use this in production applications!

$ sudo remoteit add
Which type of service is this? VNC
Port 5900
Service name VNC
Your VNC service named 'VNC' has been added and is running at 127.0.0.1:5900

WARNING: You are using a development version of the remote.it CLI, please do not use this in production applications!
はい、これでプロトコルのインストールも完了しました。試しにiPadからVNCでアクセスしてみると・・・。
はい、これだけでVNCビューアによるアクセスができてしまいました。(全然リモート感のないキャプチャになってしまいましたが)今回iPadからアクセスをしていますが、利用したアプリはRemoter Proになります。
まとめ
リリース当初は色々とコマンドの初期化などが大変だったremot3.itがだいぶ楽にMacにも適用が可能になりました。これだけ楽になれば、もう環境構築に悩む必要もなさそうですね。まだまだUpdateがかかるようなので、これからにも期待です。


