はじめに
表題通り、CloudflareでAPIをデプロイするまでです。
触ってみた感想は、Cloudflareは無料の割に使いやすくいいなと感じました!
0. 準備
0-1. Cloudflareのアカウント作成
→下記サイトからCloudflareでアカウントを作成します。
https://www.cloudflare.com/ja-jp/
0-2. cloudflare プロジェクト作成用のライブラリをinstallする
~/develop/cloudflare_api$ sudo npm install -g wrangler
npm warn deprecated @cloudflare/wrangler@1.21.0: This package is for Wrangler v1.x and is no longer supported. Please visit https://www.npmjs.com/package/wrangler for Wrangler v2+.

added 22 packages in 5s

3 packages are looking for funding
  run `npm fund` for details
npm install -g @cloudflare/wranglerでもinstallできるという記事を見かけますが、既に非推奨になっているため、wranglerでinstallしましょう。
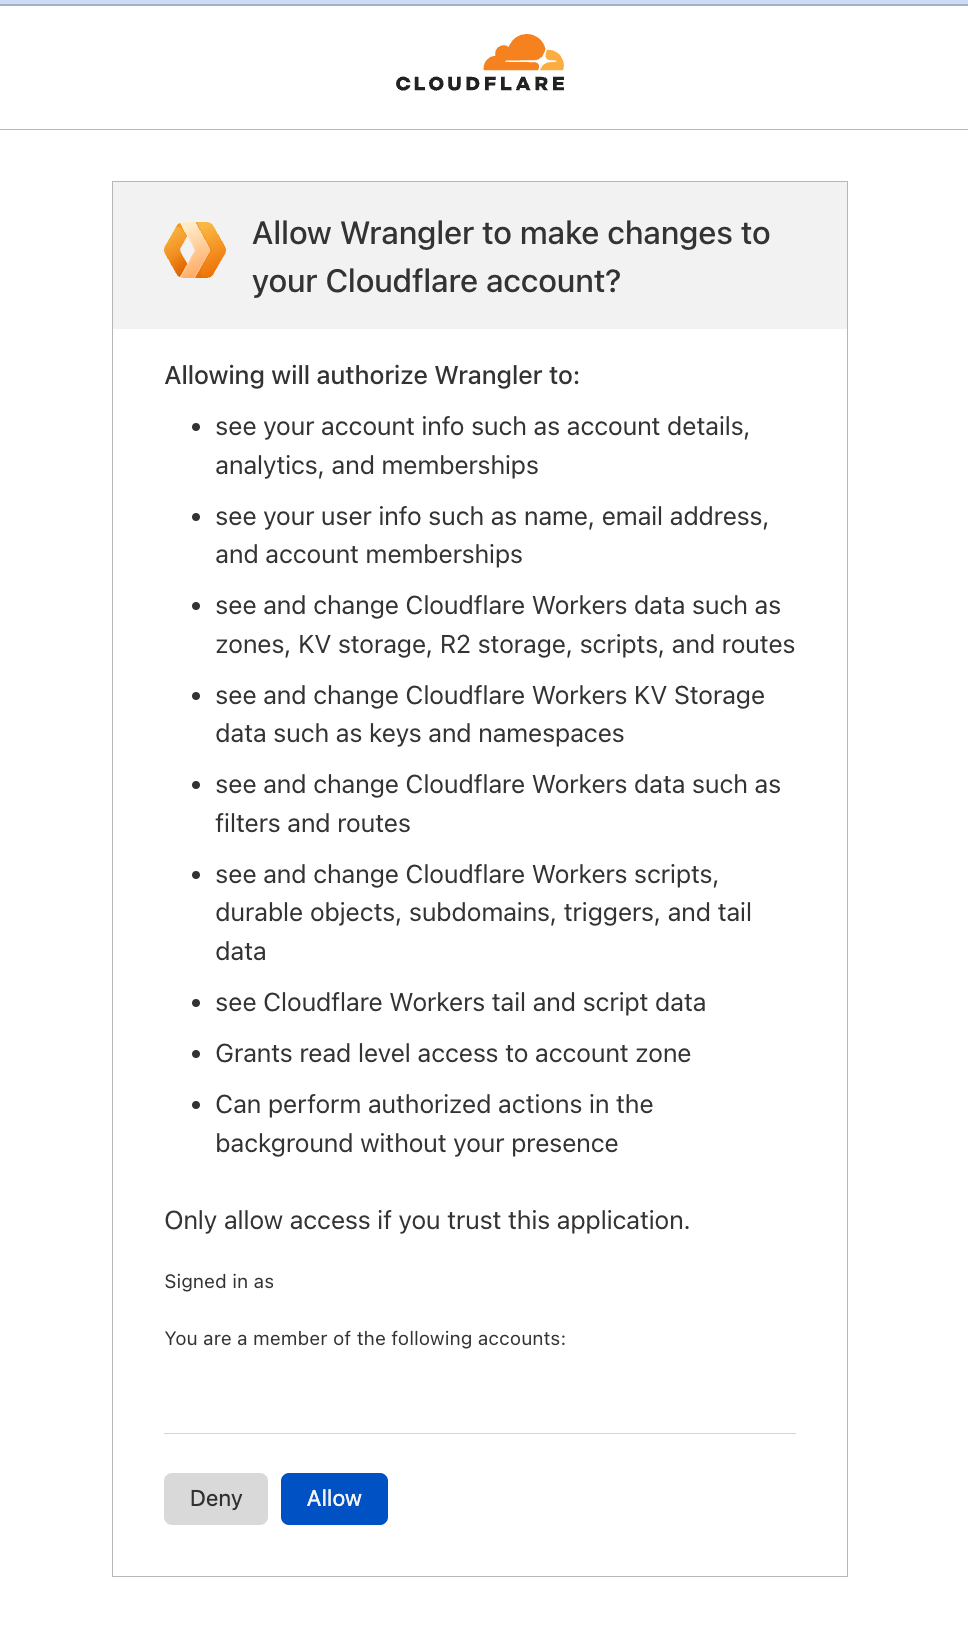
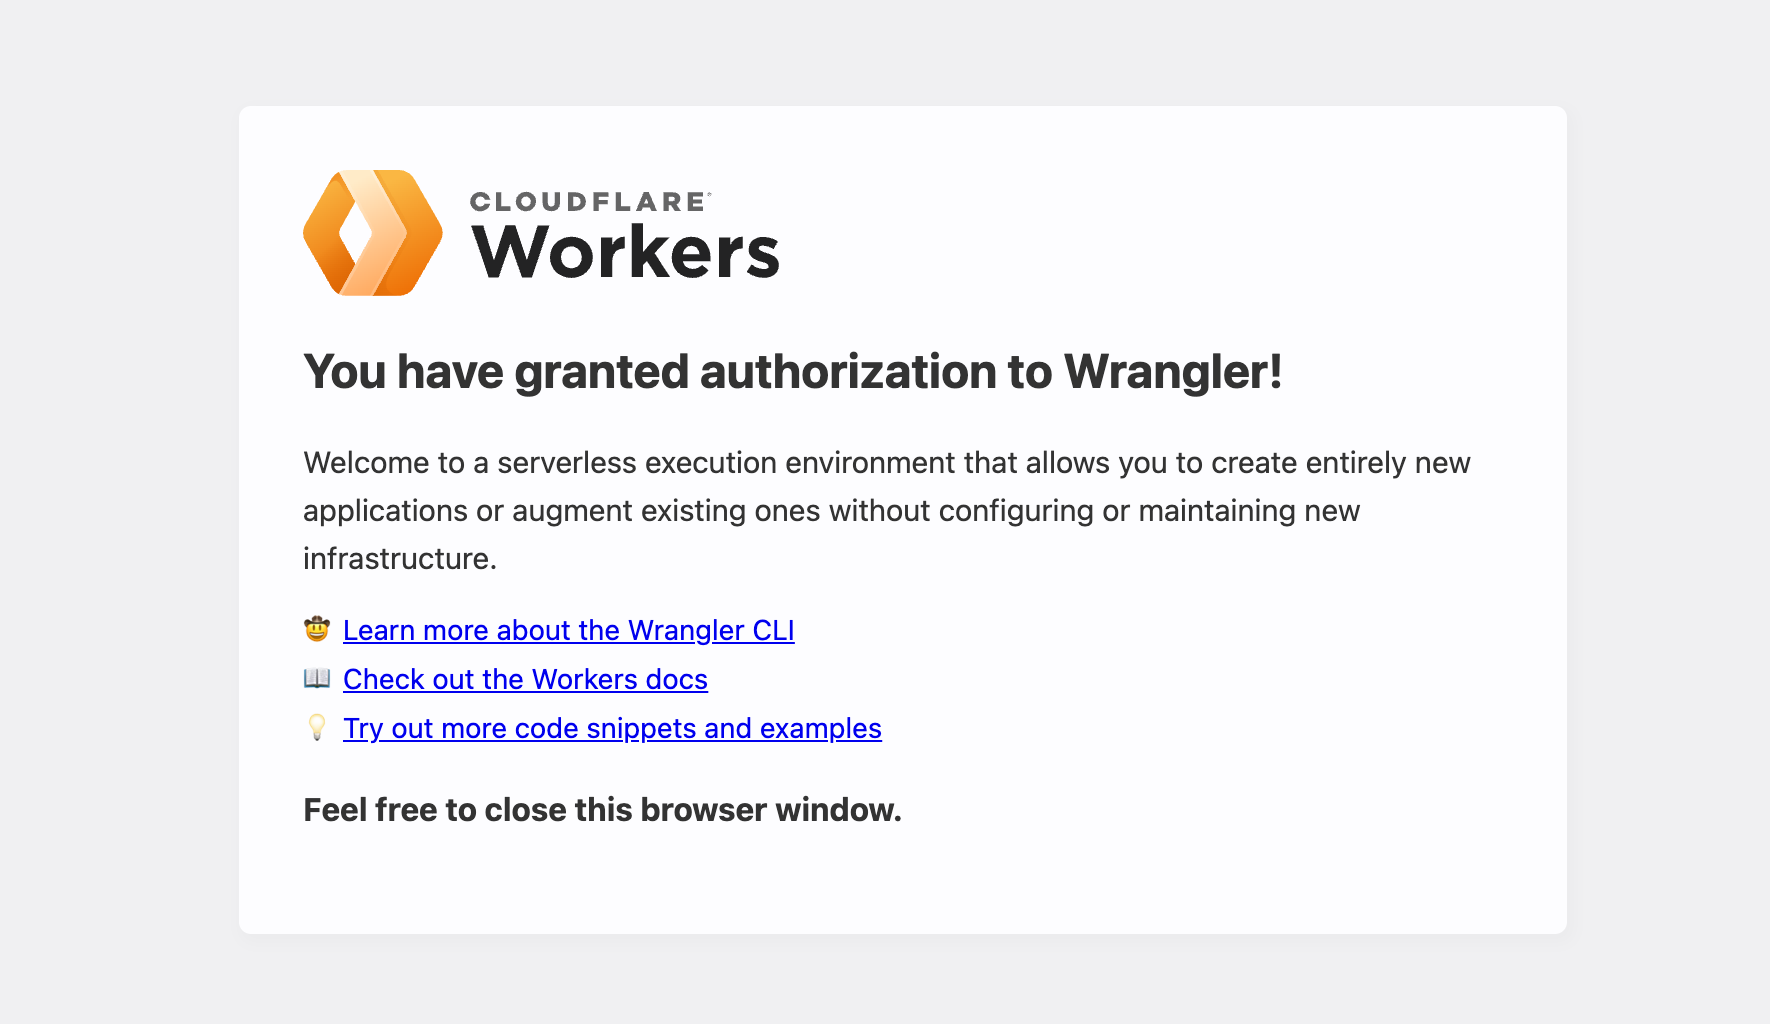
0-3. ログイン認証を実施する
wrangler login


1. プログラム作成
1-1. プロジェクト作成
~/develop/cloudflare_api$ wrangler generate my-api
ディレクトリ構成
~/develop/cloudflare_api/my-api (HEAD)$ tree -I node_modules
.
├── package-lock.json
├── package.json
├── src
│   ├── index.test.ts
│   └── index.ts
├── tsconfig.json
└── wrangler.toml

2 directories, 6 files
1-2. wrangler.tomlファイルの設定
wrangler.toml
name = "my-api"
main = "src/index.ts"
account_id = "自分のアカウントID"
compatibility_date = "2024-08-03"

[dev]
port = 3500 // ローカル実行する時のportです。好きなポートを設定してください。
account_idを自分のIDに変更してください。account_idはcloudflareのURLから確認できます。
https://dash.cloudflare.com/${account_id}の構成になっています。
プログラム実装
index.ts
addEventListener("fetch", (event) => {
	event.respondWith(handleRequest(event.request));
});

async function handleRequest(request: Request<unknown, CfProperties<unknown>>) {
	const url = new URL(request.url);
	const path = url.pathname;

	if (path === "/api") {
		return new Response(JSON.stringify({ message: "Hello, API!" }), {
			headers: { "content-type": "application/json" },
		});
		// biome-ignore lint/style/noUselessElse: <explanation>
	} else {
		return new Response("Not Found", { status: 404 });
	}
}
→ローカル実行して確認しておきましょう!!
サーバーの実行
~/develop/cloudflare_api/my-api (HEAD)$ npm run start

> my-api@0.0.0 start
> wrangler dev


 ⛅️ wrangler 3.68.0
-------------------

⎔ Starting local server...
[wrangler:inf] Ready on http://localhost:3500
[wrangler:inf] GET /api 200 OK (4ms)
上記のようにローカルで実行が確認できました。
では、デプロイを開始していきます。
3. デプロイの実施
デプロイ実行
~/develop/cloudflare_api/my-api (HEAD)$ npm run deploy

> my-api@0.0.0 deploy
> wrangler deploy


 ⛅️ wrangler 3.68.0
-------------------

Total Upload: 0.52 KiB / gzip: 0.33 KiB
Worker Startup Time: 0 ms
Uploaded my-api (1.63 sec)
Published my-api (0.41 sec)
  https://my-api.XXXXX.workers.dev  // ここに記載されたURLでアクセスするとデータが表示されるようになります。
Current Deployment ID: XXXX
Current Version ID: XXXX

Note: Deployment ID has been renamed to Version ID. Deployment ID is present to maintain compatibility with the previous behavior of this command. This output will change in a future version of Wrangler. To learn more visit: https://developers.cloudflare.com/workers/configuration/versions-and-deployments
→デプロイできたようです。APIを叩いて確認してみましょう!!


