AWS API GatewayにおけるIP制限
AWS Security Groupsのように簡単にInbound rules設定ができなかったので備忘録。
ホワイトリストの設定の仕方。
API Gatewayのコンソール上から設定
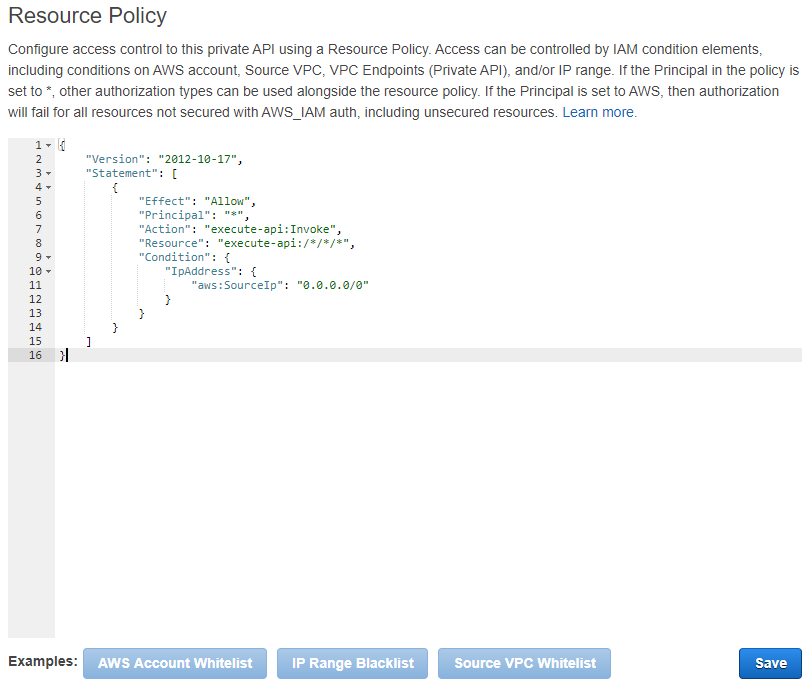
1.Amazon API Gateway > APIs > 該当のAPI > Resource Policy
2.下記ソースを参照。aws:SourceIpに許可したいIPを入れる。複数のIPを同時に設定できる。
3.Save。保存したとたんにAWSが自分の気に入る形にjsonを書き換えることがある。たぶん問題はない。
{
    "Version": "2012-10-17",
    "Statement": [
        {
            "Effect": "Allow",
            "Principal": "*",
            "Action": "execute-api:Invoke",
            "Resource": "execute-api:/*/*/*",
            "Condition": {
                "IpAddress": {
                    "aws:SourceIp": "0.0.0.0/0"
                }
            }
        }
    ]
}
設定後は忘れずにデプロイ
ホワイトリストを設定したら、APIをデプロイしないと反映されない。
1.Amazon API Gateway > APIs > 該当のAPI > Resources
2.Actionsプルダウンから、Deploy APIを選択する。
3.Deployment stageを選択し、任意で説明も記載してDeploy。
4.Amazon API Gateway > APIs > 該当のAPI > Stages > 該当のStage
5.Deployment Historyタブで、デプロイが成功していたら完了。
動作確認
ホワイトリストで許可したIPでアクセスしてみて、200が返ってくれば成功。
許可していないIPでアクセスしてみて、403が返ってくれば成功。
その他
Resource Policyを修正したら、設定を壊してしまった…
→デプロイ履歴から、成功していた時のデプロイに戻る。
1.Amazon API Gateway > APIs > 該当のAPI > Stages > 該当のStage
2.Deployment Historyタブで、設定を壊す前のデプロイを選択してChange Deployment。
3.Current stageで選択したデプロイ履歴にチェックついていればOK。
※デプロイ履歴をわかりやすくするため、デプロイ時にはDescriptionを記載しておいた方が良い。
※※この作業で、いつでもどのデプロイ(設定)へも戻れる。
