はじめに
備忘録としてタイトル通り、Cloud9を使用したRuby on Railsの環境構築の手順を記載します。
Cloud9を選択した理由は以下の通りです。
- 使用PCがwindowsのため、ローカルに入れるよりもLinux環境の方がエラーの際情報が多い
- ポートフォリオのインフラにAWSを使っている為アカウントを持っていた
- 基本無料で使用できる
なおこの記事は環境設定のハウツー的な構成ではなく、私が行った手順とエラーを時系列そのままで記載します。
「環境設定の方法を知りてえんだ!」って方はプロの記事を参考にしてください。
目標
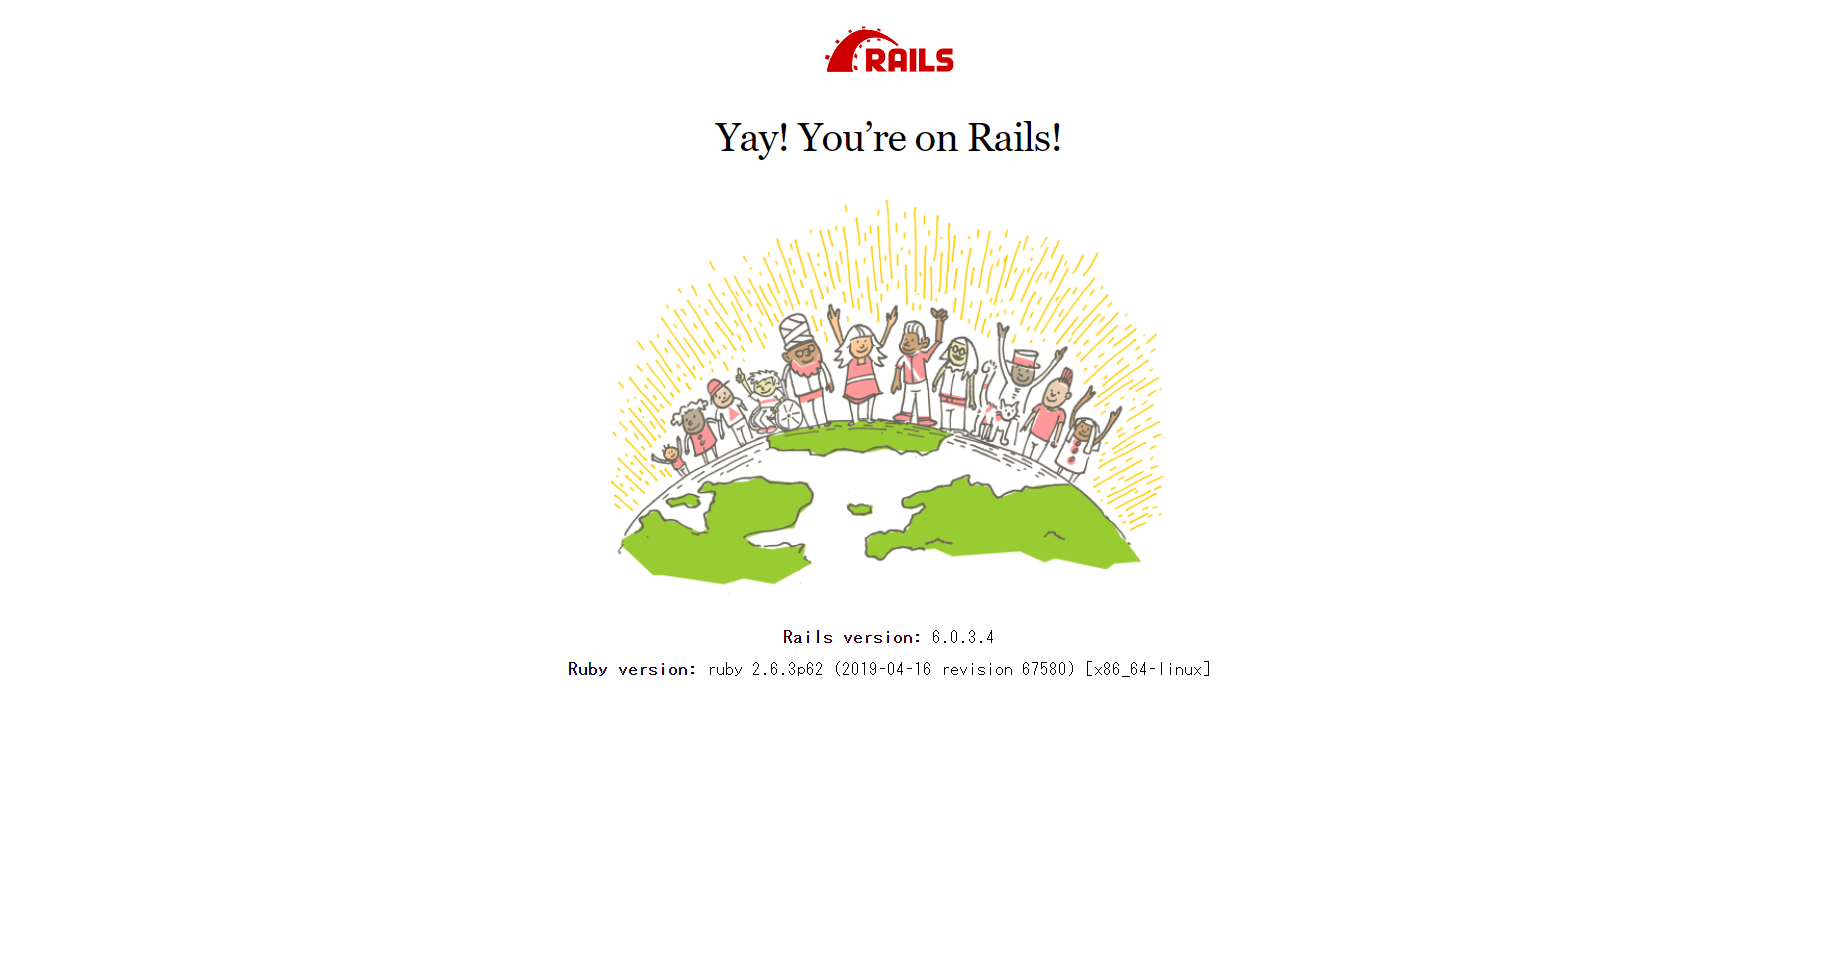
AWSのCloud9にRuby on Railsをインストールし、アプリケーションを起動して「Yay! You’re on Rails!」を表示させる
環境
Amazon linux
ruby 2.6.3
Rails 6.0.3.4
MySQL 5.5.62(後々5.7にバージョン上げてエラーになる)
MySQL 5.5から5.7へのバージョンアップと、libmysqlclient.so.18: cannot open shared object file: No such file or directoryの解消
やってきましょう
バージョン確認
とりあえずRubyのバージョン確認。もともとインストールはされている模様。
$ ruby -v
ruby 2.6.3p62 (2019-04-16 revision 67580) [x86_64-linux]
続いてRailsのバージョンも確認しておきましょう。
$ rails -v
Rails 5.0.0
Railsも入っているんですね。
でもバージョン5.0.0って、beta1が2015年12月18日にリリースされたらしくかなり古い様子。
バージョンアップしたいなあ。
$ gem install rails
$ rails -v
Rails 6.0.3.4
取り合えず最新版にアップデートできました。
そうしたらプロジェクトを作成するディレクトリを作ります。
名前は何でもいいので、ホームディレクトリに移動して"rails-training"を作成します。
そのあとcdコマンドでrails-trainingディレクトリに入り込みましょう。
$ cd
$ mkdir rails-training
$ cd rails-training
ここでMySQLのバージョン確認を思い出す。
$ mysql -v
ERROR 2002 (HY000): Can't connect to local MySQL server through socket'/var/lib/mysql/mysql.sock' (2)
エラーが出ました。
どうやらsocketファイルが無いのでMySQLに接続できていないらしい。
MySQLを再起動すると自動でsocketファイルが作成されるので、一度停止してもう一度起動してみる。
(restartでもいいけど、何となく気持ち悪いのでしっかり停止と起動を実行)
$ /etc/init.d/mysqld stop
$ /etc/init.d/mysqld start
touch: cannot touch ‘/var/log/mysqld.log’: Permission denied
chown: changing ownership of ‘/var/log/mysqld.log’: Operation not permitted
~略~
chown: changing ownership of ‘/var/lib/mysql’: Operation not permitted
パーミッションエラーですね、私には起動させる権限がないようです。
$ sudo /etc/init.d/mysqld start
ってことでsuduコマンドで強制実行。うまく再起動できました。
引き続き以下のコマンドで最低限のセキュリティ設定をします。MySQLの初期設定についてメモしておく
その後に忘れずMySQLの再起動。
$ mysql_secure_installation
~略(対話形式でパスワード等を設定)~
$ sudo /etc/init.d/mysqld restart
プロジェクト作成
ここまでやってやっとRaylsプロジェクトを作成。
カレントディレクトリが先ほど作ったrails-trainingであることを確認します。
RailsはデフォルトのデータベースがSQLiteに設定されているので、オプションで"-d mysql"を指定してあげます。
$ rails new training_app -d mysql
~略~
An error occurred while installing mysql2 (0.5.3), and Bundler cannot continue.
Make sure that `gem install mysql2 -v '0.5.3' --source 'https://rubygems.org/'` succeeds before bundling.
~略~
こんなエラーが発生しました。
「rails new」コマンドを実行すると、アプリ生成時に必要なパッケージを「RubyGems」で自動的にインストールする仕組みになっています。
さきほど、「-d mysql」オプションを指定したことにより、「gem install mysql2」コマンドが内部で実行されました。
ところが、「mysql2」というgemパッケージをインストールするには、「mysql-devel」というrpmパッケージがCentOSにインストールされていることが前提となっていたため、「mysql2」のインストールに失敗してしまったようです。
つまり、この問題を解決するには
yumで「mysql-devel」をインストール
gemで「mysql2」をインストール
という手順を踏む必要があります。
という事なので、私はyumで「mysql-devel」をインストールしました。
加えて引用サイトに記載もありますが、先ほどの"rails new"コマンドは生きているので、プロジェクト自体はすでに作成されています。
ですので新しく"rails new"コマンドを実行する必要はありません。
$ sudo yum install -y mysql-devel
$ ls
app  bin  config  config.ru  db  Gemfile  lib  log  package.json  public  Rakefile  README.md storage  test  tmp  vendor
サーバー起動
プロジェクトディレクトリに移動してから実行します。
$ cd training_app
$ rails s
=> Booting Puma
=> Rails 6.0.3.4 application starting in development
=> Run `rails server --help` for more startup options
Exiting
Traceback (most recent call last):
~略~
/home/ec2-user/.rvm/gems/ruby-2.6.3/gems/webpacker-4.3.0/lib/webpacker/configuration.rb:95:in `rescue in load': Webpacker configuration file not found /home/ec2-user/rails-training/training_app/config/webpacker.yml. Please run rails webpacker:install Error: No such file or directory @ rb_sysopen - /home/ec2-user/rails-training/training_app/config/webpacker.yml (RuntimeError)
rails webpacker:installを実行してくださいエラー:そのようなファイルまたはディレクトリはありません
ひとまず言われた通りに"rails webpacker:install"を実行。
$ rails webpacker:install
Yarn not installed. Please download and install Yarn from https://yarnpkg.com/lang/en/docs/install/
yarnがインストールされていないようなので、インストールしてから再度実行し、サーバーも起動。
$ brew install yarn
$ rails webpacker:install
$ rails s
ページにアクセスすると、以下のエラーが出て正常に表示されない。
To allow requests to **********.vfs.cloud9.ap-northeast-1.amazonaws.com, add the following to your environment configuration:
なにやらRails6からDNS再バインド攻撃対策として、自身からしかアクセスができない仕様になっているらしい。
config/application.rbのApplicationクラスにアクセスを許可する設定を記載すれば解決される様子。
<config/application.rb>

require_relative 'boot'

require 'rails/all'

# Require the gems listed in Gemfile, including any gems
# you've limited to :test, :development, or :production.
Bundler.require(*Rails.groups)

module TrainingApp
  class Application < Rails::Application
    # Initialize configuration defaults for originally generated Rails version.
    config.load_defaults 6.0

    #以下一文を追加。末尾が"amazonaws.com"のドメインは許可する。
    config.hosts << ".amazonaws.com"

    # Settings in config/environments/* take precedence over those specified here.
    # Application configuration can go into files in config/initializers
    # -- all .rb files in that directory are automatically loaded after loading
    # the framework and any gems in your application.
  end
end
これで表示されることを信じてサーバーを起動。
$ rails s
Mysql2::Error::ConnectionError
Access denied for user 'root'@'localhost' (using password: NO)
今度はMySQLのrootユーザーのパスワードが一致しないので、データベースにアクセスできないときた。
これはLaravelでも経験があるエラーなので落ち着いて対処。
Raylsではtraning_app/config/detabase.ymlにデータベース周りの設定を記載すればいいみたい。
私の環境だと17行にさっき対話形式で設定したMySQLのパスワードを書いていく。
<traning_app/config/detabase.yml>

~略~
default: &default
  adapter: mysql2
  encoding: utf8mb4
  pool: <%= ENV.fetch("RAILS_MAX_THREADS") { 5 } %>
  username: root
  password: ここにパスワードを記載
  socket: /var/lib/mysql/mysql.sock

development:
  <<: *default
  database: training_app_development
~略~
これでどうでしょうか、そろそろ勘弁してください。
$ rails s
ActiveRecord::NoDatabaseError
Unknown database 'training_app_development'
また出ました。
"training_app_development"なんてデータベース知りませんっておっしゃってます。
あれ?そもそもデータベース作ってないな。
ってことでデータベースを作ります。
$ mysql -u root -p
Enter password:

> CREATE DATABASE test_table;
> show databases;
+--------------------+
| Database           |
+--------------------+
| information_schema |
| mysql              |
| performance_schema |
| test_table         |
+--------------------+
よしよし、データベースはできました。
後から知りましたが、Railsはdbコマンドでデータベースを作成した方がいいようです。
$ rake db:create
この作った"test_table"を使用するように設定します。
ひとつ前でパスワードを設定した"traning_app/config/detabase.yml"ファイルを眺めていると、エラー内容と同じ名前のデータベース名を発見。
多分ここに書けば反映されそう。
<traning_app/config/detabase.yml>

~略~
default: &default
  adapter: mysql2
  encoding: utf8mb4
  pool: <%= ENV.fetch("RAILS_MAX_THREADS") { 5 } %>
  username: root
  password: ここにパスワードを記載
  socket: /var/lib/mysql/mysql.sock

development:
  <<: *default
  database: ここにデータベース名を記載
~略~
これで完璧なはず。
$ rails s
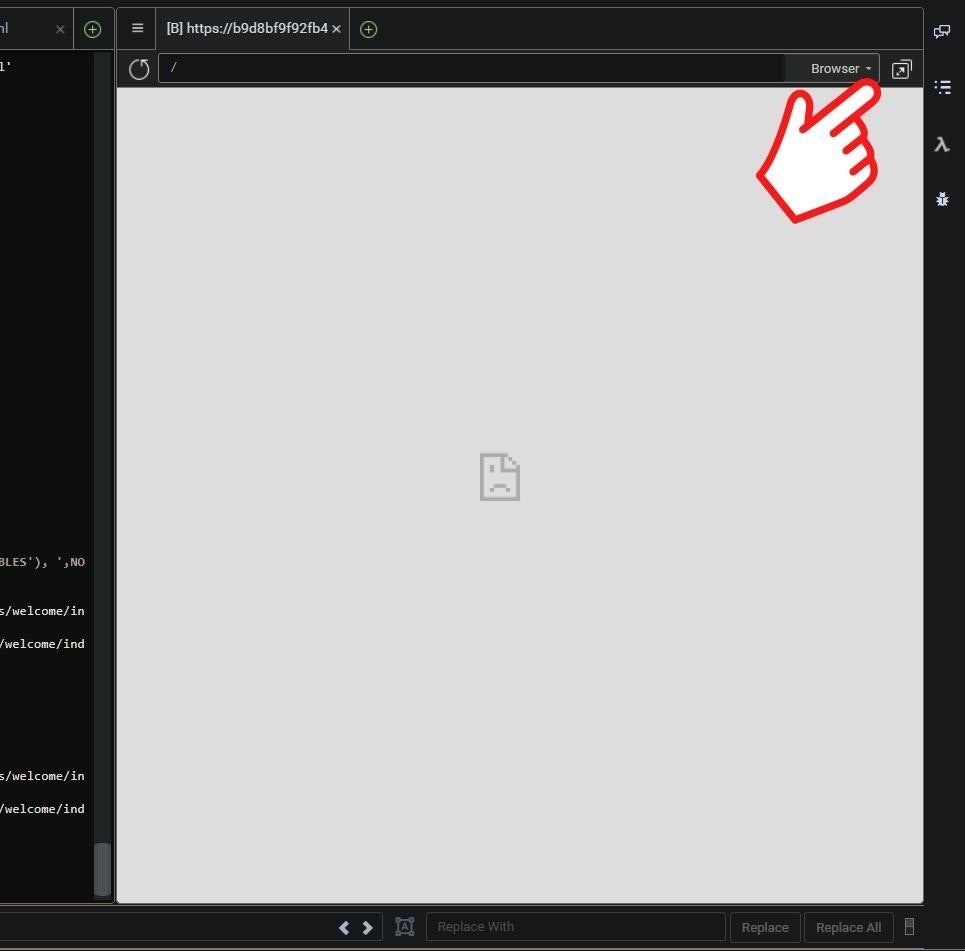
**********.vfs.cloud9.ap-northeast-1.amazonaws.com で接続が拒否されました。
調べてみると画像の部分を押して別タブで開けば表示されるとの情報を発見。
出来ました。
Yay! You’re on Rails!を表示できたので、とりあえず一件落着です。
MySQLのバージョンアップは以下の記事を参照。
MySQL 5.5から5.7へのバージョンアップと、libmysqlclient.so.18: cannot open shared object file: No such file or directoryの解消

