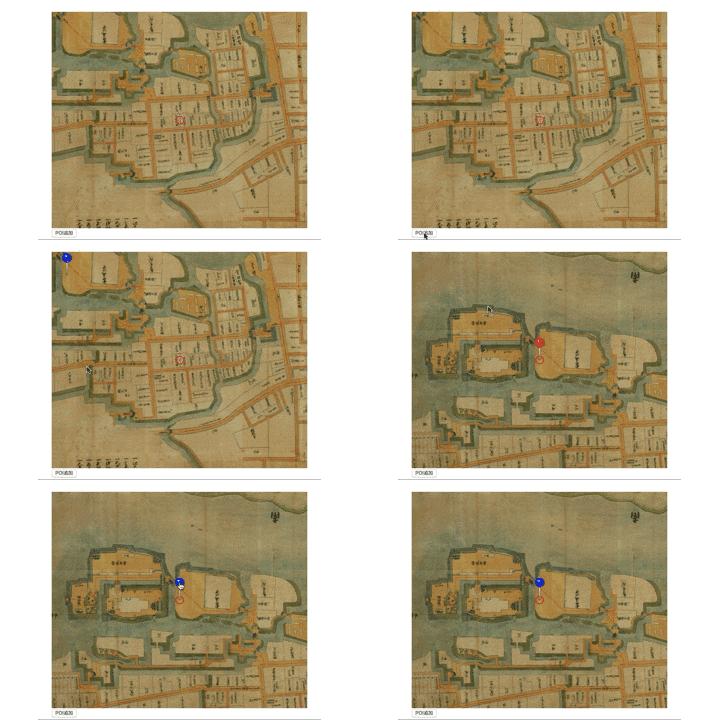
Maplat Advent Calendar 7日目は、Maplat Coreでマーカーを動的に表示する方法です。
今日の動くものはここで確認できます。 => CodeSandBox Maplat Advent Calendar day 7
昨日のコードをベースに改造しますが、動的にPOIを追加するので、静的POI設定ファイル入らないのでpois/poi.jsonは削除します。
次に、index.html、app.cssに動的に追加するためのボタンの追加などを行います。
アプリ設定ファイルから、pois設定も削除します。
index.html
<!DOCTYPE html>
<html>
  <head>
    <meta charset="UTF-8" />
    <title>Maplat Advent Calendar Day7</title>
    <link rel="stylesheet" href="app.css" />
  </head>
  <body>
    <div class="mainview">
      <div id="map_div"></div>
    </div>
    <div class="button">
      <button id="poi">POI追加</button>
    </div>
  </body>
  <script src="app.js"></script>
</html>
app.css
.mainview {
  position: absolute;
  top: 5%;
  bottom: 5%;
  left: 5%;
  right: 5%;
}
.button {
  position: absolute;
  top: 95%;
  bottom: 0%;
  left: 5%;
  right: 5%;
}
maplat_ac_day7.json
  "home_position": [139.5321, 36.249302],
  "default_zoom": 17,
  "start_from": "tatebayashi_ojozu",
  "sources": [
    {
      "mapID": "tatebayashi_ojozu",
      "setting_file": "https://s.maplat.jp/r/tatebayashimap/maps/tatebayashi_ojozu.json"
    },
    "osm"
  ]
}
続いて、JavaScriptに、POIピンを追加する処理app.addMarkerを追加します。
app.js
import "@maplat/core/dist/maplat_core.css";
import { MaplatApp } from "@maplat/core";

var option = {
  appid: "maplat_ac_day7"
};

var app = new MaplatApp(option);
app.waitReady.then(function() {
  document.getElementById("poi").addEventListener("click", function(e) {
    app.addMarker(
      {
        id: "castle",
        lat: 36.243881,
        lng: 139.543517,
        name: "館林城"
      },
      "main"
    );
  });
  app.addEventListener("clickMarker", function(evt) {
    app.selectMarker(evt.detail.namespace_id);
    console.log(evt.detail);
  });
  app.addEventListener("clickMap", function(evt) {
    app.unselectMarker();
    console.log(evt.detail);
  });
});
第一引数は、追加するPOIの設定で、昨日の記事では静的設定ファイルの中に書かれていた設定そのままです。
第二引数は、追加先のレイヤーIDを指定し、省略した場合はデフォルトレイヤーIDのmainになります。
明日は、POIピンの画像を差し替えるサンプルを作ってみます。
