やる事
Googleアカウントで2段階認証用のパスワード取得する
手順
Googleのアカウント取得が必要になります。
gmailアカウントの2段階認証をオンにして、専用の認証パスワードを取得した上で設定を行いました。
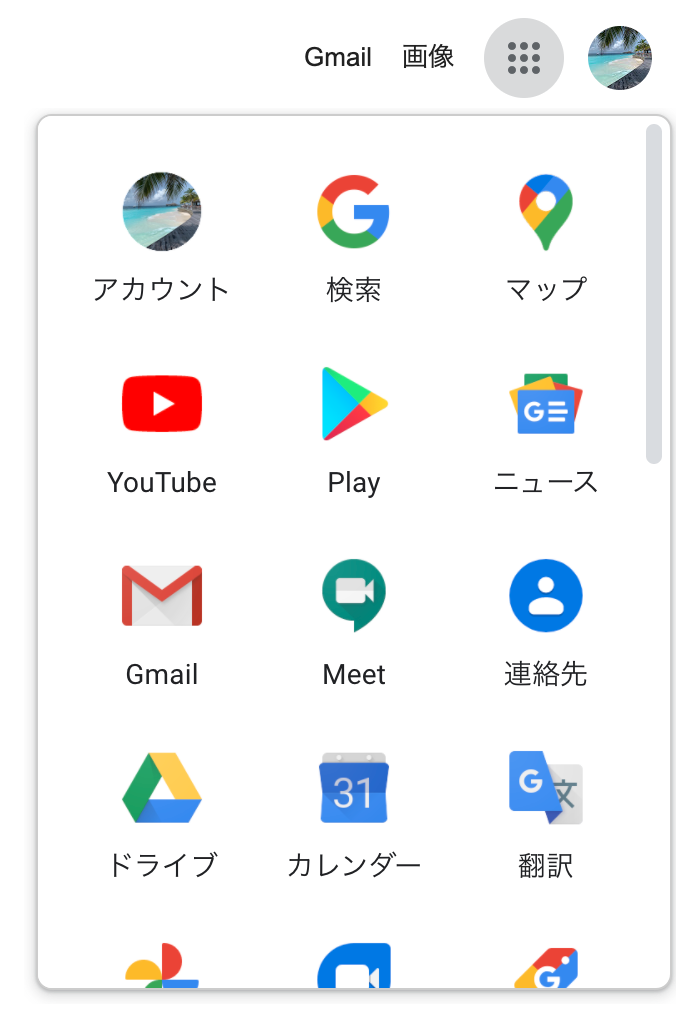
①送信用に利用するGoogleのアカウントでブラウザを開き、右上にタブを開きアカウントを開きます。
②画面左のメニューから[セキュリティ]を選択し、セキュリティの設定画面を開きます。

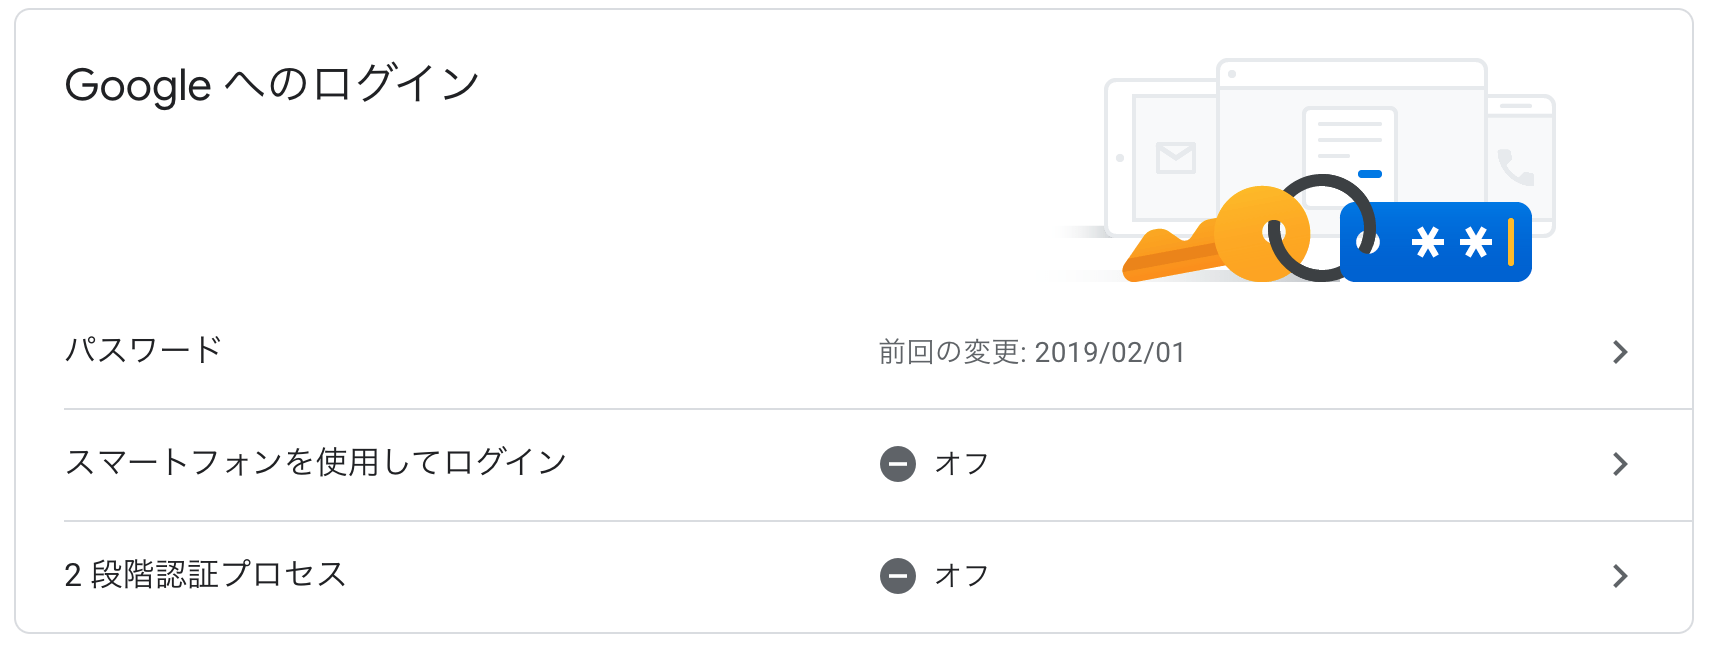
③[Googleへのログイン]にある[2段階認証プロセス]を選択し、画面に沿って設定をします。
[使ってみる]⇨[パスワード]⇨[続行]⇨[携帯に確認連絡が来る]⇨[バックアップ方法を登録]⇨[携帯に届いたコードを入力]⇨[有効にする]
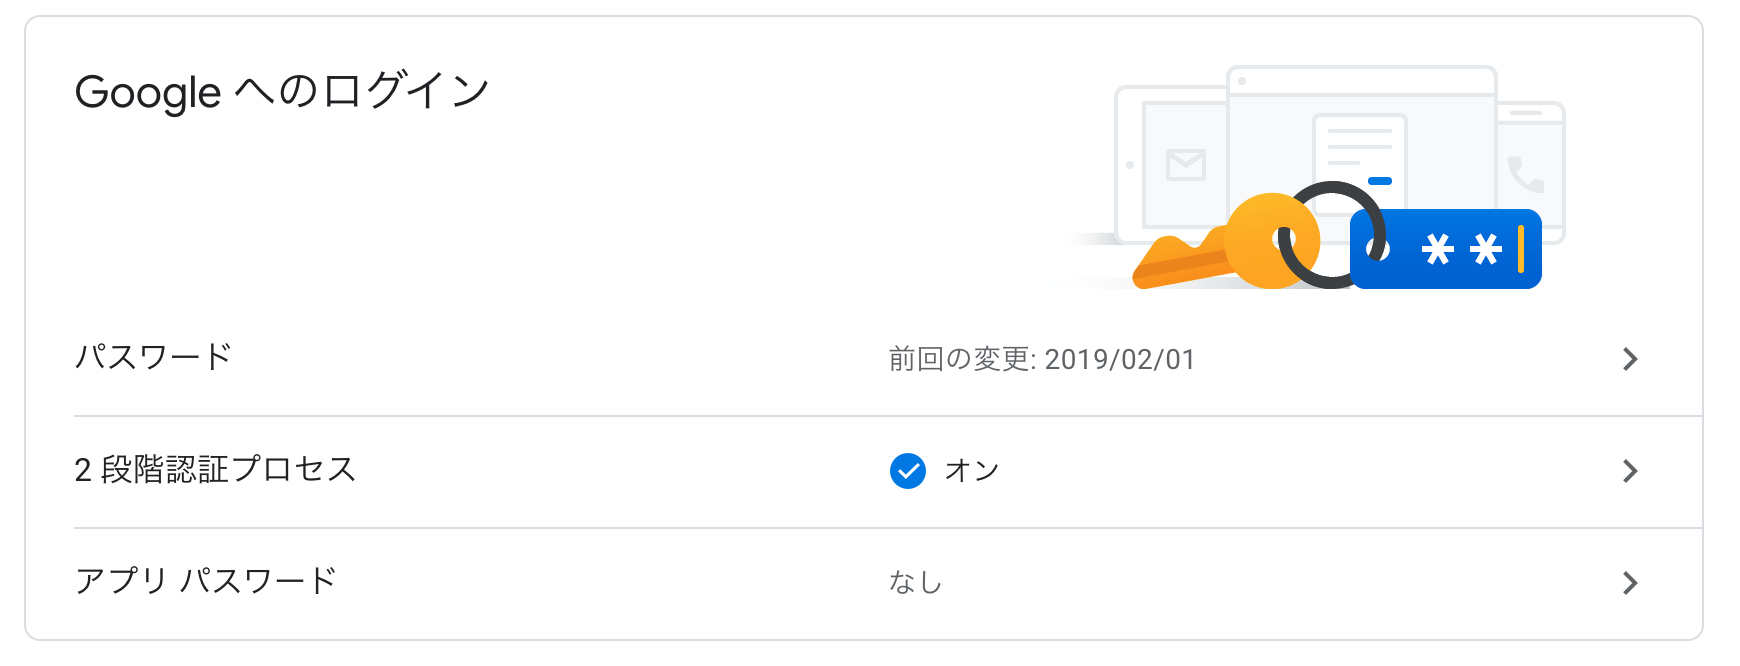
④画面を戻り[Googleへのログイン]に[アプリ パスワード]が表示されるので、画面に沿って設定をします。
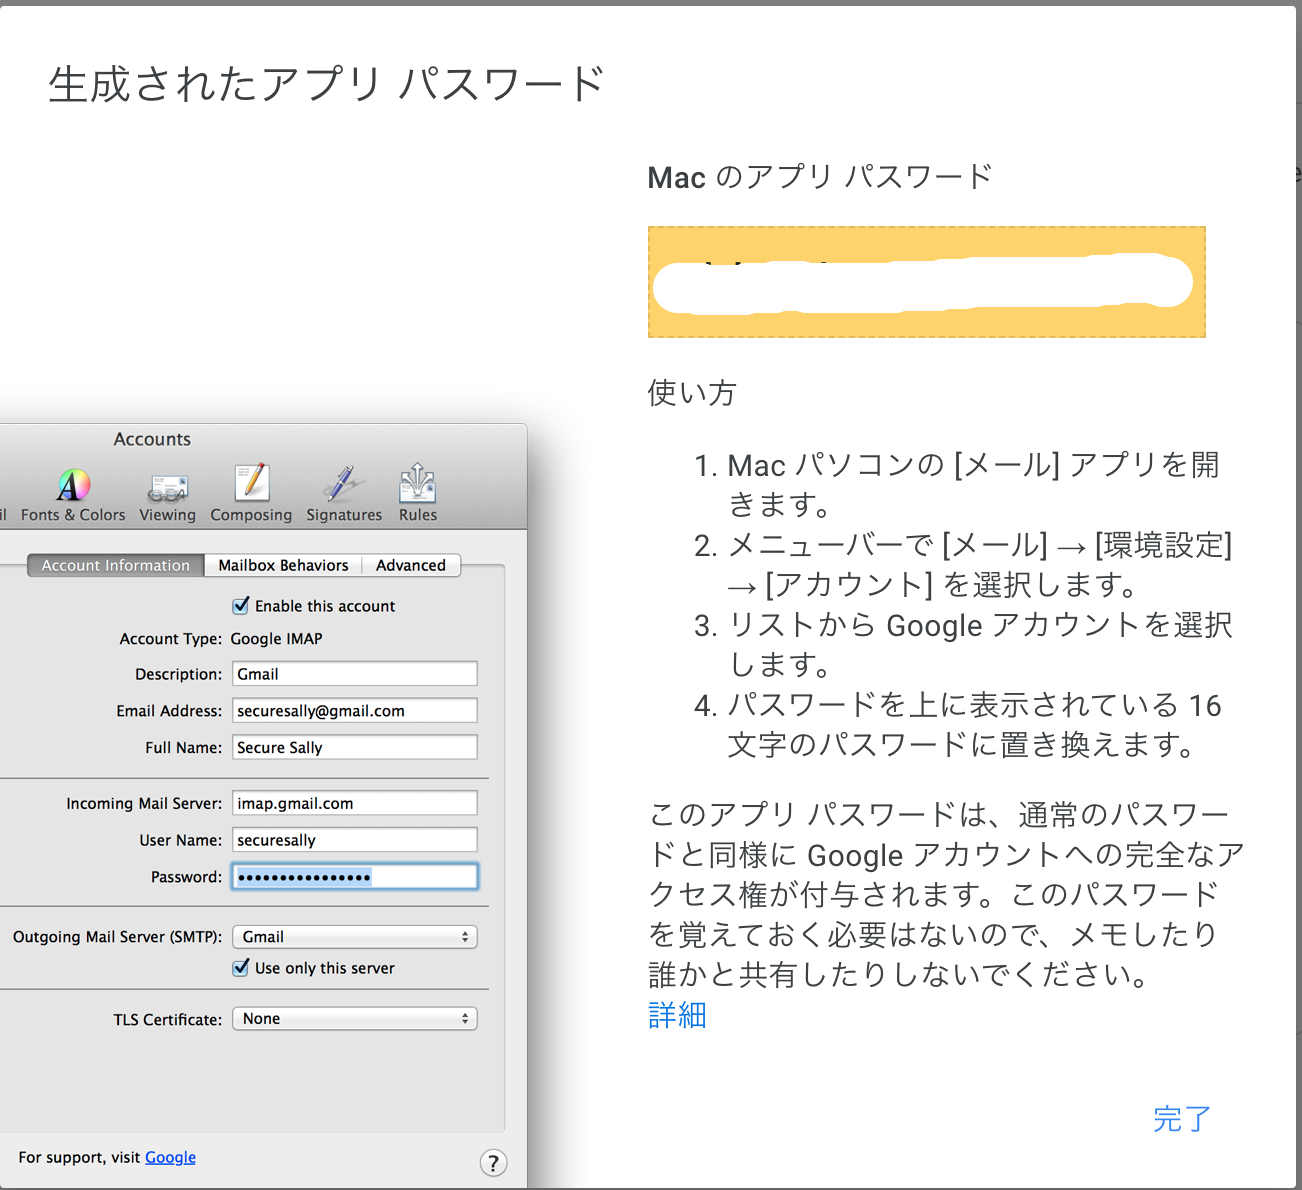
⑤パスワードが発行される (16文字)
このパスワードをメールアカウントの認証として、利用します。
Railsのconfigファイル編集
メール送信設定はconfig/environment配下にある各環境ごとの設定ファイルに定義します。
【フォルダ構成】
config
∟environments
∟development.rb ・・・ 開発環境
∟product.rb ・・・ 本番環境
Rails.application.configure do
  config.action_mailer.raise_delivery_errors = true  #falseからtrueに変更
 #中略#
  config.action_mailer.delivery_method = :smtp
  config.action_mailer.smtp_settings = {
    address: 'smtp.gmail.com',
    domain: 'smtp.gmail.com',
    port: 587,
    user_name: Rails.application.credentials.gmail[:user_name],
    password: Rails.application.credentials.gmail[:password],
    authentication: 'login',
    enable_starttls_auto: true
  }
end
環境変数の設定
$ sudo EDITOR=vim rails credentials:edit
環境変数に下記を追加する。
gmail:
  user_name: test@gmail.com
  #先ほど登録したGoogleアカウントのアドレスを入力
  password: aaaabbbbccccdddd
  #発行されたパスワードを記載する(16文字)
次回
Ruby on Railsでの実装を行っていきます。
Ruby on Rails メールの自動送信機能 実装