ソースは以下になります。
Spring Cloud Gatewayは
マイクロサービス的に使うんだろうけど
単にfirewallっぽく使用できるのかな、と試してみました。
構成
以下二つのサービスを使用します。
[cloud-gateway]
[api]
[cloud-gateway]経由で
RESTサーバ[api]にアクセスします。
[cloud-gateway]はoauth2認証を必要とします。
OAuth2認可サーバー
KeycloakをDockerで起動
Dockerでkeycloakサーバを起動します。
以下 Docker Composeからpostgresqlを選択しています。
keycloak consoleの基本的な操作は以下です。
https://www.keycloak.org/getting-started/getting-started-docker
ユーザ等、keycloak設定を永続化するために
ローカルのpostgresql(こちらもDocker)に接続します。
以下を参考にしました。
docker-compose.ymlは上記内容合わせて以下です。
version: '3'

volumes:
  postgres_data:
      driver: local

services:
  postgres:
      image: postgres
      volumes:
        - postgres_data:/var/lib/postgresql/data
        - ./docker-entrypoint-initdb.d:/docker-entrypoint-initdb.d
      environment:
        POSTGRES_DB: keycloak
        POSTGRES_USER: keycloak
        POSTGRES_PASSWORD: password
  keycloak:
      image: quay.io/keycloak/keycloak:latest
      environment:
        DB_VENDOR: POSTGRES
        DB_ADDR: postgres
        DB_DATABASE: keycloak
        DB_USER: keycloak
        DB_SCHEMA: public
        DB_PASSWORD: password
        KEYCLOAK_USER: admin
        KEYCLOAK_PASSWORD: Pa55w0rd
        # Uncomment the line below if you want to specify JDBC parameters. The parameter below is just an example, and it shouldn't be used in production without knowledge. It is highly recommended that you read the PostgreSQL JDBC driver documentation in order to use it.
        #JDBC_PARAMS: "ssl=true"
      ports:
        - 8080:8080
      depends_on:
        - postgres
Realm,Client,Userの作成
以下でkeycloakの管理コンソールを開きます。
アカパスはdocker-compose.yml内。
ログインするとこんな画面が表示されます。
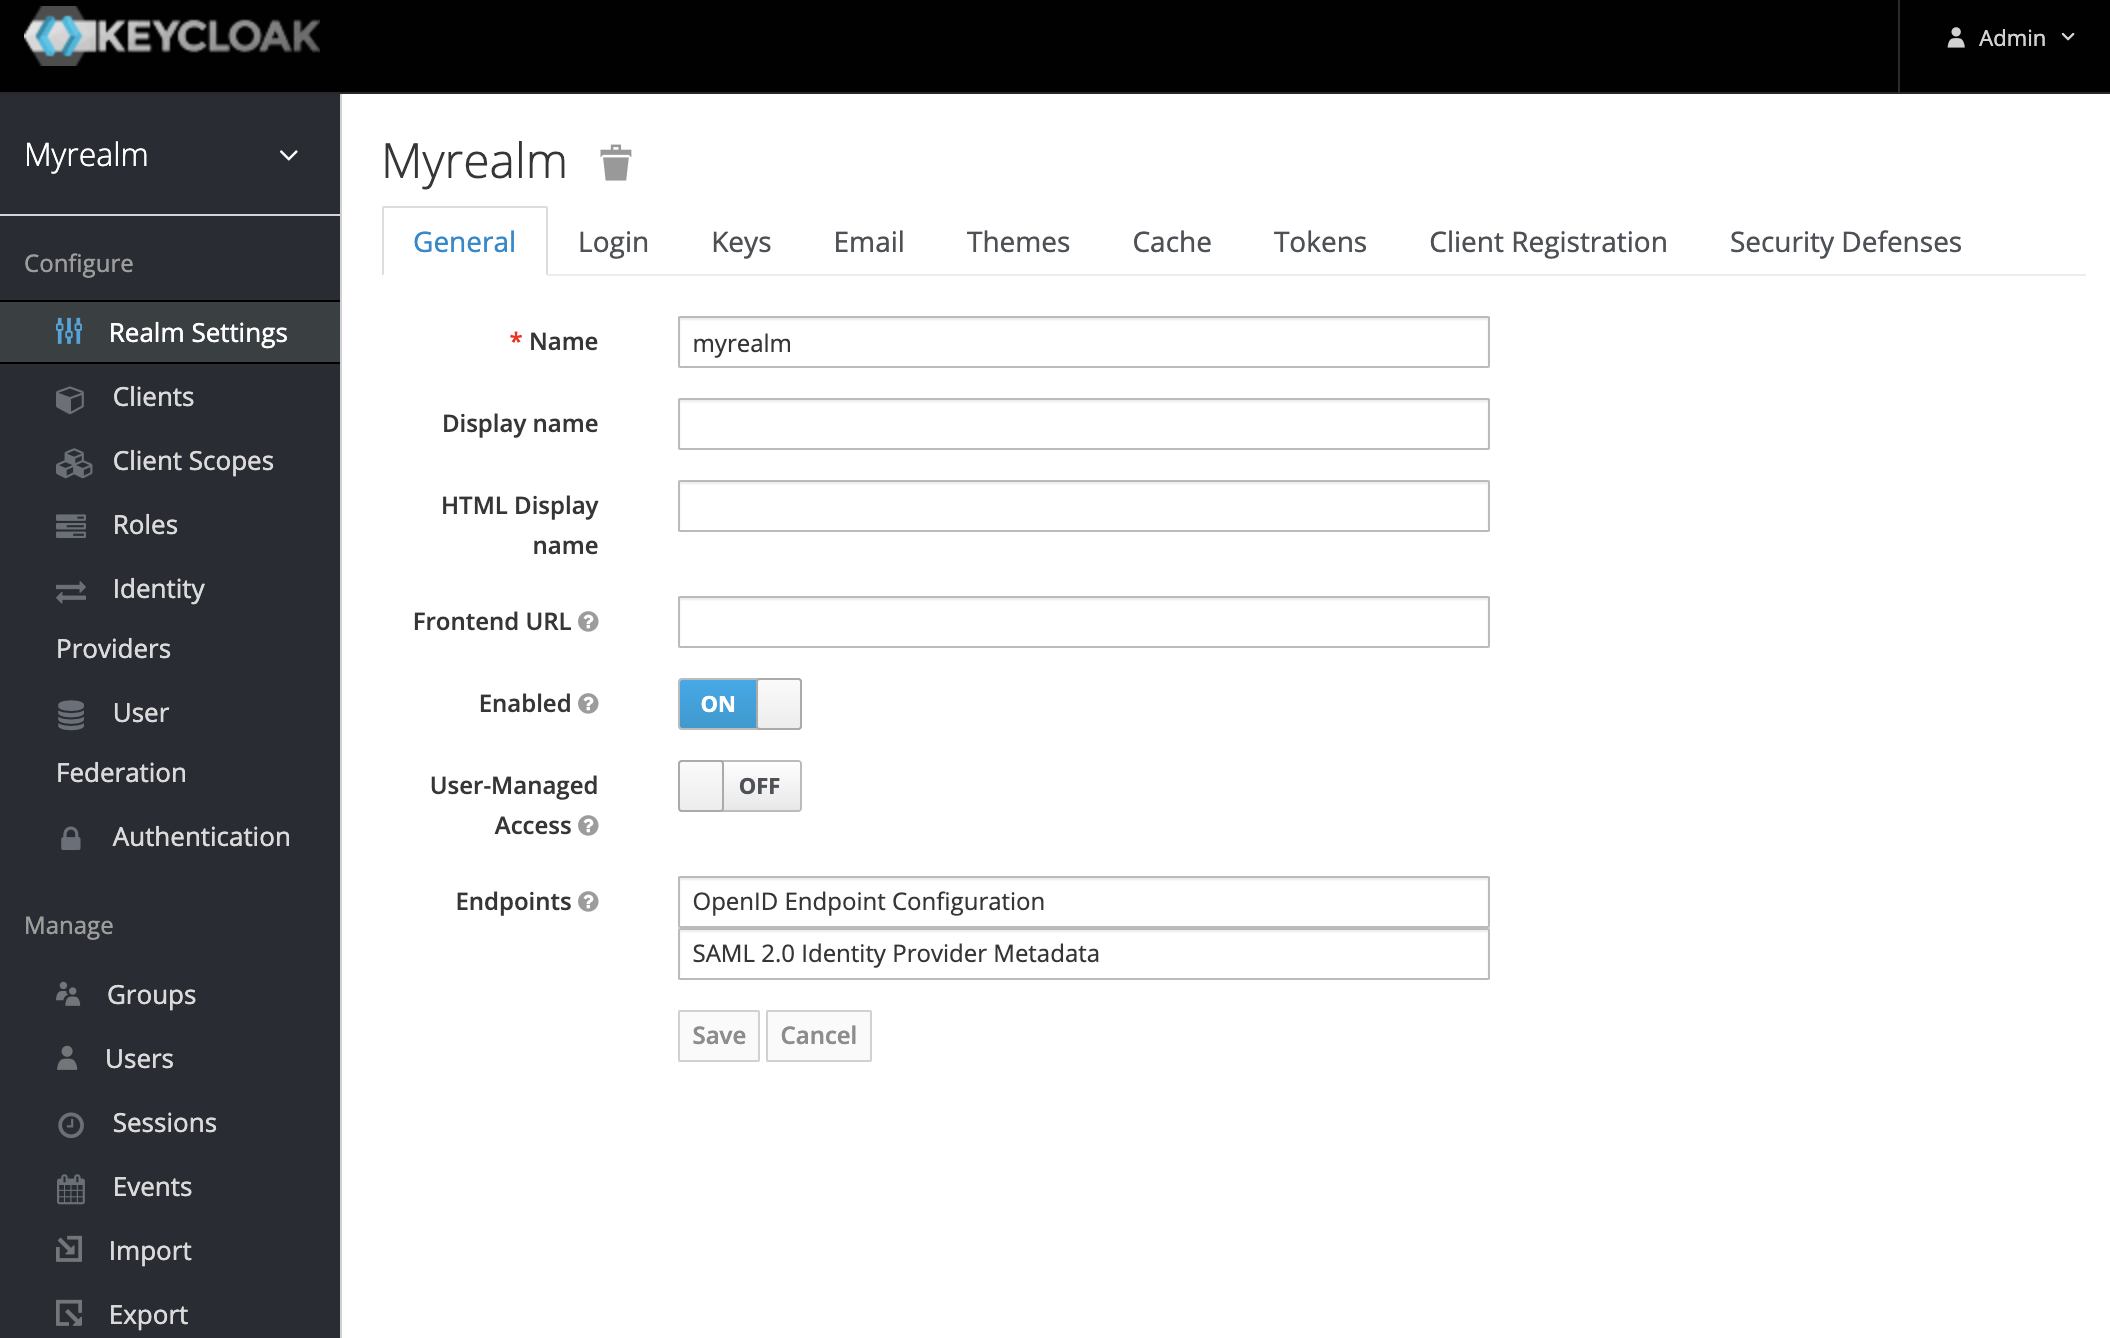
以下のように設定します。
Realm:myrealm
Client ID:spring-client
Access type:confidential
Valid Redirect URIs:
http://localhost:8082/*
username:myuser
Credentials
myuser/mypwd
Spring Cloud Gateway
参考
以下サイトを参考にpom.xml,configの設定をしました。
spring-cloud-gatewayがWebfluxなので以下とか。
pom.xml
<?xml version="1.0" encoding="UTF-8"?>
<project xmlns="http://maven.apache.org/POM/4.0.0" xmlns:xsi="http://www.w3.org/2001/XMLSchema-instance"
         xsi:schemaLocation="http://maven.apache.org/POM/4.0.0 https://maven.apache.org/xsd/maven-4.0.0.xsd">
    <modelVersion>4.0.0</modelVersion>
    <parent>
        <groupId>org.springframework.boot</groupId>
        <artifactId>spring-boot-starter-parent</artifactId>
        <version>2.3.4.RELEASE</version>
        <relativePath/> <!-- lookup parent from repository -->
    </parent>
    <groupId>com.example</groupId>
    <artifactId>cloud-gateway</artifactId>
    <version>0.0.1-SNAPSHOT</version>
    <name>cloud-gateway</name>
    <description>Demo project for Spring Boot</description>

    <properties>
        <java.version>11</java.version>
        <spring-cloud.version>Hoxton.SR8</spring-cloud.version>
    </properties>

    <dependencies>

        <dependency>
            <groupId>org.springframework.boot</groupId>
            <artifactId>spring-boot-starter-oauth2-client</artifactId>
        </dependency>

        <dependency>
            <groupId>org.springframework.cloud</groupId>
            <artifactId>spring-cloud-starter-gateway</artifactId>
        </dependency>

        <dependency>
            <groupId>org.springframework.cloud</groupId>
            <artifactId>spring-cloud-starter-security</artifactId>
        </dependency>

        <dependency>
            <groupId>org.springframework.boot</groupId>
            <artifactId>spring-boot-starter-test</artifactId>
            <scope>test</scope>
            <exclusions>
                <exclusion>
                    <groupId>org.junit.vintage</groupId>
                    <artifactId>junit-vintage-engine</artifactId>
                </exclusion>
            </exclusions>
        </dependency>
    </dependencies>

    <dependencyManagement>
        <dependencies>
            <dependency>
                <groupId>org.springframework.cloud</groupId>
                <artifactId>spring-cloud-dependencies</artifactId>
                <version>${spring-cloud.version}</version>
                <type>pom</type>
                <scope>import</scope>
            </dependency>
        </dependencies>
    </dependencyManagement>

    <build>
        <plugins>
            <plugin>
                <groupId>org.springframework.boot</groupId>
                <artifactId>spring-boot-maven-plugin</artifactId>
            </plugin>
        </plugins>
    </build>

</project>
WebFluxでSpring Securityということで
@EnableWebFluxSecurityが必要です。
SecurityConfig.java
package com.example.cloudgateway.config;

import org.springframework.context.annotation.Bean;
import org.springframework.context.annotation.Configuration;
import org.springframework.security.config.annotation.web.reactive.EnableWebFluxSecurity;
import org.springframework.security.config.web.server.ServerHttpSecurity;
import org.springframework.security.oauth2.client.registration.ReactiveClientRegistrationRepository;
import org.springframework.security.web.server.SecurityWebFilterChain;
import org.springframework.stereotype.Component;

import static org.springframework.security.config.Customizer.withDefaults;

@Configuration
@EnableWebFluxSecurity
public class SecurityConfig {

    @Bean
    public SecurityWebFilterChain springSecurityFilterChain(ServerHttpSecurity http) {
        http.authorizeExchange(exchanges -> exchanges.anyExchange().authenticated())
                .oauth2Login(withDefaults());
        http.csrf().disable();
        return http.build();
    }

}
application.ymlでは
oauth2認証し、apiサーバにルーティングする設定をします。
keycloak周りの設定はkeycloak管理コンソールの以下で参照できます。
application.yml
server:
  port: 8082
  servlet:
    context-path: gw

spring:
  cloud:
    gateway:
      routes:
        - id: path_route
          uri: http://localhost:8081
          predicates:
            - Path=/gw/api/{segment}
          filters:
            - SetPath=/api/{segment}
  security:
    oauth2:
      client:
        provider:
          keycloak:
            token-uri: http://localhost:8080/auth/realms/myrealm/protocol/openid-connect/token
            authorization-uri: http://localhost:8080/auth/realms/myrealm/protocol/openid-connect/auth
            userinfo-uri: http://localhost:8080/auth/realms/myrealm/protocol/openid-connect/userinfo
            user-name-attribute: preferred_username
        registration:
          keycloak-dev:
            provider: keycloak
            client-id: spring-client
            client-secret: d7360530-4071-4a80-96fa-d711144fb3f3
            authorization-grant-type: authorization_code
            redirect-uri: "{baseUrl}/login/oauth2/code/keycloak"

logging.level:
  org.springframework.cloud.gateway: DEBUG
  org.springframework.security: DEBUG
  org.springframework.web.reactive.function.client: TRACE
REST側は普通にコントローラ作成して
8081で起動します。
package com.example.api;

import org.springframework.boot.SpringApplication;
import org.springframework.boot.autoconfigure.SpringBootApplication;
import org.springframework.web.bind.annotation.GetMapping;
import org.springframework.web.bind.annotation.RestController;

@SpringBootApplication
@RestController
public class ApiApplication {

    public static void main(String[] args) {
        SpringApplication.run(ApiApplication.class, args);
    }

    @GetMapping("/test")
    String home() {
        return "Hello Api";
    }
}
以下でアクセスするとkeycloakのログイン画面が表示されます。
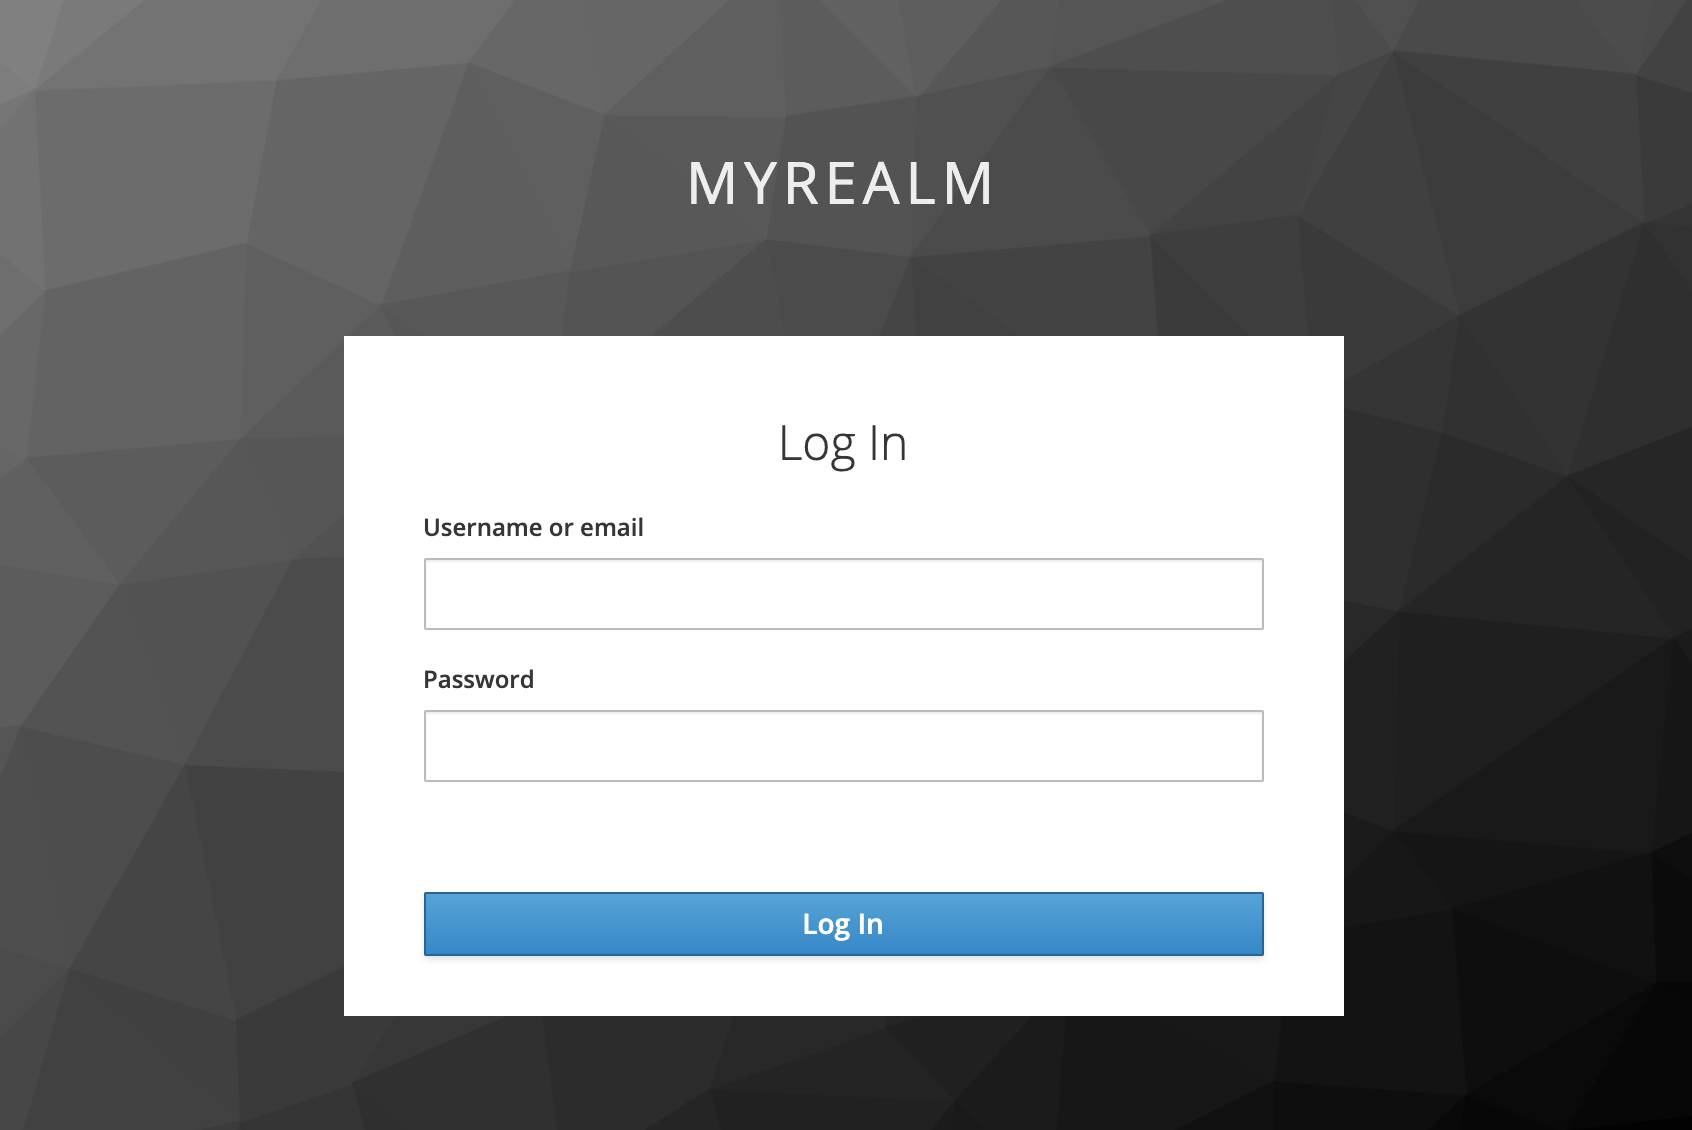
myuser/mypwdでログインして、
「Hello Api」が表示されます。