はじめに
今年、はじめて SwiftUI を実務で採用する機会があったのですが、UIKit では面倒だったPhotoshop的な加工処理がシンプルに実装できて(※本来は非常に不向きな事だと思います)驚いたので、PY - PARTY TECH STUDIO Advent Calendar 2024 への参加も兼ねてシェアします。
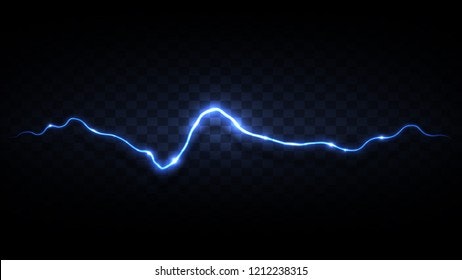
Pathで描画した 『ただの線』 を下記の参考画像のルックに近づけていきます。

参考:shutterstock.com 1212238315
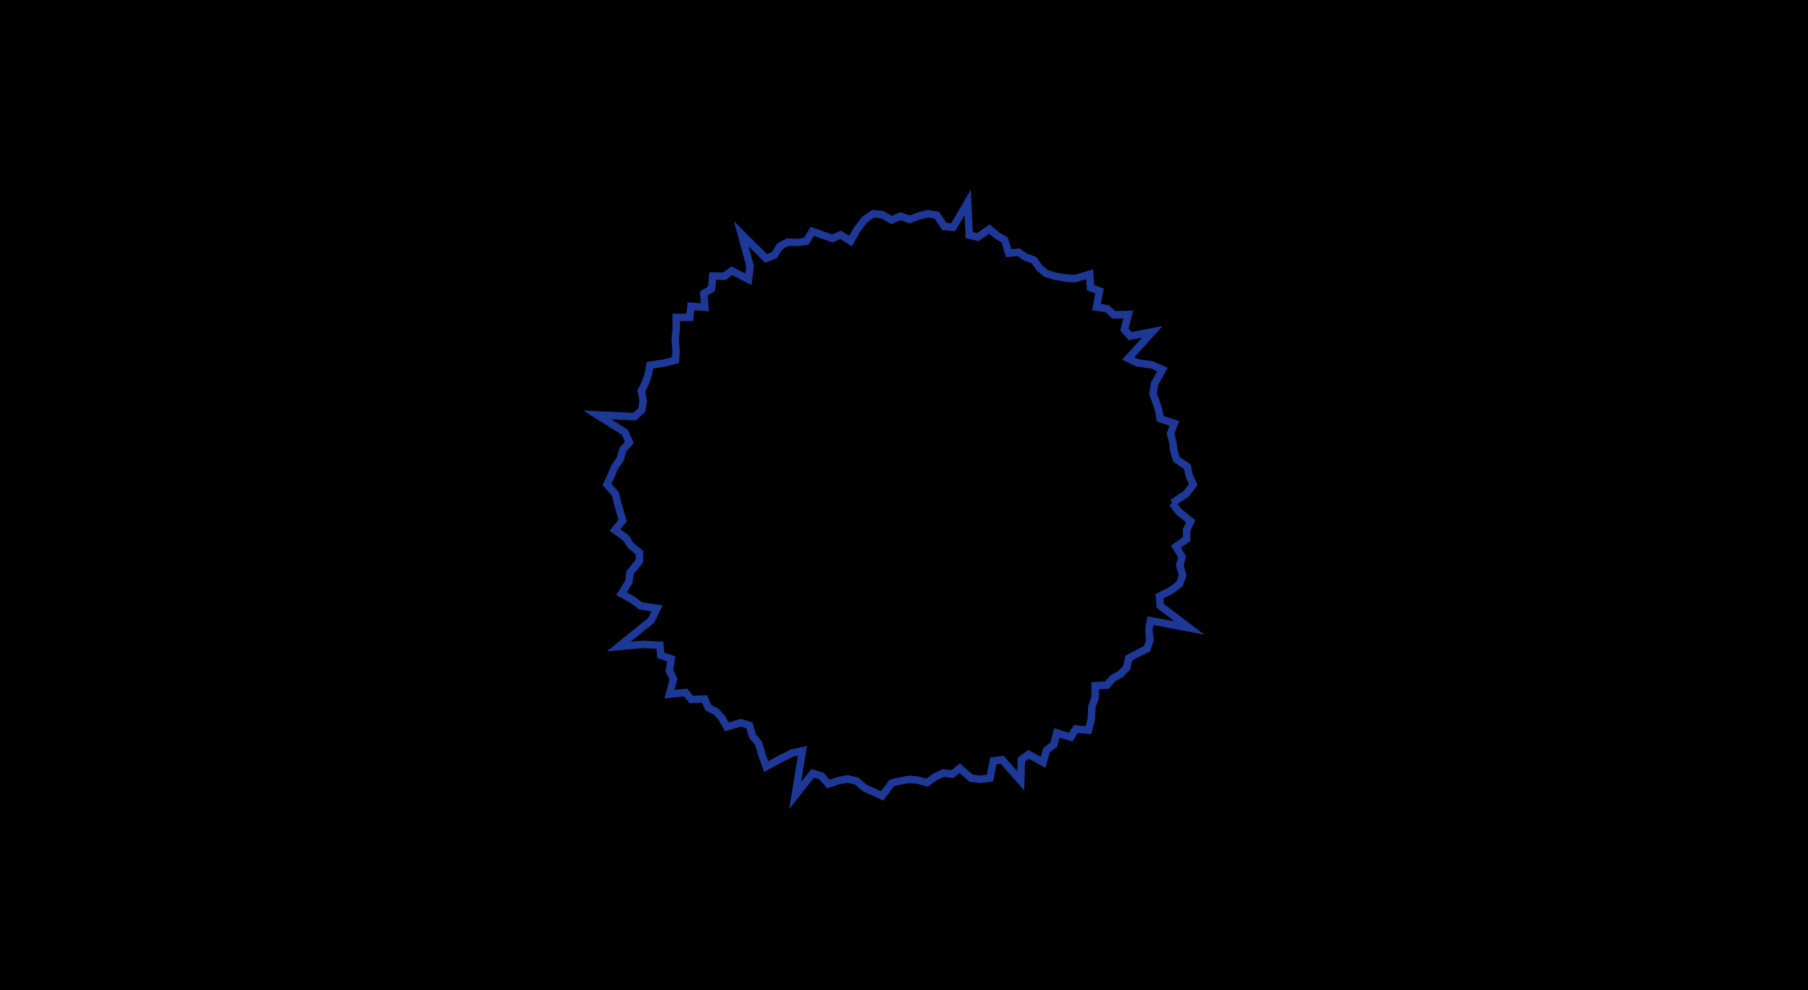
ベースとなるPathを作成
// 図形のパターン。インタラクティブに値を変更することもできる。
var amplitudePattern: [Float] = [0.53, 0.49, 0.51, 0.55, 0.69, 0.67, 0.69, 0.69, 0.67, 0.65, 0.63, 0.59, 0.58, 1.25, 0.53, 0.49, 0.61, 0.60, 0.55, 0.52, 0.49, 0.44, 0.41, 0.39]
let darkblueColor = Color(red: 0.082, green: 0.219, blue: 0.615)

ElectricShape(power: 5.0, time: time)
                .stroke(darkblueColor, lineWidth: 5)
                .frame(width: 300, height: 300)
import SwiftUI

struct ElectricShape: Shape {
    var power: Double = 1.0
    var time: CGFloat = 0.0
    var amplitudePattern: [Float] = []

    func path(in rect: CGRect) -> Path {
        var path = Path()
        let size = CGSize(width: rect.width, height: rect.height)
        let staticRadius = sqrt(size.width * size.height / .pi)
        let segmentCount = 200
        let center = CGPoint(x: size.width / 2, y: size.height / 2)

        // 円形の点を計算するヘルパー関数
        func calculateCircularPoint(index: Int) -> CGPoint {
            let target = index % amplitudePattern.count
            let baseCircleRadius = staticRadius + CGFloat(amplitudePattern[target] * 30.0)
            let waveMotion = CGFloat(sin(Double(time) * 10.0 + Double(index)) +
                                     sin(Double(time) * 5.0 * Double(amplitudePattern[target]) * 5.0))
            let modulatedRadius = CGFloat(amplitudePattern[target] * 5.0) * (abs(sin(Double(time) * 5.0)) * Double(amplitudePattern[target]))
            let dynamicRadius = baseCircleRadius + modulatedRadius + waveMotion * (power * abs(sin(Double(time) * 5.0 + Double(index))))
            let radian = 2 * .pi / CGFloat(segmentCount) * CGFloat(index)
            return CGPoint(
                x: dynamicRadius * CGFloat(cos(Double(radian))) + center.x,
                y: dynamicRadius * CGFloat(sin(Double(radian))) + center.y
            )
        }

        // 線の描画を開始する
        let firstPoint = calculateCircularPoint(index: 0)
        path.move(to: firstPoint)

        // 各点への線の追加
        for i in 1..<segmentCount {
            path.addLine(to: calculateCircularPoint(index: i))
        }

        // 最初の点に戻る
        path.addLine(to: firstPoint)

        return path
    }
}
Pathをぼかす
UIKitでは少し面倒(+UIBlurEffectでは痒いところに手も届かない)な ぼかし効果 ですが、SwiftUIではたったひとつのmodifierで実装できます。
Text("This is some blurry text.").blur(radius: 4.0)
 ElectricShape(power: 2.0,  time: time, amplitudePattern: amplitudePattern)
    .stroke(darkblueColor, lineWidth: 10)
    .frame(width: 300, height: 300)
    .blur(radius: 4)
ハイライトを追加
Viewのブレンド合成も同様に簡単です。blendMode(.screen)を使用して、ハイライト部分の線を追加します。
ZStack{
    ElectricShape(power: 5.0,  time: time, amplitudePattern: amplitudePattern)
        .stroke(darkblueColor, lineWidth: 10)
        .frame(width: 300, height: 300)
        .blur(radius: 4)

    ElectricShape(power: 5.0, time: time, amplitudePattern: amplitudePattern)
        .stroke(Color.white, lineWidth: 1)
        .frame(width: 300, height: 300)
        .shadow(color: Color.white, radius: 1, x: 0, y: 0) //わずかな光彩効果
        .blendMode(.screen)
}
もう一本重ねてビリビリしている感じに
ElectricShape(power: 2.0, time: time, amplitudePattern: amplitudePattern)
    .stroke(Color.white, lineWidth: 1)
    .frame(width: 300, height: 300)
    .blendMode(.screen)
歪みを加えてもう少し有機的な図形に
iOS 17.0+で使用可能になった VisualEffect を使用することで、あらゆるUI要素に直接シェーダー効果を適用できます!(これ最高!)
今回は distortionEffect を使用しますが、ピクセルカラーを操作したい場合は、colorEffectを使用する必要があります。
.visualEffect { content, proxy in
    content.distortionEffect(ShaderLibrary.distortLightning(
         .float(1), .float2(proxy.size), .float(1), .float(2), .float(10)
    ), maxSampleOffset: CGSize(width: 10.0, height: 10.0))
}
#include <metal_stdlib>
using namespace metal;

[[ stitchable ]] float2 distortLightning(float2 position, float time, float2 size, float speed, float strength, float frequency) {
    float2 normalizedPosition = position / size / 0.1;
    float moveAmount = time * speed;

    position.x += sin((normalizedPosition.x + moveAmount) * frequency) * strength;
    position.y += cos((normalizedPosition.y + moveAmount) * frequency) * strength;

    return position;
}
昔はUIImageにMetalシェーダーを適用するのも一苦労だったのでこれだけのコードで実現できるなんて..
↓ 5年前に書いた記事
回転モーションを加えて完成
.rotationEffect(.degrees(isAnimating ? 360 : 0))
.animation( .linear(duration: 40.0).repeatForever(autoreverses: false),
    value: isAnimating
)
さいごに
読んでいただき、ありがとうございます。
他のメンバーの記事もぜひご覧ください!


