はじめに
Nuxt.jsとcontentfulを使ってブログを構築してみます。
環境
- node v10.12.0
- vue-cli 3.1.1
今回使うもの
- Nuxt.js
- contentful
contentfulって?
2011年にベルリンのスタートアップが作ったAPIベースのCMSです。
結構前ですが、1300万ドルを調達しています。
ベルリンの「Contentful」が1300万ドルを調達、最先端のプラットフォーム向けCMSの拡大目指す
手順
実際にやっていきましょー
Integrate Contentful with Nuxt.js
1. Nuxt.jsをインストール
先ずはvue-cliをインストール
$ npm install -g vue-cli
次にNuxt.jsでプロジェクトを作成。今回はmy-blogというプロジェクト名にします。
$ vue init nuxt/starter my-blog
もし上記のコマンドを叩いて
Command vue init requires a global addon to be installed.
Please run npm install -g @vue/cli-init and try again.
がでたら、vue-cliをglobalにインストールして、プロジェクトを作成してください。
// globalにインストール
$ npm install -g @vue/cli-init

// プロジェクトを作成
$ vue init nuxt/starter my-blog
プロジェクトを作成するときに色々聞かれますが、全部Enterを押してもらって大丈夫です。
? Project name
? Project description
? Autthor
これでプロジェクトが作成されました。
早速起動してみましょう。
// 作成されたプロジェクトに移動
$ cd my-blog
// npmかyarn好きな方でインストール
$ npm install # Or yarn
// 起動
$ npm run dev
下記の3つのコマンドを叩けばlocalhost:3000でアクセスできるようになります。
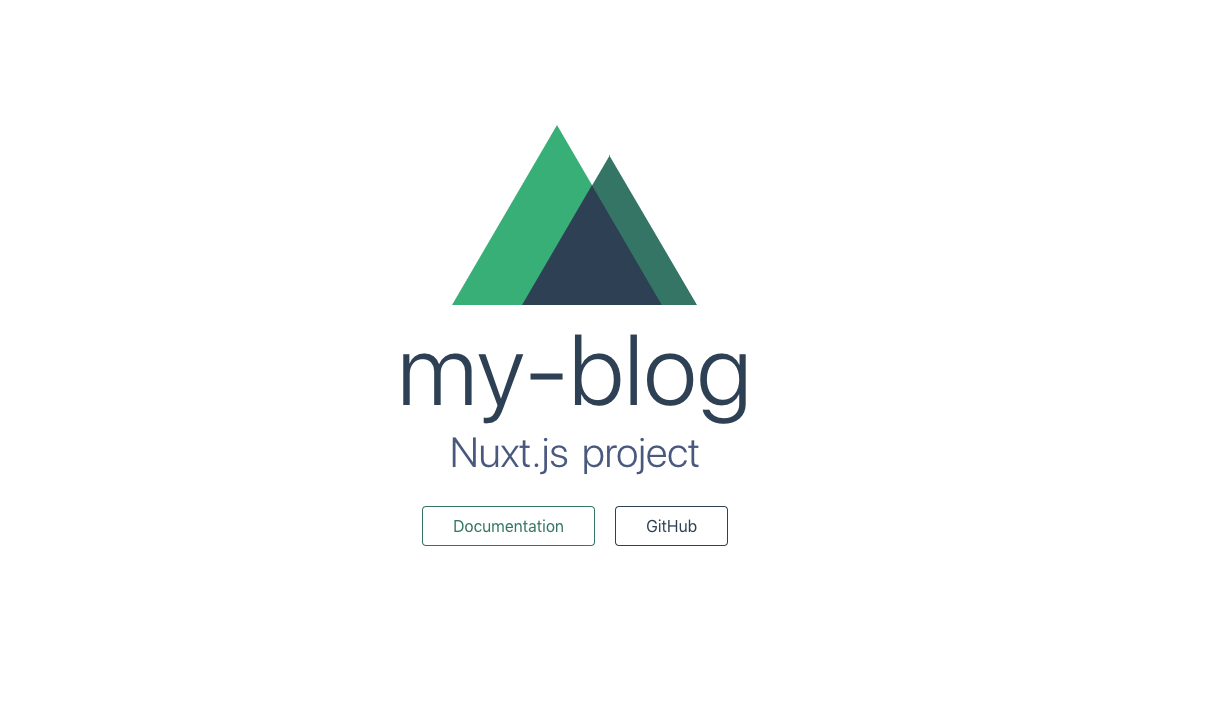
アクセスすると下記の画面がでるかと思います。
2. contentfulの設定
contentfulのアカウントを作成しましょう。
下記のページからアカウントを作成してください。
Companyは適当でも大丈夫です。
Choose your development platformはjavascriptを選択します。
それでは「space」を作成します。
「space」はプロジェクトごとに割り当てる領域のことです。
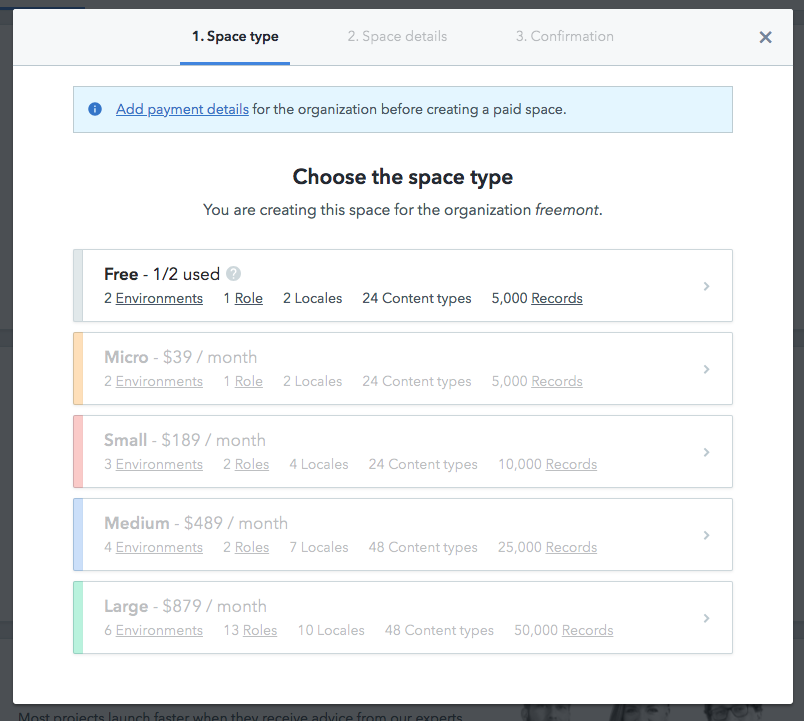
無料枠だと2つまで作成することができます。
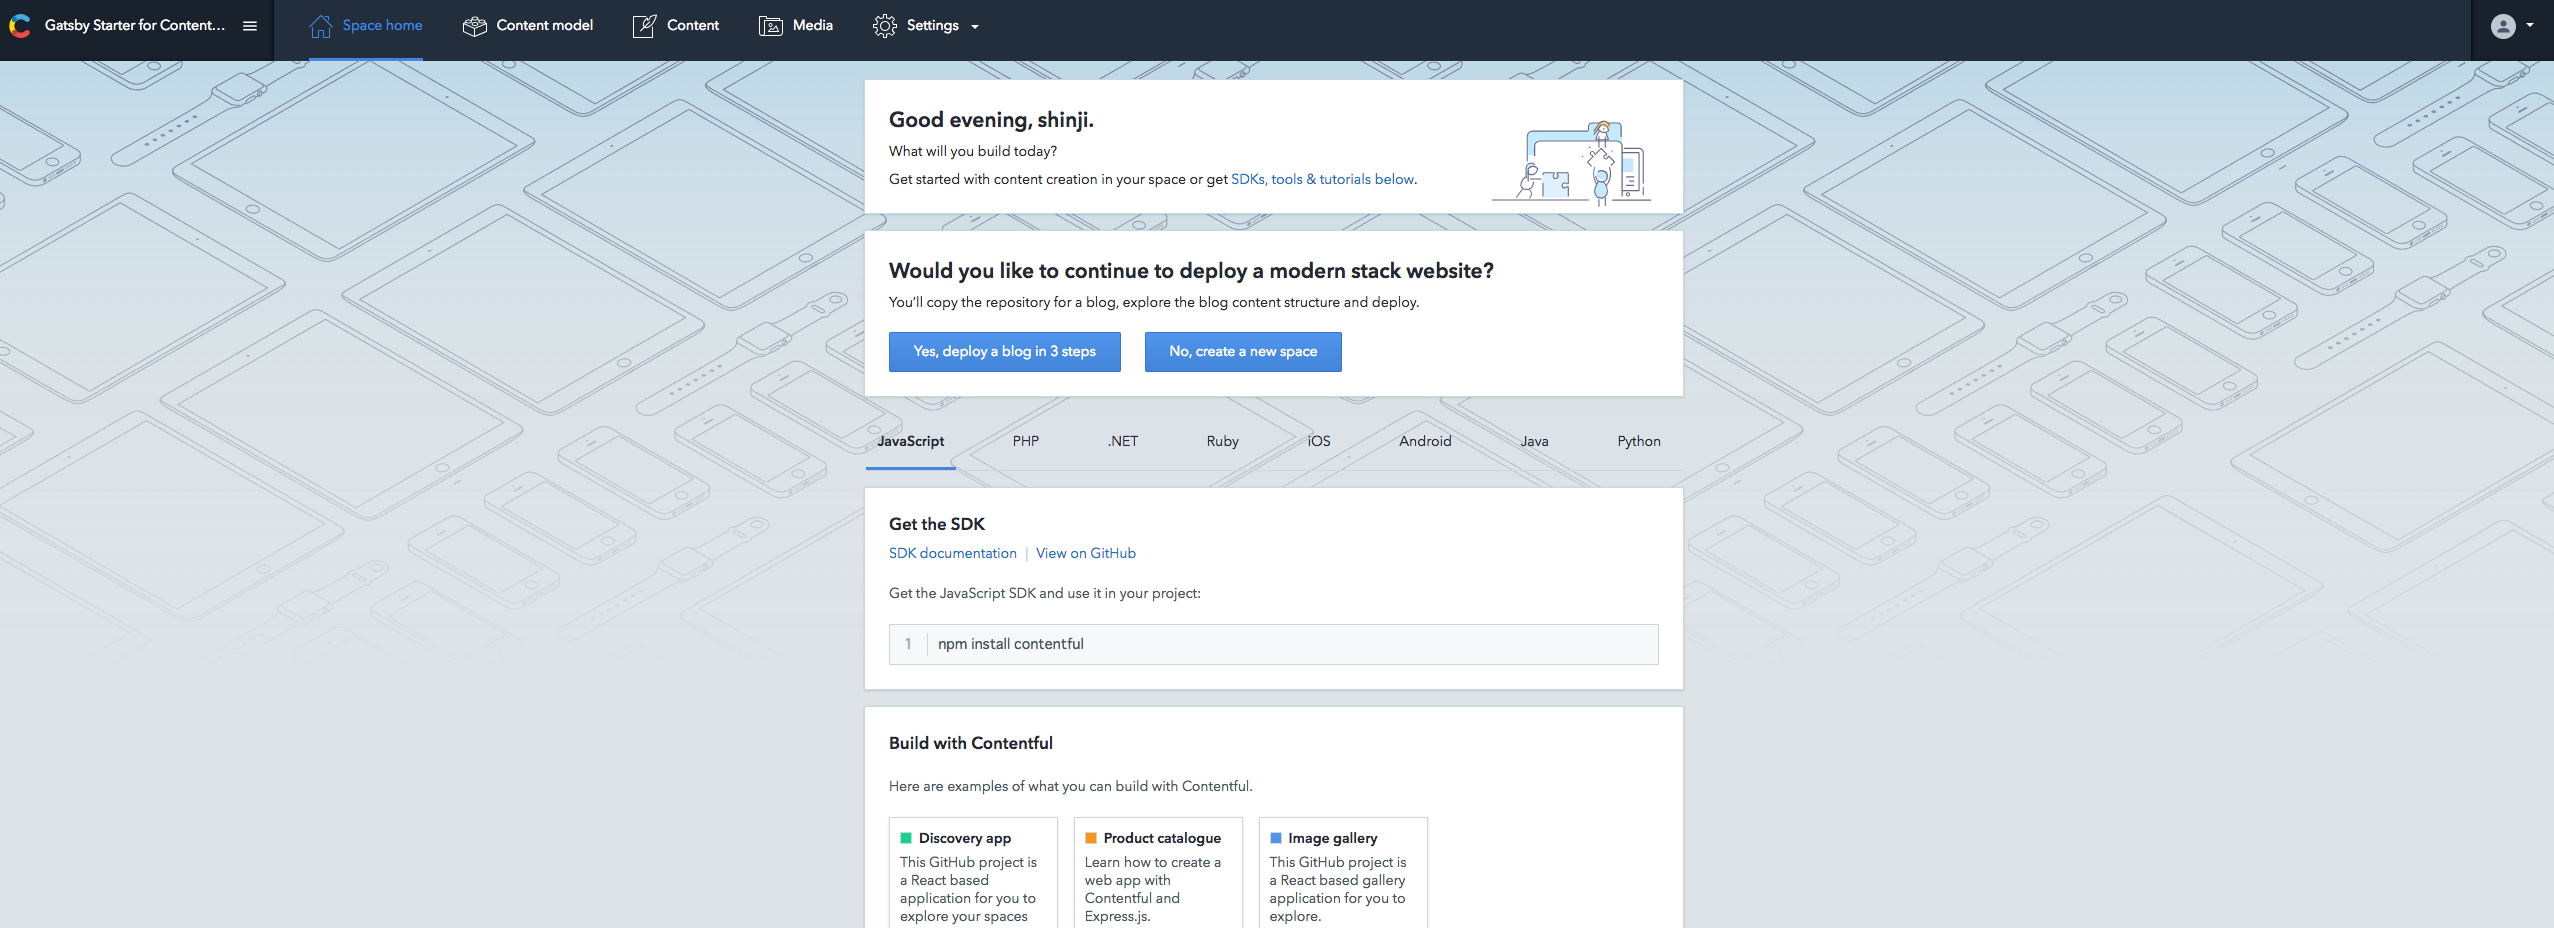
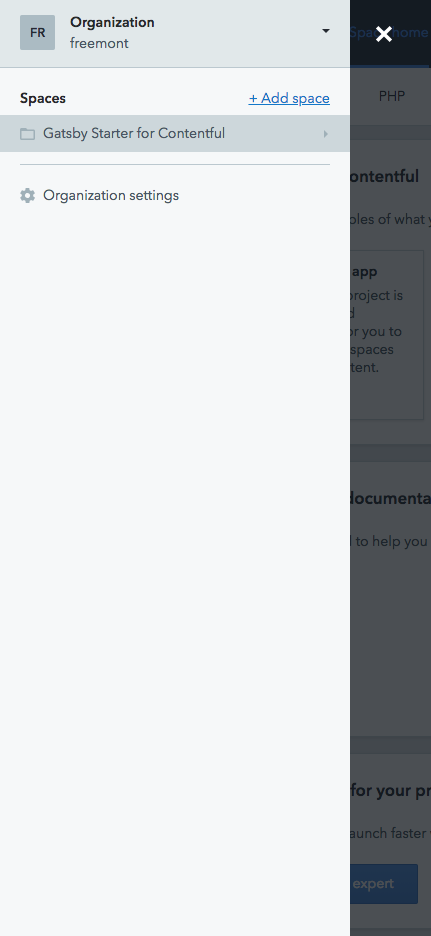
左上のロゴをクリックすると下記の画面になります。
Add Spaceでspaceを追加します。
spaceの名前を決めます。
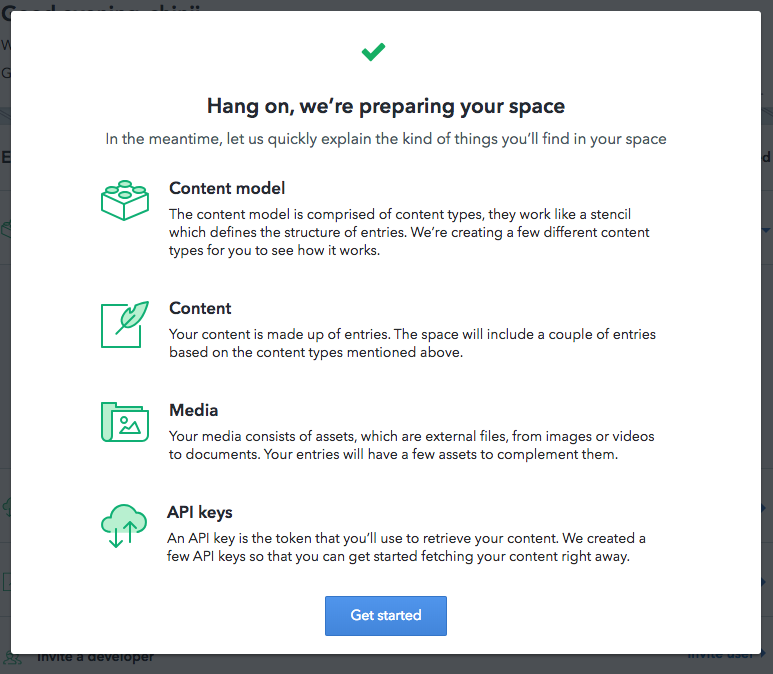
あと、ラジオボタンがあるのですがcreate an empty spaceを選択してください。
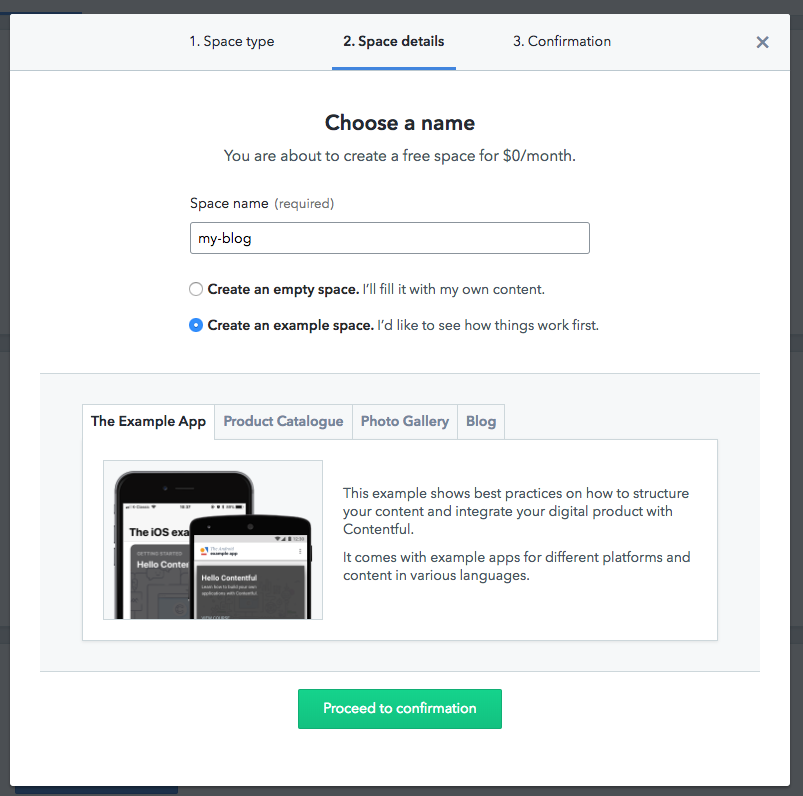
ここまでで一旦contenfulの設定は完了です。
3.contentful CLIでseedデータの作成
contentfulはcliが用意されています。
先ずはcontentful-cliをインストール
$ npm i -g contentful-cli
次にcontentfulにログインします。
cliを使うには、contentful login経由でオーサライズする必要があります。
$ contentful login
// 質問されるのでEnterを押す。
? Open a browser window now? (Y/n)
// するとブラウザが開くのでAuthorizeをクリックして
// access tokenをコピーする

// さっきコピーしたaccess tokenを貼ってEnterを押す
? Paste your token here:
無事ログインできました。
次にseed(テストデータ)を流します。
$ contentful space use
上記のコマンドを叩くとPlease select a spaceとでるので
先程自分で作成したspaceを選択してください。
そして下記コマンドを実行
$ contentful space seed --template blog
? Do you want to apply the changes to your Space now?と聞かれるのでEnterを押します。
そうするとseedデータが先程選択したspaceにimportされます。
seedデータを確認するためにブラウザからcontentfulにアクセスします。
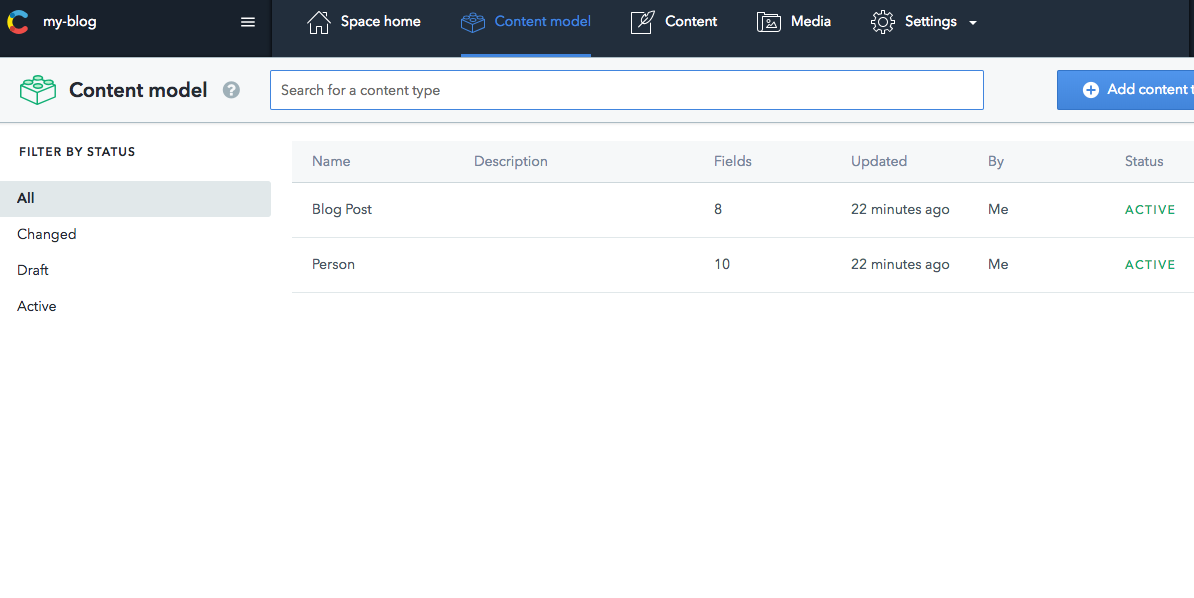
メニューからContent modelを選択します。
seedデータがちゃんとimportされていますね。
4. Nuxt.jsとcontentfulの紐付け
contentfulをインストール
$ npm install --save contentful
初めに作ったNuxtプロジェクトを開いて./plugins配下にcontentful.jsを作成します。
// ./plugins/contentful.js

const contentful = require('contentful')
// use default environment config for convenience
// these will be set via `env` property in nuxt.config.js
const config = {
  space: process.env.CTF_SPACE_ID,
  accessToken: process.env.CTF_CDA_ACCESS_TOKEN
}

// export `createClient` to use it in page components
module.exports = {
  createClient () {
    return contentful.createClient(config)
  }
}
次に.contentful.jsonをプロジェクト配下に作成して、下記を記述します。
{
  "CTF_PERSON_ID": "15jwOBqpxqSAOy2eOO4S0m",
  "CTF_BLOG_POST_TYPE_ID": "blogPost",
  "CTF_SPACE_ID": "YOUR_SPACE_ID",
  "CTF_CDA_ACCESS_TOKEN": "YOUR_ACCESS_TOKEN"
}
各IDの場所
初めてcontentfulを触る時、各IDがどこにあるのか迷うと思うので簡単にまとめました。
-
spaceIDはメニューの
SettingsからGeneral settingsを選んでください。
そうするとspaceIDが表示されます。
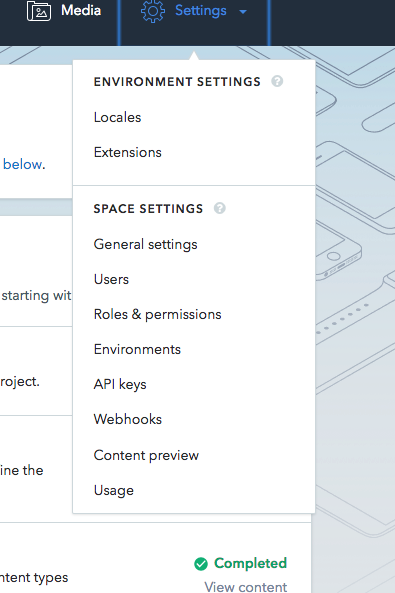
-
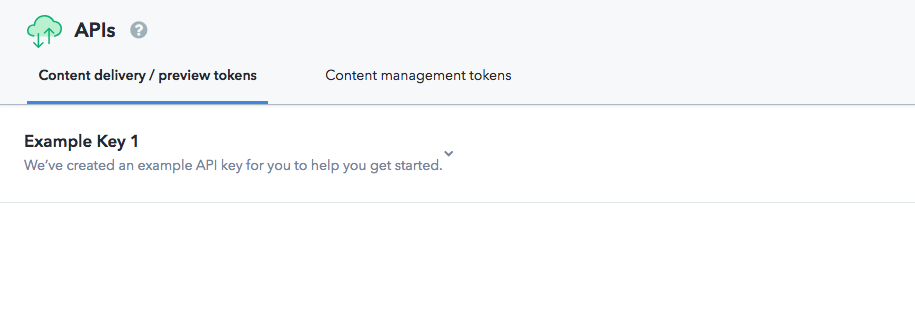
"CTF_CDA_ACCESS_TOKEN"は
SettingsからAPI keysを開きます。Example Key 1をクリックしてContent Delivery API - access tokenがあります。これがAccess tokenになります。
contentful.jsonを作成したらnuxt.config.jsに下記を追記します。
// 追加
const config = require('./.contentful.json')

module.exports = {
  /*
  ** Headers of the page
  */
  head: {
    title: 'my-blog',
    meta: [
      { charset: 'utf-8' },
      { name: 'viewport', content: 'width=device-width, initial-scale=1' },
      { hid: 'description', name: 'description', content: 'Nuxt.js project' }
    ],
    link: [
      { rel: 'icon', type: 'image/x-icon', href: '/favicon.ico' }
    ]
  },
  /*
  ** Customize the progress bar color
  */
  loading: { color: '#3B8070' },
  /*
  ** Build configuration
  */
  build: {
    /*
    ** Run ESLint on save
    */
    extend (config, { isDev, isClient }) {
      if (isDev && isClient) {
        config.module.rules.push({
          enforce: 'pre',
          test: /\.(js|vue)$/,
          loader: 'eslint-loader',
          exclude: /(node_modules)/
        })
      }
    }
  },
  // ここから
  env: {
    CTF_SPACE_ID: config.CTF_SPACE_ID,
    CTF_CDA_ACCESS_TOKEN: config.CTF_CDA_ACCESS_TOKEN,
    CTF_PERSON_ID: config.CTF_PERSON_ID,
    CTF_BLOG_POST_TYPE_ID: config.CTF_BLOG_POST_TYPE_ID
  }
  // ここまで追加
}
次は./pages/index.vueを修正します。
index.vueに書かれているものは全部削除して下記をコピペしてください。
<template>
  <div>
    <!-- render data of the person -->
    <h1>{{ person.fields.name }}</h1>
    <!-- render blog posts -->
    <ul>
      <li v-for="post in posts" :key="post.fields.title">
        {{ post.fields.title }}
      </li>
    </ul>
  </div>
</template>

<script>
  import {createClient} from '~/plugins/contentful.js'

  const client = createClient()

  export default {
    // `env` is available in the context object
    asyncData ({env}) {
      return Promise.all([
        // fetch the owner of the blog
        client.getEntries({
          'sys.id': env.CTF_PERSON_ID
        }),
        // fetch all blog posts sorted by creation date
        client.getEntries({
          'content_type': env.CTF_BLOG_POST_TYPE_ID,
          order: '-sys.createdAt'
        })
      ]).then(([entries, posts]) => {
        // return data that should be available
        // in the template
        return {
          person: entries.items[0],
          posts: posts.items
        }
      }).catch(console.error)
    }
  }
</script>
上記までが終わったら下記を実行
$ npm run generate

$ npm run dev
localhostにアクセスすると下記のような画面が表示されます。
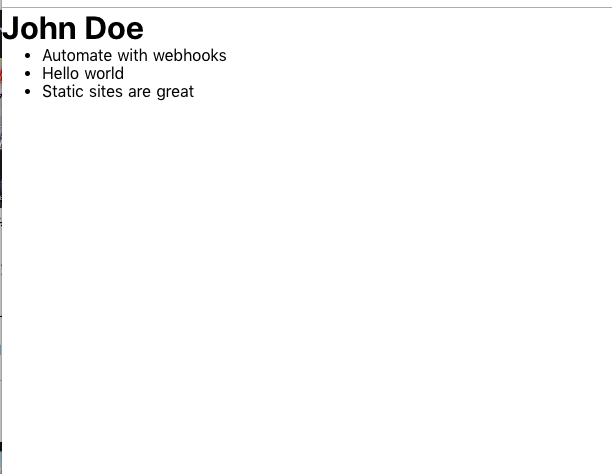
さて、名前がJohn Doeになっているので名前を変えてみましょう。
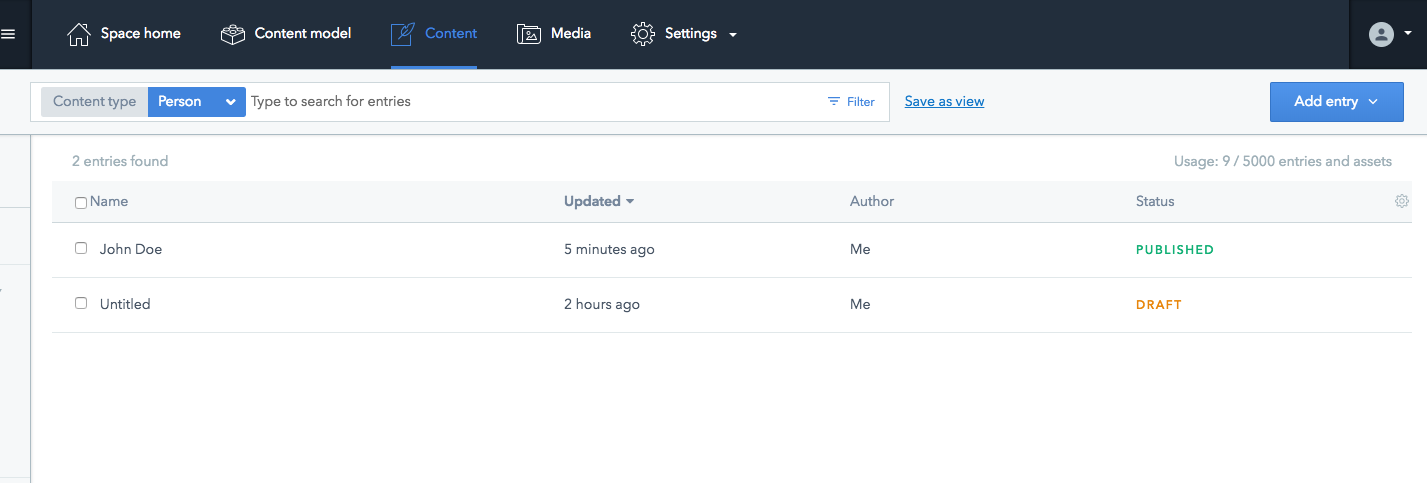
ブラウザからcontentfulのサイトにアクセスして、メニューから
- contentを選択
- Content typeをPersonにする
- John Doeを選択
そうするとコンテンツの編集画面になるので、Nameの部分を適当な名前にします。
名前を変えたあとに画面右にある、Publish changesをクリックしてください。
クリックしないと編集したものが反映されないので注意してください。
localhostに戻ってリロードします。
そうすると
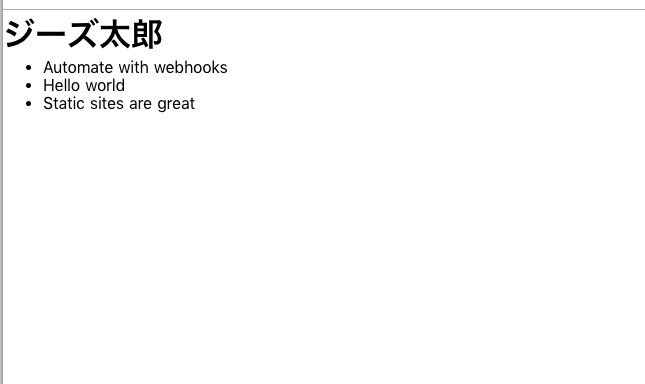
名前が変わっていますね。
最後に
いかがでしたでしょうか?
contentfulはAPIとしてブログ記事や名前など、自分で設定したものを返してくれるので
ブログだけではなく、色々な使い方ができます。
今回時間がなくてnuxtの説明ができなかったりだったので時間あるときに追記していきたいと思います![]()

