Angularを使って表示画面と編集画面を切り替えるにはどうしたらいいだろうという疑問がわきました。
どういう方法があるのだろうと調査してみたところ、以下のような方法がありそうです。
| 方法 | 概要 |
|---|---|
| templateUrlを動的に変更 | 動的にコンポーネントをコンパイルするコードを書いてtemplateUrlを変更する |
| ngIfとかngSwitchを使う | 1つのテンプレートファイルの中でngIfとかngSwitchを使って表示画面と編集画面を作る |
| コンポーネントを分ける(親、表示、編集) | 親、表示、編集のコンポーネントを作って切り替えて使う |
「templateUrlを動的に変更する」は、コンポーネントの構成を変えることで対応できるようですが、コンパイルするようなコードを書くのは、後々、問題になりそうなので却下。
「ngIfとかngSwitchを使う」は、テンプレートファイルが大変な事になりそうなので、却下。
「コンポーネントを分ける(親、表示、編集)」は、そもそもAngularはコンポーネントで構成するフレームワークですので、よさげ。しかも、コンポーネントを分ける事でメンテナンス性も確保できそう。これを採用。
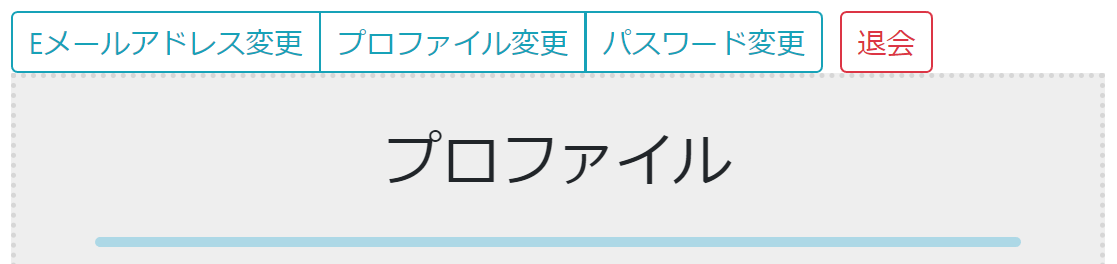
こんなものを作ります
上にツールバー、その下にツールバーに応じた画面を表示するような構成です。

まずは親コンポーネントから
親コンポーネントでは、「ツールバー」と「選択されたツールバーに応じた画面」を表示するようにします。
プロファイル(ユーザ情報)を扱う画面を作りますので、ユーザ情報(User)をロードしておきます。
import { Component, OnInit } from '@angular/core';
import { ProfileService } from './profile.service';
import { User } from './models/user';

@Component({
  selector: 'app-profile',
  templateUrl: './profile.component.pug',
  styleUrls: ['./profile.component.styl']
})
export class ProfileComponent implements OnInit {

  constructor(
    private readonly profileService: ProfileService
  ) { }

  model: User;

  /**
   * プロファイルモード
   * 0: 表示
   * 1: 編集
   * 2: Eメールアドレス変更
   * 3: パスワード変更
   * 4: 退会
   */
  mode: number = 0;

  ngOnInit() {
    this.getUser();
  }

  private async getUser() {
    this.model = await this.profileService.getUser();
  }
}
次にテンプレートの定義です。
プロファイル編集だけが動作するように作っています(お試しってことで部分的な実装です)
画面上部にはツールバー、その下にはngSwitchを使ってmodeで設定した値に従って表示するコンポーネントを定義しています。
modeが0だったら、app-view-profileと言うセレクターを持ったコンポーネントを表示してね、その時に、modelって変数にmodelを渡してあげてと言うことをやっています。
また、ツールバーがクリックされると、mode変数を変更するようにしています(プロファイル変更を見てください)
.btn-group.mr-2(role="toolbar1" aria-label="ツールバー2")
    button.btn.btn-sm.btn-outline-info(type="button") Eメールアドレス変更
    button.btn.btn-sm.btn-outline-info(type="button" '(click)'="mode=1") プロファイル変更
    button.btn.btn-sm.btn-outline-info(type="button") パスワード変更

.btn-group.mr-2(role="toolbar2" aria-label="ツールバー2")
    button.btn.btn-sm.btn-outline-danger(type="button") 退会

.switch('[ngSwitch]'="mode")
    app-view-profile('*ngSwitchCase'="0" '[(model)]'="model")
    app-edit-profile('*ngSwitchCase'="1" '[(model)]'="model")
表示コンポーネントの作成
まずは、プロファイルを表示するコンポーネントを作ります。
ここで特筆すべきは、@Inputデコレータ。これは、他のコンポーネントから値を設定してもらうときに使います。
上で、modelをmodelに渡してねという部分があります。親のmodelを子のmodelに渡す場合に使います。
import { Component, OnInit, Input } from '@angular/core';
import { User } from '../models/user';

@Component({
  selector: 'app-view-profile',
  templateUrl: './view-profile.component.pug',
  styleUrls: ['./view-profile.component.styl']
})
export class ViewProfileComponent implements OnInit {

  constructor() { }

  @Input()
  model: User;

  ngOnInit() {
  }

}
動作確認用にタイトルだけ表示するテンプレートを作っておきます。
.form-default
    .col-lg-12
        h3.form-default-heading プロファイル
        hr.colorgraph
    br
編集コンポーネントの作成
次は、プロファイルを編集するコンポーネントを作ります。
コンポーネント定義は、表示コンポーネントと同じです。
import { Component, OnInit, Input } from '@angular/core';
import { User } from '../models/user';

@Component({
  selector: 'app-edit-profile',
  templateUrl: './edit-profile.component.pug',
  styleUrls: ['./edit-profile.component.styl']
})
export class EditProfileComponent implements OnInit {

  constructor() { }

  @Input()
  model: User;

  ngOnInit() {
  }

}
表示コンポーネントと同様、タイトルだけ表示するテンプレートを作っておきます。
.form-default
    .col-lg-12
        h3.form-default-heading プロファイル(編集)
        hr.colorgraph
    br
まずは表示コンポーネント
modeの初期値が0になっていますので、初期表示時は表示コンポーネントが表示されます。
次に編集コンポーネント
ツールバーのプロファイル変更をクリックすると、modeが1にわります。
modeが1になると、編集コンポーネントが表示されるように親コンポーネントを構成しています。
なので、プロファイル変更をクリックすると、編集画面が表示されます。

注意点
子コンポーネントのテンプレートで、model変数を扱う場合、「model?.xxx」と「?」を付けないとコンソールにエラーが表示されます。データは表示されているのですが、きっとundefindedになるタイミングがあるからなんでしょう(詳しくは調べていません・・・)