はじめに
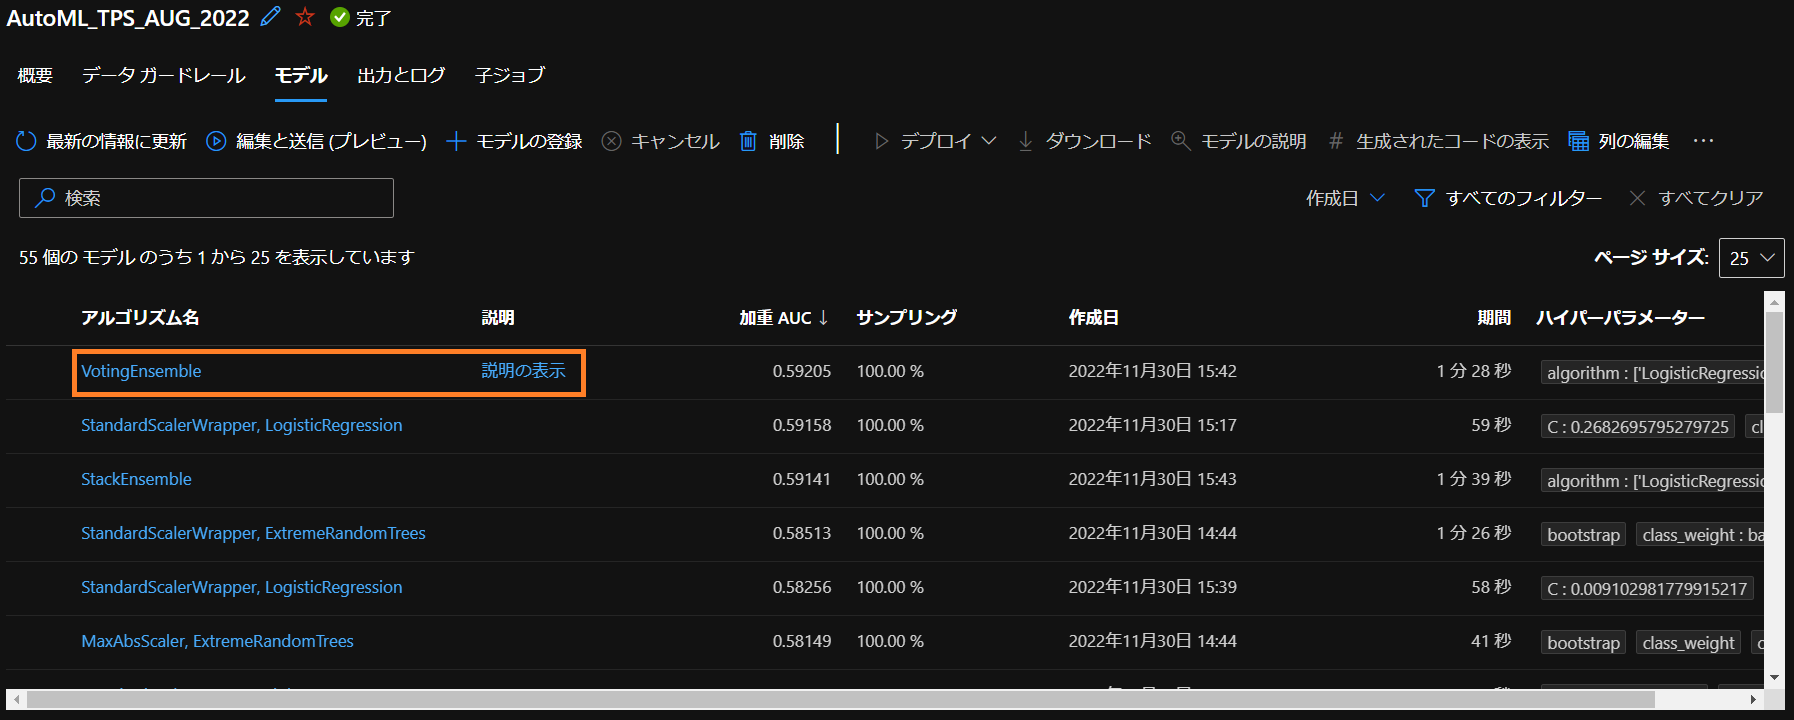
前回KaggleのTPSコンペのデータを用いてAzure Auto MLからモデルを作成しましたが、(前回の記事はこちら)これを今度はPythonから推論してみようと思います。
開発環境
- OS Windows 10(NVIDIA GTX 1650Ti,16GB RAM, i5-10300H CPU)
- Visual Studio Code 1.73.1
- Python 3.9
実行してみます!
モデルを作成するところで終わっていたので、まずはデプロイするところからやってみます。
デプロイ
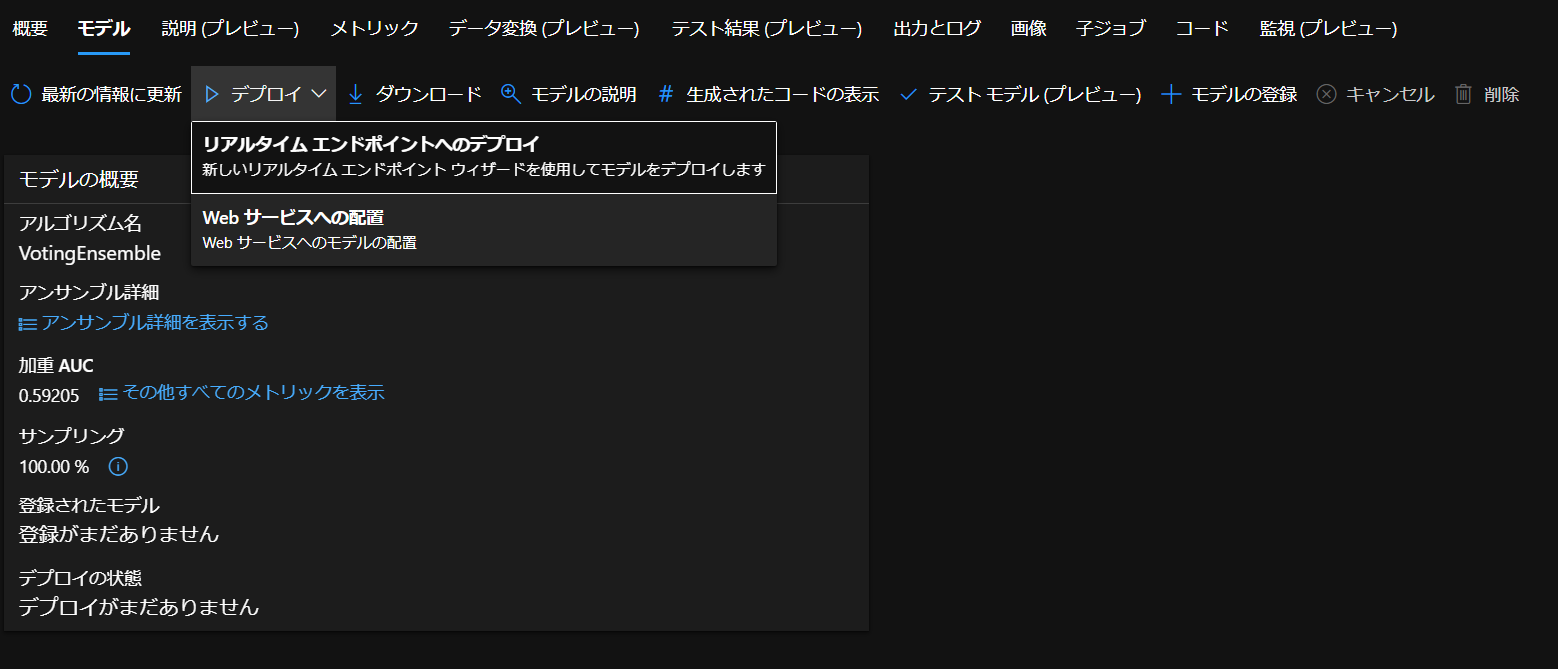
「デプロイ」をクリックします。
- リアルタイムエンドポイント
- Webサービスへの配置
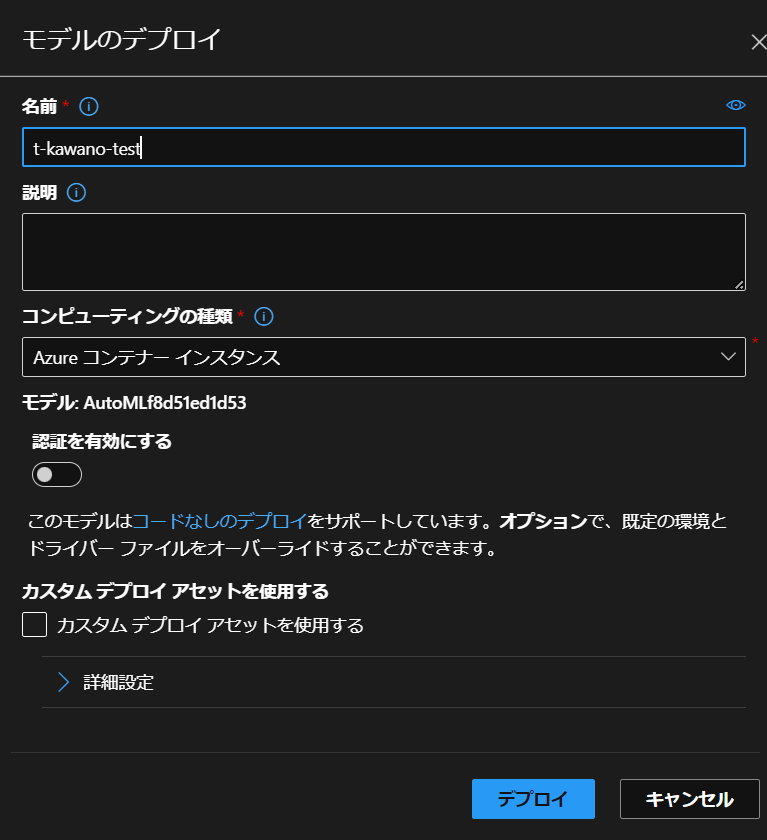
の2つを選べますが、今回はWebサービスの方でデプロイを行います。
「名前」と「コンピューティングの種類」を入力したらデプロイできます。
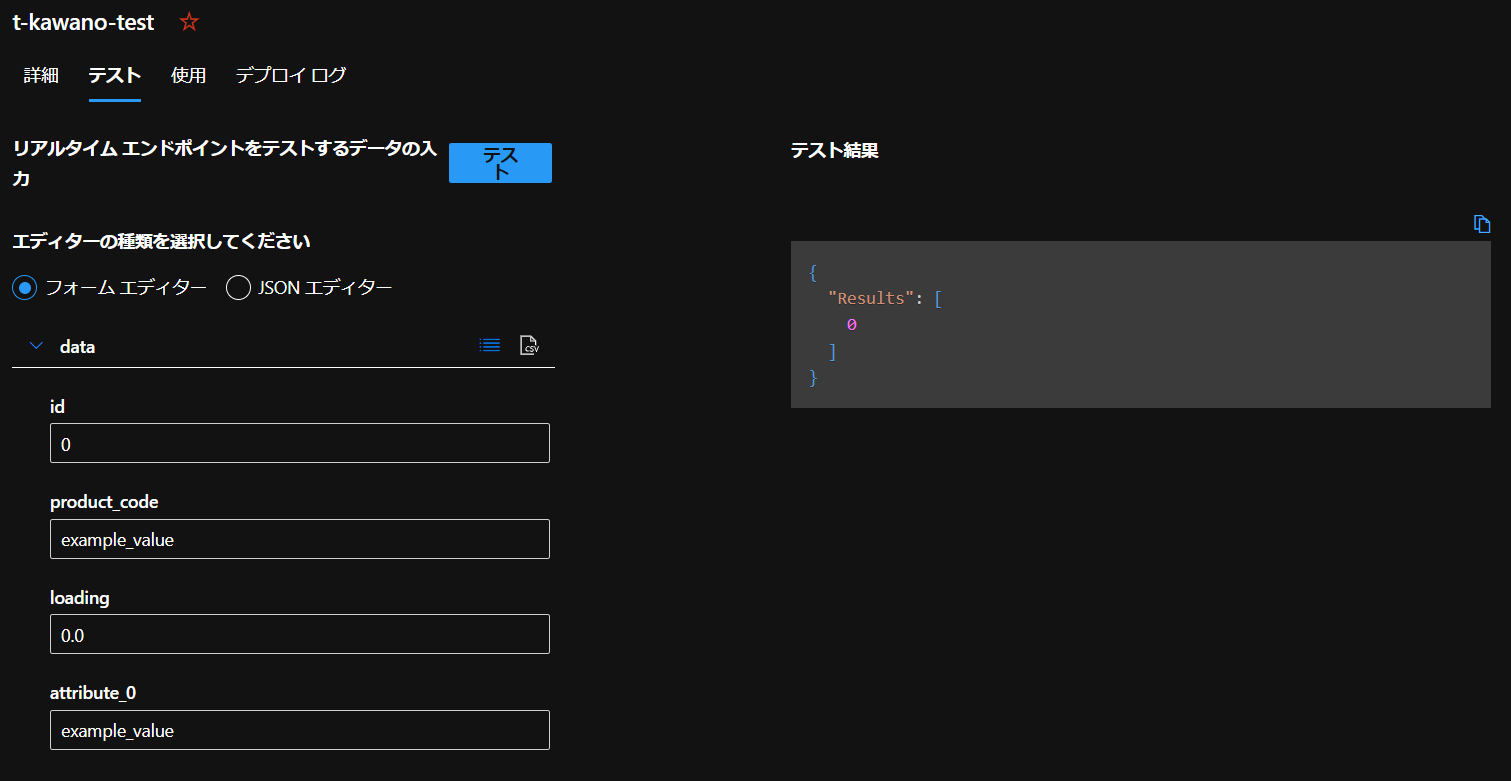
デプロイ完了後、推論を行ってみます。
「テスト」タブに移って実行すると…

結果がJSON形式で返ってきました。
次に「使用」タブのところでPythonコードが載っているのでこれを回してみます。
predict.py
import urllib.request
import json
import os
import ssl

def allowSelfSignedHttps(allowed):
    if allowed and not os.environ.get('PYTHONHTTPSVERIFY', '') and getattr(ssl, '_create_unverified_context', None):
        ssl._create_default_https_context = ssl._create_unverified_context

allowSelfSignedHttps(True)

data =  {
  "Inputs": {
    "data": [
      {
        "id": 0,
        "product_code": "example_value",
        "loading": 0.0,
        "attribute_0": "example_value",
        "attribute_1": "example_value",
        "attribute_2": 0,
        "attribute_3": 0,
        "measurement_0": 0,
        "measurement_1": 0,
        "measurement_2": 0,
        "measurement_3": 0.0,
        "measurement_4": 0.0,
        "measurement_5": 0.0,
        "measurement_6": 0.0,
        "measurement_7": 0.0,
        "measurement_8": 0.0,
        "measurement_9": 0.0,
        "measurement_10": 0.0,
        "measurement_11": 0.0,
        "measurement_12": 0.0,
        "measurement_13": 0.0,
        "measurement_14": 0.0,
        "measurement_15": 0.0,
        "measurement_16": 0.0,
        "measurement_17": 0.0
      }
    ]
  },
  "GlobalParameters": {
    "method": "predict"
  }
}

body = str.encode(json.dumps(data))

url = 'http://XXX'
api_key = ''

headers = {'Content-Type':'application/json', 'Authorization':('Bearer '+ api_key)}

req = urllib.request.Request(url, body, headers)

try:
    response = urllib.request.urlopen(req)

    result = response.read()
    print(result)
except urllib.error.HTTPError as error:
    print("The request failed with status code: " + str(error.code))

    # Print the headers - they include the requert ID and the timestamp, which are useful for debugging the failure
    print(error.info())
    print(error.read().decode("utf8", 'ignore'))


