はじめに
この記事は、Microsoft Azure Tech Advent Calendar 2022 の25日目の記事です。みなさまメリークリスマス🎄
アプリを開発していると、認証周りの設計で議論をすることが多いかと思います。
最近、個人開発でモバイルアプリ(Flutter)を開発しているうちに、 Azure AD B2C との連携に関する記事が少ないことに気づきました。
今回は、Azure AD B2C を使って Flutter アプリの認証機能を実装した際の手順・遭遇したエラーを残したいと思います。
環境
% flutter --version
Flutter 3.3.0 • channel stable • https://github.com/flutter/flutter.git
Framework • revision ffccd96b62 (4 months ago) • 2022-08-29 17:28:57 -0700
Engine • revision 5e9e0e0aa8
Tools • Dart 2.18.0 • DevTools 2.15.0
概要
Flutter アプリの認証基盤として Azure AD B2C を採用した際、開発に必要となる手順を以下に記載していきます。
Azure AD B2C とは
まずは、 Azure AD B2C について簡単にご紹介します。
Azure AD B2C を活用すると、開発したアプリケーションに対して、どのようなユーザー フローを使って、サインアップ、サインイン、をさせるか、といった一連の認証の流れを自由にカスタマイズすることができます。
Twitter や Facebook 等、他の SNS との連携の仕組みも Azure AD B2C で用意してくれているので、開発者自身が数多くの SNS と連携するための仕組みを実装する必要がなくなるというメリットがあります。
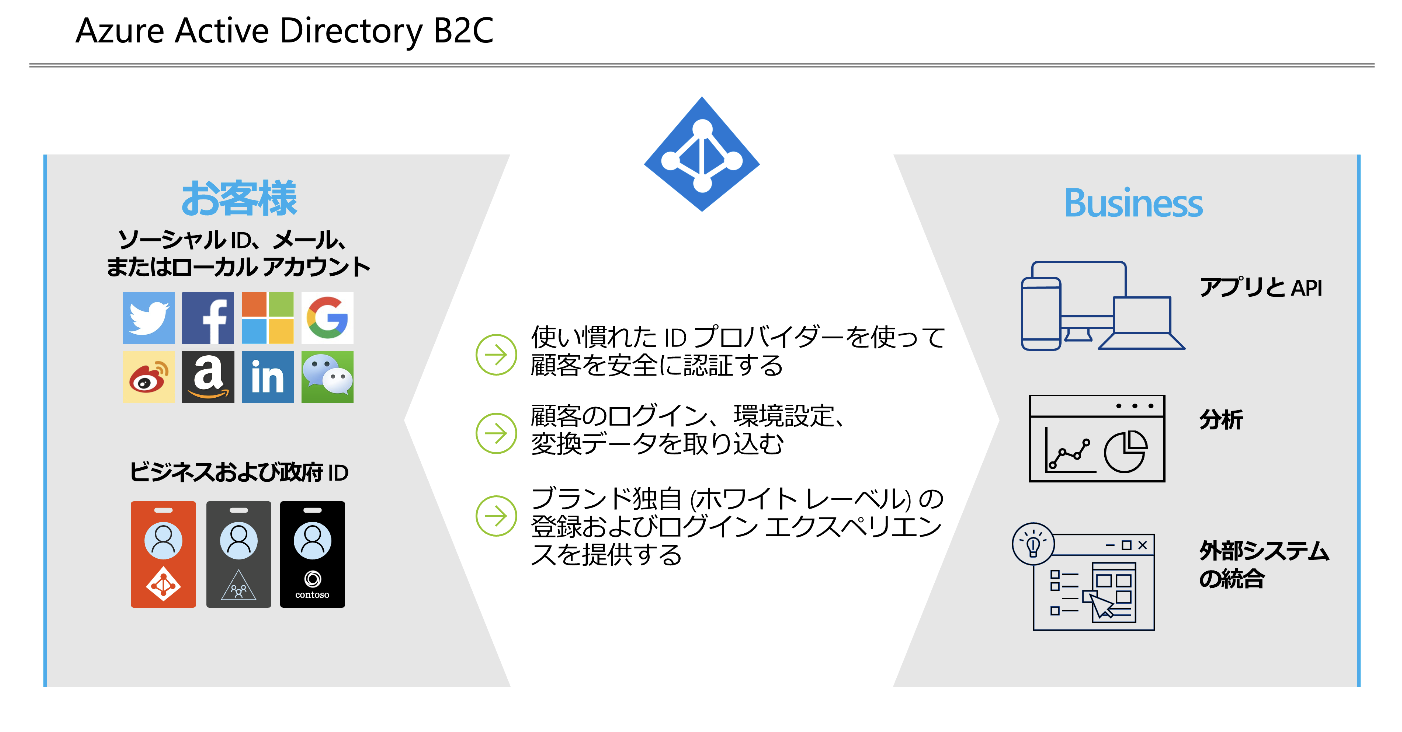
Azure Active Directory B2C は、サービスとしての企業-消費者間 (B2C) ID が提供されます。 顧客は、好みのソーシャル、エンタープライズ、またはローカル アカウント ID を使用して、アプリケーションや API にシングル サインオン アクセスできます。
Docs だけだとわかりづらいかもしれないので、以下の絵も併せてご覧ください。
なお、本記事では Azure AD B2C のテナント作成、アプリケーション登録などの手順は割愛します。
以下 Docs (チュートリアル)に記載の手順に従っていくと、認証を行うためのセットアップが完了します。
※今回はネイティブアプリを登録するため、「チュートリアル:Azure Active Directory B2C に Web アプリケーションを登録する」については、以下 Docs の手順で置き換えてください。
ここからは、アプリの登録、ユーザーフローの作成が済んでいる前提で記載します。
AppAuth
Microsoft ID プラットフォームは、OAuth2.0 や OpenID Connect などの標準仕様に準拠しています。
よって、Azure Active Directory B2C と統合するために任意のライブラリを活用することができます。
今回は、AppAuth を使ってみようと思います。
AppAuth とは、OAuth2.0 と OpenID Connectを使用してエンドユーザーを認証・認可するためのネイティブアプリ用クライアントSDKです。 AppAuth 自体は Flutter 用の SDK が提供されていなかったので、こちらのラッパーを使用して認証を行おうと思います。
サンプルコード
AppAuth では、 authorizeAndExchangeCode() というメソッドが提供されています。これは、リクエストを実行し、自動的に認可コードを交換してくれるものです。
final AuthorizationTokenResponse result = await appAuth.authorizeAndExchangeCode(
                    AuthorizationTokenRequest(
                      '<client_id>',
                      '<redirect_url>',
                      serviceConfiguration: AuthorizationServiceConfiguration(authorizationEndpoint: '<authorization_endpoint>',  tokenEndpoint: '<token_endpoint>', endSessionEndpoint: '<end_session_endpoint>'),
                      scopes: [...]
                    ),
                  );
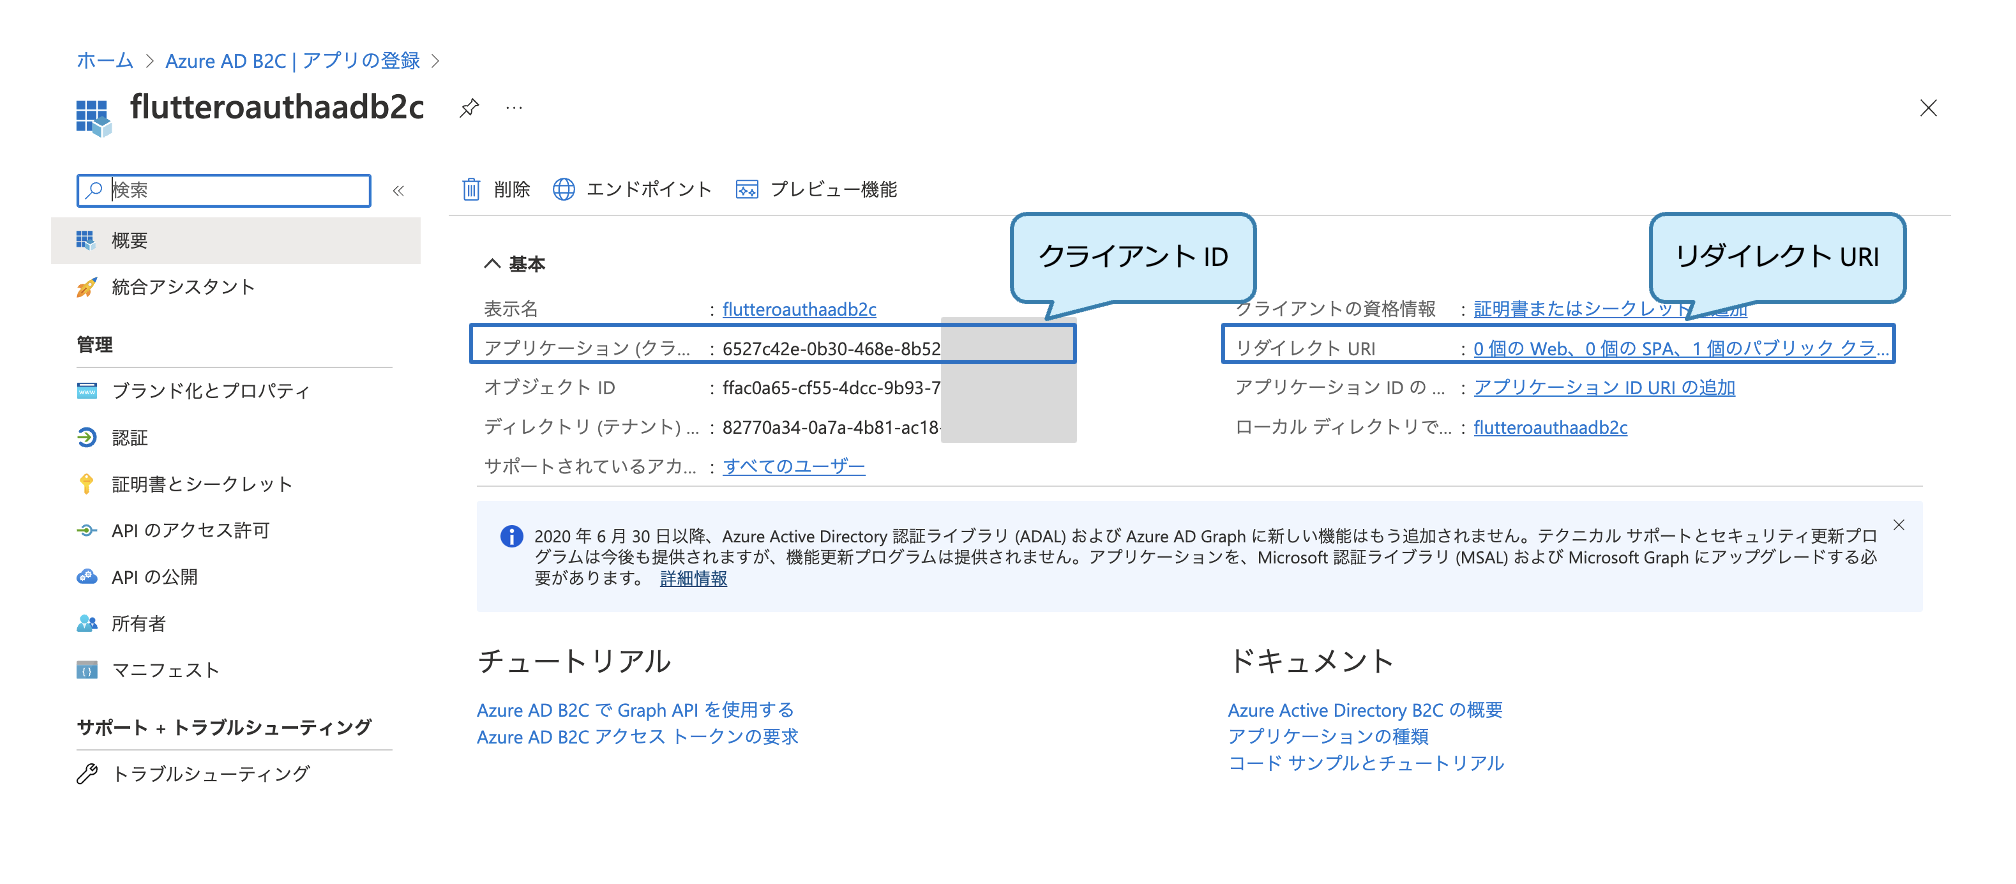
クライアント ID、リダイレクト URL および含めたいスコープを指定する必要があります。
クライアント ID、リダイレクト URL は、 アプリケーションの登録時に指定したものを Azure Portal から確認可能となります。
スコープは、アクセストークンに紐づくアクセス権を細かく制御するための仕組みです。OpenID Connect では、openid を必須の値として指定します。
| OpenID Connect スコープ 値 | 取得できる情報 |
|---|---|
| openid | OpenID Connect のリクエストであることを表す(必須) |
| profile | 名前、誕生日、性別などのプロフィール情報へのアクセス |
| email および email_verified へのアクセス | |
| address | address へのアクセス |
| phone | phone_number 及び phone_number_verified へのアクセス |
上記の設定値を確認後、以下のコードで Flutter アプリ実行します。
今回はサンプルとして、main.dart に全ての処理を記述します。
import 'dart:convert';
import 'dart:io';

import 'package:flutter/material.dart';
import 'package:flutter_appauth/flutter_appauth.dart';

void main() {
  runApp(const MyApp());
}

class MyApp extends StatelessWidget {
  const MyApp({super.key});

  // This widget is the root of your application.
  @override
  Widget build(BuildContext context) {
    return MaterialApp(
      title: 'Flutter Demo',
      theme: ThemeData(
        primarySwatch: Colors.blue,
      ),
      home: const MyHomePage(title: 'Flutter Demo Home Page'),
    );
  }
}

class MyHomePage extends StatefulWidget {
  const MyHomePage({super.key, required this.title});

  final String title;

  @override
  State<MyHomePage> createState() => _MyHomePageState();
}

class _MyHomePageState extends State<MyHomePage> {
  FlutterAppAuth appAuth = FlutterAppAuth();
  String _clientId = '<クライアント ID>';
  String _redirectUrl = '<リダイレクト URL>';
  String _discoveryURL =
     'https://<Tenant_name>.com/tfp/<Tenant_name>.onmicrosoft.com/<ユーザーフロー名>/v2.0/.well-known/openid-configuration';
  String _authorizeUrl =
     'https://<Tenant_name>.b2clogin.com/<Tenant_name>.onmicrosoft.com/<ユーザーフロー名>/oauth2/v2.0/authorize';
  String _tokenUrl =
     'https://<Tenant_name>.b2clogin.com/<Tenant_name>.onmicrosoft.com/<ユーザーフロー名>/oauth2/v2.0/token';
  String? _idToken;
  String? _codeVerifier;
  String? _authorizationCode;
  String? _refreshToken;
  String? _accessToken;
  String? _accessTokenExpiration;
  String _firstName = "";
  String _lastName = "";
  String _displayName = "";
  String _email = "";
  Map<String, dynamic>? _jwt;
  List<String> _scopes = ['openid'];
  int _counter = 0;

  Future<void> _logIn() async {
    try {
      final AuthorizationTokenResponse? result =
          await appAuth.authorizeAndExchangeCode(
        AuthorizationTokenRequest(
          _clientId,
          _redirectUrl,
          serviceConfiguration: AuthorizationServiceConfiguration(
              authorizationEndpoint: _authorizeUrl, tokenEndpoint: _tokenUrl),
          scopes: _scopes,
        ),
      );
      if (result != null) {
        _processAuthTokenResponse(result);
      }
    } catch (e) {
      print(e);
    }
  }

  void _processAuthTokenResponse(AuthorizationTokenResponse response) {
    setState(() {
      _accessToken = response.accessToken;
      _refreshToken = response.refreshToken;
      _accessTokenExpiration =
          response.accessTokenExpirationDateTime?.toIso8601String();
      _idToken = response.idToken;
      //get individual claims from jwt token
      _jwt = parseJwt(response.idToken!);
      _firstName = _jwt!['given_name'].toString();
      _lastName = _jwt!['family_name'].toString();
      _displayName = _jwt!['name'].toString();
      _email = _jwt!['emails'][0];
    });
  }

  Map<String, dynamic> parseJwt(String token) {
    final parts = token.split('.');
    if (parts.length != 3) {
      throw Exception('invalid token');
    }
    final payload = _decodeBase64(parts[1]);
    final payloadMap = json.decode(payload);
    if (payloadMap is! Map<String, dynamic>) {
      throw Exception('invalid payload');
    }
    return payloadMap;
  }

  String _decodeBase64(String str) {
    String output = str.replaceAll('-', '+').replaceAll('_', '/');
    switch (output.length % 4) {
      case 0:
        break;
      case 2:
        output += '==';
        break;
      case 3:
        output += '=';
        break;
      default:
        throw Exception('Illegal base64url string!"');
    }
    return utf8.decode(base64Url.decode(output));
  }

  Future<void> _logOut() async {
    try {
      //for some reason the API works differently on iOS and Android
      Map<String, String>? additionalParameters;
      if (Platform.isAndroid) {
        additionalParameters = {
          "id_token_hint": _idToken!,
          "post_logout_redirect_uri": _redirectUrl
        };
      } else if (Platform.isIOS) {
        additionalParameters = {
          "id_token_hint": _idToken!,
          "post_logout_redirect_uri": _redirectUrl,
          'p': '<ユーザーフロー名>'
        };
      }
      await appAuth.authorizeAndExchangeCode(
        AuthorizationTokenRequest(
          _clientId,
          _redirectUrl,
          promptValues: ['login'],
          discoveryUrl: _discoveryURL,
          additionalParameters: additionalParameters,
          scopes: _scopes,
        ),
      );
    } catch (e) {
      print(e);
    }
    setState(() {
      _jwt = null;
    });
  }

  void _incrementCounter() {
    setState(() {
      _counter++;
    });
  }

  @override
  Widget build(BuildContext context) {
    return Scaffold(
      appBar: AppBar(
        title: Text(widget.title),
      ),
      body: Center(
        child: Column(
          mainAxisAlignment: MainAxisAlignment.center,
          children: (_jwt == null)
              ? <Widget>[
                  Text(
                    'Please press + sign to log in',
                  )
                ]
              : <Widget>[
                  Text(
                    'Display Name: $_displayName',
                  ),
                  Text(' '),
                  Text(
                    'Name: $_firstName $_lastName',
                  ),
                  Text(' '),
                  Text(
                    'Email: $_email',
                  ),
                  Text(' '),
                  ElevatedButton(
                    onPressed: _logOut,
                    child: Text('Logout'),
                  )
                ],
        ),
      ),
      floatingActionButton: FloatingActionButton(
        onPressed: _logIn,
        tooltip: 'Increment',
        child: const Icon(Icons.add),
      )
    );
  }
}
iOS 動作確認
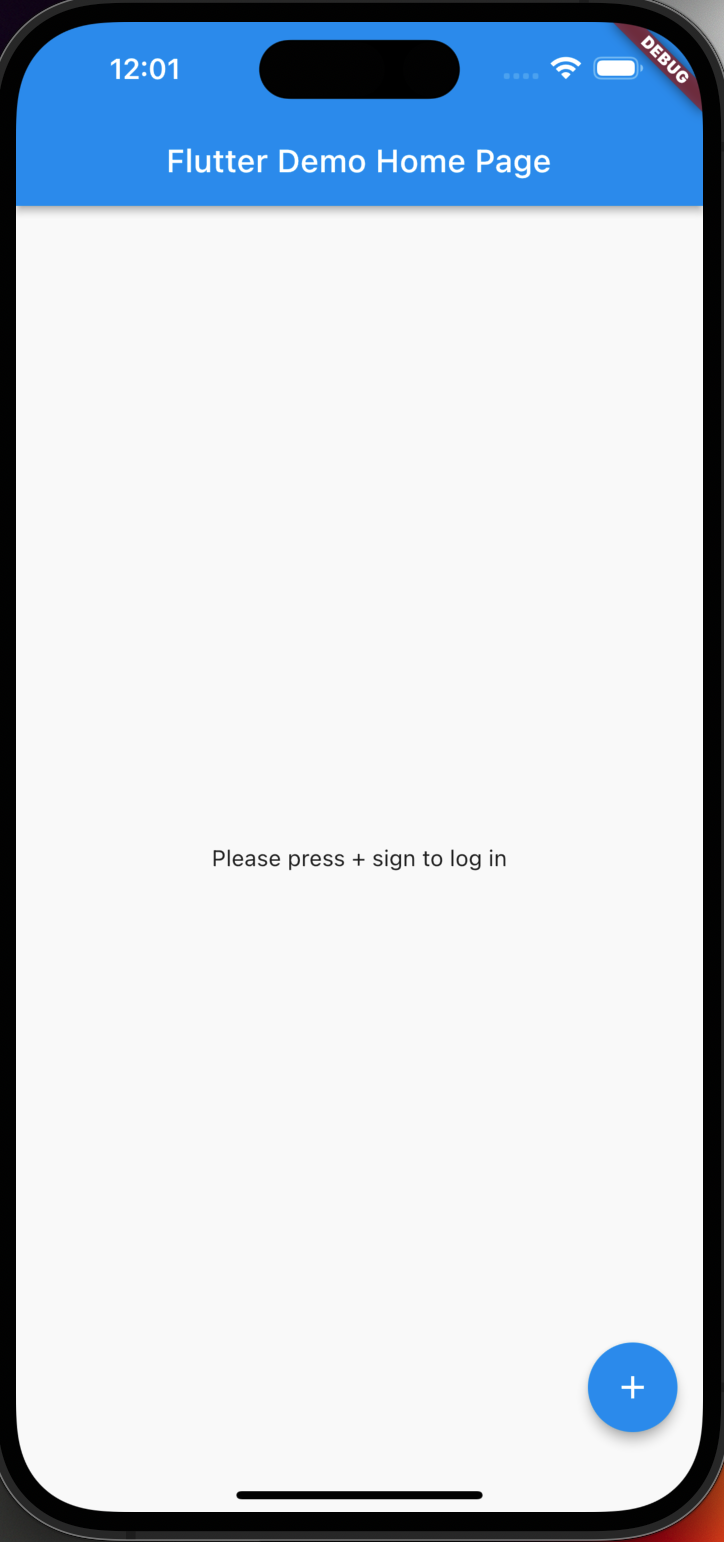
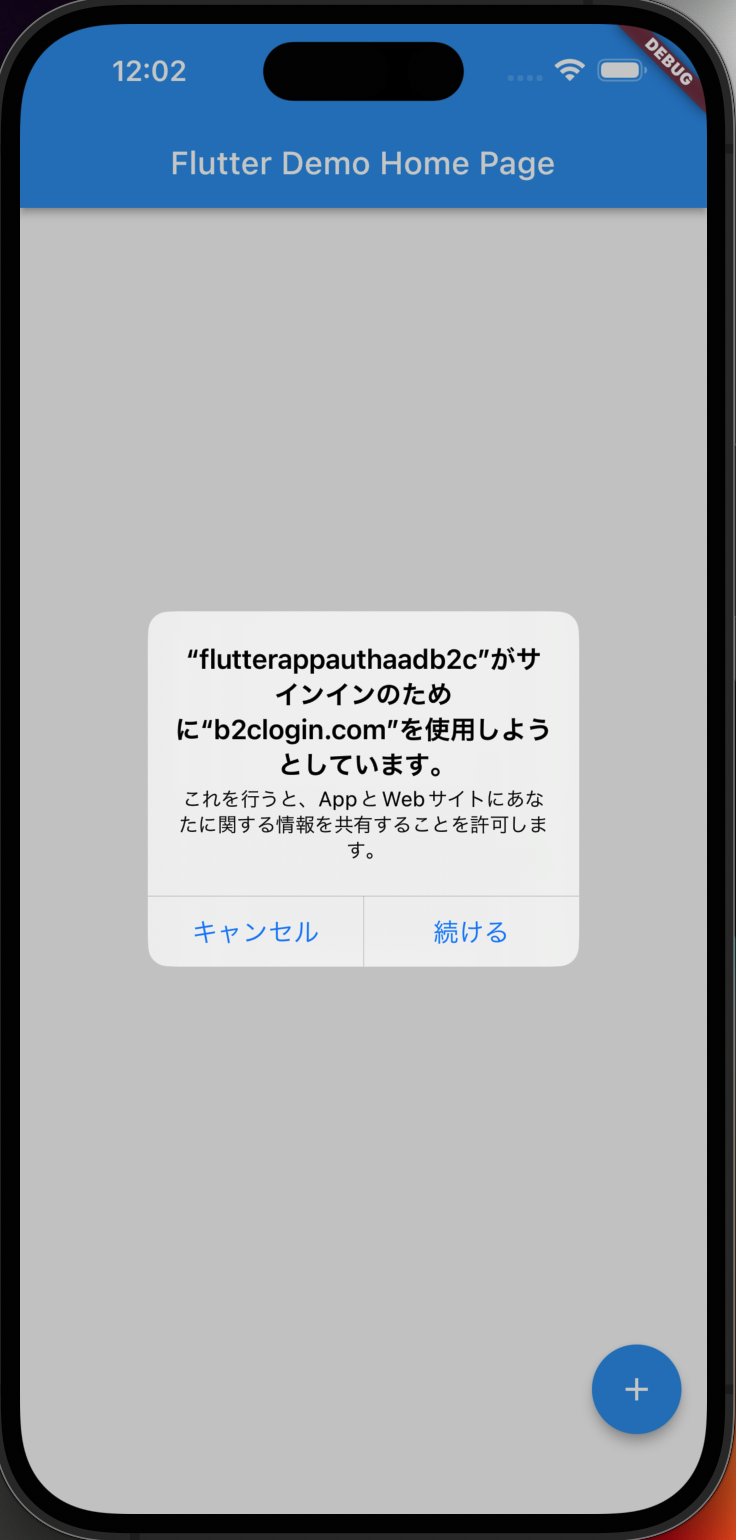
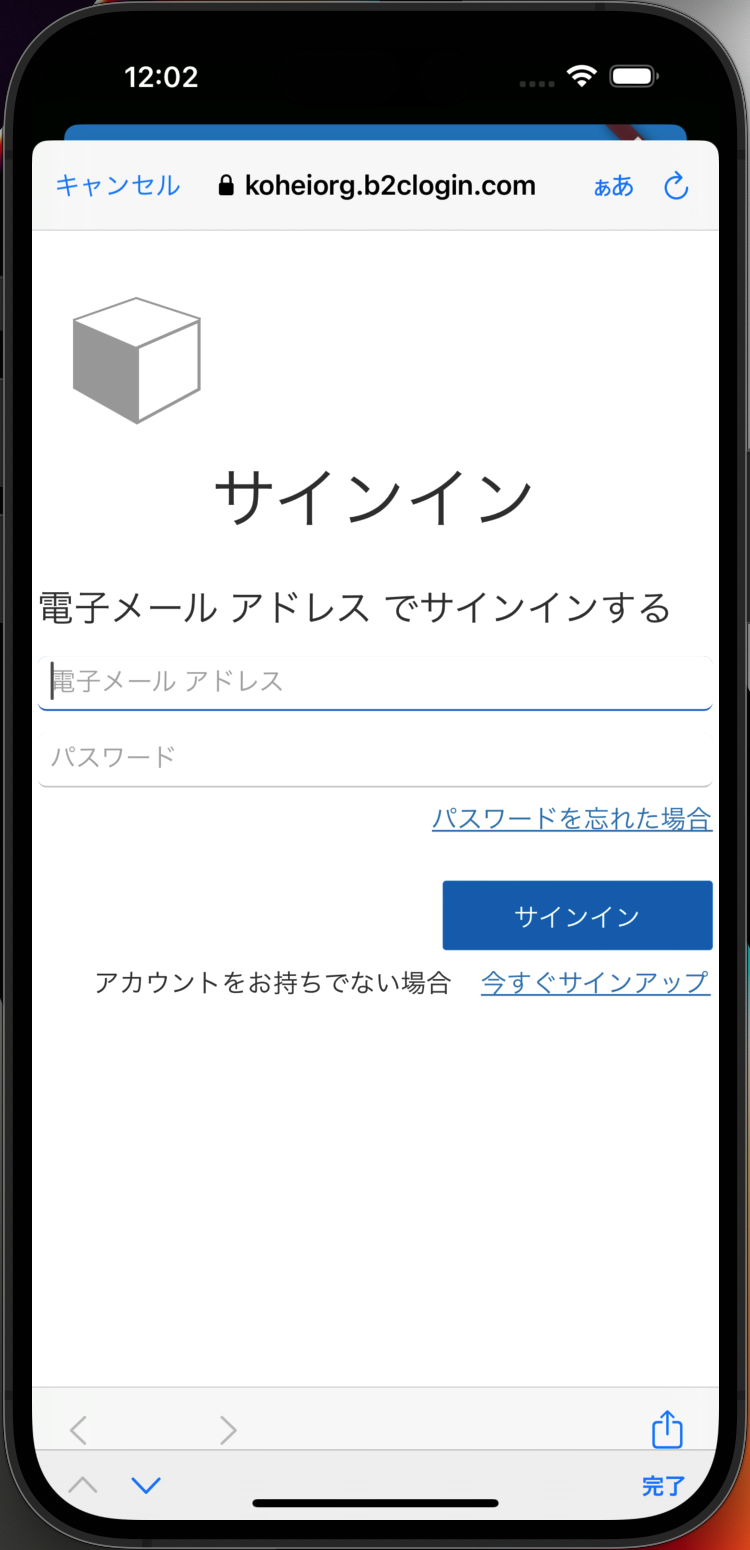
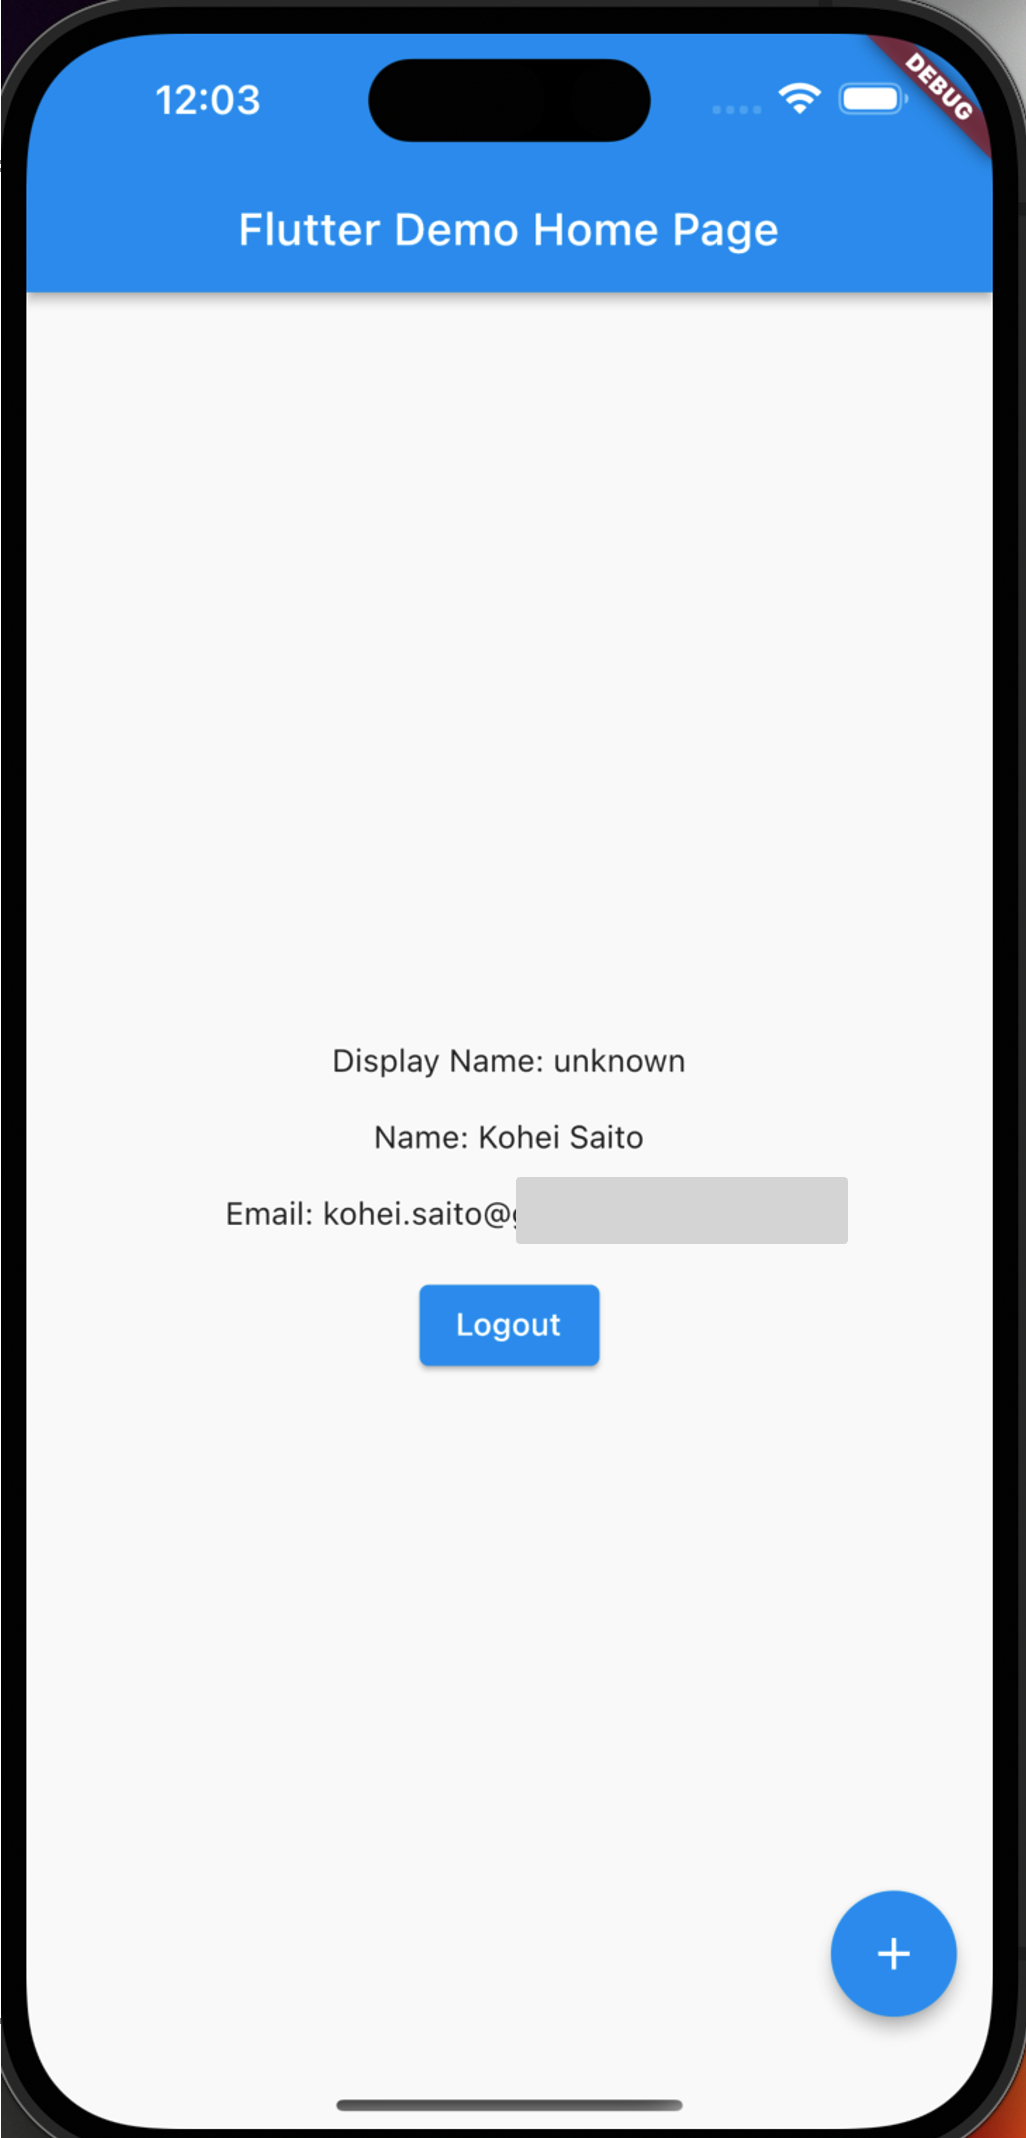
iOS の場合は、これでうまく動くようになります。
Android 動作確認
Android の場合は、この状態だと以下のエラーが出ます。
FAILURE: Build failed with an exception.

* What went wrong:
Execution failed for task ':app:processDebugMainManifest'.
> Manifest merger failed : Attribute data@scheme at AndroidManifest.xml requires a placeholder substitution but no value for <appAuthRedirectScheme> is provided.

* Try:
> Run with --stacktrace option to get the stack trace.
> Run with --info or --debug option to get more log output.
> Run with --scan to get full insights.

* Get more help at https://help.gradle.org

BUILD FAILED in 27s
Exception: Gradle task assembleDebug failed with exit code 1
Exited
対処としては、app/build.gralde に以下を追記します。
適宜ご自身のパッケージ名に置換してください。
・・・
    defaultConfig {
        ・・・
        manifestPlaceholders += ['appAuthRedirectScheme': 'com.example.flutterappauthaadb2c']
    }

・・・
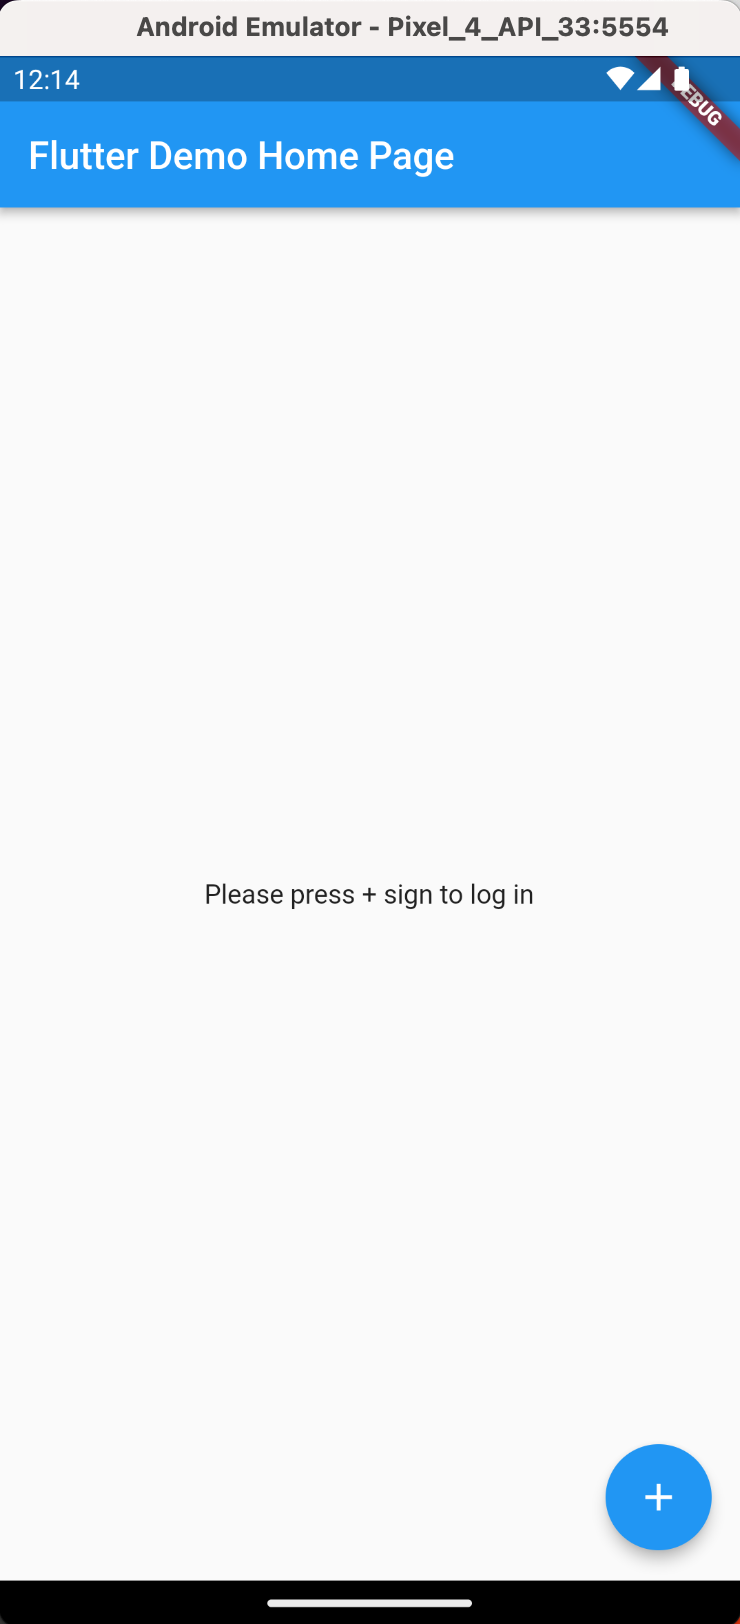
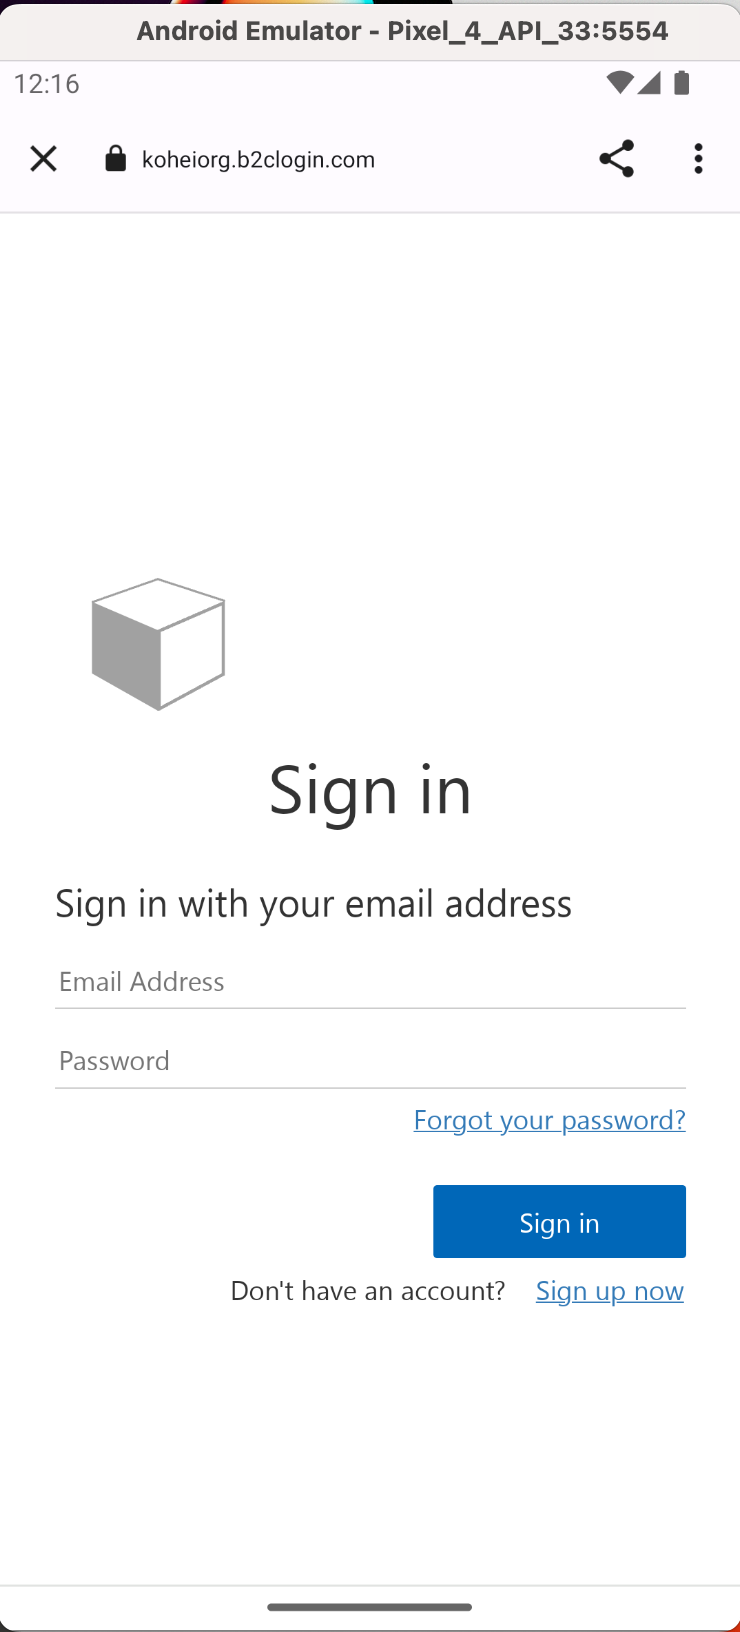
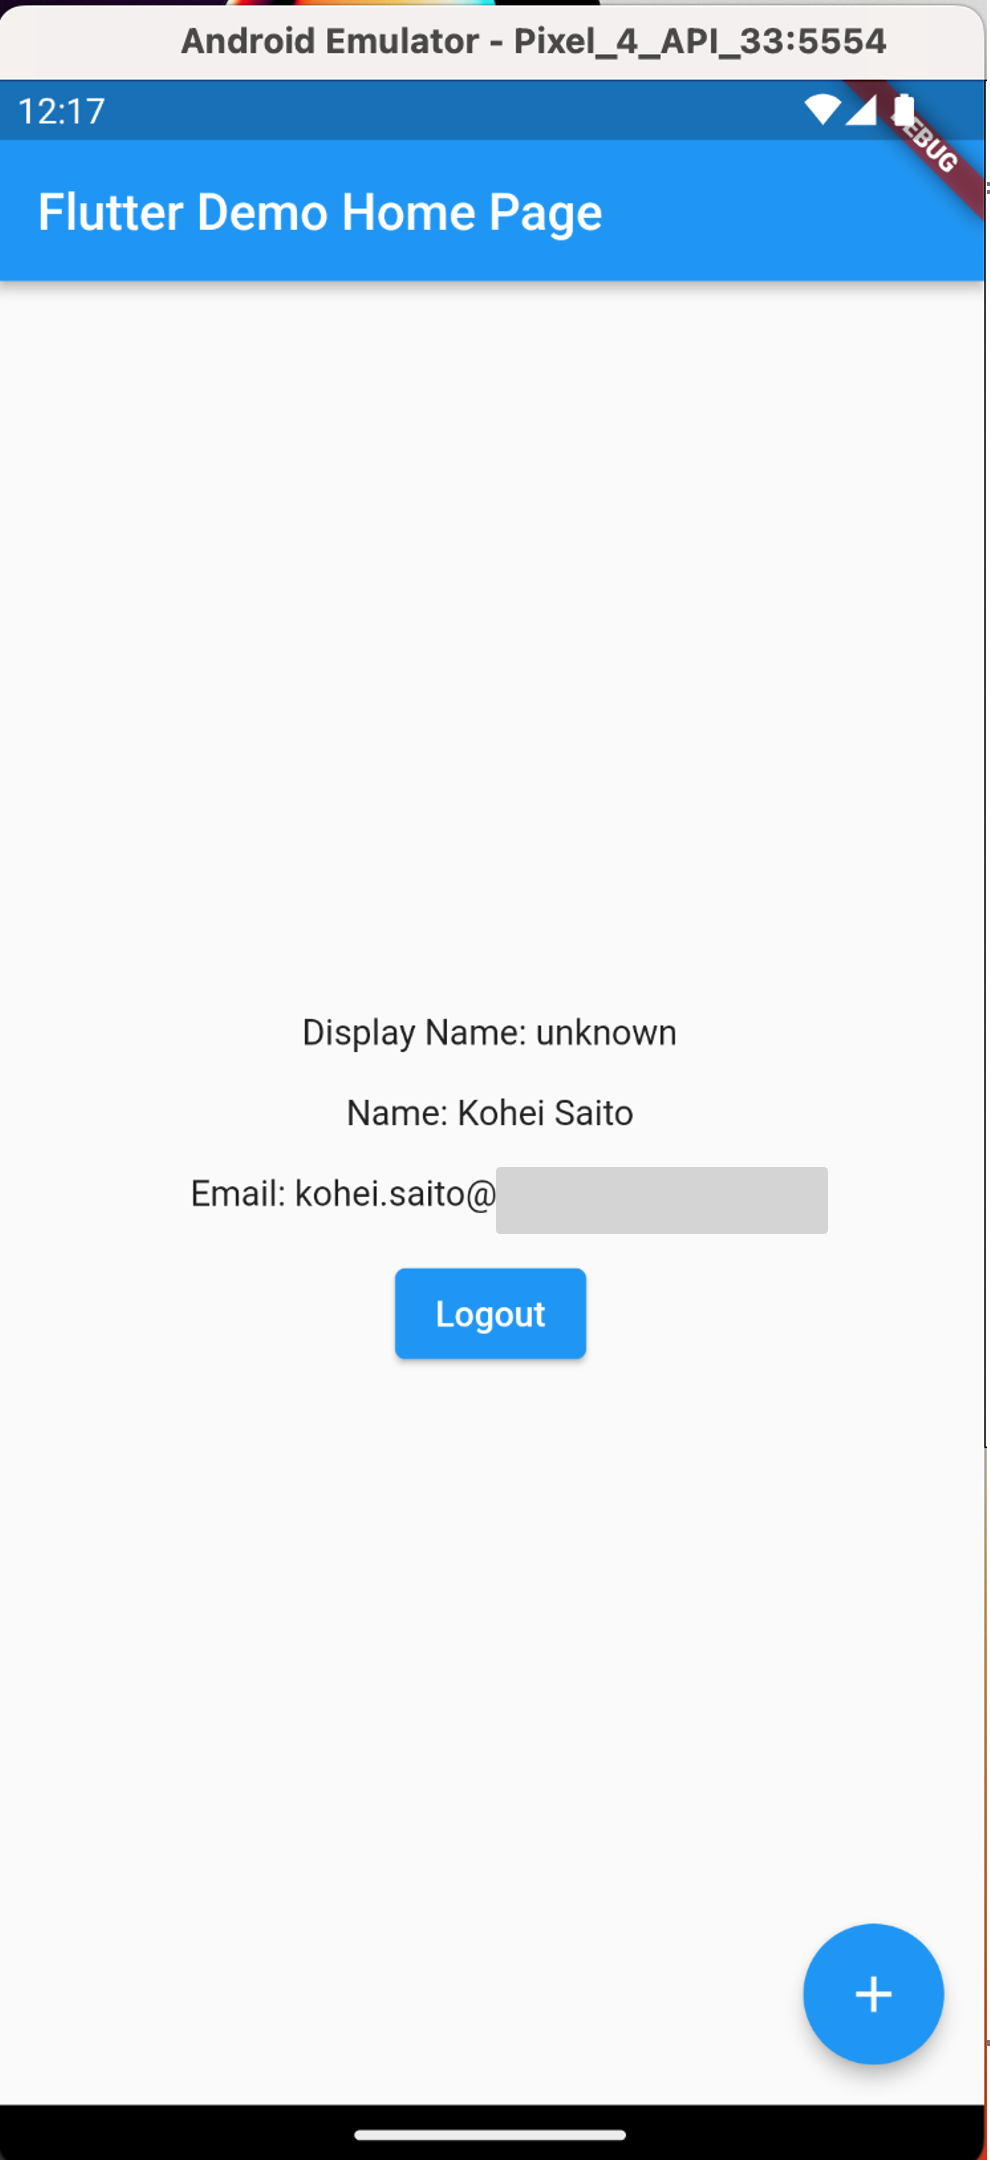
これでOKです。Android でも動作確認してみます。
無事ログイン・ログアウトができるようになりました!
おわりに
本記事では、Flutter アプリの認証基盤として Azure AD B2C を選択した際の手順・遭遇したエラーをまとめました。
ご紹介したコードはあくまでサンプルですので、商用利用時はより一層設計いただくことをおすすめします。
「とりあえず手元で試してみたい」と思った際に、本記事がお役立ちすることを願っております。
*本稿は、個人の見解に基づいた内容であり、所属する会社の公式見解ではありません。また、いかなる保証を与えるものでもありません。正式な情報は、各製品の販売元にご確認ください。
