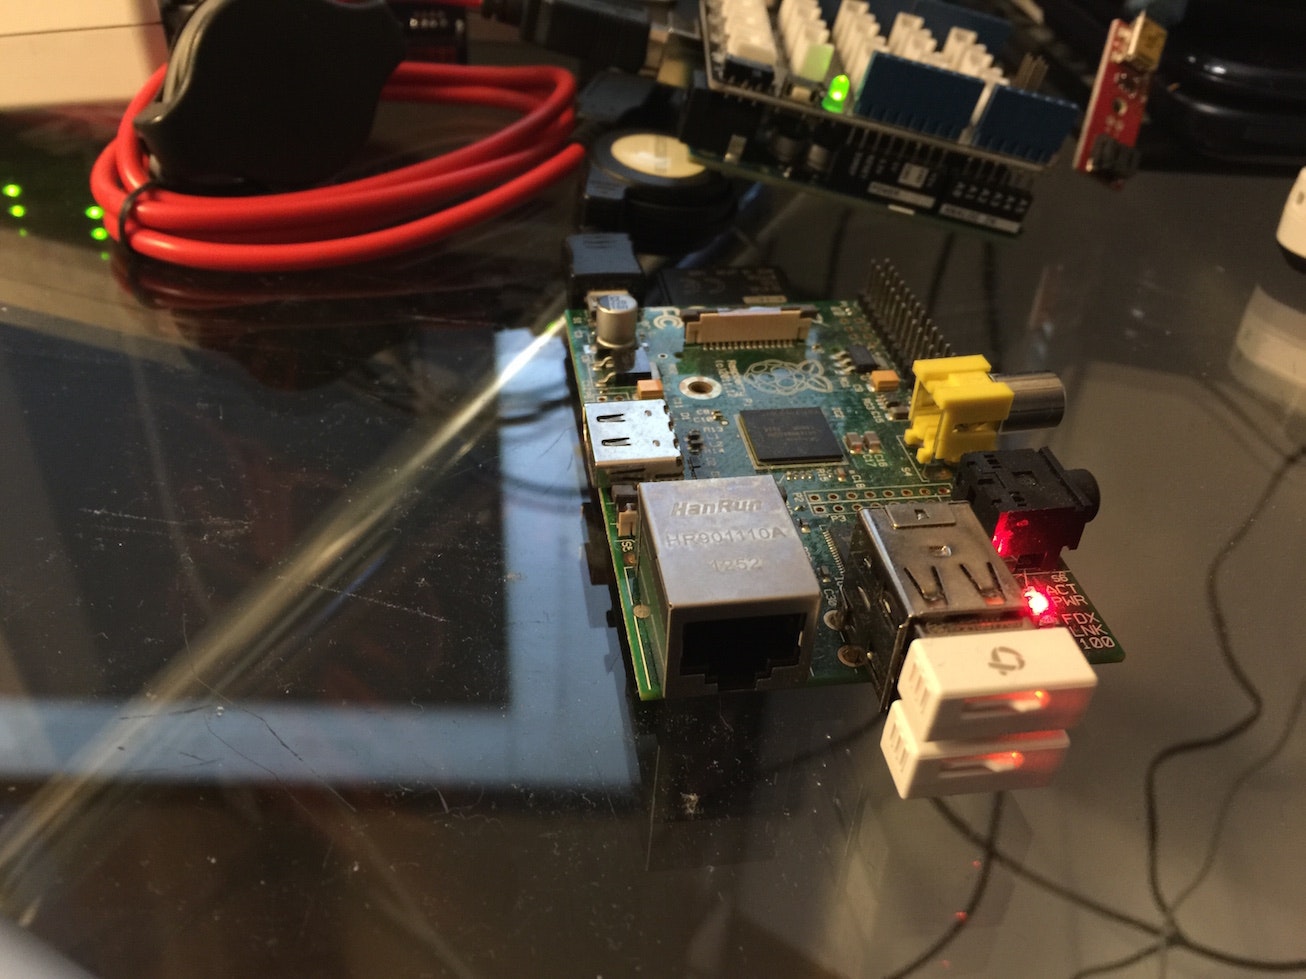
復習がてらRaspberryPiで遊ぶことに。RaspberryPiにWifi USBを2つ差して、片方はWifi AP、片方はWifiのクライアントにしてみた。
Wifiに繋がったAPができる。
ちなみに今これを書いている環境は、、、、ざっくり、、、
pc <-> raspberrypi wifi ap <-> pockewifi <-> interent
意味あるのかないのかぁ、、、で繋いでみている。
とりあえず、うちはLAN線が繋げるルータとやらが無いので、自前のマックにdhcpとdns upして、LANスイッチハブ経由でmacとraspberry piを繋いで、sshでraspberrypiにログインして作業することに。
自宅は光も繋がっていない、低速pocketwifiとau 4gが外に出るための手段。
家遅い環境に慣れておくと、会社の環境がまだマシなので、会社にいく喜びが一つ増える。
wlan0のWifiのインターフェースをeth0に変更するとアップリンクはLAN線経由になる。
パッケージのインストール
$ sudo apt-get install hostapd dnsmasq isc-dhcp-server iw rng-tools
network interface の設定
$ sudo vi /etc/network/interfaces
以下の設定を追加
IPとかは自由に設定
allow-hotplug wlan0
iface wlan0 inet manual
wpa-roam /etc/wpa_supplicant/wpa_supplicant.conf
iface default inet dhcp

allow-hotplug wlan1
iface wlan1 inet static
address 192.168.10.1
netmask 255.255.255.0
dhcpサーバーの設定
$ sudo vi /etc/dhcp/dhcpd.conf
以下を設定ファイルに追加
rangeとかは自由に設定
subnet 192.168.10.0 netmask 255.255.255.0 {
    range 192.168.10.10 192.168.10.20;
    option broadcast-address 192.168.10.255;
    option routers 192.168.10.1;
    default-lease-time 600;
    max-lease-time 7200;
    option domain-name "local";
    option domain-name-servers 8.8.8.8, 8.8.4.4;
    }
sudo vi /etc/default/isc-dhcp-server
INTERFACEの設定
INTERFACES="wlan1"
isc-dhcp-server起動
$ sudo service isc-dhcp-server start
起動設定
$ sudo update-rc.d isc-dhcp-server enable
WIFI APの設定
$ sudo vi /etc/hostapd/hostapd.conf
以下をファイルに設定
interface=wlan1
driver=rtl871xdrv
ssid=MyHomePi
hw_mode=g
channel=6
macaddr_acl=0
auth_algs=1
ignore_broadcast_ssid=0
wpa=2
wpa_passphrase=raspberry
wpa_key_mgmt=WPA-PSK
#wpa_pairwise=TKIP
rsn_pairwise=CCMP
以下に、コンフィグの場所を追記
$ echo 'DAEMON_CONF="/etc/hostapd/hostapd.conf"' | sudo tee -a /etc/default/hostapd
ドライバーの対応準備
以下のような状態なら
$ lsmod |grep 8192cu
8192cu                550797  0
$ iw list
nl80211 not found.
以下での方法で rtl871xdrv の対応をする
$ wget http://www.adafruit.com/downloads/adafruit_hostapd.zip
$ unzip adafruit_hostapd.zip
$ sudo mv /usr/sbin/hostapd /usr/sbin/hostapd.orig
$ sudo mv hostapd /usr/sbin
$ sudo chmod 755 /usr/sbin/hostapd
以下からDLして、make して hostapd をコピーした方が良いかも
http://github.com/jenssegers/RTL8188-hostapd/archive/v2.0.tar.gz
wlan0とwlan1のルーティング
$ sudo vi /etc/sysctl.conf
以下のコメントアウト省く
# Uncomment the next line to enable packet forwarding for IPv4
net.ipv4.ip_forward=1
$ echo 1 | sudo tee /proc/sys/net/ipv4/ip_forward
$ cat /proc/sys/net/ipv4/ip_forward
1
ルーティングの設定
$ sudo iptables -t nat -A POSTROUTING -o wlan0 -j MASQUERADE
$ sudo iptables -A FORWARD -i wlan0 -o wlan1 -m state --state RELATED,ESTABLISHED -j ACCEPT
$ sudo iptables -A FORWARD -i wlan1 -o wlan0 -j ACCEPT
$ sudo iptables-save | sudo tee /etc/iptables.ipv4.nat
$ echo 'pre-up iptables-restore < /etc/iptables.ipv4.nat' | sudo tee -a /etc/network/interfaces
hostapの起動
$ sudo service hostapd start
起動設定
$ sudo update-rc.d hostapd enable
ipのチェック
$ nmap -p 22 --open -sV 192.168.10.0/24
ログイン
$ ssh 192.168.10.1 -l pi
password raspberry
パフォーマンスチューニング
$ sudo vi /etc/sysctl.conf
以下を追加
net.ipv4.ip_forward = 1
net.ipv4.tcp_window_scaling = 1
net.core.rmem_max = 16777216
net.ipv4.tcp_rmem = 4096 87380 16777216
net.ipv4.tcp_wmem = 4096        16384   16777216
設定を反映
$ sudo sysctl -p /etc/sysctl.conf
net.ipv4.ip_forward = 1
net.ipv4.tcp_window_scaling = 1
net.core.rmem_max = 16777216
net.ipv4.tcp_rmem = 4096 87380 16777216
net.ipv4.tcp_wmem = 4096        16384   16777216
$ sudo su -
# echo '16777216' > /proc/sys/net/core/rmem_max
# echo '16777216' > /proc/sys/net/core/wmem_max
参照
http://www.slashroot.in/linux-network-tcp-performance-tuning-sysctl
https://korekontrol.eu/blog/linux-network-performance-tuning
http://raspberrypi.stackexchange.com/questions/50240/missing-build-file-when-building-for-rtl8812au-driver
デフォルトGatewayの設定
wlan0がインターネットに繋げて、wla0経由で外につながるようにする
#!/bin/bash

sudo ifdown --force wlan0
sudo ifup wlan0
# 5秒ぐらい?
sleep 5
# $1 はdefault gatewayのアドレス
sudo route add default gw $1
