今回やること
- SpringBoot + Java8 + gradle のプロジェクトを作成します。
- localhost:8080にクロームでアクセスしたら、「Hello World」を表示します。
環境
- IntelliJ(無料)
- Mac
- java8
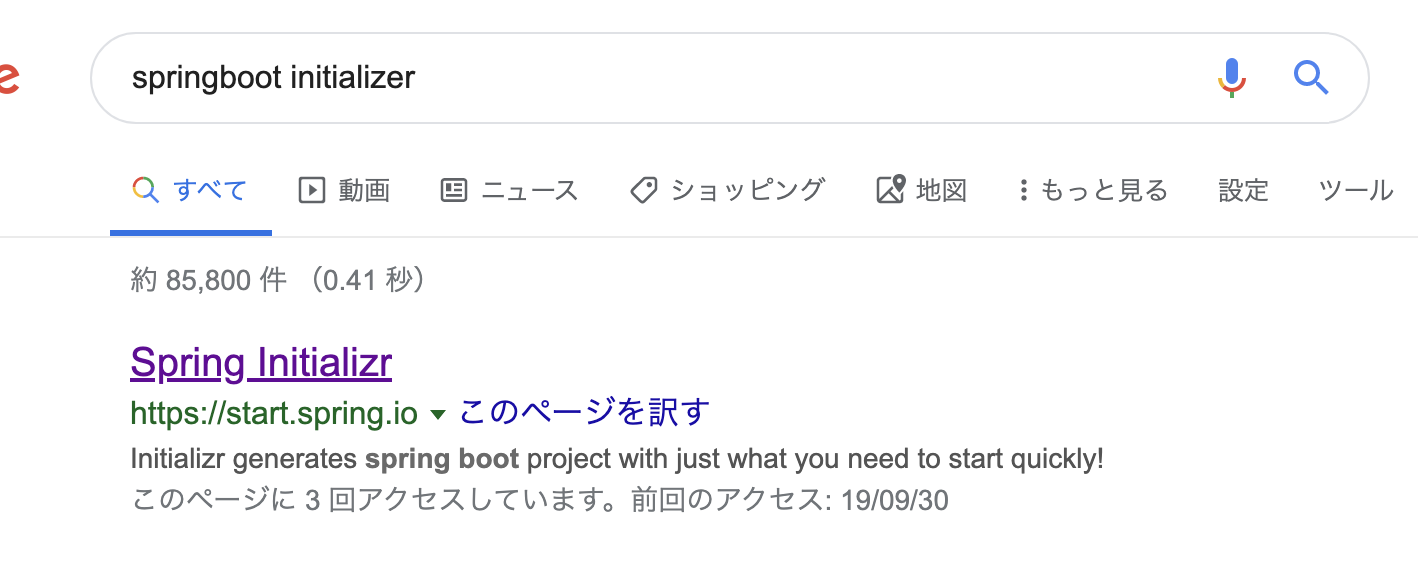
Spring Initializrでプロジェクトの原型を作る
- Spring Initializrの公式ページを開きます。
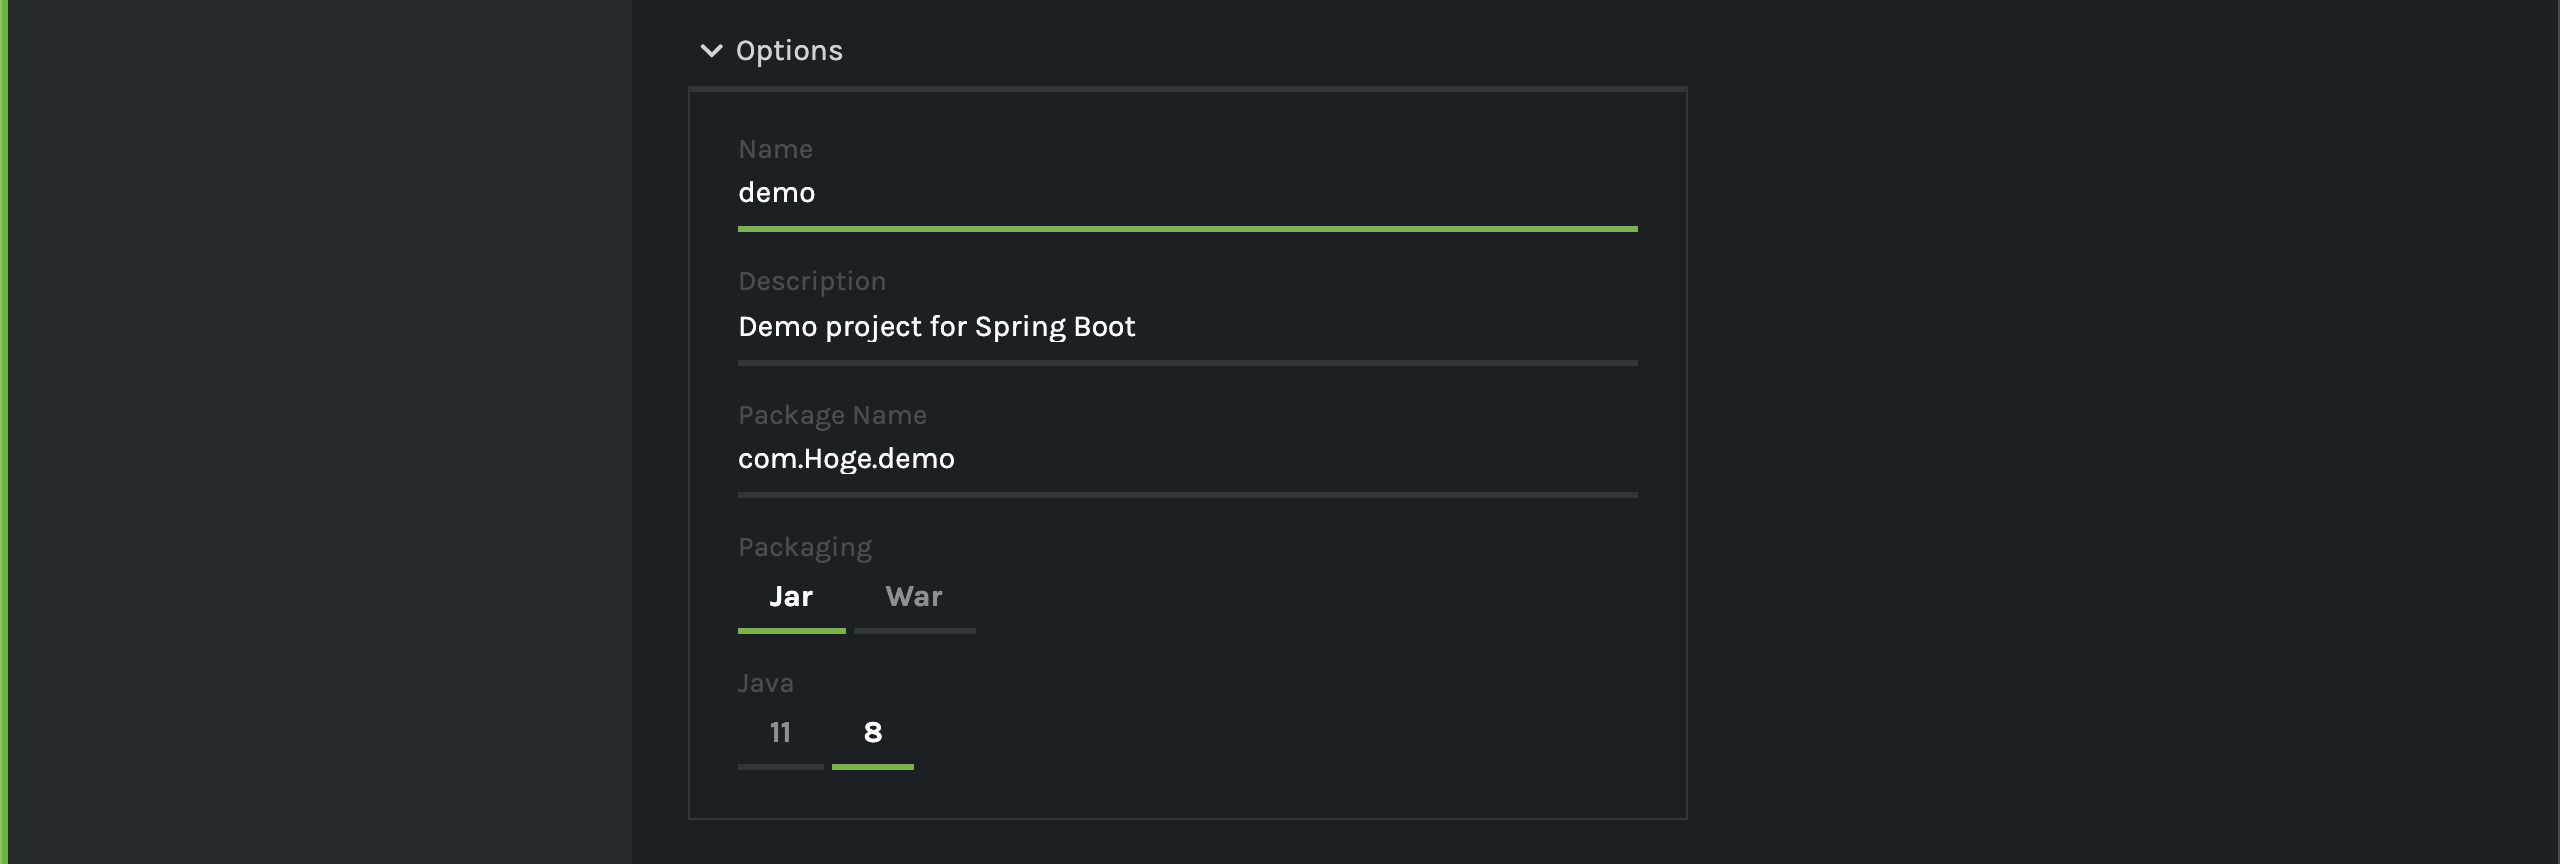
 - ここで自分に必要な要素を選択して作っていきます。

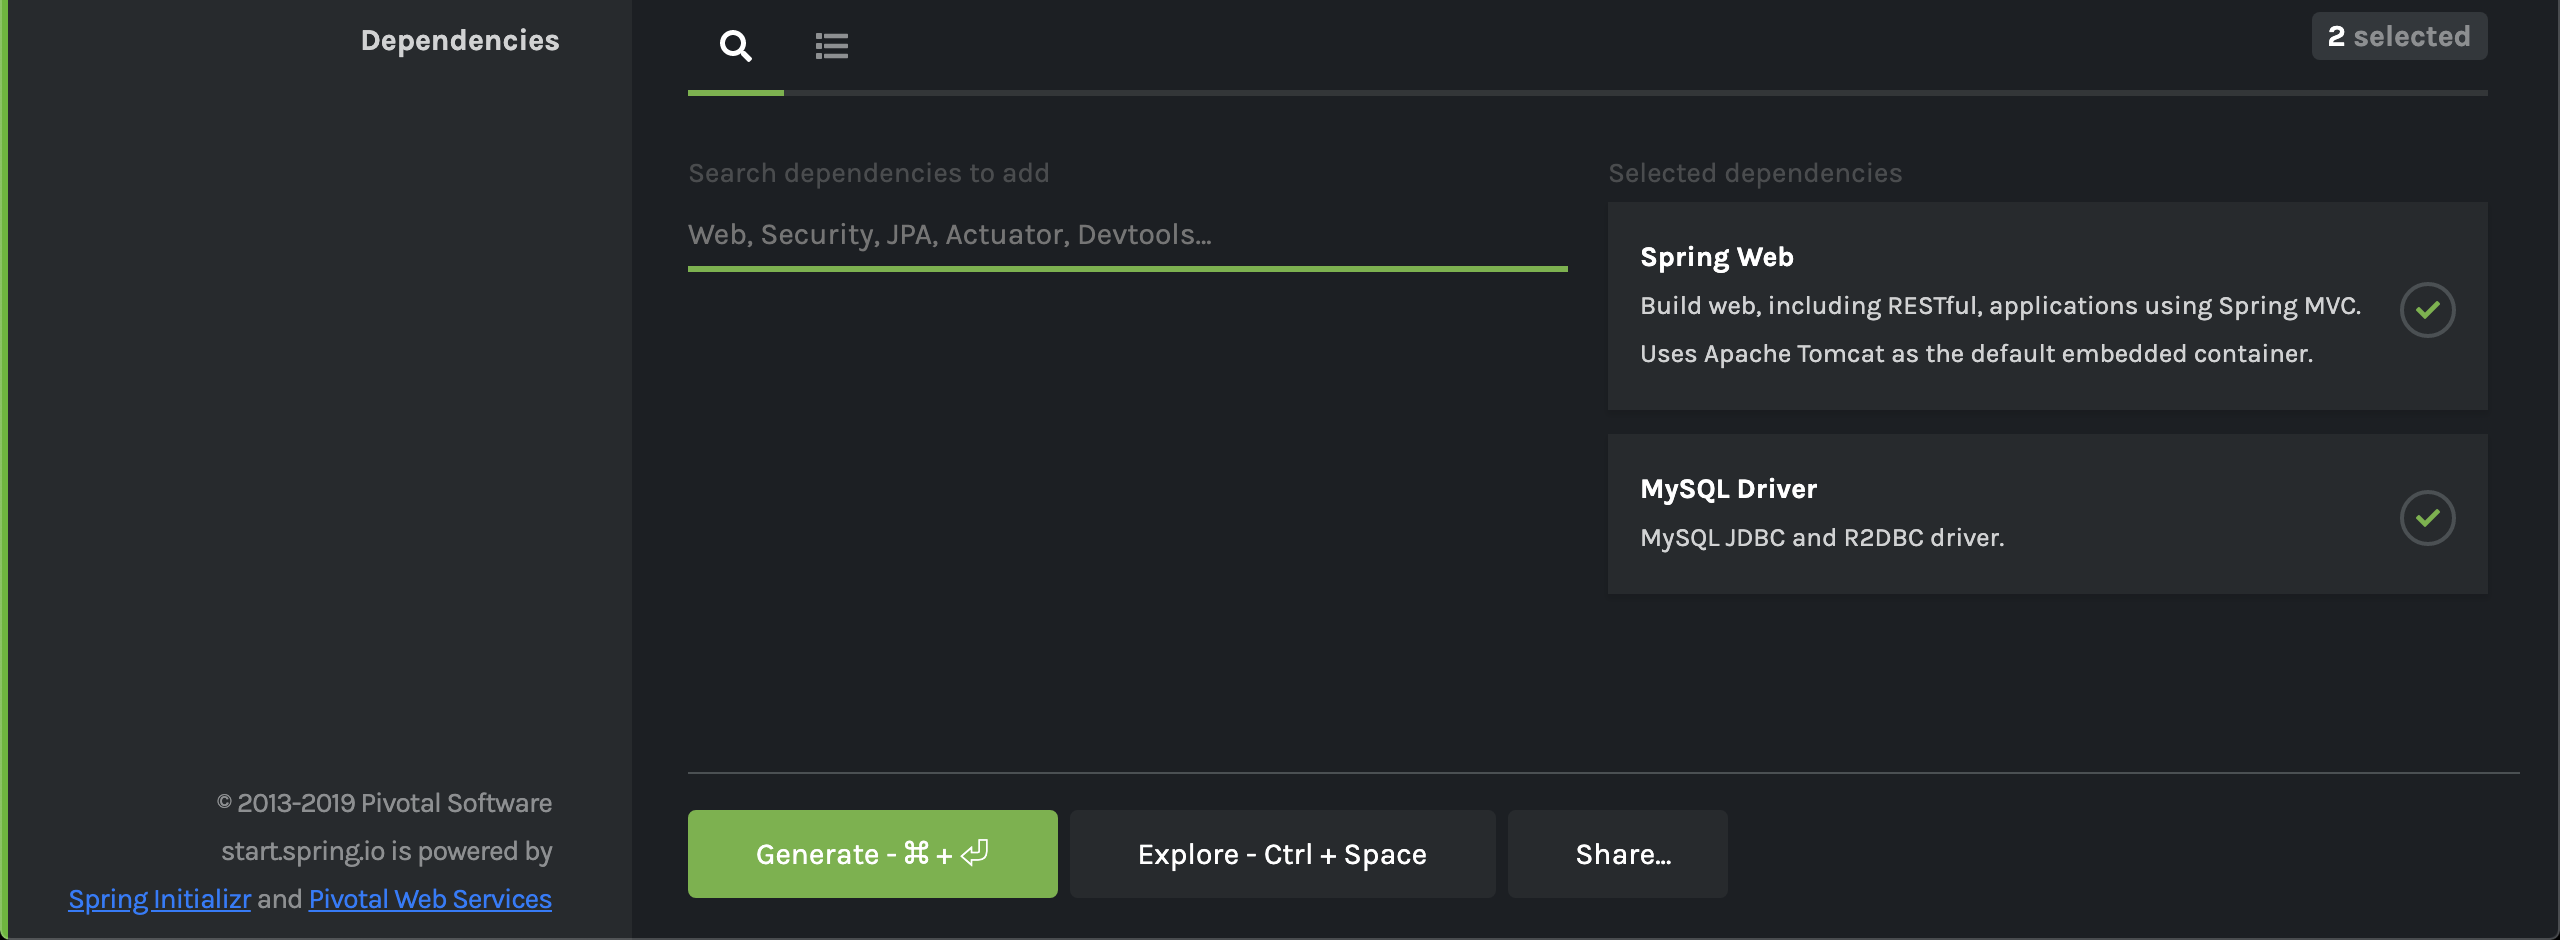
 - 選択が完了したら、Generateボタンをクリックします。
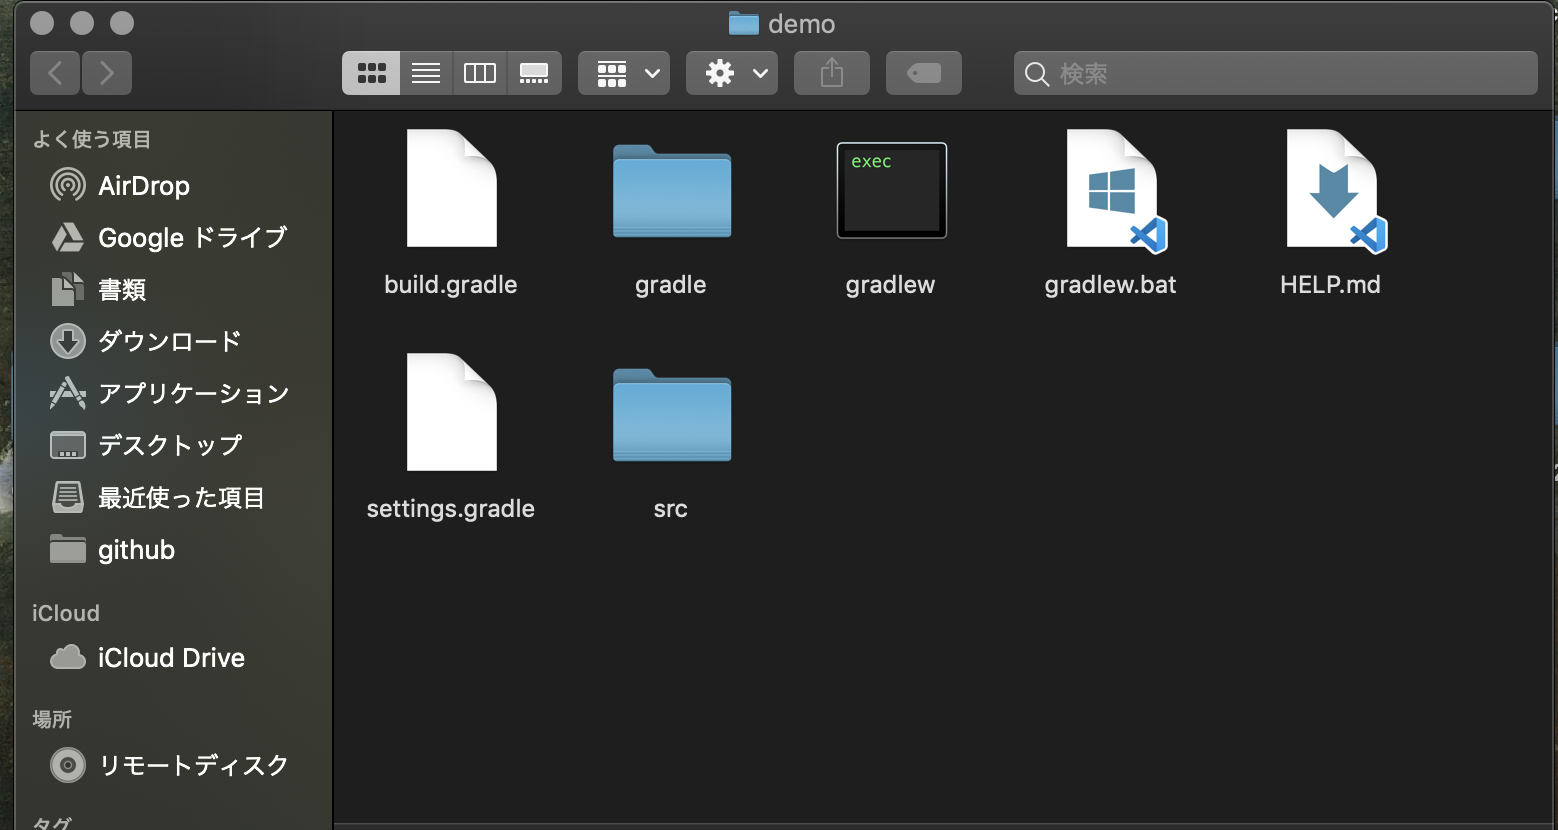
 - 自分の指定した場所にzipができるので、解凍します。

プロジェクトをIntelliJで開く
- さきほど解凍したフォルダを開きます。
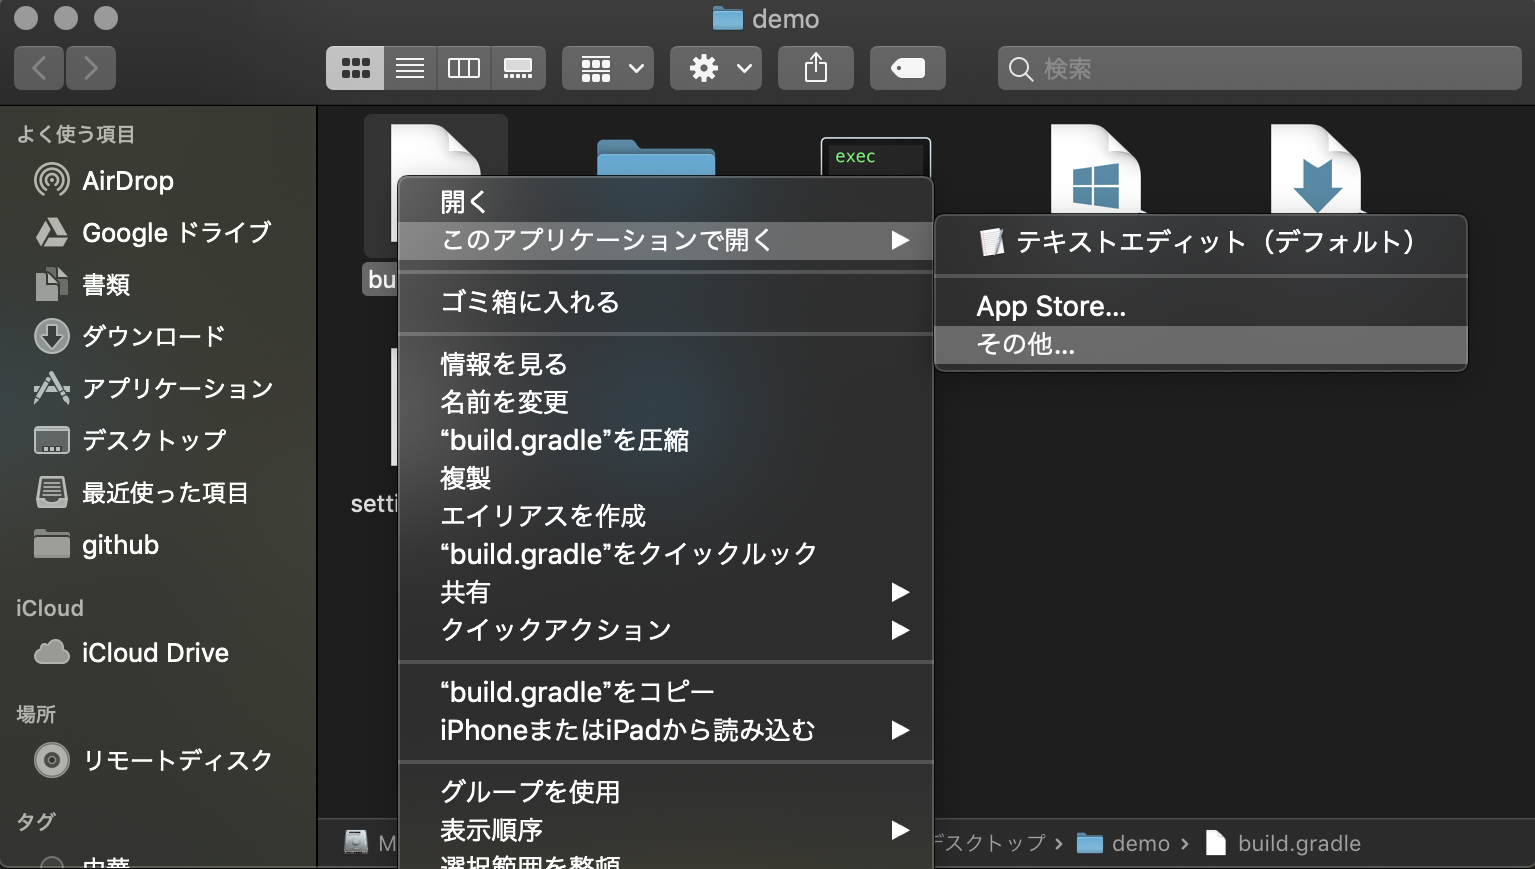
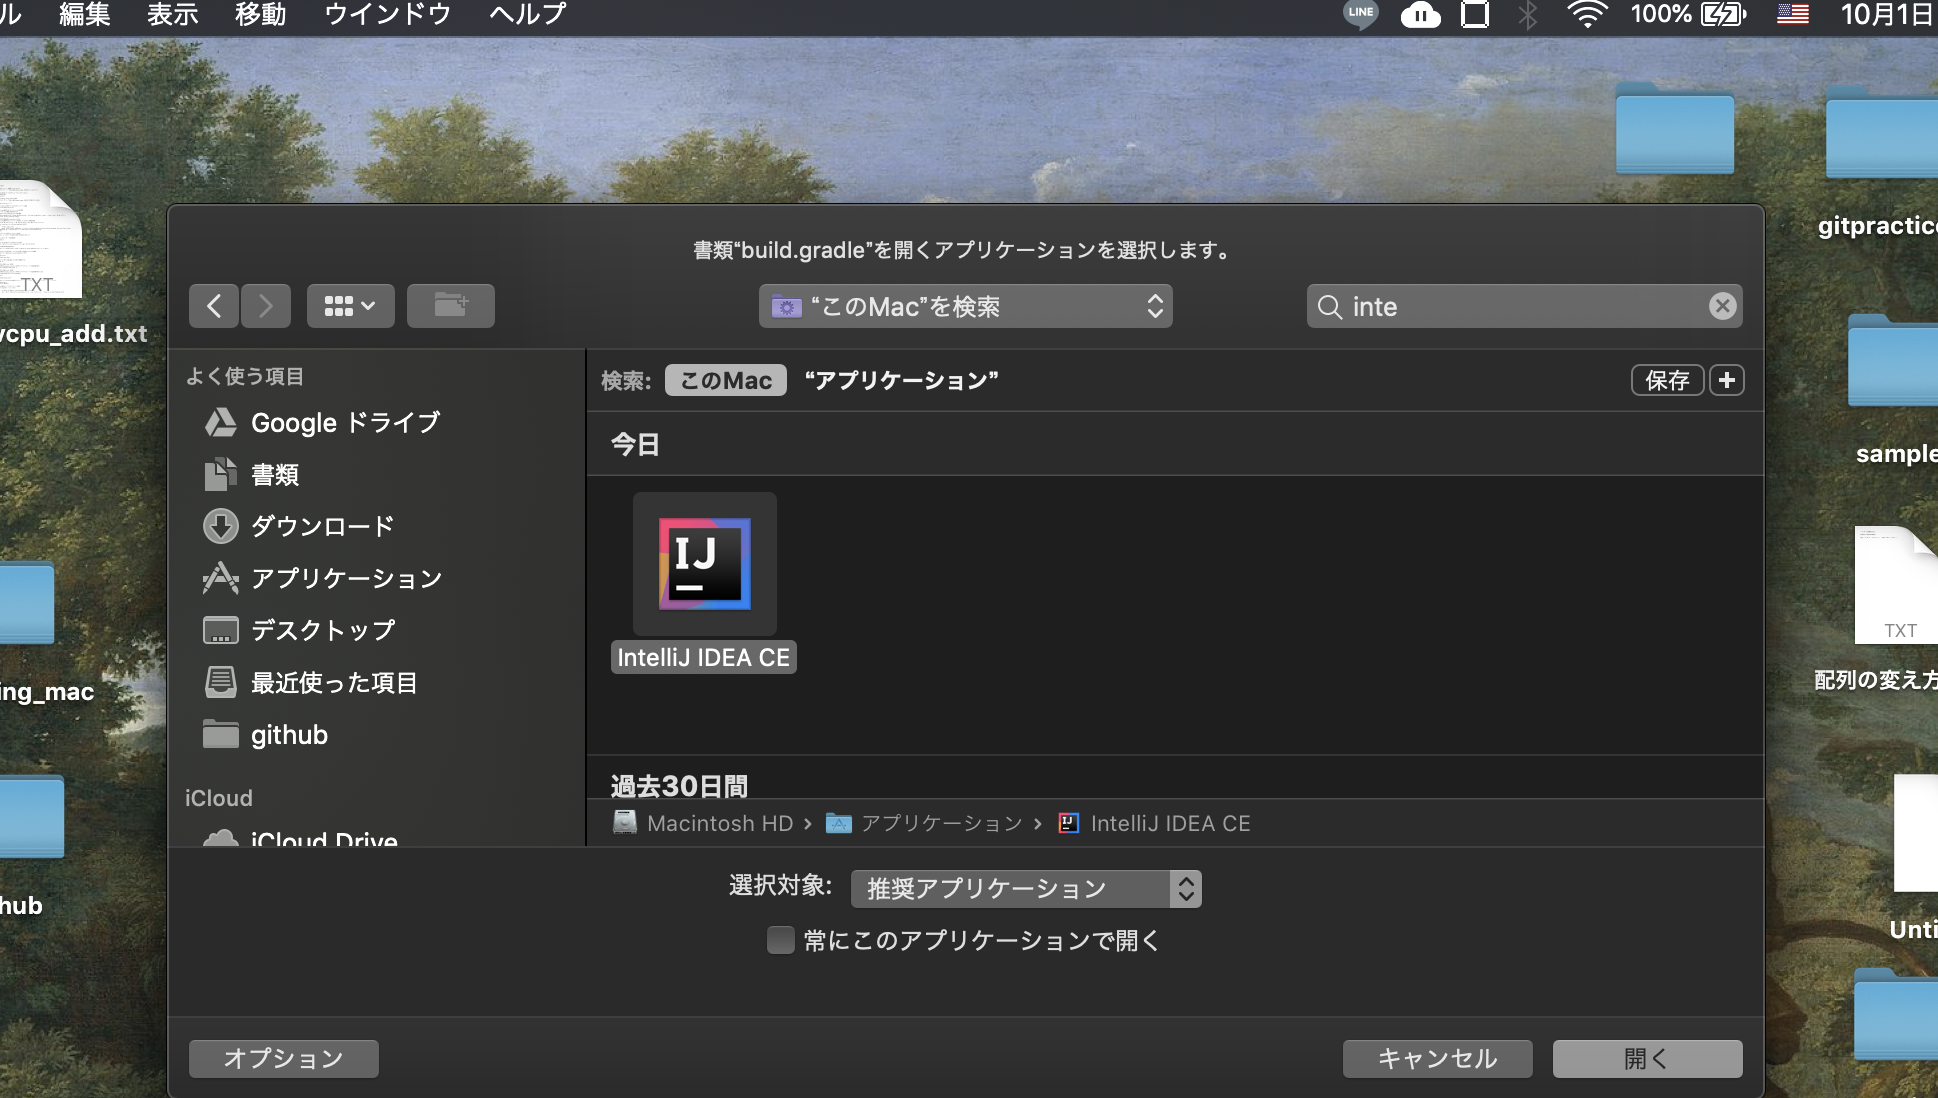
 - build.gradleファイルを右クリックして、IntelliJで開きます。
Hello Worldを表示する
- 初期で作られているSampleApplicationクラスには何も手を加えずに、
SampleApplicationクラスと同階層のディレクトリでControllerクラスを新規作成します。
HelloController.java
@RestController
public class HelloController {

   @GetMapping("/")
    public String index() {
        return "hello world";
    }

    @PostMapping("/")
    public String index2() {
        return "こんにちは";
    }
- 「localhost:8080」にアクセスするとGETメソッドが呼ばれて、
文字が表示されます。

注意点
- thymeleafは不要です。
- コードに変更を加えた時は、「■(停止)」を押下しないと、
多重起動になるのでいちいち消してからRunしましょう「▶」。 - RestAPIを作りたい時は、「@Controller」ではなく
「@RestController」をつけましょう。