これまで自分はLaravelのフロントエンドはVue.jsを選択し、UIコンポーネントライブラリとしてVuetifyを利用することが多かったのですが、これの最大のデメリットはVue3に対応していないことでした。
Vuetifyは今後Vue3に対応することが予定されているのはわかっていても、さすがにもう待てないとなったところで教えてもらったのがPrimeVue。
こちらはVue3に対応しているとのことで使ってみることにしました。
ということで今回作ってみるのはタイトルの通り、
Laravel9 + Inertia.js + PrimeVue
です。
Inertia.jsとPrimeVueを組み合わせた記事はあまり見つからないので書いてみようというのが今回のモチベーションです。
LaravelやVue.jsの基本的な知識は持っている前提で進めます。
まずはLaravelの最初の画面を表示できたところからスタートです。
使うのは2022年6月現在最新の9.xです。
Inertia.js
インストールします。
$ composer require inertiajs/inertia-laravel
フロントエンドはVue3用をインストールします。
$ npm install @inertiajs/inertia @inertiajs/inertia-vue3 --save-dev
Vue.jsもまだだったのでインストールします。
$ npm install vue --save-dev
$ npm install vue-loader@^16.2.0 --save-dev --legacy-peer-deps
次にLaravelのソースコードを編集します。
<?php

use Illuminate\Support\Facades\Route;
use Inertia\Inertia;

/*
|--------------------------------------------------------------------------
| Web Routes
|--------------------------------------------------------------------------
|
| Here is where you can register web routes for your application. These
| routes are loaded by the RouteServiceProvider within a group which
| contains the "web" middleware group. Now create something great!
|
*/

Route::get('/', function () {
    return view('welcome');
});

Route::get('sample', function () {
    return Inertia::render('Sample', ['message' => 'Hello Inertia!',]);
});
<!DOCTYPE html>
<html lang="{{ str_replace('_', '-', app()->getLocale()) }}">
    <head>
        <meta charset="utf-8">
        <meta name="viewport" content="width=device-width, initial-scale=1">
        <meta name="csrf-token" content="{{ csrf_token() }}">
        <meta name="robots" content="noindex">

        <title>{{ config('app.name', 'Laravel') }}</title>

        <!-- Fonts -->
        <link rel="stylesheet" href="https://fonts.googleapis.com/css2?family=Nunito:wght@400;600;700&display=swap">

        <!-- Styles -->
        <link rel="stylesheet" href="{{ mix('css/app.css') }}">

        <!-- Scripts -->
        <script src="/js/manifest.js" defer></script>
        <script src="/js/vendor.js" defer></script>
        <script src="{{ mix('js/app.js') }}" defer></script>
    </head>
    <body class="font-sans antialiased">
        @inertia
    </body>
</html>
app.jsは
https://inertiajs.com/client-side-setup
からのコピペです。
require('./bootstrap');

import { createApp, h } from 'vue'
import { createInertiaApp } from '@inertiajs/inertia-vue3'

createInertiaApp({
  resolve: name => require(`./Pages/${name}`),
  setup({ el, App, props, plugin }) {
    createApp({ render: () => h(App, props) })
      .use(plugin)
      .mount(el)
  },
})
適当なVueのファイルを作ります。
<template>
  <div id="app" style="padding:200px">
    <h1 style="text-align:center;font-size:64px;">{{ $page.props.message }}</h1>
  </div>
</template>
const mix = require('laravel-mix');

/*
 |--------------------------------------------------------------------------
 | Mix Asset Management
 |--------------------------------------------------------------------------
 |
 | Mix provides a clean, fluent API for defining some Webpack build steps
 | for your Laravel applications. By default, we are compiling the CSS
 | file for the application as well as bundling up all the JS files.
 |
 */

mix.js('resources/js/app.js', 'public/js')
    .postCss('resources/css/app.css', 'public/css', [
        //
    ])
    .vue()
    .extract([
        'vue',
        'axios',
        'lodash'
    ])
    .version();
これで npm run dev してできた画面が以下。
ちゃんとLaravelから渡された文字列が表示できています![]()
PrimeVue
続いてはPrimeVueです。
$ npm install primevue@^3.13.0 --save-dev
$ npm install primeicons --save-dev
app.jsにPrimeVueの設定を追加します。
require('./bootstrap');

import { createApp, h } from 'vue'
import { createInertiaApp } from '@inertiajs/inertia-vue3'
import PrimeVue from 'primevue/config';

createInertiaApp({
  resolve: name => require(`./Pages/${name}`),
  setup({ el, App, props, plugin }) {
    createApp({ render: () => h(App, props) })
      .use(plugin)
      .use(PrimeVue)
      .mount(el)
  },
})
@import 'primevue/resources/themes/lara-light-indigo/theme.css';
@import 'primevue/resources/primevue.min.css';
@import 'primeicons/primeicons.css';
VueファイルにPrimeVueのコンポーネントを追加します。
<template>
  <div id="app" style="padding:200px">
    <h1 style="text-align:center;font-size:64px;">{{ $page.props.message }}</h1>
    <span class="p-float-label" style="margin-bottom: 16px;">
      <InputText id="email" type="email" v-model="email" />
      <label for="email">Email</label>
    </span>
    <div class="field-checkbox">
      <Checkbox id="city1" name="city" value="東京" v-model="cities" />
      <label for="city1">東京</label>
    </div>
    <div class="field-checkbox">
      <Checkbox id="city2" name="city" value="千葉" v-model="cities" />
      <label for="city2">千葉</label>
    </div>
    <div class="field-checkbox" style="margin-bottom: 16px;">
      <Checkbox id="city3" name="city" value="横浜" v-model="cities" />
      <label for="city3">横浜</label>
    </div>
    <Button label="Submit" @click="submit" />
  </div>
</template>


<script setup>
import { ref } from 'vue';
import InputText from 'primevue/inputtext/sfc';
import Checkbox from 'primevue/checkbox/sfc';
import Button from 'primevue/button/sfc';

const email = ref('');
const cities = ref([]);

function submit() {
  console.log(email.value);
  console.log(cities.value);
}
</script>
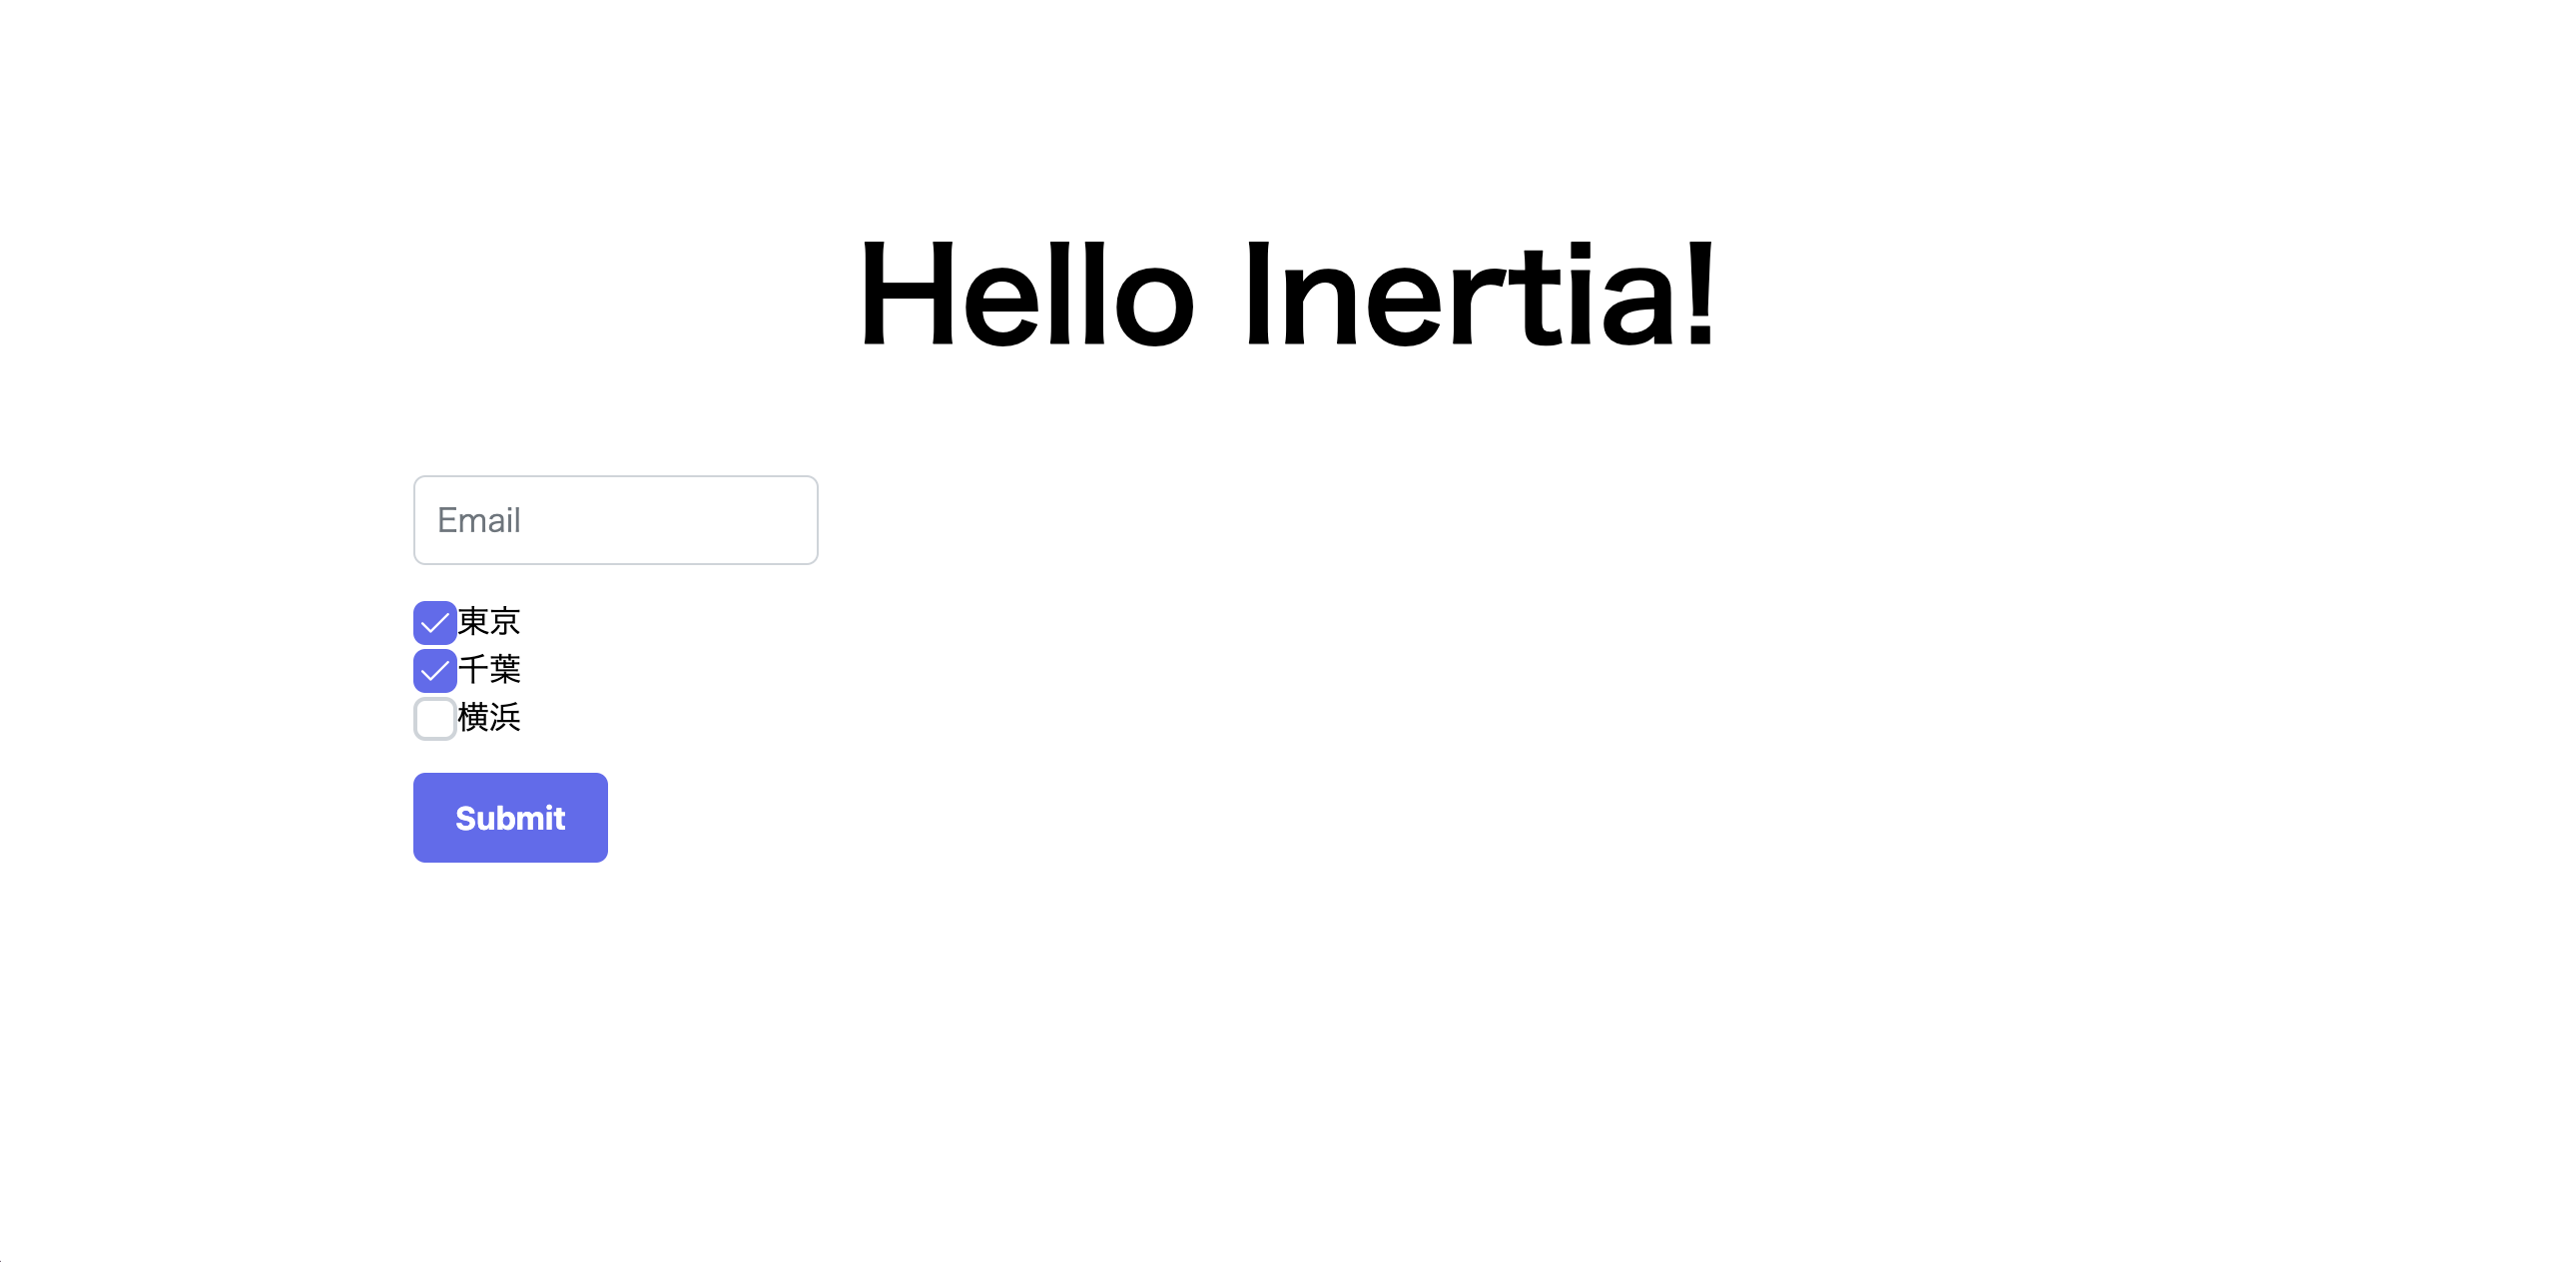
これでできたのが以下の画面。
シンプルな画面ですが、Inertia.jsとPrimeVueを共存できたのではないでしょうか![]()


