起動
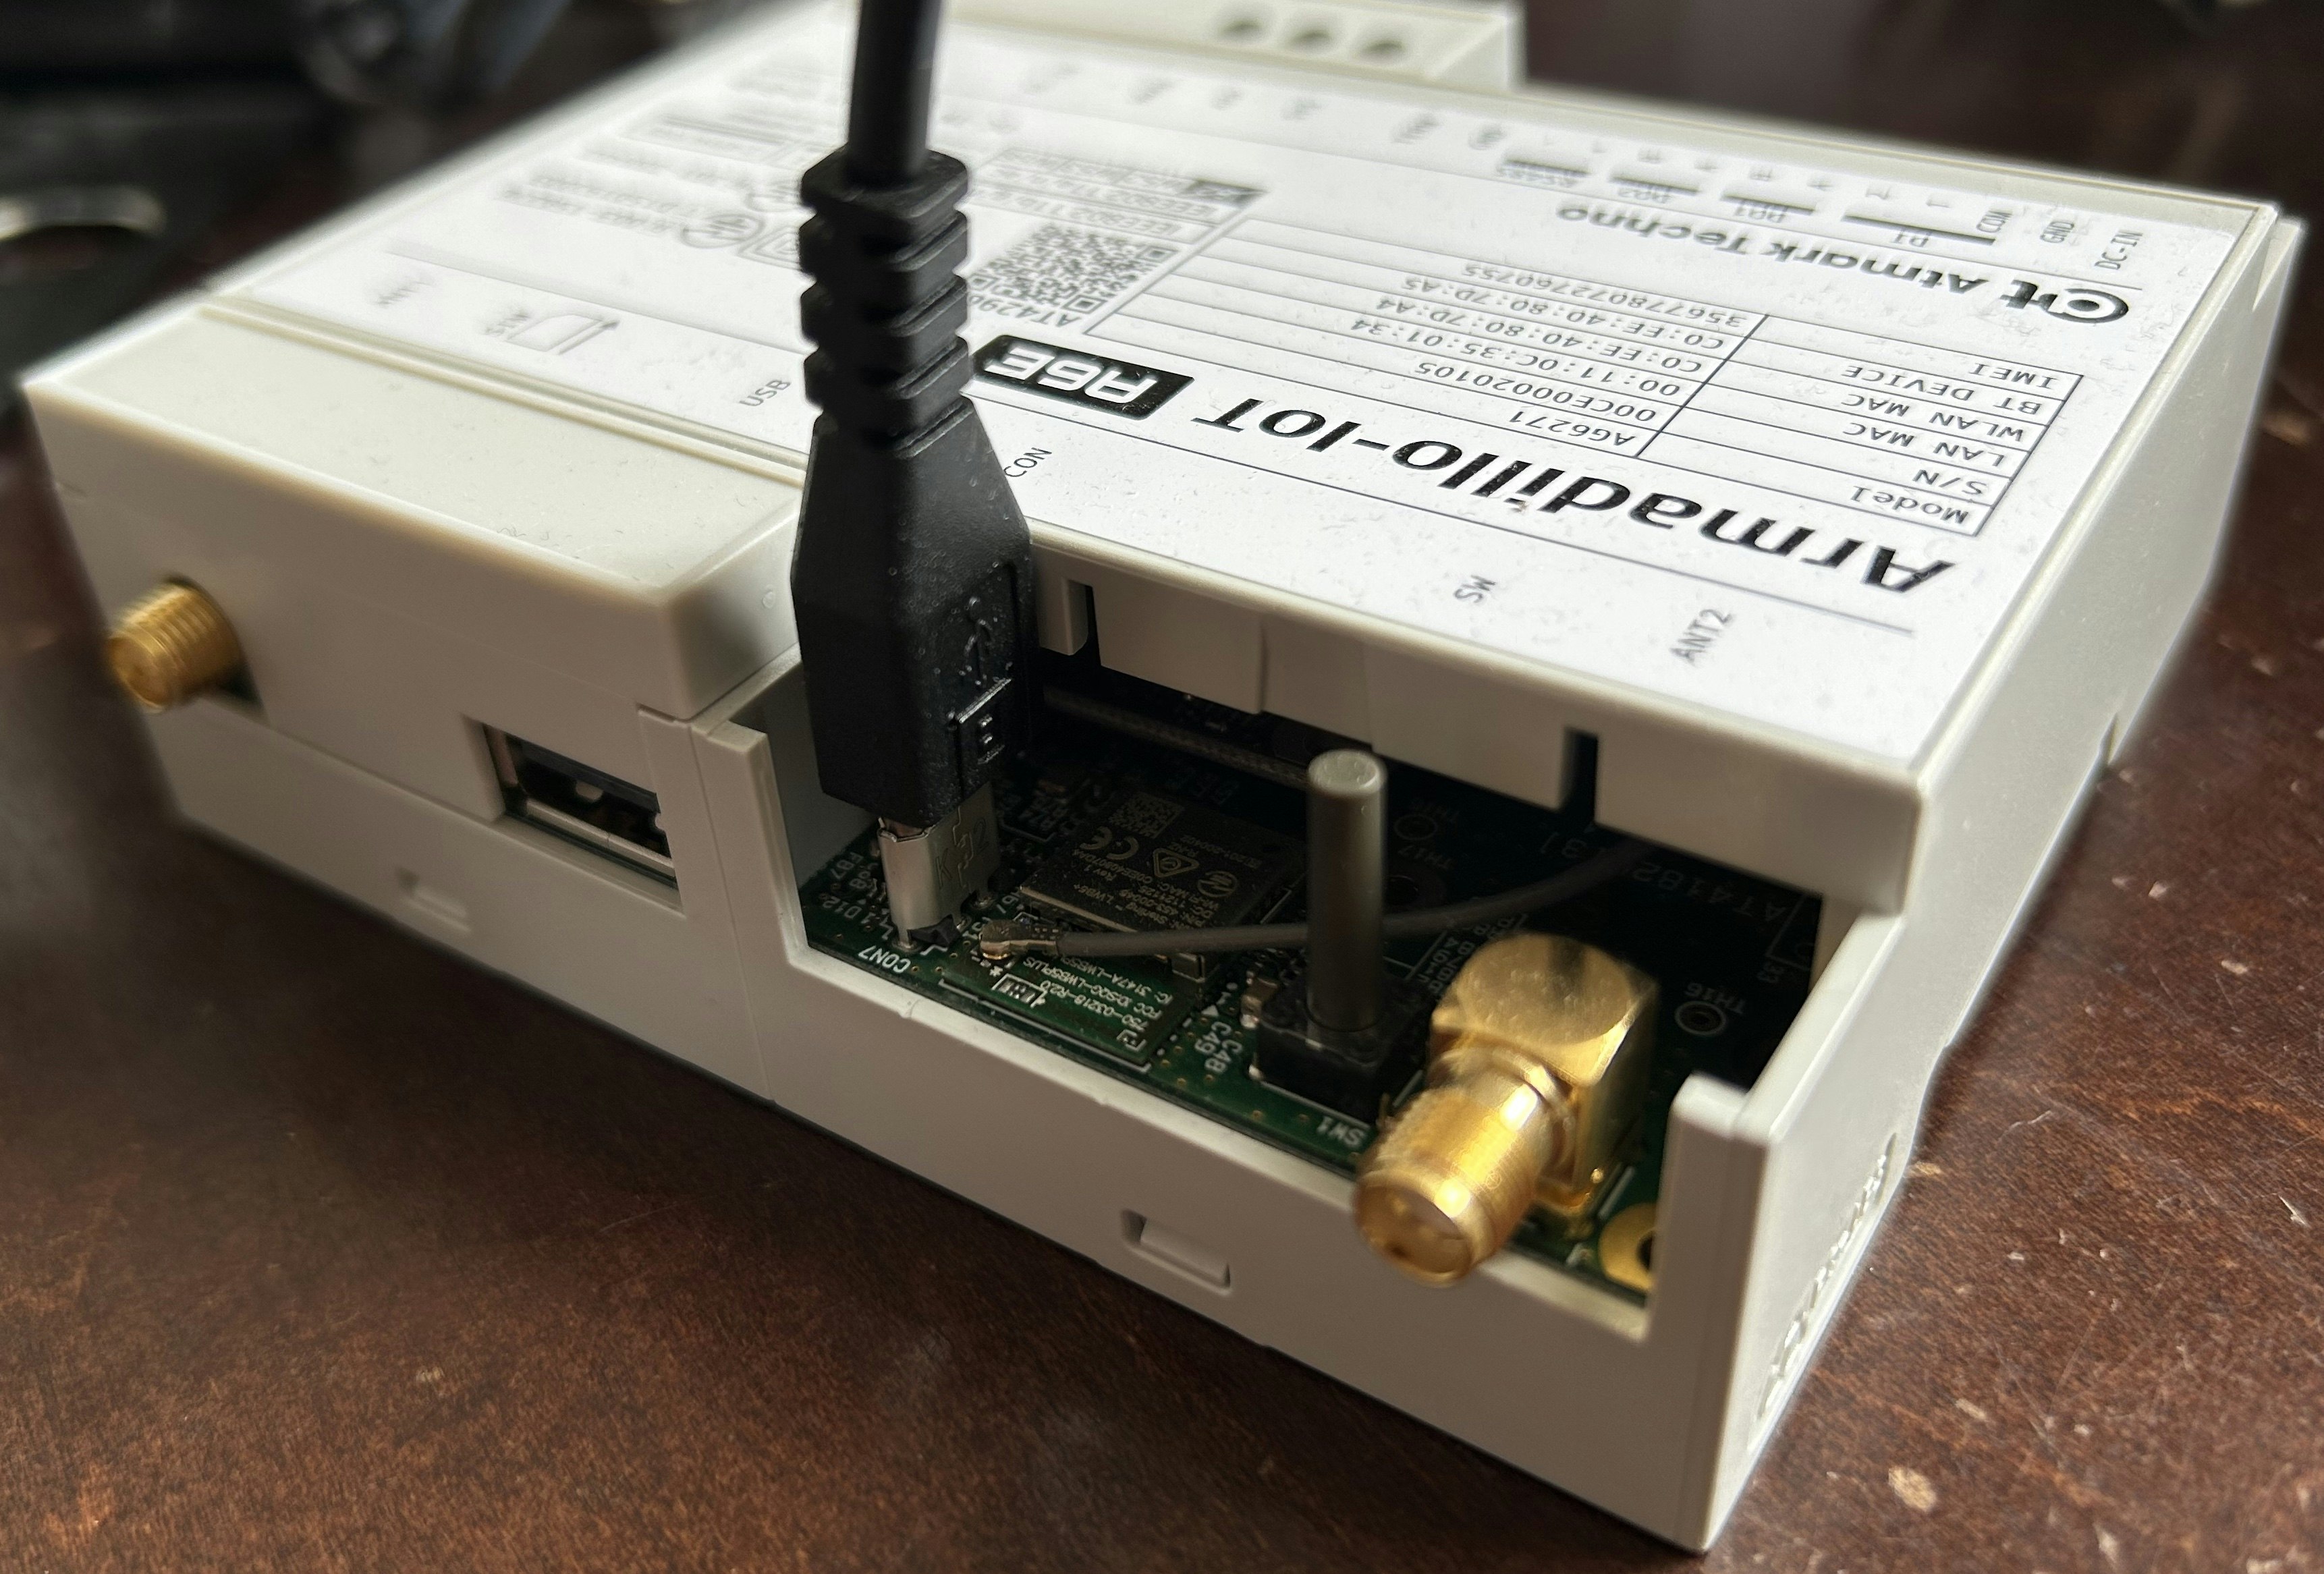
LAN(Ethernet)ケーブル、USBシリアルケーブル、ACアダプタを接続して起動します。
無線LANを使用してネットワークへ接続する場合は、LAN(Ethernet)を接続する必要はありません。

USBシリアルケーブルで接続
macOSから接続する前提で説明します。
USBシリアルケーブルでArmadillo-IoTゲートウェイ A6Eとmacを接続します。

正常に接続(認識)されたかどうか確認するため、ターミナル画面からlsコマンドでデバイス情報を表示します。
(USBケーブル接続前)
% ls -la /dev/cu*
crw-rw-rw-  1 root  wheel  0x9000005  6  3 13:07 /dev/cu.Bluetooth-Incoming-Port
crw-rw-rw-  1 root  wheel  0x9000001  6  3 13:07 /dev/cu.wlan-debug

(USBケーブル接続後)
% ls -la /dev/cu*
crw-rw-rw-  1 root  wheel  0x9000005  6  3 13:07 /dev/cu.Bluetooth-Incoming-Port
crw-rw-rw-  1 root  wheel  0x9000007  6 20 09:54 /dev/cu.usbserial-1110
crw-rw-rw-  1 root  wheel  0x9000001  6  3 13:07 /dev/cu.wlan-debug
USBケーブル接続後に/dev/cu.usbserial-1110が追加されたことが確認できます。
Armadillo-IoTゲートウェイ A6Eへログイン
ターミナル画面からscreenコマンドでArmadillo-IoTゲートウェイ A6Eへログインします。
% screen /dev/cu.usbserial-1110 115200

(改行を入力)

Welcome to Alpine Linux 3.17
Kernel 5.1.175--at on an armv7l (/dev/ttymxc2)

armadillo login:
rootアカウントでログイン
最初にログインする時にパスワードを設定します。
パスワードの保存(永続化)
# persist_file /etc/shadow
リモート接続(SSH)を有効にする
# rc-update add sshd
# persist_file /etc/runlevels/default/sshd
リモートからrootでログインできるようにするため、/etc/ssh/sshd_configを変更する。
PermitRootLogin yes    ← 追記
PasswordAuthentication yes ← コメントイン
# persist_file /etc/ssh/sshd_config
再起動する。
再起動後、SSHキーを保存する。
# persist_file /etc/ssh/ssh_host_ecdsa_key
# persist_file /etc/ssh/ssh_host_ecdsa_key.pub
# persist_file /etc/ssh/ssh_host_ed25519_key
# persist_file /etc/ssh/ssh_host_ed25519_key.pub
# persist_file /etc/ssh/ssh_host_rsa_key
# persist_file /etc/ssh/ssh_host_rsa_key.pub
ファイアウォールの無効化
Armadillo-IoTゲートウェイ A6E Cat.1モデルはデフォルトでファイアウォールが有効になっており、外部からSSHアクセスできない状態になっています。
ファイアウォールの設定を無効化します。
/etc/atmark/els31.conf
#!/bin/sh

FIREWALL="enable" → "disable"
# persist_file /etc/atmark/els31.conf
再起動します。
Podmanを使ってNode-REDを動かす
Podmanのデータを永続化させる
# abos-ctrl podman-storage --disk
エラーが出力された場合は、podmanを一旦停止してから再度コマンドを実行します。
# abos-ctrl podman-storage --disk
ERROR: There are containers running, please stop them (podman kill -a) before retrying

# podman kill -a

# abos-ctrl podman-storage --disk
Node-REDを動かす
初回起動時はDocker Hubからイメージファイルをダウンロードして、
対話式
# podman run -it -p 1880:1880 -v node_red_data:/data --name mynode-red docker.io/nodered/node-red
バックグラウンド
# podman run -d -p 1880:1880 -v node_red_data:/data --name mynode-red docker.io/nodered/node-red
データ保存先ディレクトリ
/var/lib/containers/storage/volumes/node_red_data
コンテナの一覧表示
# podman container ls -a
CONTAINER ID  IMAGE                              COMMAND               CREATED         STATUS             PORTS                   NAMES
15d679352  docker.io/nodered/node-red:latest                        4 minutes ago   Up 4 minutes ago   ...:188->188/tcp  mynode-red
コンテナの起動・停止
# podman container start <CONTAINER ID>
# podman container stop <CONTAINER ID>
参考
Armadillo-IoTゲートウェイ G4でNode-REDを動かすメモ