はじめに
スマートホームの新標準「Matter」のサンプルを動かしてみるために、M1 Macでビルド環境を構築してみました。(Ubuntu 20.04環境の事例が多いです)
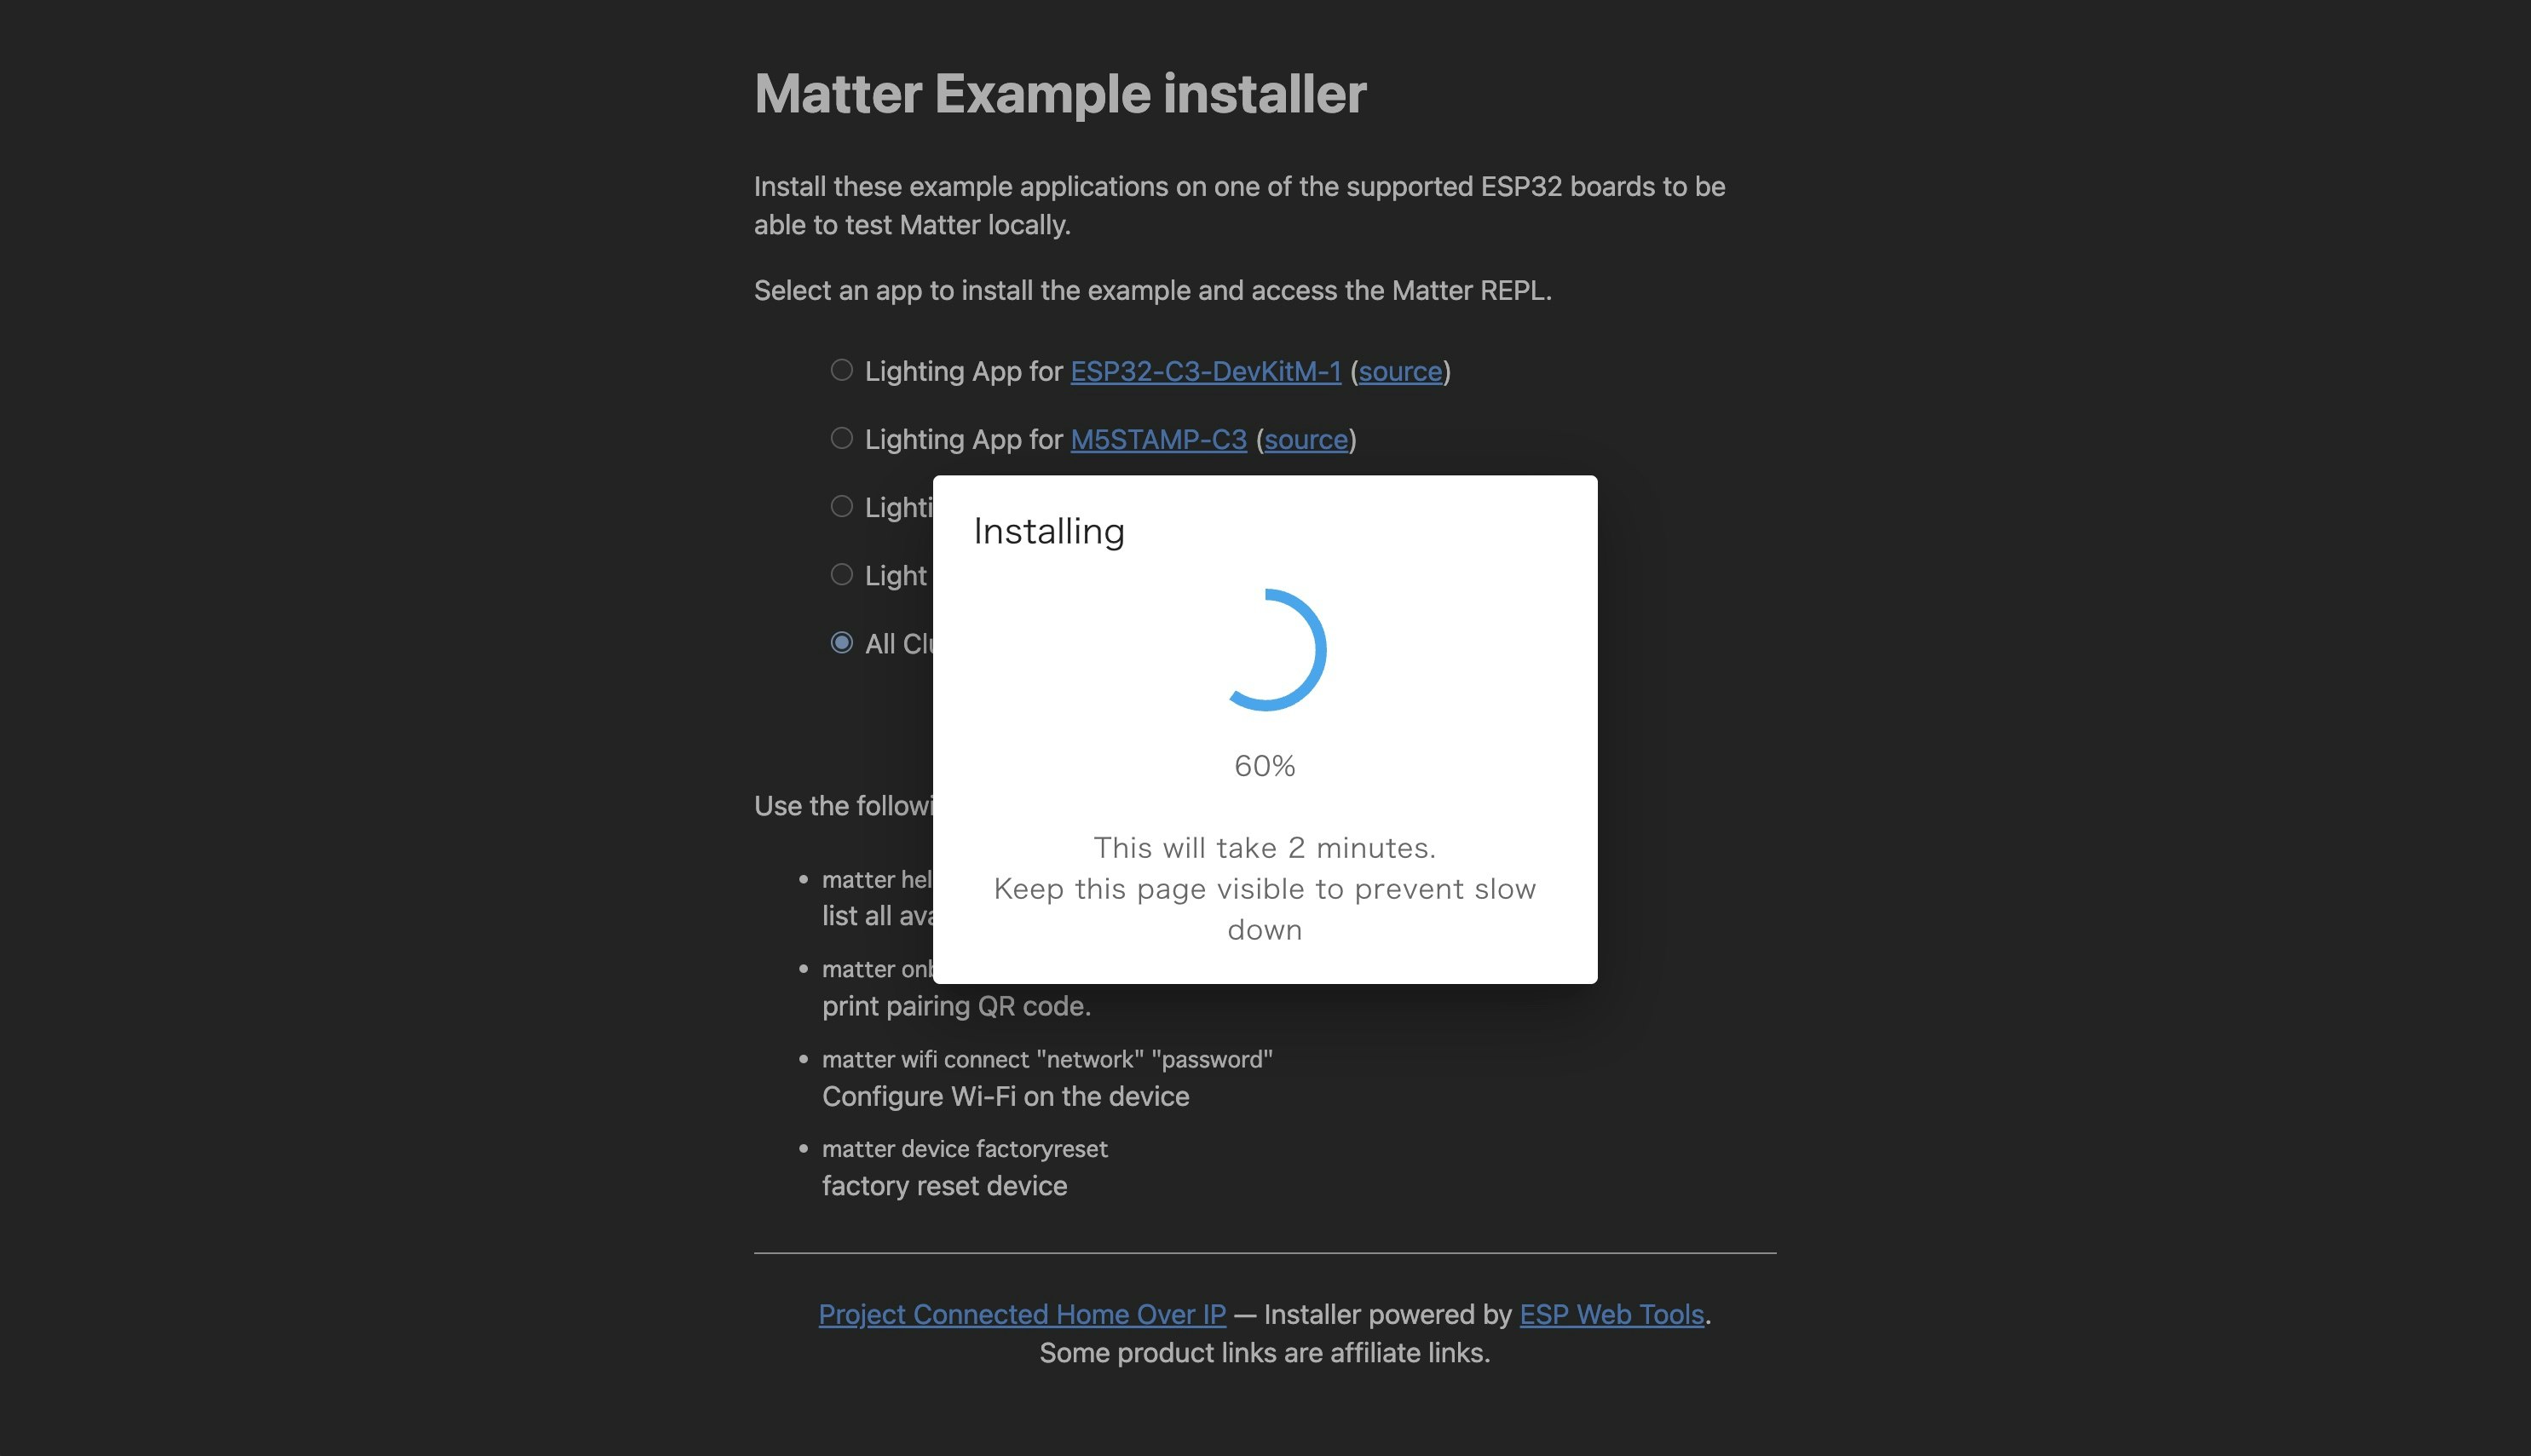
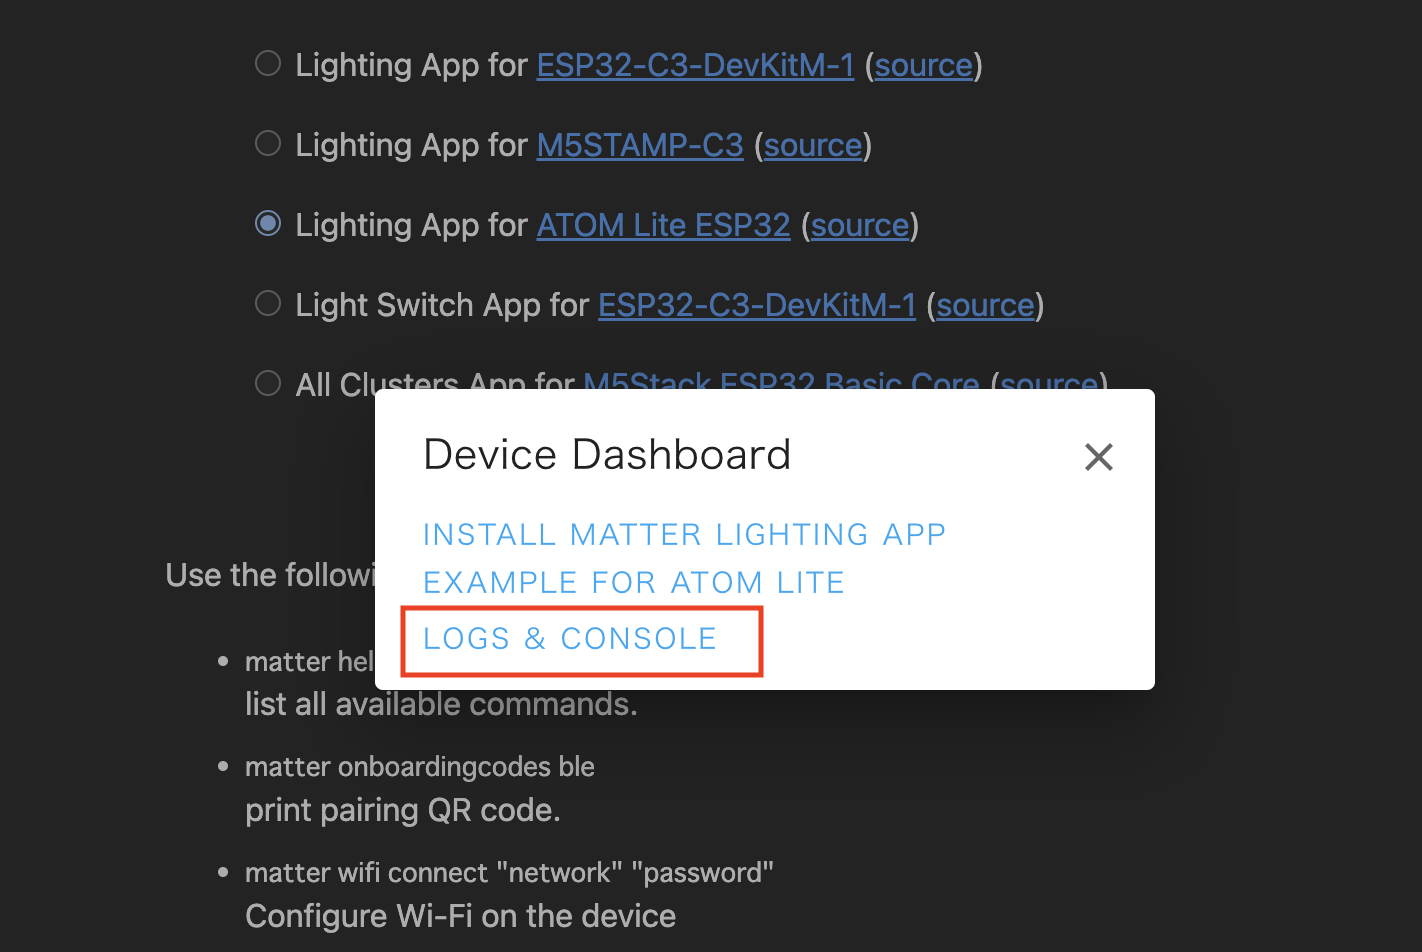
あとで分かったことですが、M5Stackで「Matter」のサンプルを動かすだけなら、ESP Web Toolsを使用してブラウザ(ChromeのWeb Serial)経由でインストールできます。
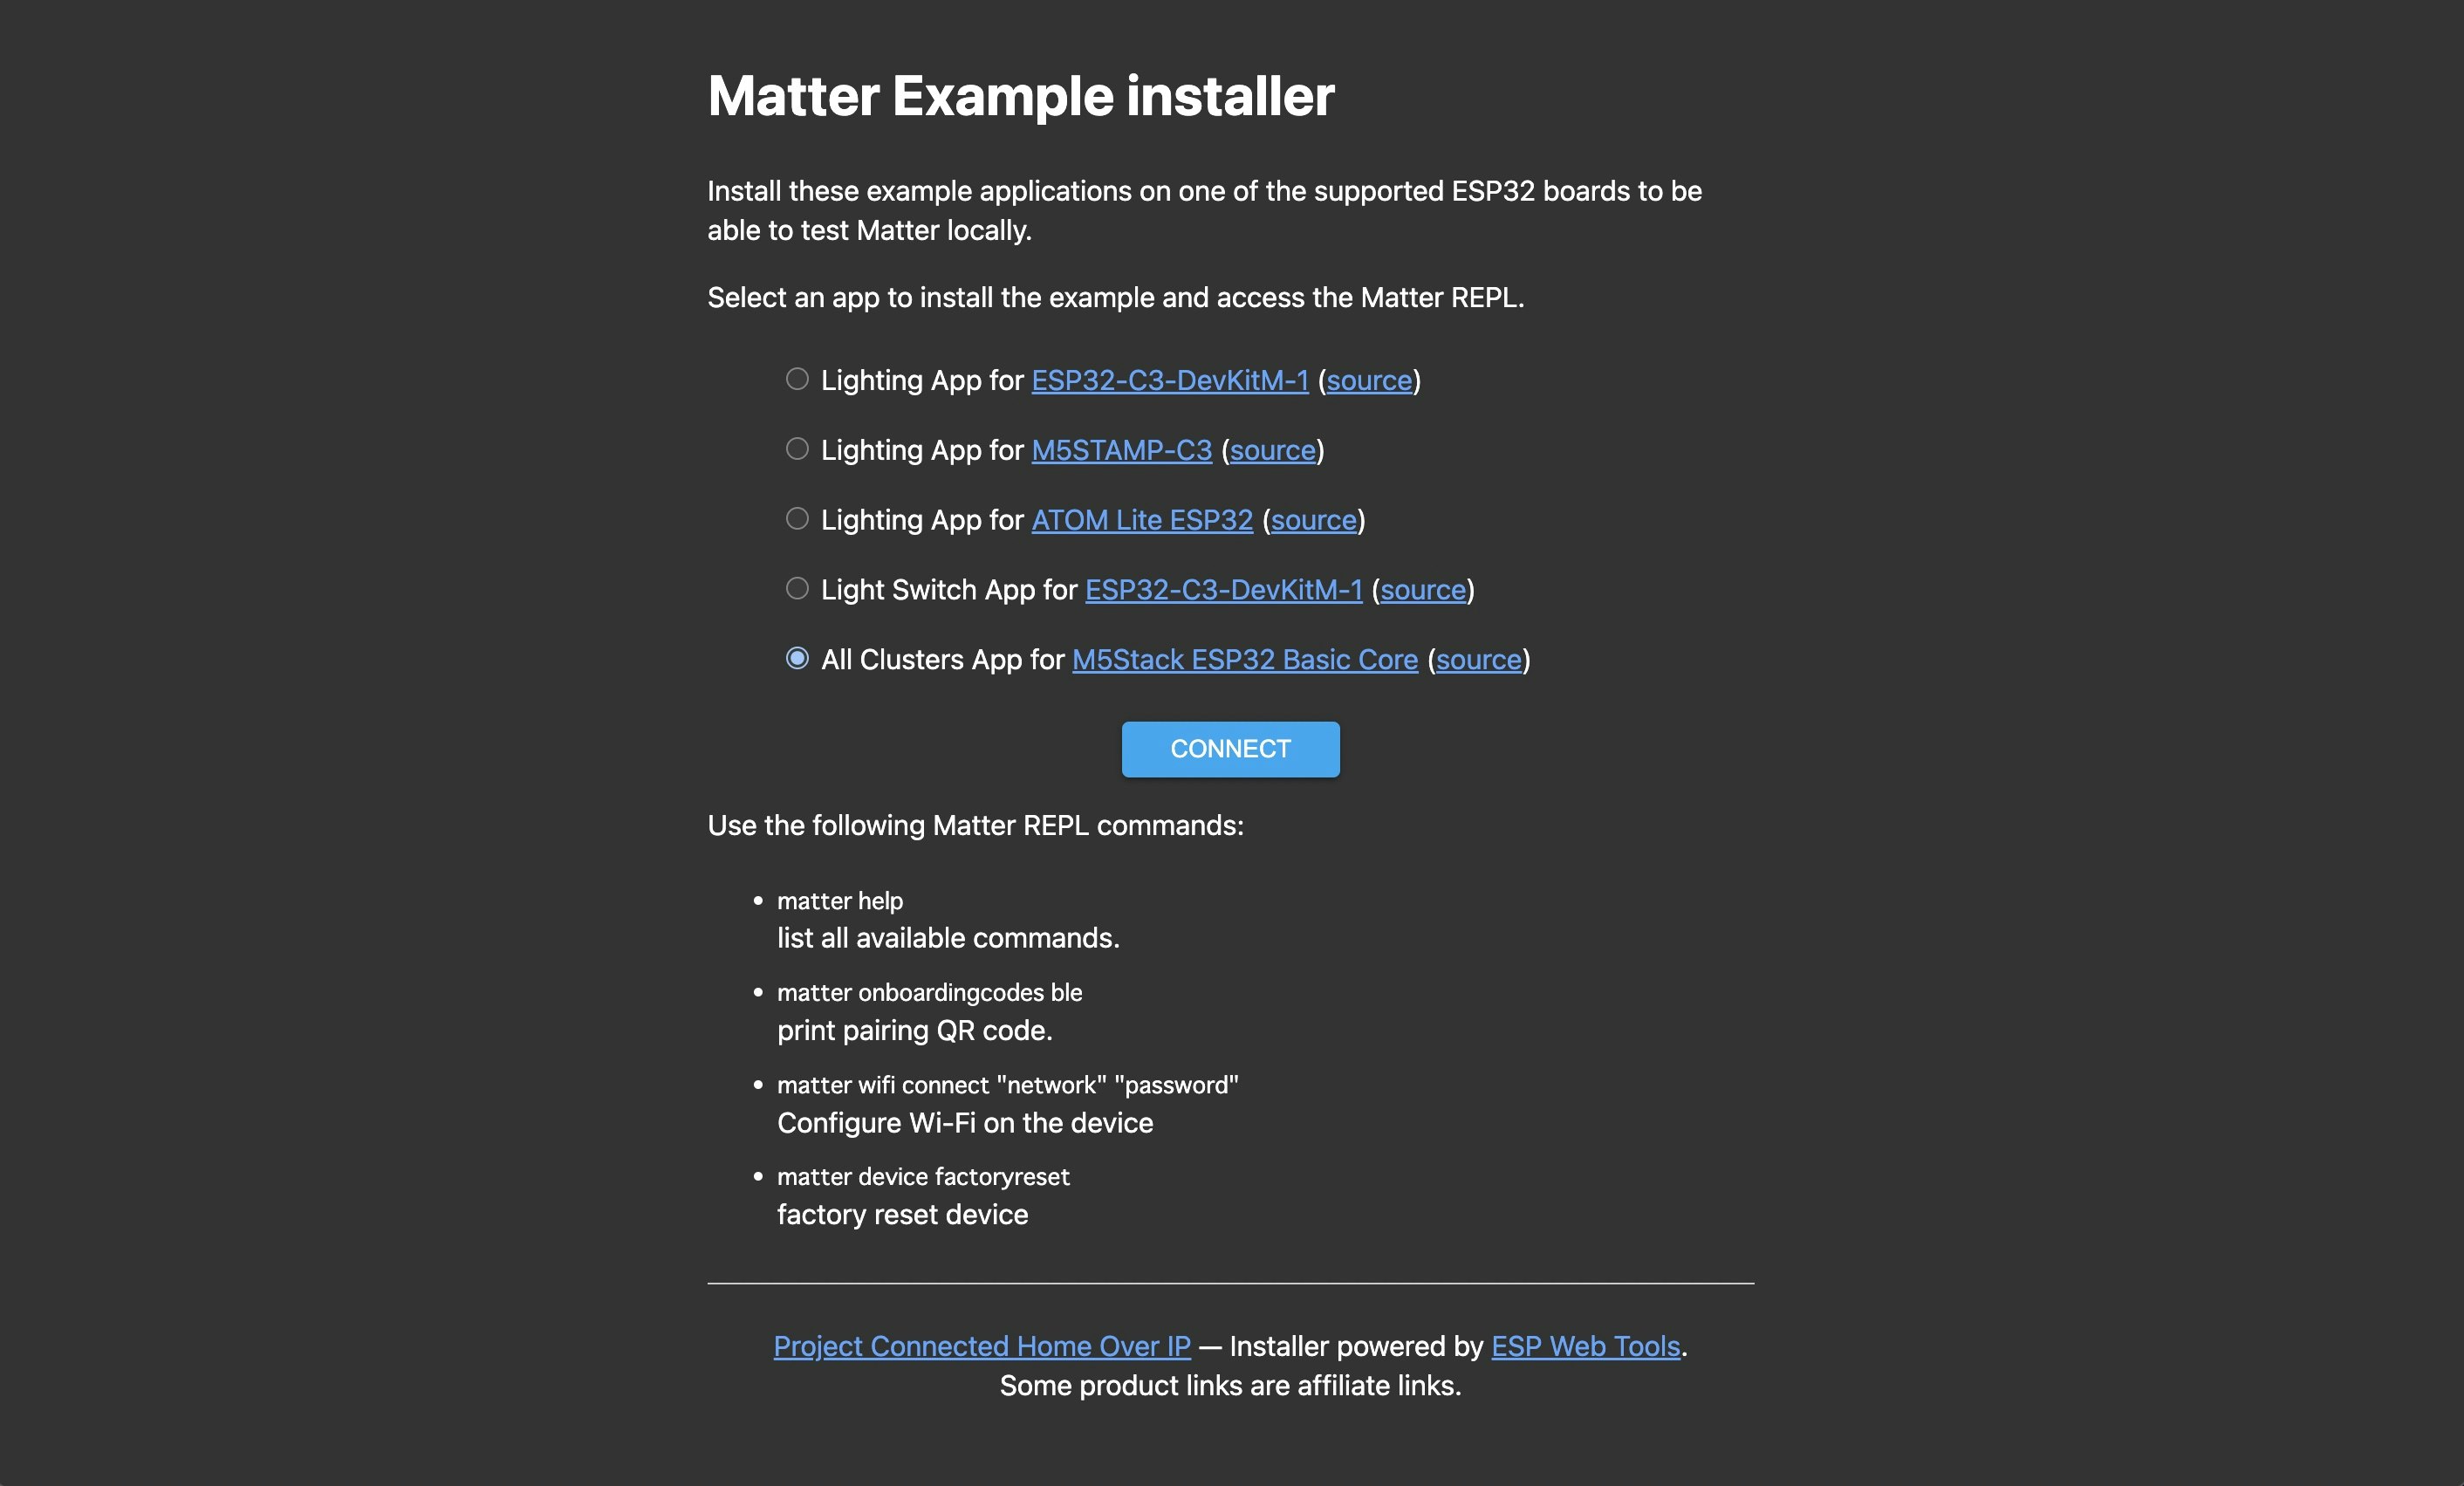
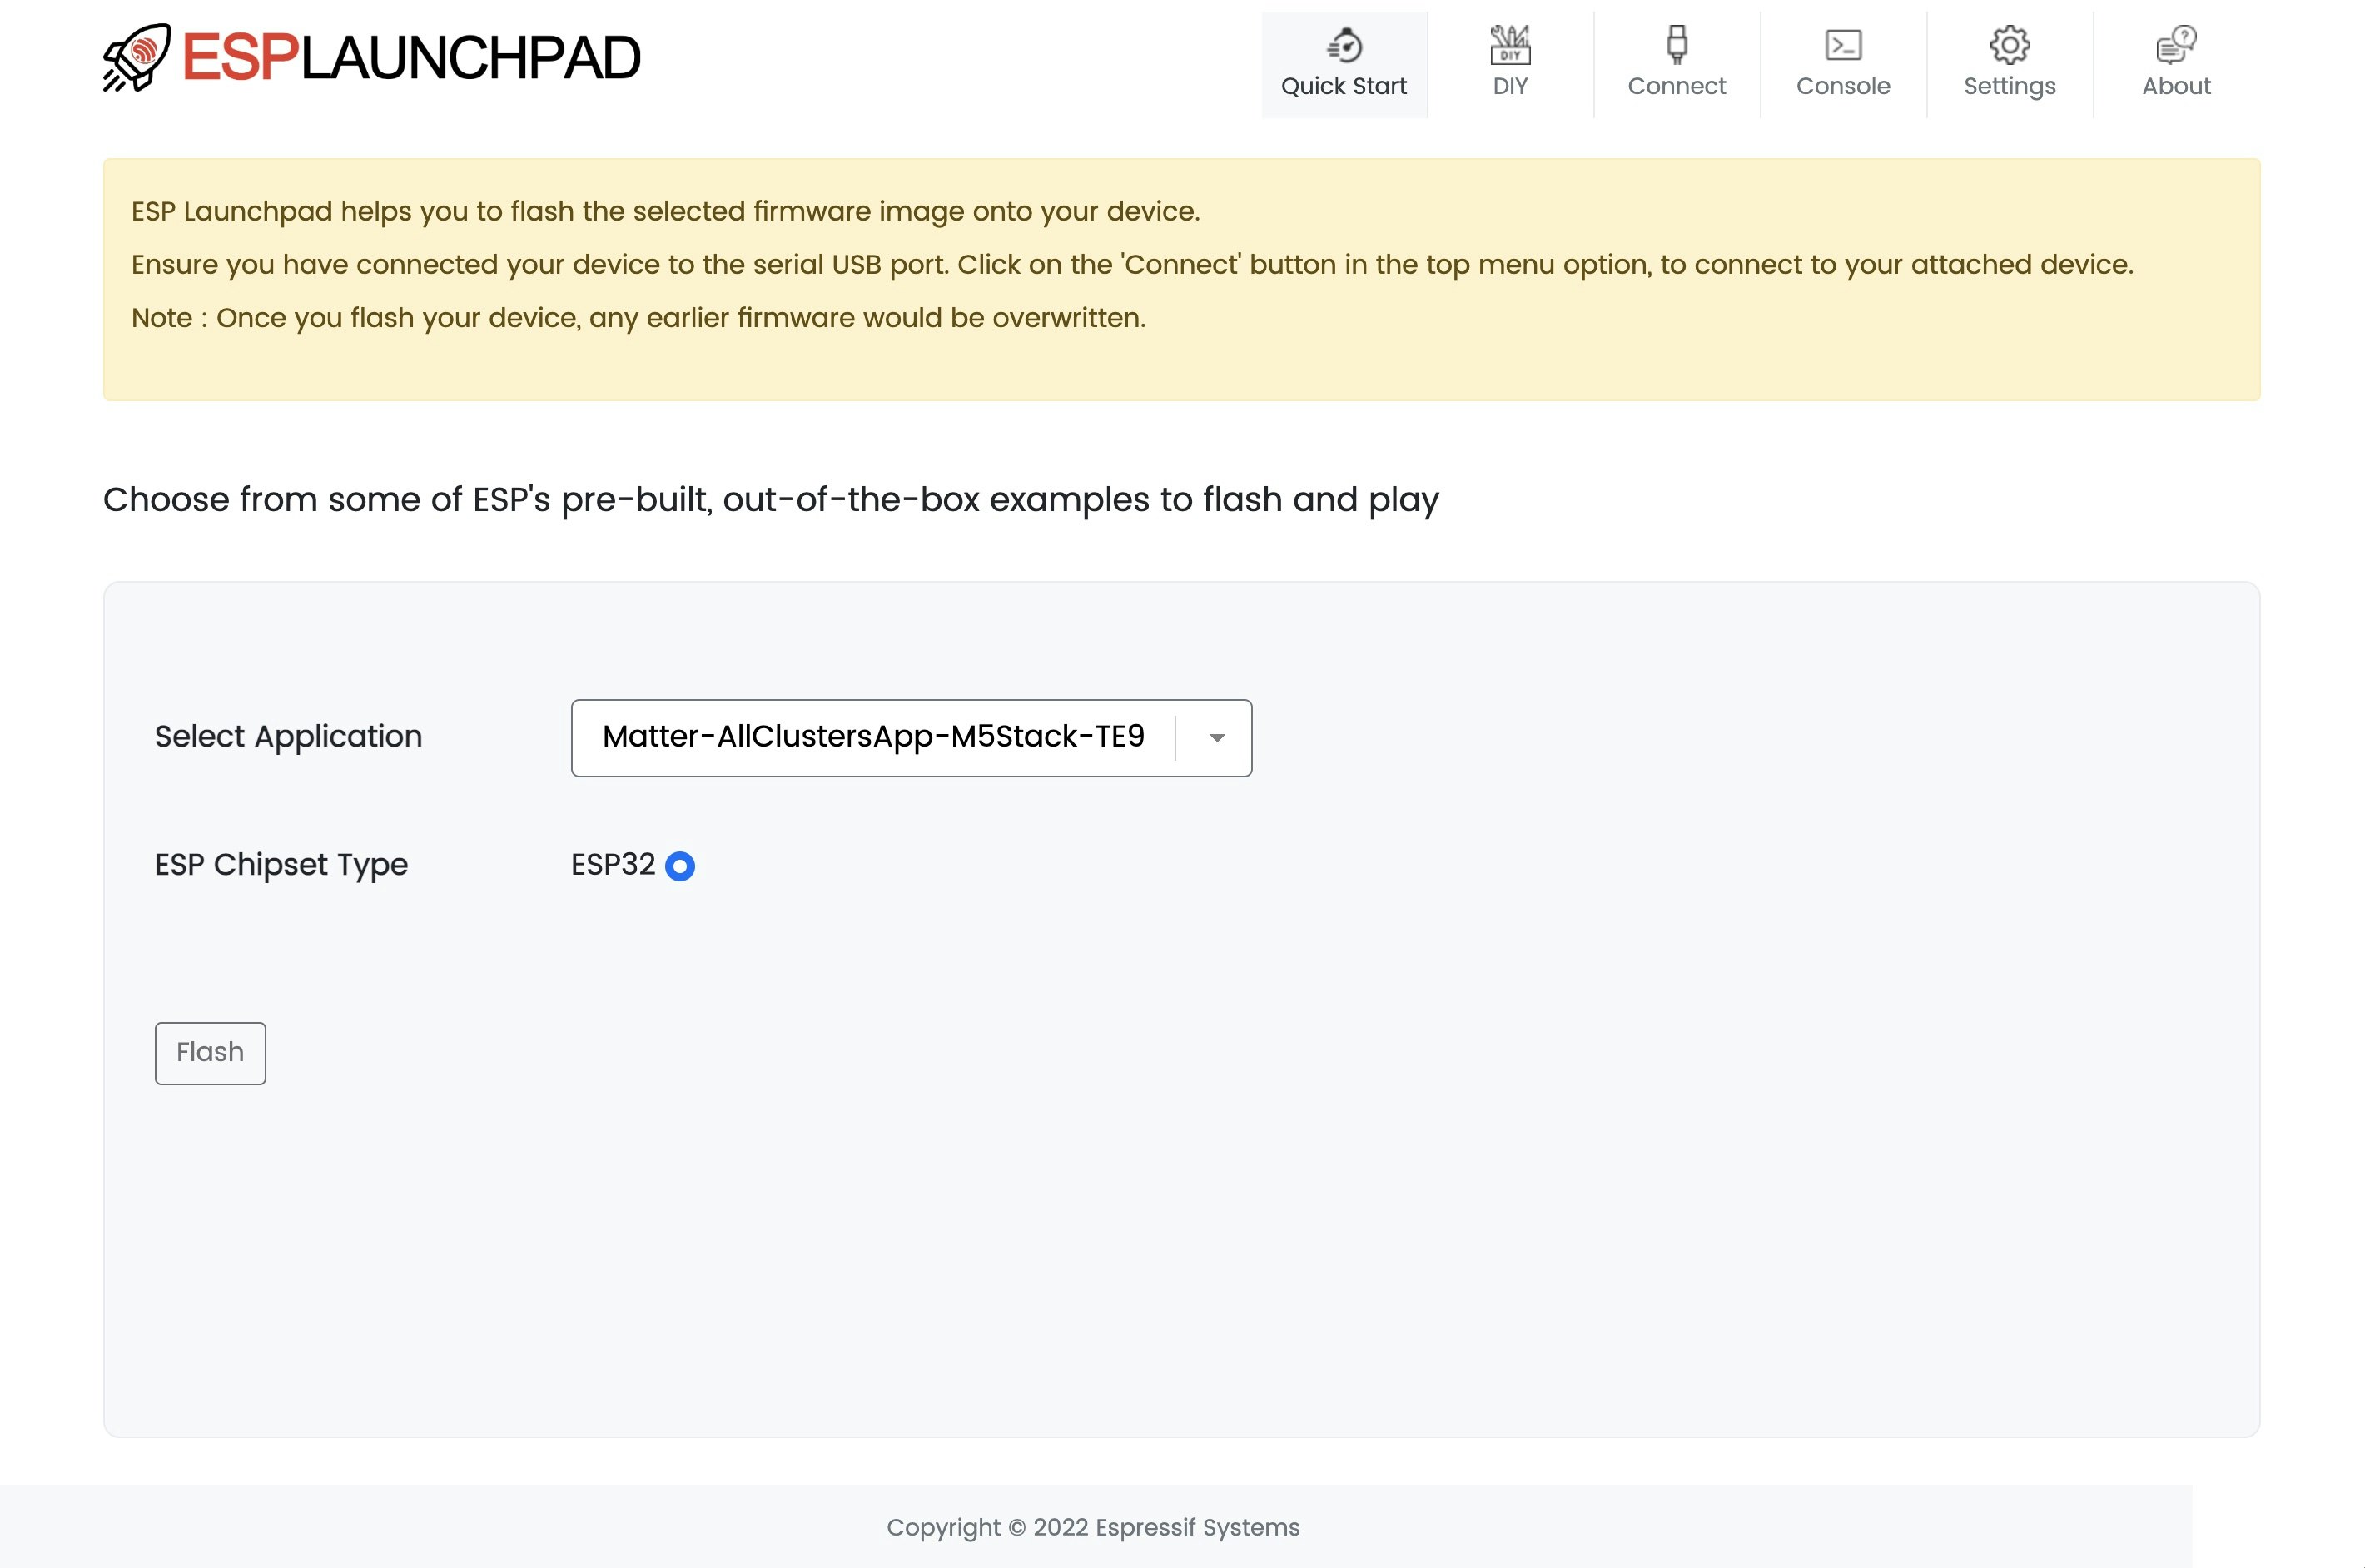
また、Espressifのホームページにもサンプルをダウンロード・インストールできるページがあることを教えていただきました。
環境準備
- MacBook Air (M1, 2020)
- macOS Monterey (12.6.1)
- ESP-IDF 4.4.3
ストレージ領域を25GBくらい消費します。
手順
1.ESP-IDFをインストールする
こちらはModdable SDKのビルド環境の構築でインストール済みでした。
2. Matterのビルド環境を構築する
HOMEディレクトリにインストールする前提で説明します。
基本的には公式の手順とおりですが、出力されるエラーに対応する必要があります。
※ 2023年1月21日追記
ZAPツールをインストールする手順を追加しました。
$ cd
$ git clone --recurse-submodules https://github.com/project-chip/connectedhomeip.git
内容を更新する場合は以下のコマンドを実行します。
$ cd connectedhomeip
$ git submodule update --init
opensslとpkg-configをインストールします。
$ brew install openssl pkg-config
$ export PKG_CONFIG_PATH=$PKG_CONFIG_PATH:"/opt/homebrew/opt/openssl@3/lib/pkgconfig"
環境変数PKG_CONFIG_PATHは、ターミナルを開く度に毎回実行するのが面倒なため、設定ファイルに追加します。
(zshの場合) ~/.zshrc、または、~/.zprofile
次にZAPツールをインストールします。
リリースページからバイナリファイル(zipファイル)をダウンロードし、任意のディレクトリに展開します。
環境変数ZAP_INSTALL_PATHで展開したディレクトリを指定します。
例. v2023.01.19-nightlyビルド版をダウンロードする場合
$ cd
$ mkdir zap-mac && cd zap-mac
$ wget https://github.com/project-chip/zap/releases/download/v2023.01.19-nightly/zap-mac.zip
$ unzip zap-mac.zip
$ export ZAP_INSTALL_PATH="$HOME/zap-mac"
source ./scripts/bootstrap.shを実行します。
(20GBくらいのデータをダウンロードするため、かなり時間が掛かります)
$ cd
$ cd connectedhomeip
$ source ./scripts/bootstrap.sh
問題なく完了すれば、次回以降はsource ./scripts/activate.shを実行します。
$ source ./scripts/activate.sh

  WELCOME TO...

         █
         █
     ▄   █   ▄                                █     █
     ▀▀█████▀▀      ▄▀▀▀▄ ▄▀▀▀▄    ▄▀▀▀▀▄█  ▀▀█▀▀▀▀▀█▀▀   ▄▀▀▀▀▄    ▄▀▀
   ▀█▄       ▄█▀   █     █     █  █      █    █     █    █▄▄▄▄▄▄█  █
     ▀█▄   ▄█▀     █     █     █  █      █    █     █    █         █
  ▄██▀▀█   █▀▀██▄  █     █     █   ▀▄▄▄▄▀█    ▀▄▄   ▀▄▄   ▀▄▄▄▄▀   █
 ▀▀    █   █    ▀▀

  ACTIVATOR! This sets your shell environment variables.

Activating environment (setting environment variables):

  Setting environment variables for CIPD package manager...done
  Setting environment variables for Python environment.....done
  Setting environment variables for pw packages............skipped
  Setting environment variables for Host tools.............done

Checking the environment:

20221128 00:33:26 WRN Current uname (21.6.0 Darwin Kernel Version 21.6.0: Thu Sep 29 20:13:46 PDT 2022; root:xnu-8020.240.7~1/RELEASE_ARM64_T8101 arm64) does not match Bootstrap uname (21.6.0 Darwin Kernel Version 21.6.0: Thu Sep 29 20:13:46 PDT 2022; root:xnu-8020.240.7~1/RELEASE_ARM64_T8101 arm64), you may need to rerun bootstrap on this system
20221128 00:33:26 INF Environment passes all checks!

Environment looks good, you are ready to go!

To reactivate this environment in the future, run this in your
terminal:

  source ./activate.sh

To deactivate this environment, run this:

  deactivate

$
ターミナルを開く度に毎回実行するのが面倒な場合は、設定ファイルに追加します。
(zshの場合) ~/.zshrc、または、~/.zprofile
3.サンプルアプリケーションをビルドする
$ cd examples/all-clusters-minimal-app/esp32
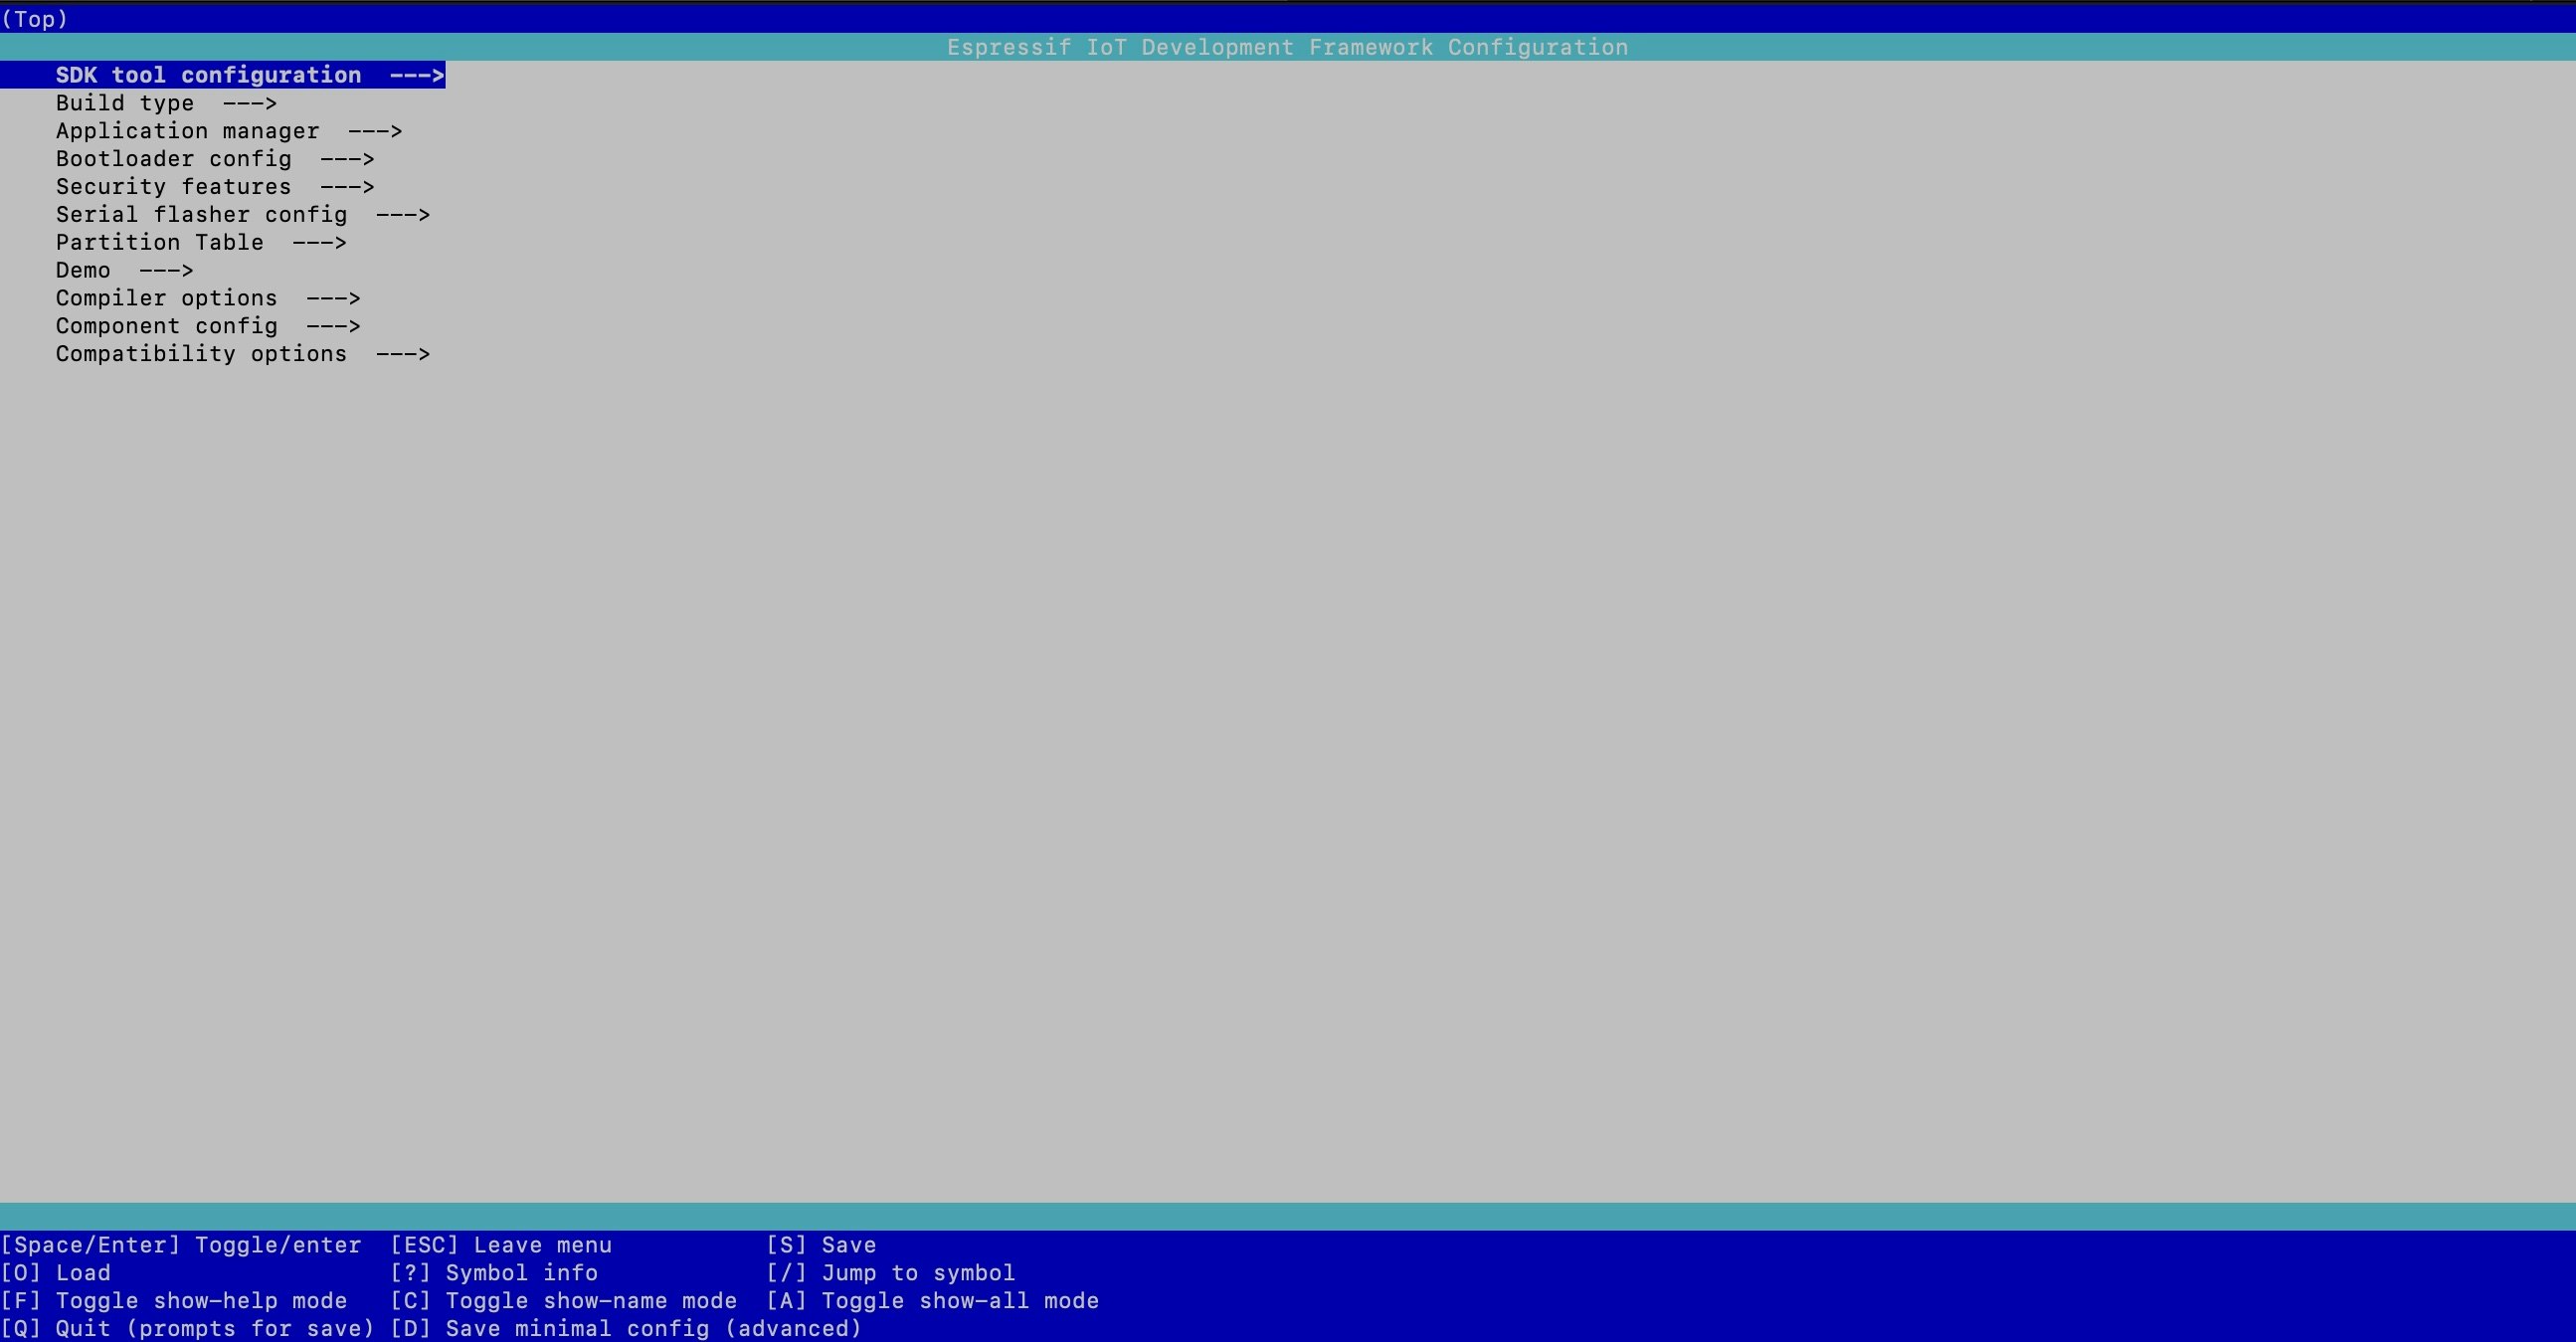
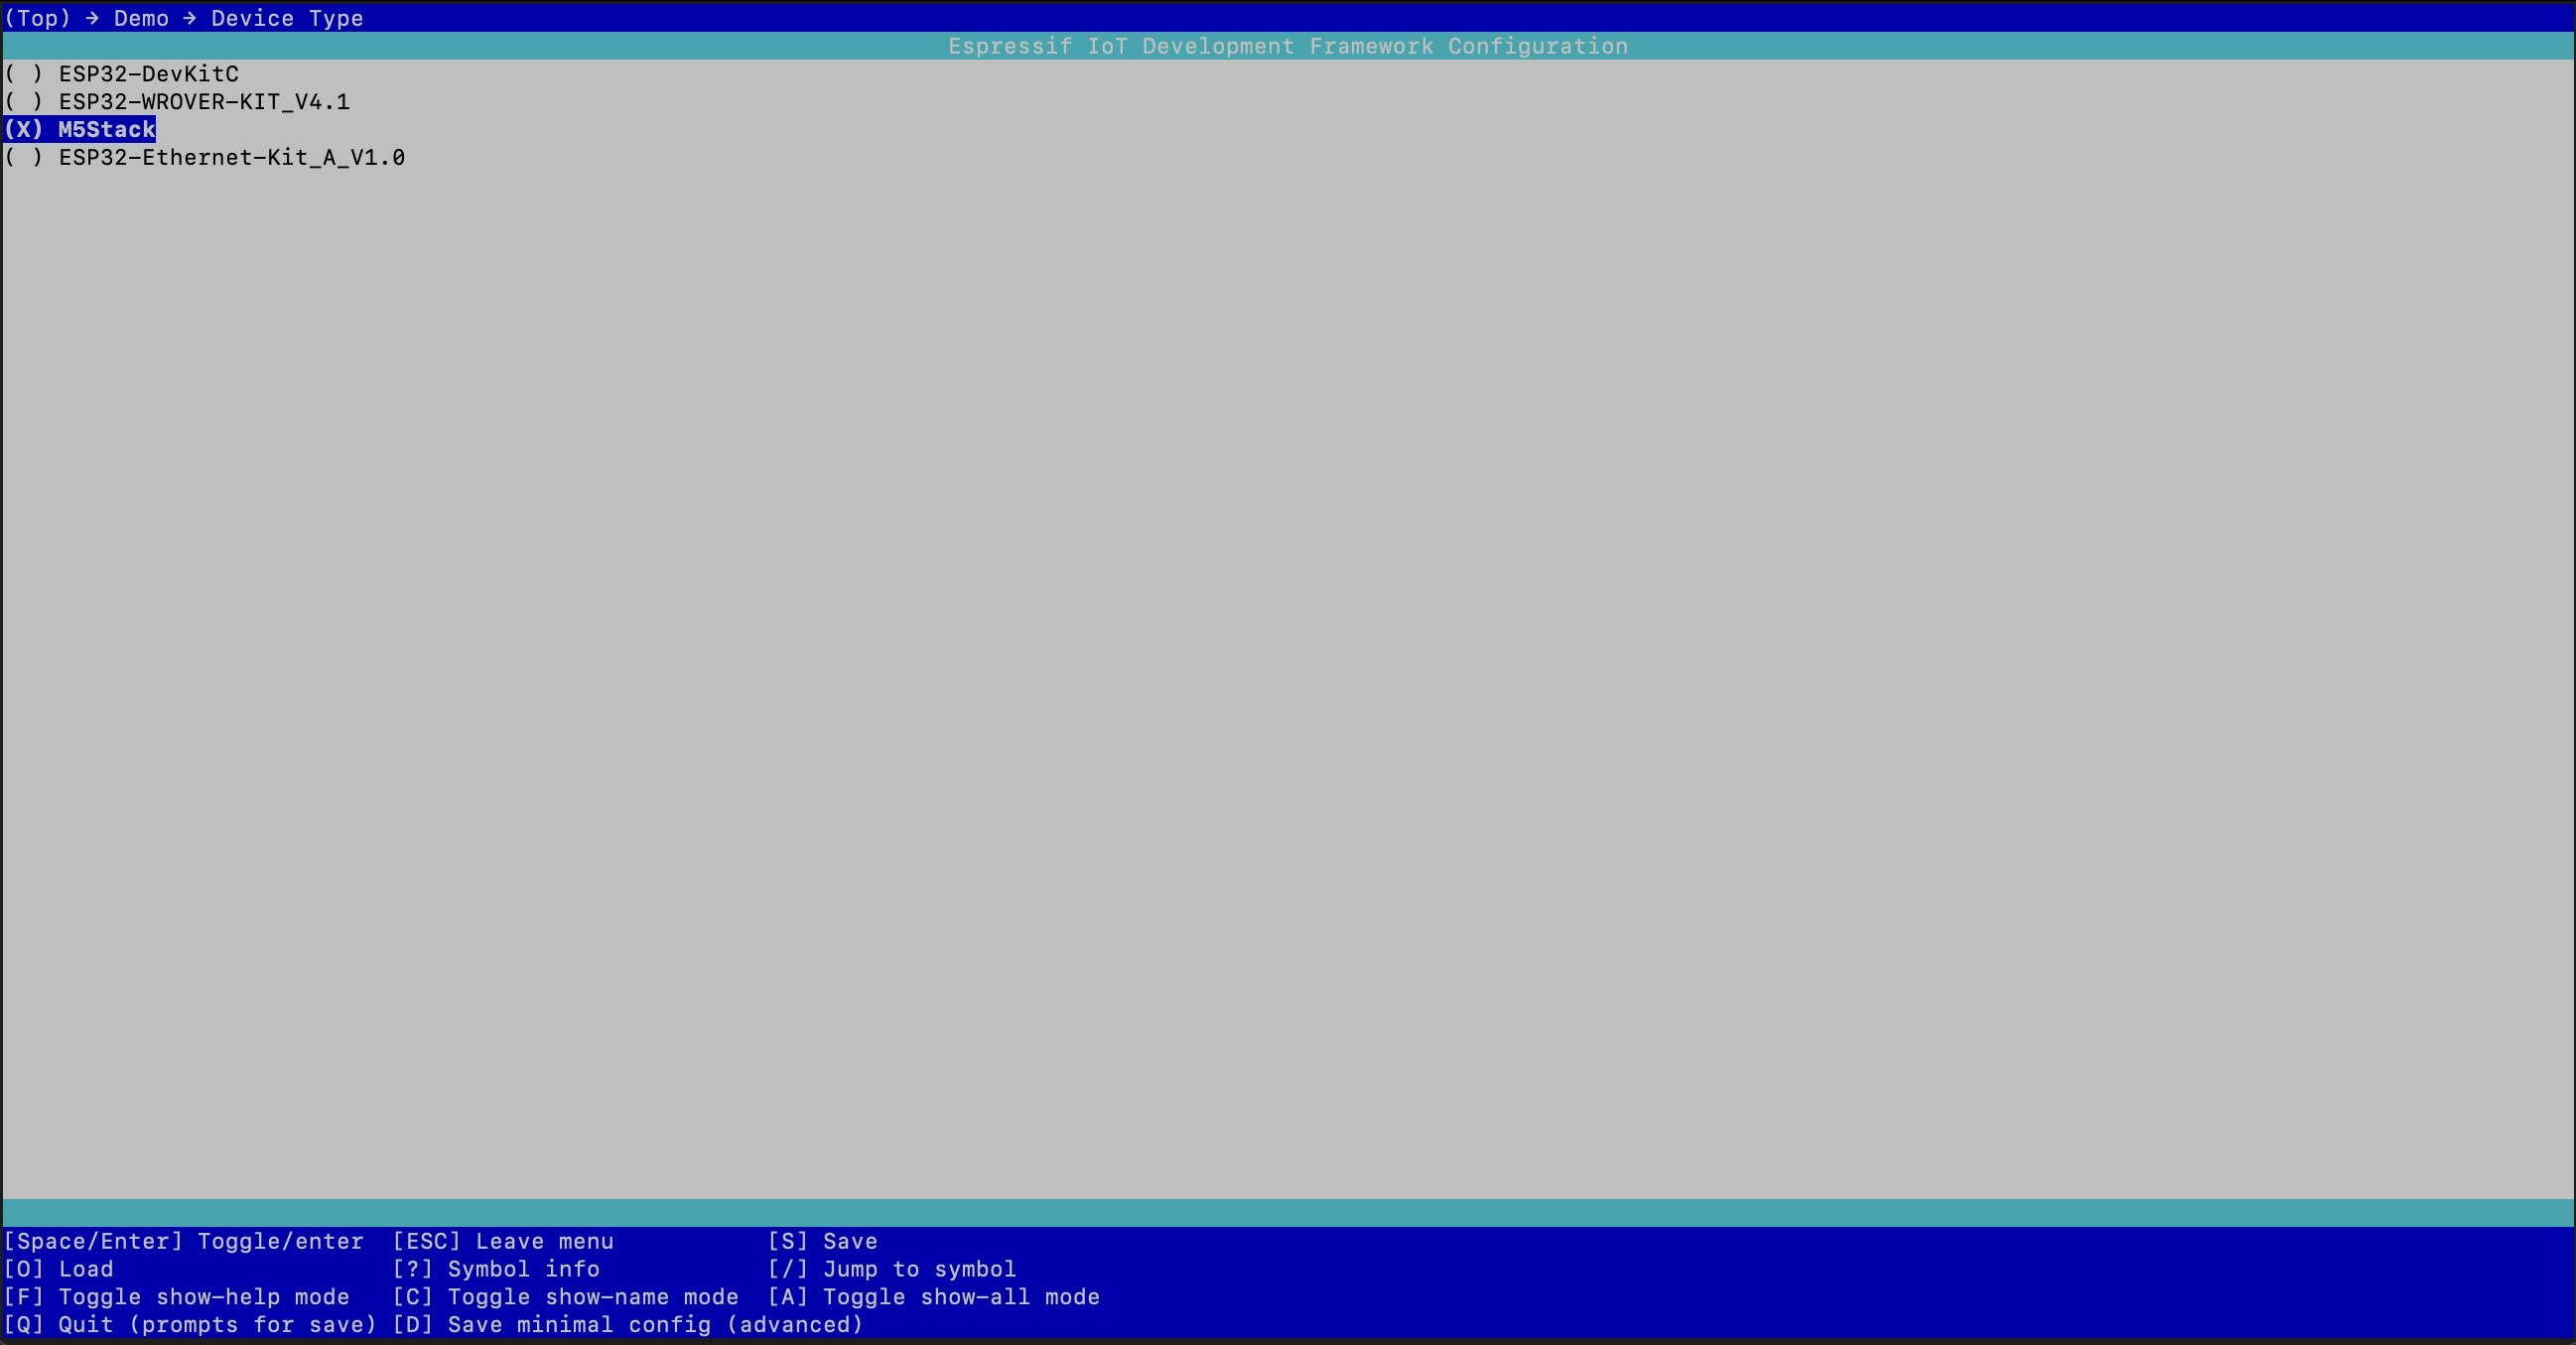
デフォルトではESP32-DevKitCがターゲットになっているので、M5Stackへ切り替えますが、エラーが表示されます。
$ idf.py menuconfig
The following Python requirements are not satisfied:
idf-component-manager~=1.0
gdbgui==0.13.2.0
pygdbmi<=0.9.0.2
python-socketio<5
itsdangerous<2.1
kconfiglib==13.7.1
reedsolo>=1.5.3,<=1.5.4
bitstring>=3.1.6
construct==2.10.54
To install the missing packages, please run "/Users/kitazaki/esp32/esp-idf/install.sh"
Diagnostic information:
    IDF_PYTHON_ENV_PATH: /Users/kitazaki/.espressif/python_env/idf4.4_py3.9_env
    Python interpreter used: /Users/kitazaki/tmp/20221127/connectedhomeip/.environment/pigweed-venv/bin/python
    Warning: python interpreter not running from IDF_PYTHON_ENV_PATH
    PATH: /Users/kitazaki/tmp/20221127/connectedhomeip/third_party/pigweed/repo/out/host/host_tools:/Users/kitazaki/tmp/20221127/connectedhomeip/.environment/pigweed-venv/bin:/Users/kitazaki/tmp/20221127/connectedhomeip/.environment/cipd/packages/pigweed/bin:/Users/kitazaki/tmp/20221127/connectedhomeip/.environment/cipd/packages/pigweed:/Users/kitazaki/tmp/20221127/connectedhomeip/.environment/cipd:/Users/kitazaki/esp32/esp-idf/components/esptool_py/esptool:/Users/kitazaki/esp32/esp-idf/components/espcoredump:/Users/kitazaki/esp32/esp-idf/components/partition_table:/Users/kitazaki/esp32/esp-idf/components/app_update:/Users/kitazaki/.espressif/tools/xtensa-esp32-elf/esp-2021r2-patch5-8.4.0/xtensa-esp32-elf/bin:/Users/kitazaki/.espressif/tools/xtensa-esp32s2-elf/esp-2021r2-patch5-8.4.0/xtensa-esp32s2-elf/bin:/Users/kitazaki/.espressif/tools/xtensa-esp32s3-elf/esp-2021r2-patch5-8.4.0/xtensa-esp32s3-elf/bin:/Users/kitazaki/.espressif/tools/riscv32-esp-elf/esp-2021r2-patch5-8.4.0/riscv32-esp-elf/bin:/Users/kitazaki/.espressif/tools/esp32ulp-elf/2.35_20220830/esp32ulp-elf/bin:/Users/kitazaki/.espressif/tools/openocd-esp32/v0.11.0-esp32-20220706/openocd-esp32/bin:/Users/kitazaki/.espressif/python_env/idf4.4_py3.9_env/bin:/Users/kitazaki/esp32/esp-idf/tools:/opt/homebrew/Caskroom/miniconda/base/bin:/opt/homebrew/Caskroom/miniconda/base/condabin:/Users/kitazaki/.nodebrew/current/bin:/Users/kitazaki/.rbenv/shims:/Users/kitazaki/.rbenv/bin:/opt/homebrew/bin:/Users/kitazaki/.nvm/versions/node/v14.15.4/bin:/Users/kitazaki/moddable/build/bin/mac/release:/opt/homebrew/bin:/opt/homebrew/sbin:/usr/local/bin:/usr/bin:/bin:/usr/sbin:/sbin:/Library/TeX/texbin:/usr/local/share/dotnet:~/.dotnet/tools:/Library/Apple/usr/bin:/Library/Frameworks/Mono.framework/Versions/Current/Commands

ESP-IDF v4.4.3-dirty
$
必要なPythonモジュールが不足しているので、バージョンを指定してインストールします。
$ pip3 install idf-component-manager==1.0
$ pip3 install gdbgui==0.13.2.0
$ pip3 install pygdbmi==0.9.0.2
$ pip3 install python-socketio==4.6.1
$ pip3 install itsdangerous==2.0.1
$ pip3 install kconfiglib==13.7.1
$ pip3 install reedsolo==1.5.4
$ pip3 install bitstring
$ pip3 install construct==2.10.54
もう一度、idf.py menuconfigを実行します。
「Demo」→「Device Type」→「M5Stack」を選択(「Enter」を入力)して保存(「S」を入力)します。
保存したら、「Q」を入力して終了します。
ビルドを実行します。
$ idf.py build
4.サンプルアプリケーションをインストールする
PCへ接続したM5Stack(Basic、または、M5Stack Gray)へインストールします。
M5Stackを接続する前と後で以下のコマンドを実行して、M5Stackが認識されたシリアルポート番号を確認します。
$ ls /dev/cu.*
/dev/cu.usbserial-015F99BB
として認識された場合、以下のコマンドでM5Stackへインストールします。
$ idf.py -p /dev/cu.usbserial-015F99BB flash
ホームアプリからLEDを操作している例です。
M5Stack Basic/Gray/Fireの画面の色味を変える
M5Stack Basic、Gray、Fireとで画面に表示される色味が異なる場合、
connectedhomeip/examples/common/screen-framework/include/Display.h
の35行目を修正する。
// for some reason this is backwards (turns out this is because of a 2019 update to the m5stack hw)
#define INVERT_DISPLAY INVERT_ON
↓
#define INVERT_DISPLAY INVERT_OFF
M5Atom LiteのLEDの色を変化させる
M5Atom Liteへlighting-appをインストールします。
$ cd examples/lighting-app/esp32
idf.py menuconfigを実行します。
$ idf.py menuconfig
「Demo」→「LED type」→「RMT - Addressable LED」を選択(「Enter」を入力)します。
「Demo」→「LED GPIO number」→「27」を入力します。
保存(「S」を入力)します。
保存したら、「Q」を入力して終了します。
$ idf.py build
M5Atom Liteへ書き込みます。
$ idf.py -p /dev/cu.usbserial-9152796993 flash
もし、書き込みに失敗する場合は、書き込みスピードを遅く(115200に変更)します。
$ idf.py -p /dev/cu.usbserial-9152796993 -b 115200 flash
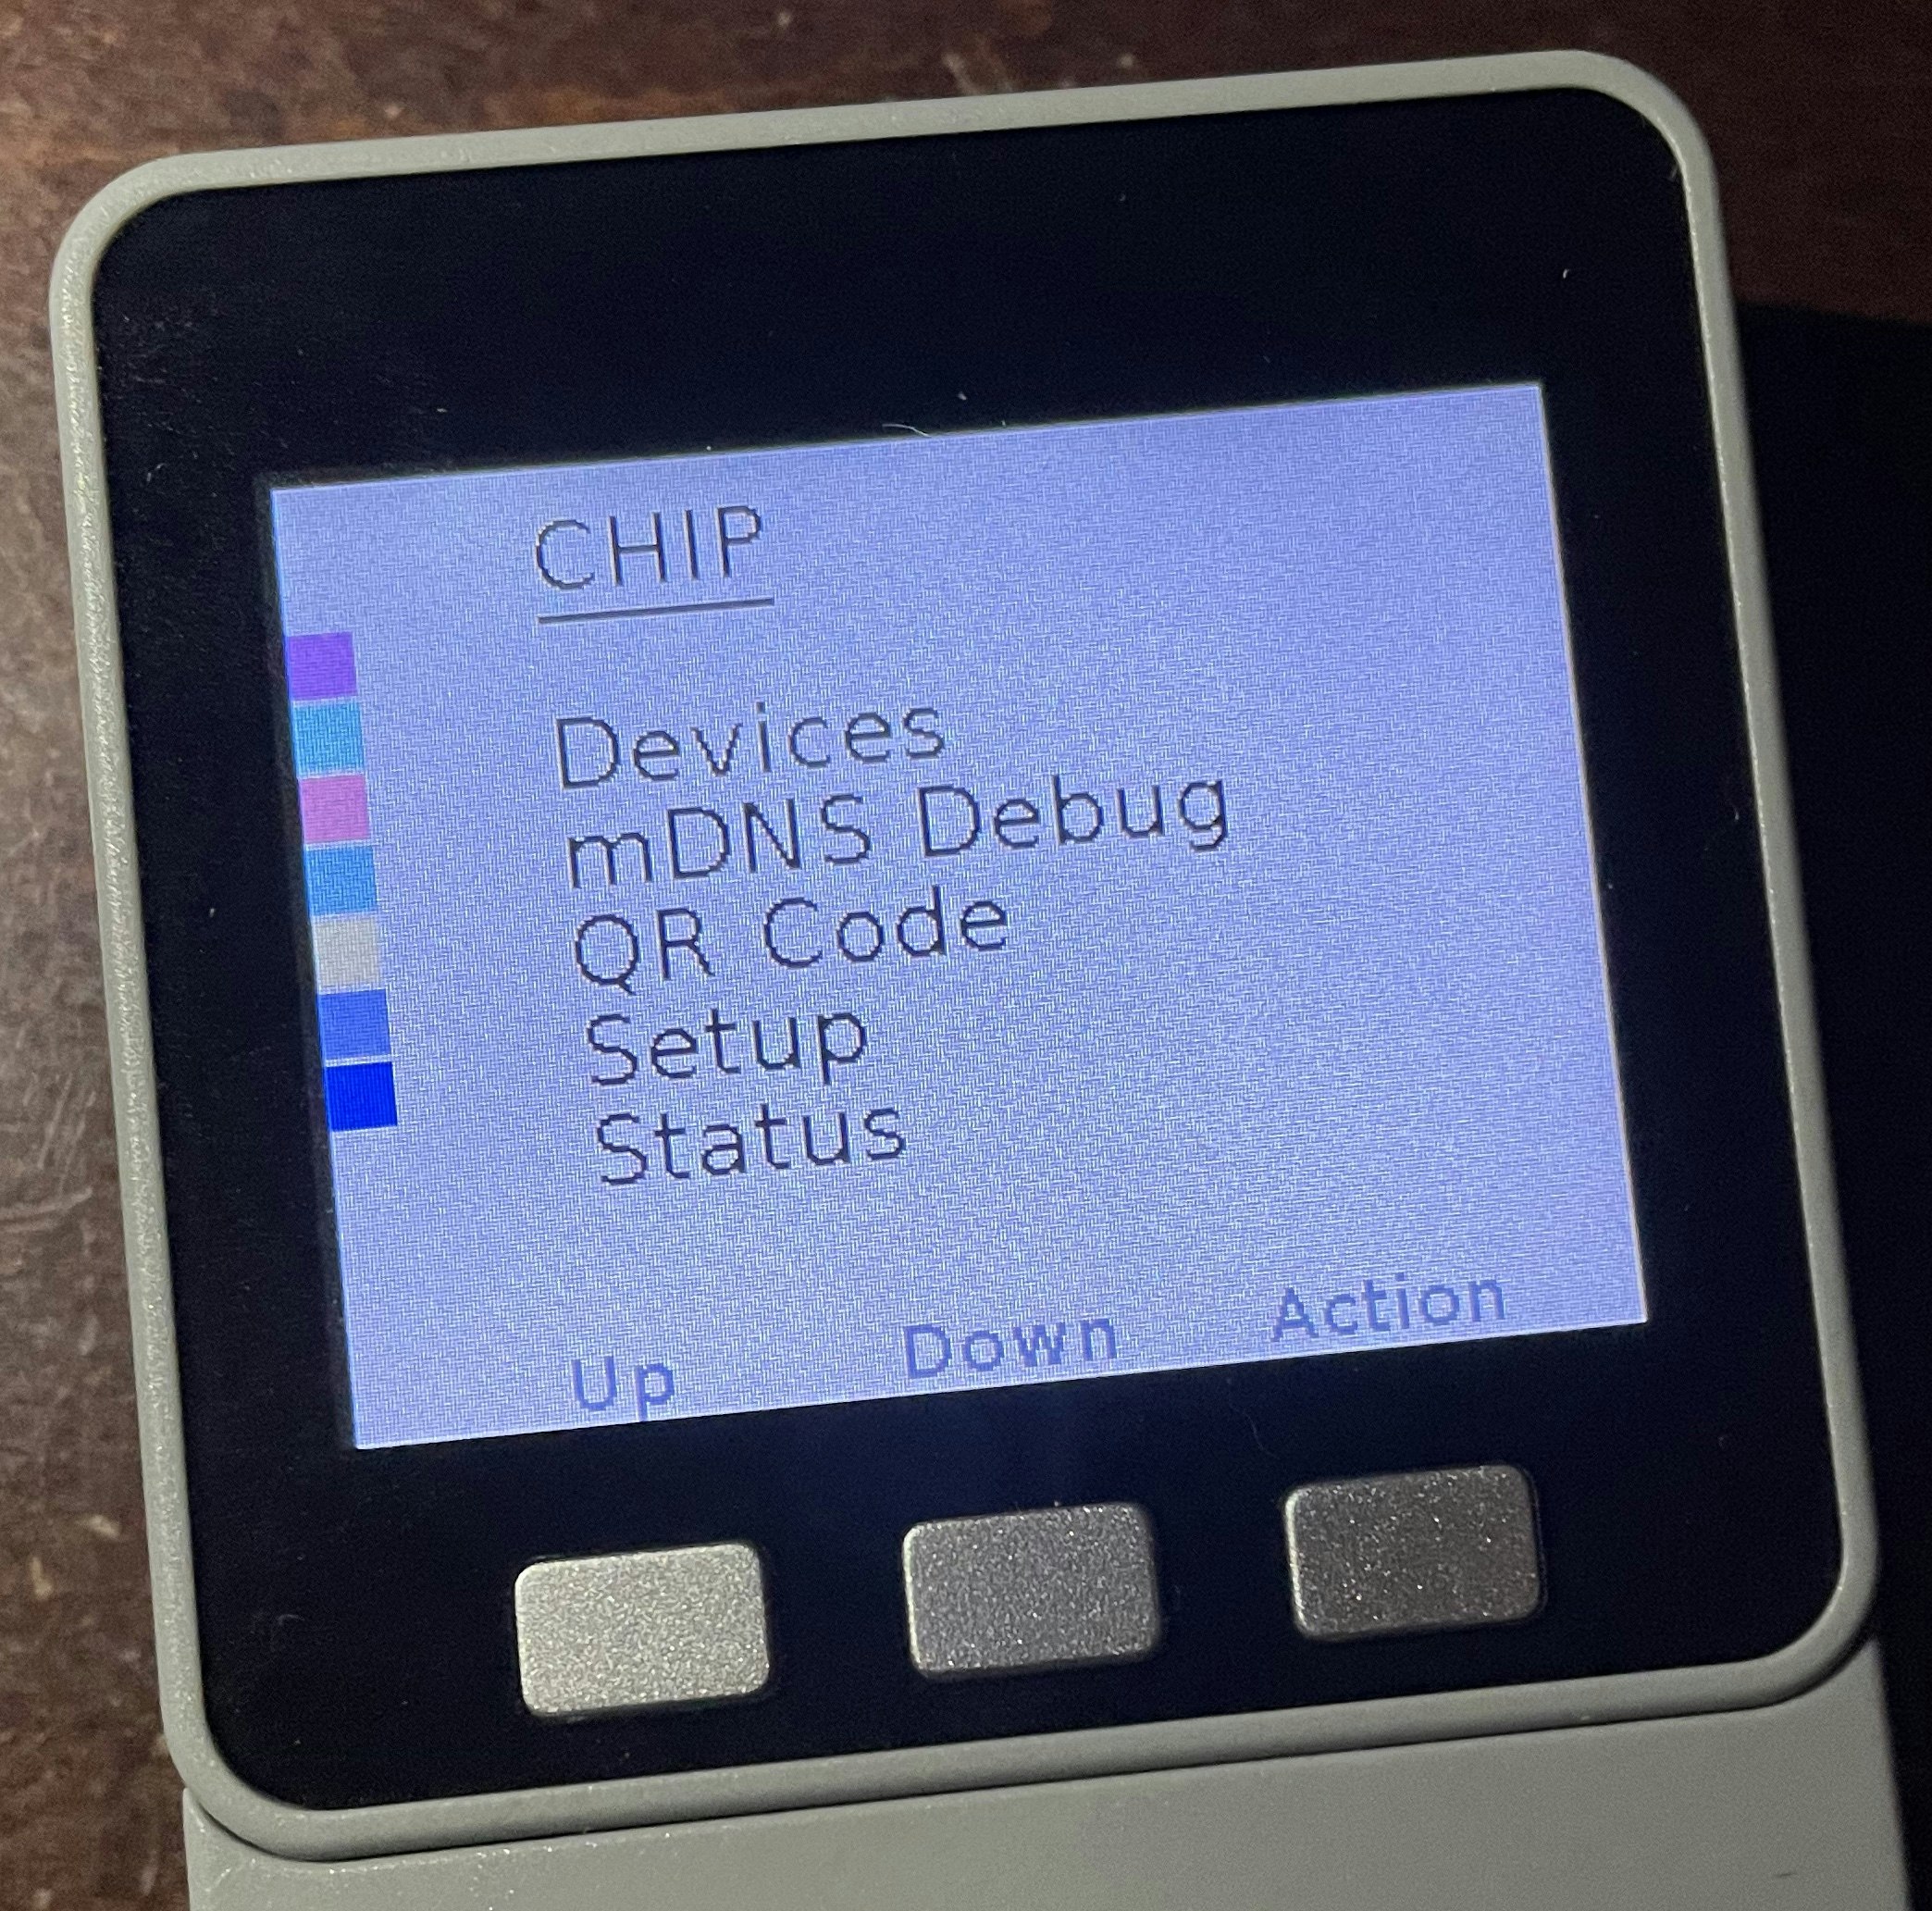
M5Atom Liteは画面がないため、コミッショニングに必要なQRコードを表示させることができません。
シリアルコンソールへアクセスし、以下のコマンドを実行してQRコードを表示するURLの情報を取得します。
$ matter onboardingcodes ble
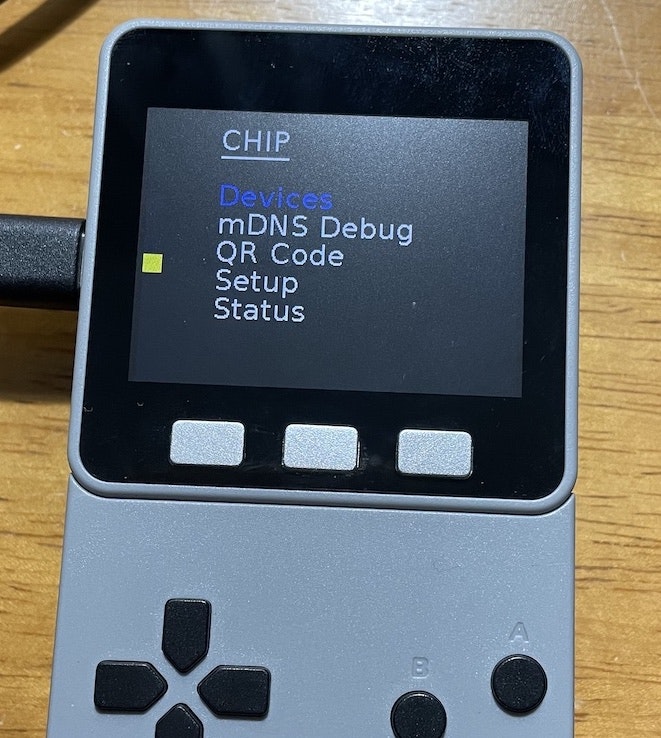
Arduino IDEでシリアルコンソールへアクセスしている例です。
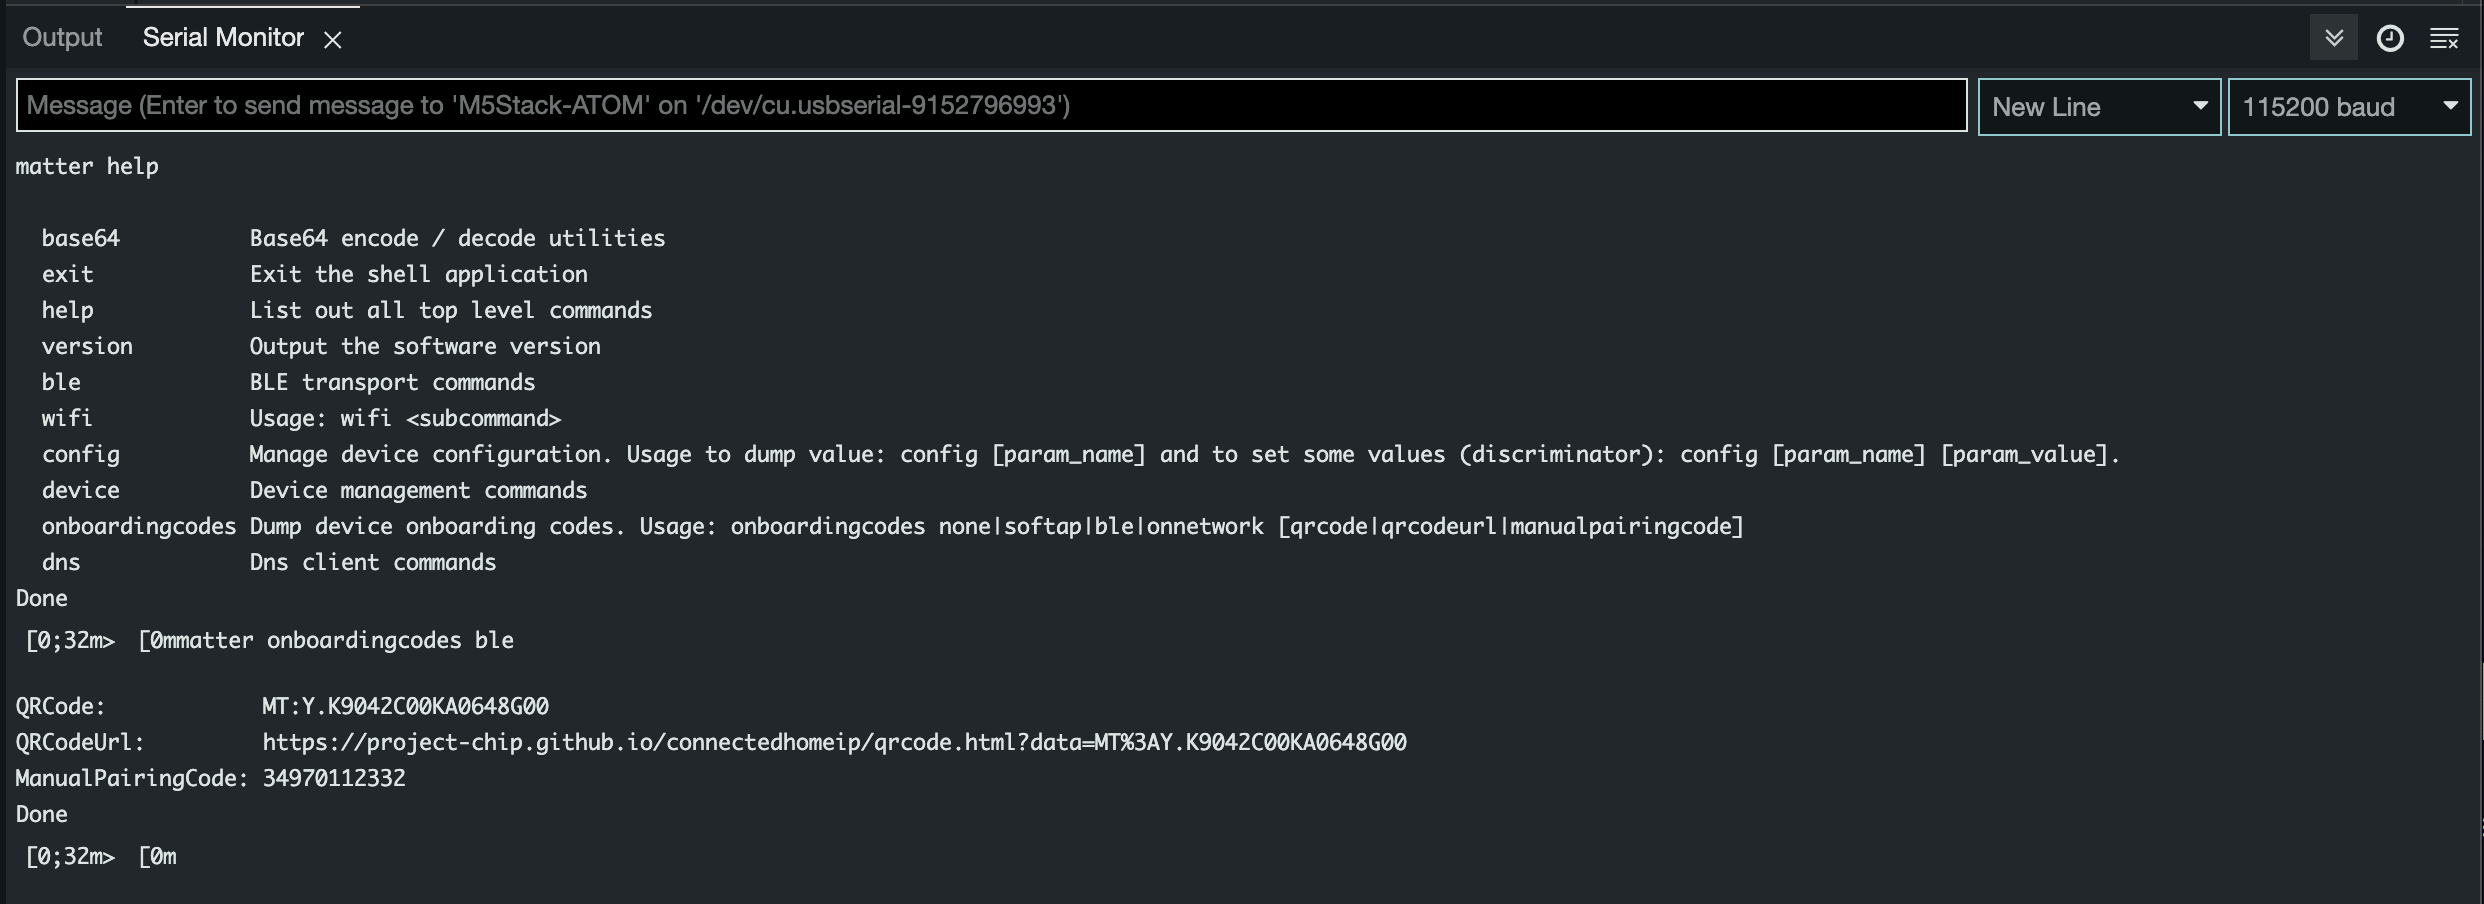
ESP Web Toolsからシリアルコンソールへアクセスしている例です。
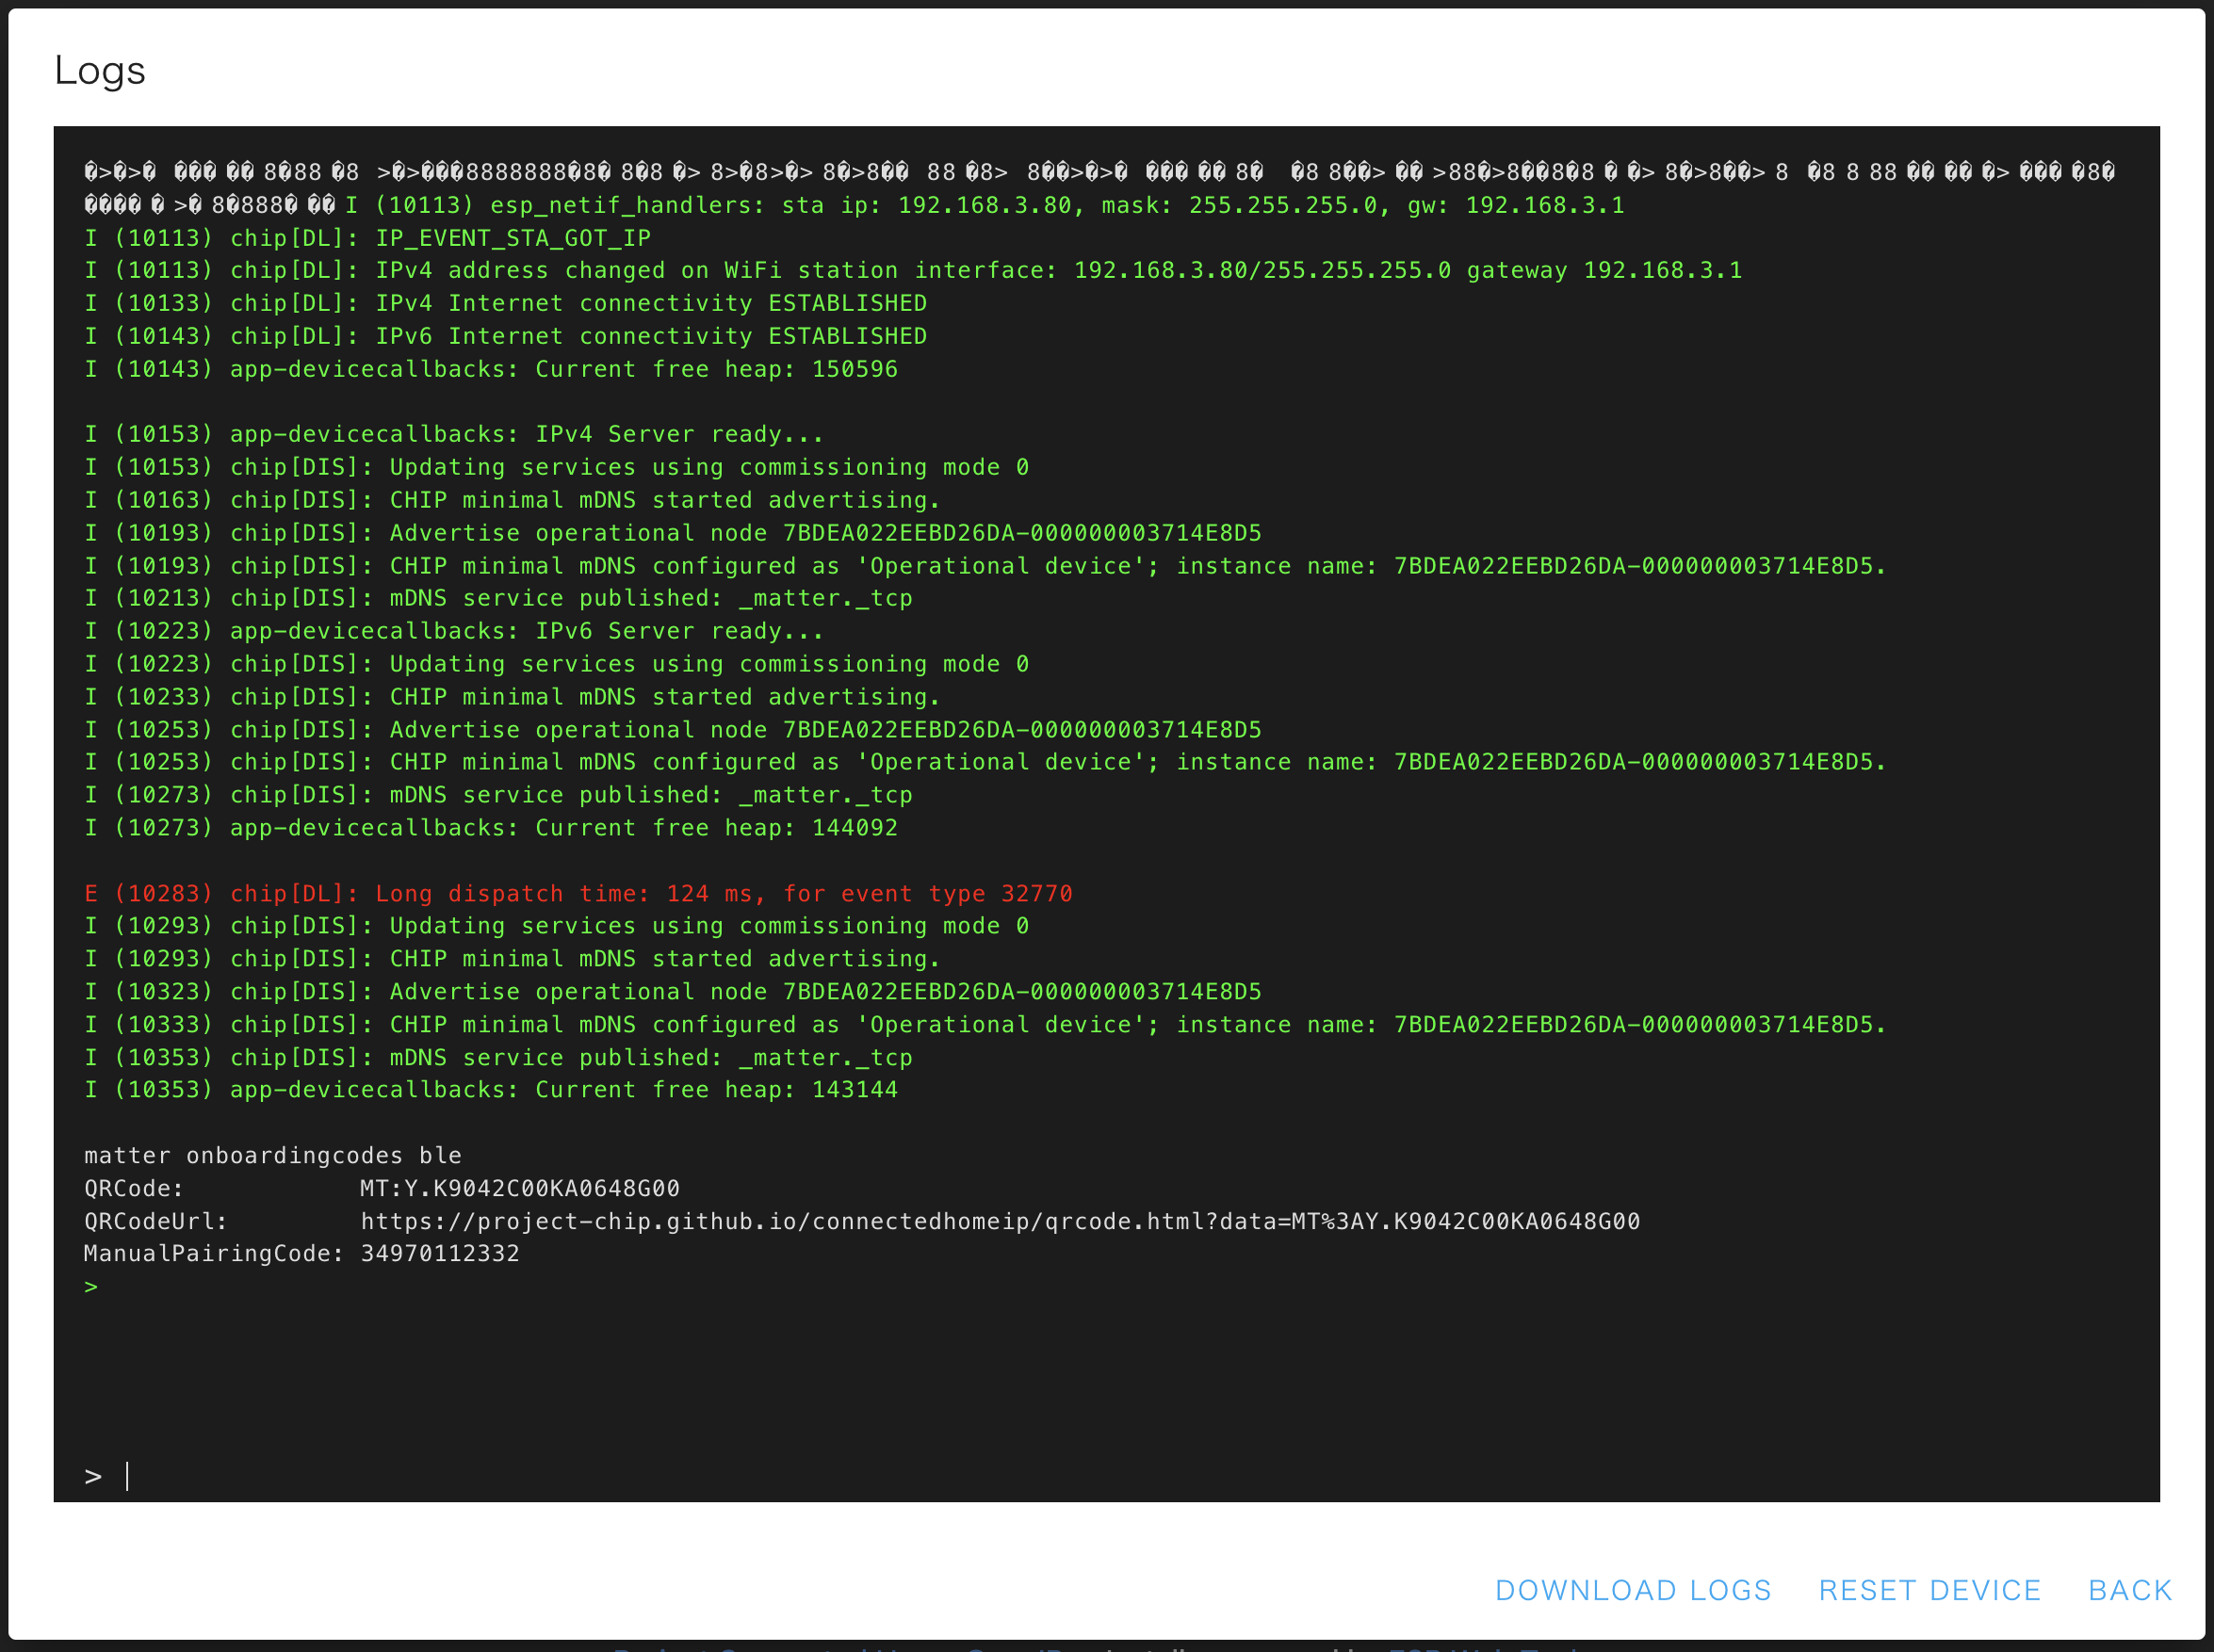
ブラウザからQRCodeUrlへアクセスします。

ホームアプリからLEDの色を操作している例です。
参考