はじめに
2022年7月にエージェント実行環境がリリースされましたが、まだ使ったことがなかったので、試してみました。
enebular agentとの違い
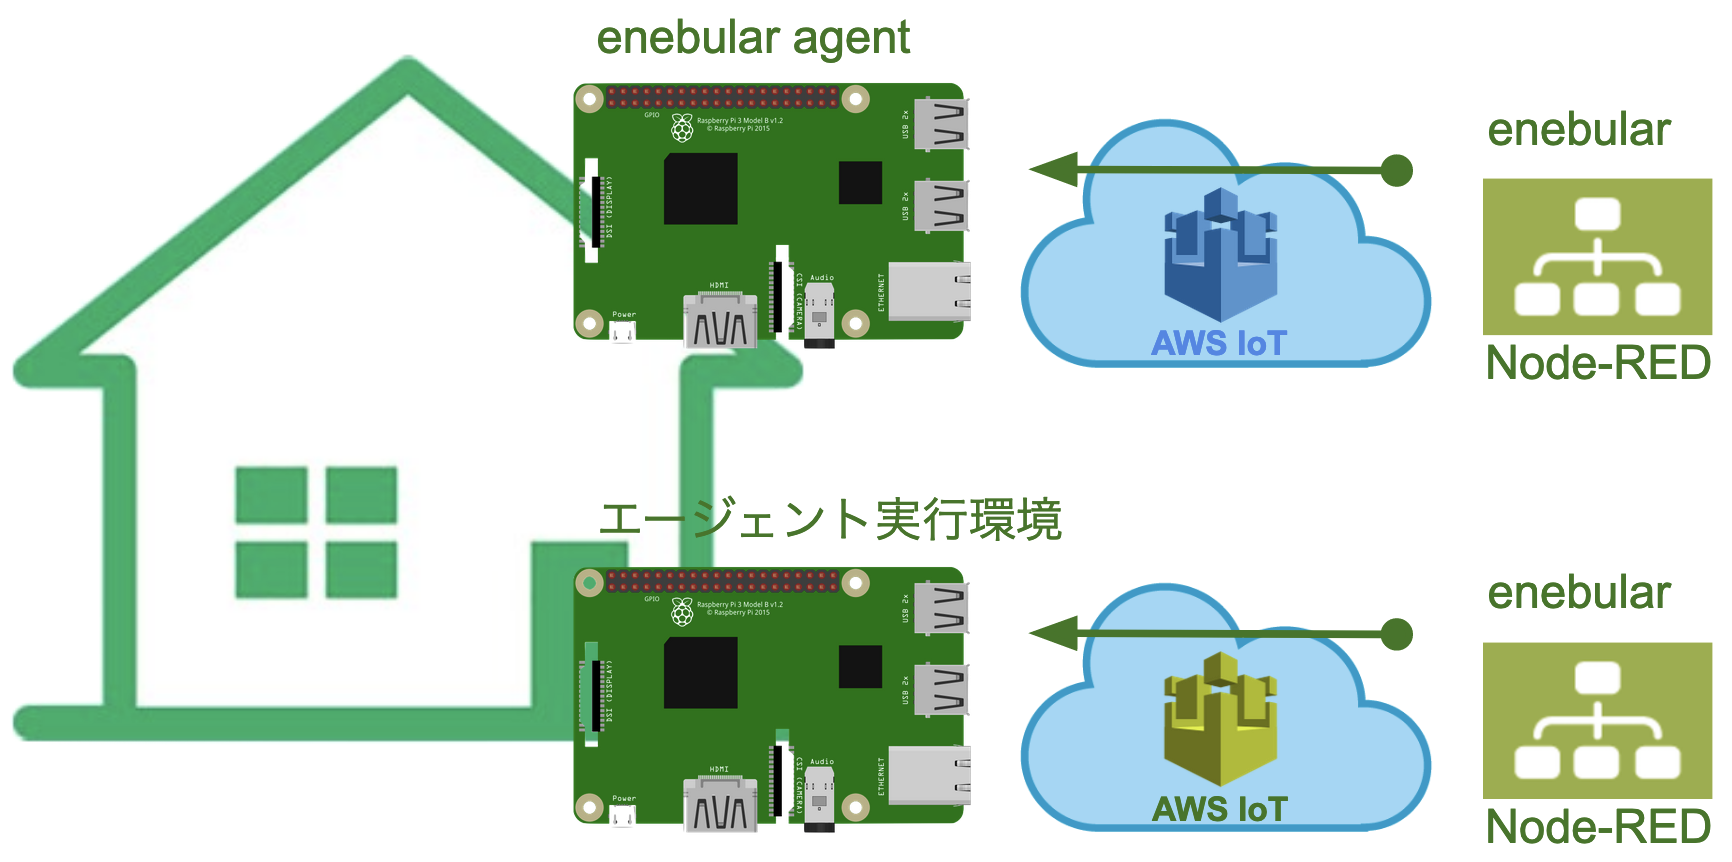
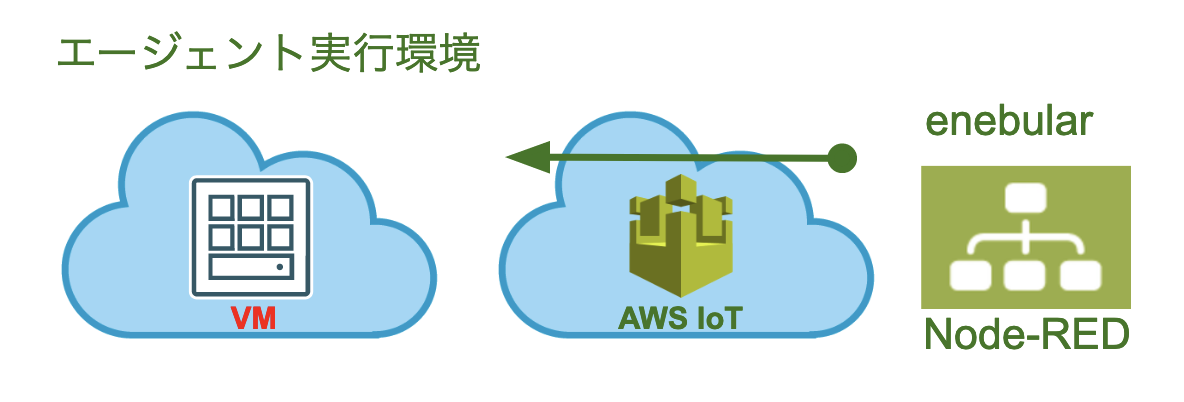
使い勝手については、従来のenebular agentと大きな違いはありませんが、大きな違いは自分でAWS IoTリソースを用意する必要がないことです。
つまり、AWS IoTリソースも含めてenebularから提供されるため、完全に無料でデバイス管理機能を使用することが可能です。
後述のエージェント実行環境をインストールしたシェル環境にログインし、systemctlコマンドで動作状況を確認すると、確かにAWS IoT agentが動作しています。
$ sudo systemctl status enebular-agent-ubuntu.service
● enebular-agent-ubuntu.service - Enebular agent
     Loaded: loaded (/etc/systemd/system/enebular-agent-ubuntu.service; enabled; vendor preset: enabled)
     Active: active (running) since Sat 2022-11-26 20:06:16 JST; 1h 40min ago
       Docs: https://docs.enebular.com/
   Main PID: 233260 (node)
      Tasks: 29 (limit: 1085)
     Memory: 202.1M
     CGroup: /system.slice/enebular-agent-ubuntu.service
             ├─233260 node /home/ubuntu/enebular-runtime-agent/ports/awsiot/bin/enebular-awsiot-agent --enable-syslog --daemon-mode --user ubuntu
             ├─233271 /home/ubuntu/nodejs-v14.19.1/bin/node /home/ubuntu/enebular-runtime-agent/ports/awsiot/bin/enebular-awsiot-agent --start-core --enable-syslog --daemon-mode --user ubuntu
             └─234254 node-red
エージェント実行環境のインストール手順
公式ドキュメントに記載されています。
Oracle CloudのAlways Freeインスタンスへエージェント実行環境をインストール
エージェント実行環境はRaspberry Piなどのデバイスへインストールすることを想定していますが、クラウド上のVMへインストールすることも可能です。
Oracle Cloudのコンソール画面で、OSに「Canonical Ubuntu Linux」を指定してインスタンス(VM)を作成します。
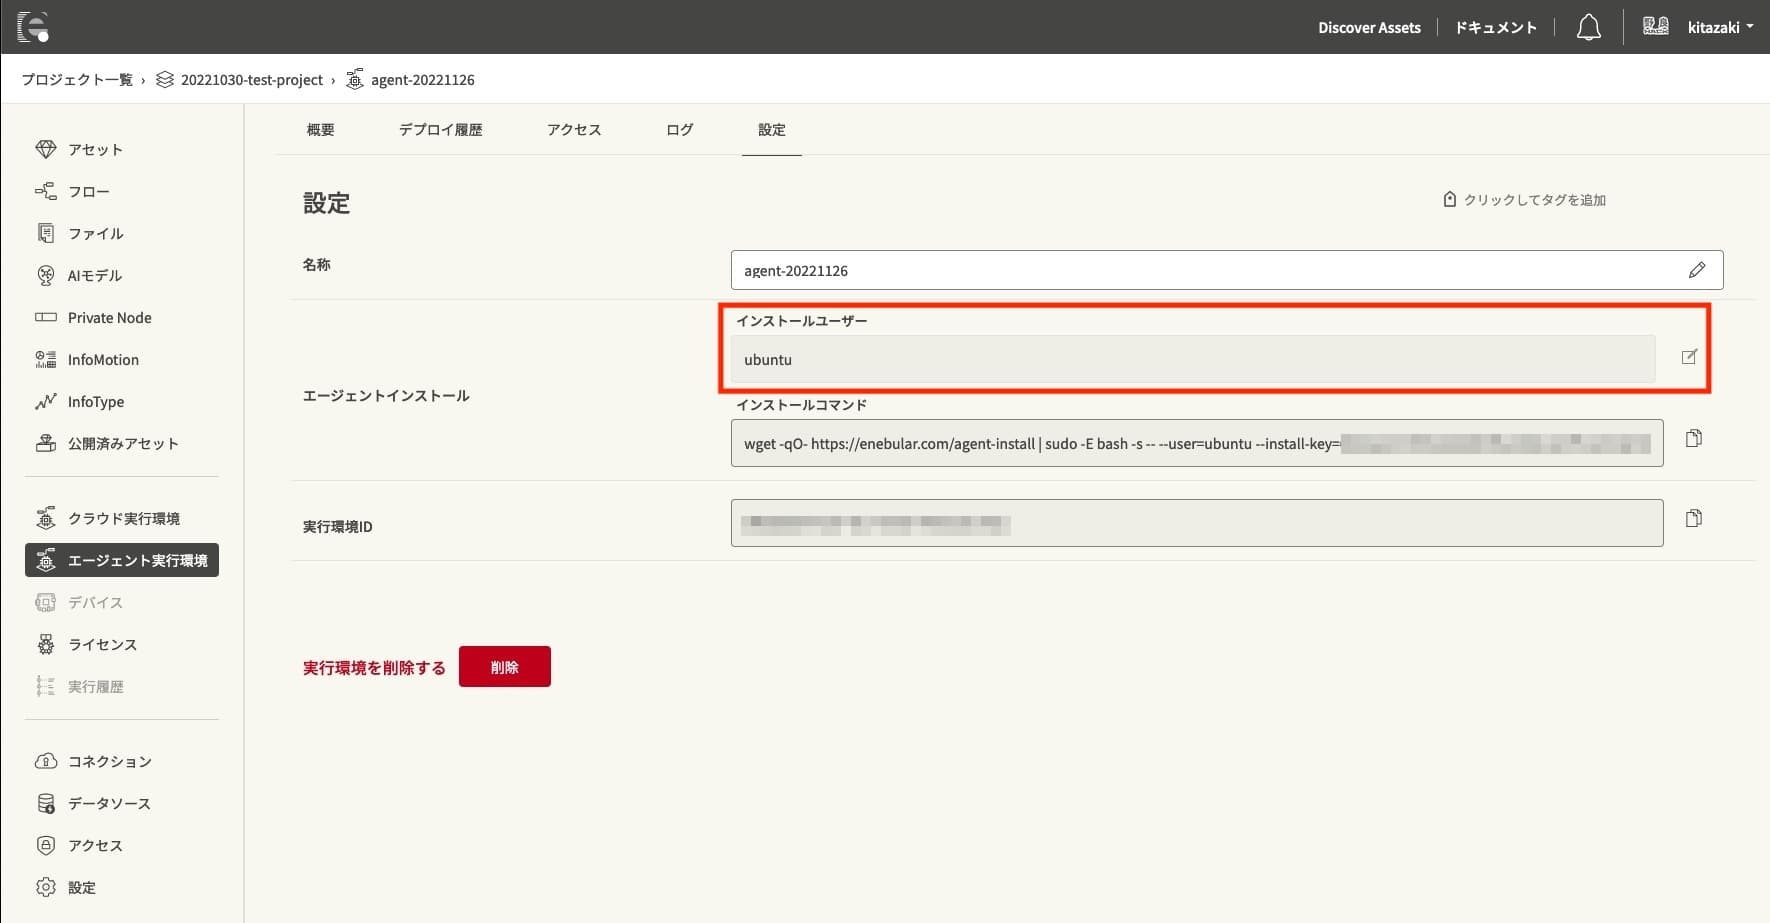
Oracle Cloudのインスタンス(VM)はubuntuユーザーで作成されるため、enebularのコンソール画面で「インストールユーザー」を「ubuntu」に変更します。
「インストールコマンド」をコピーして、Oracle Cloudのインスタンス(VM)で実行します。
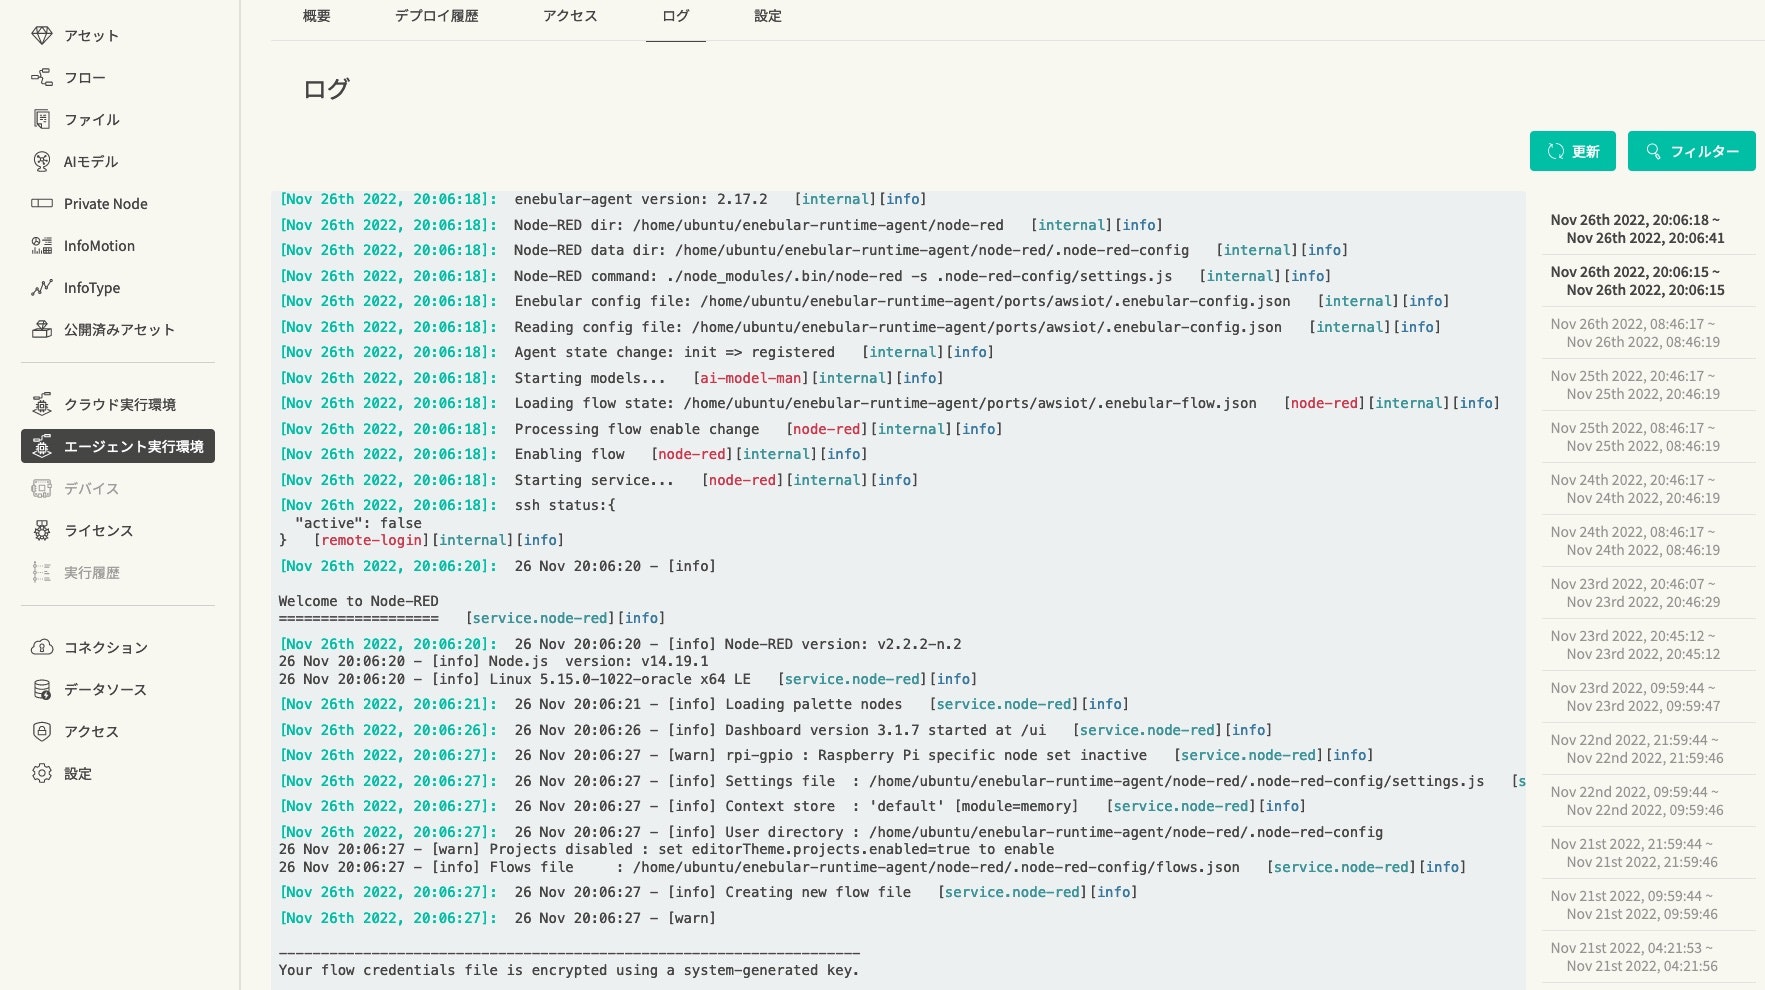
enebularのコンソール画面のログでNode-REDの起動と動作を確認できます。
エージェント実行環境のリモートメンテナンス
公式ドキュメントに記載されています。
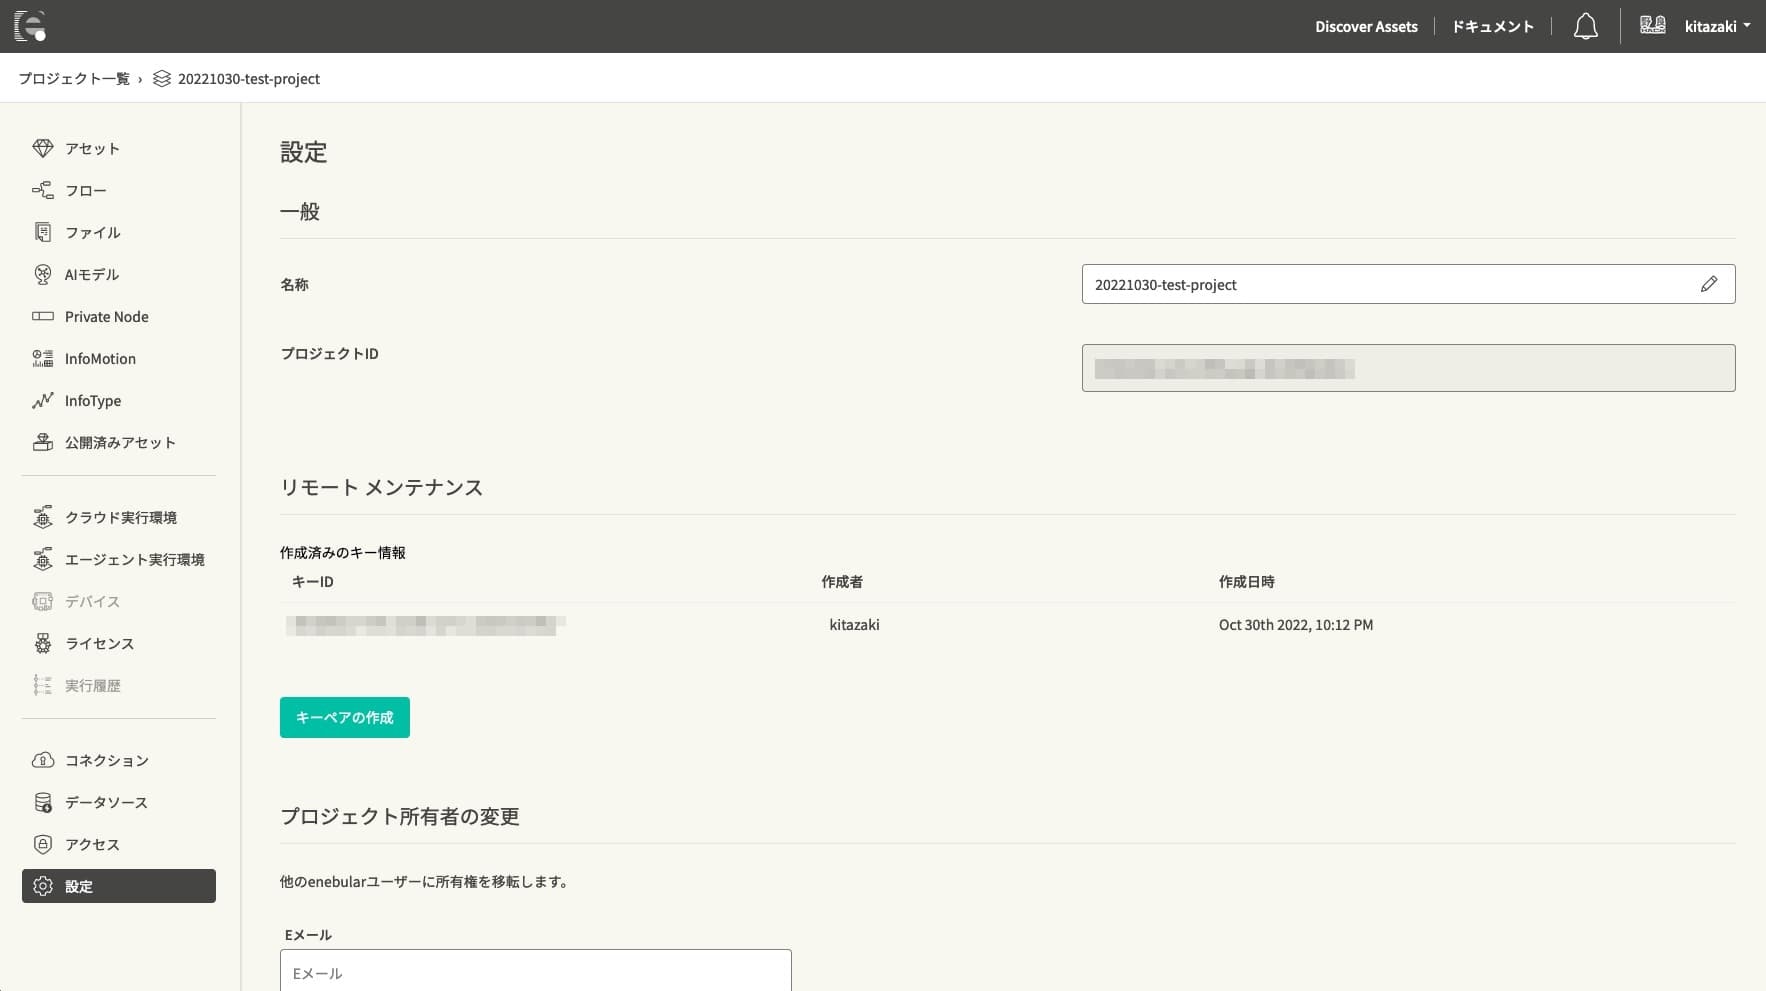
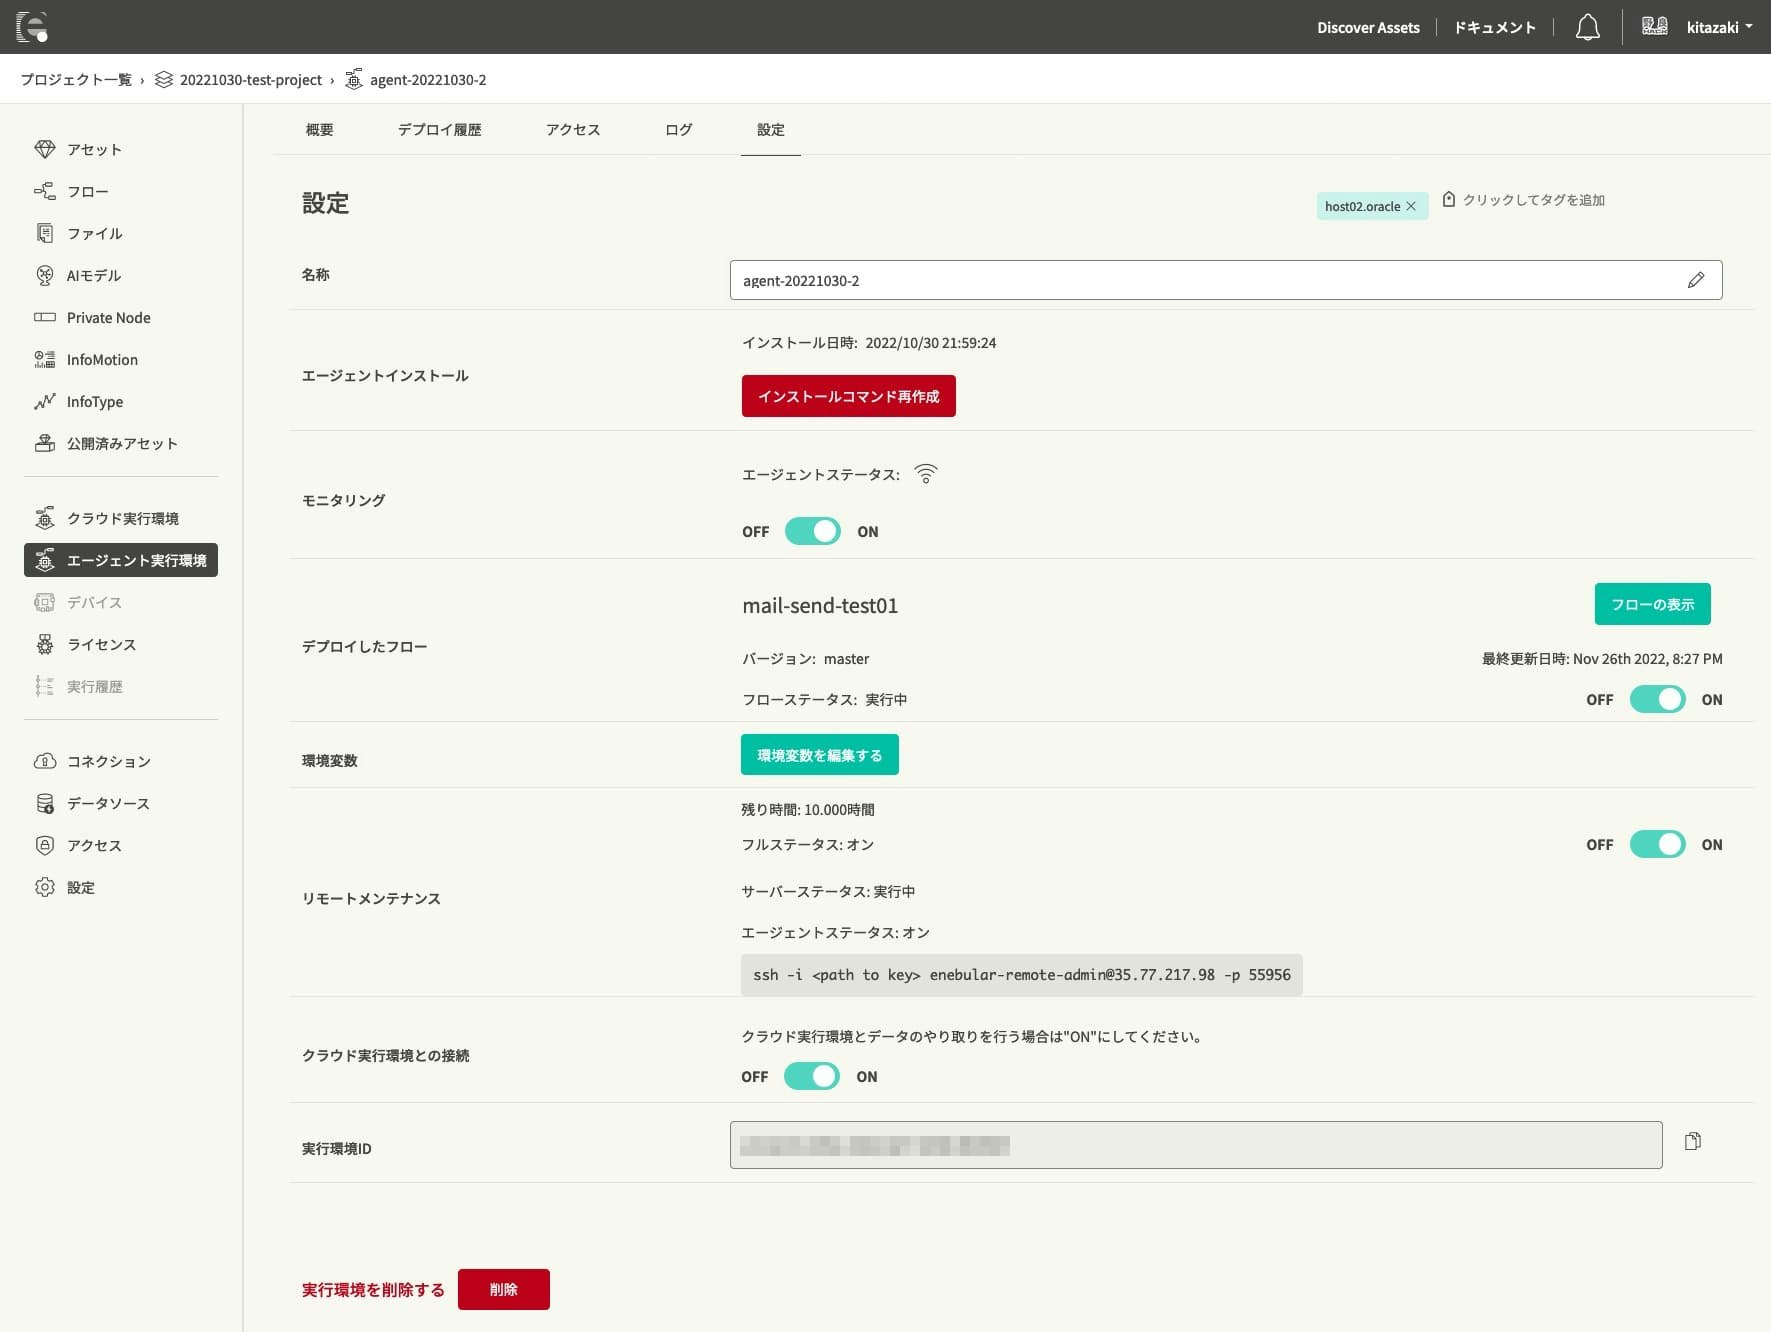
enebularのコンソール画面の設定でキーペアを作成し、エージェント実行環境のリモートメンテナンスを「ON」にすると、リモートからSSHでエージェント実行環境へログインできます。
Oracle Cloudのインスタンス(VM)へログインし、systemctlコマンドで動作状況を確認するとsshdが起動しています。
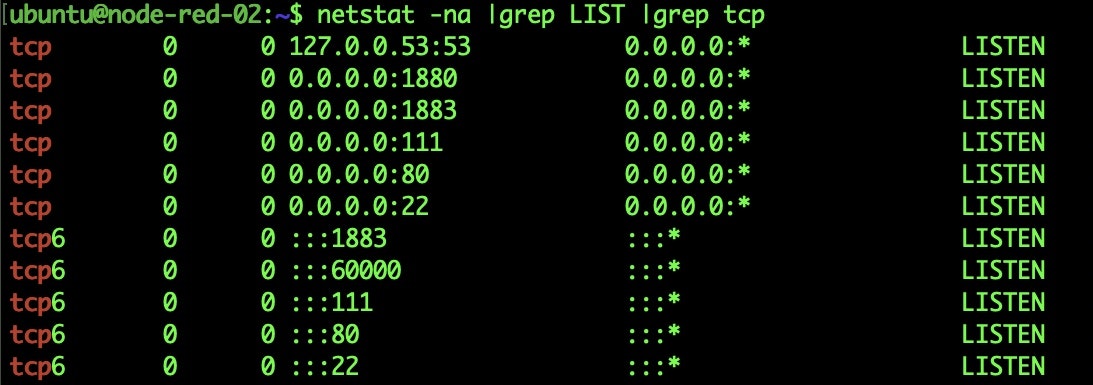
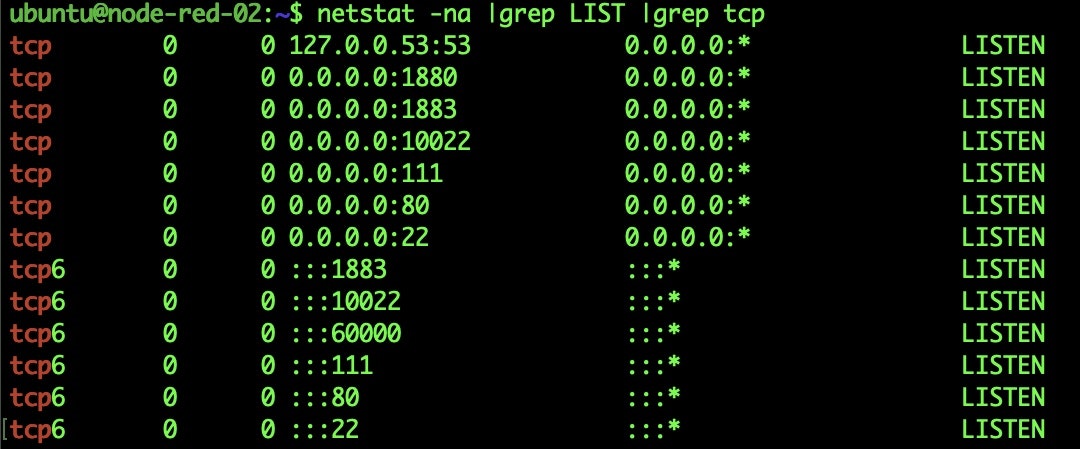
また、netstatコマンドで確認するとポート:10022でsshdが起動しています。
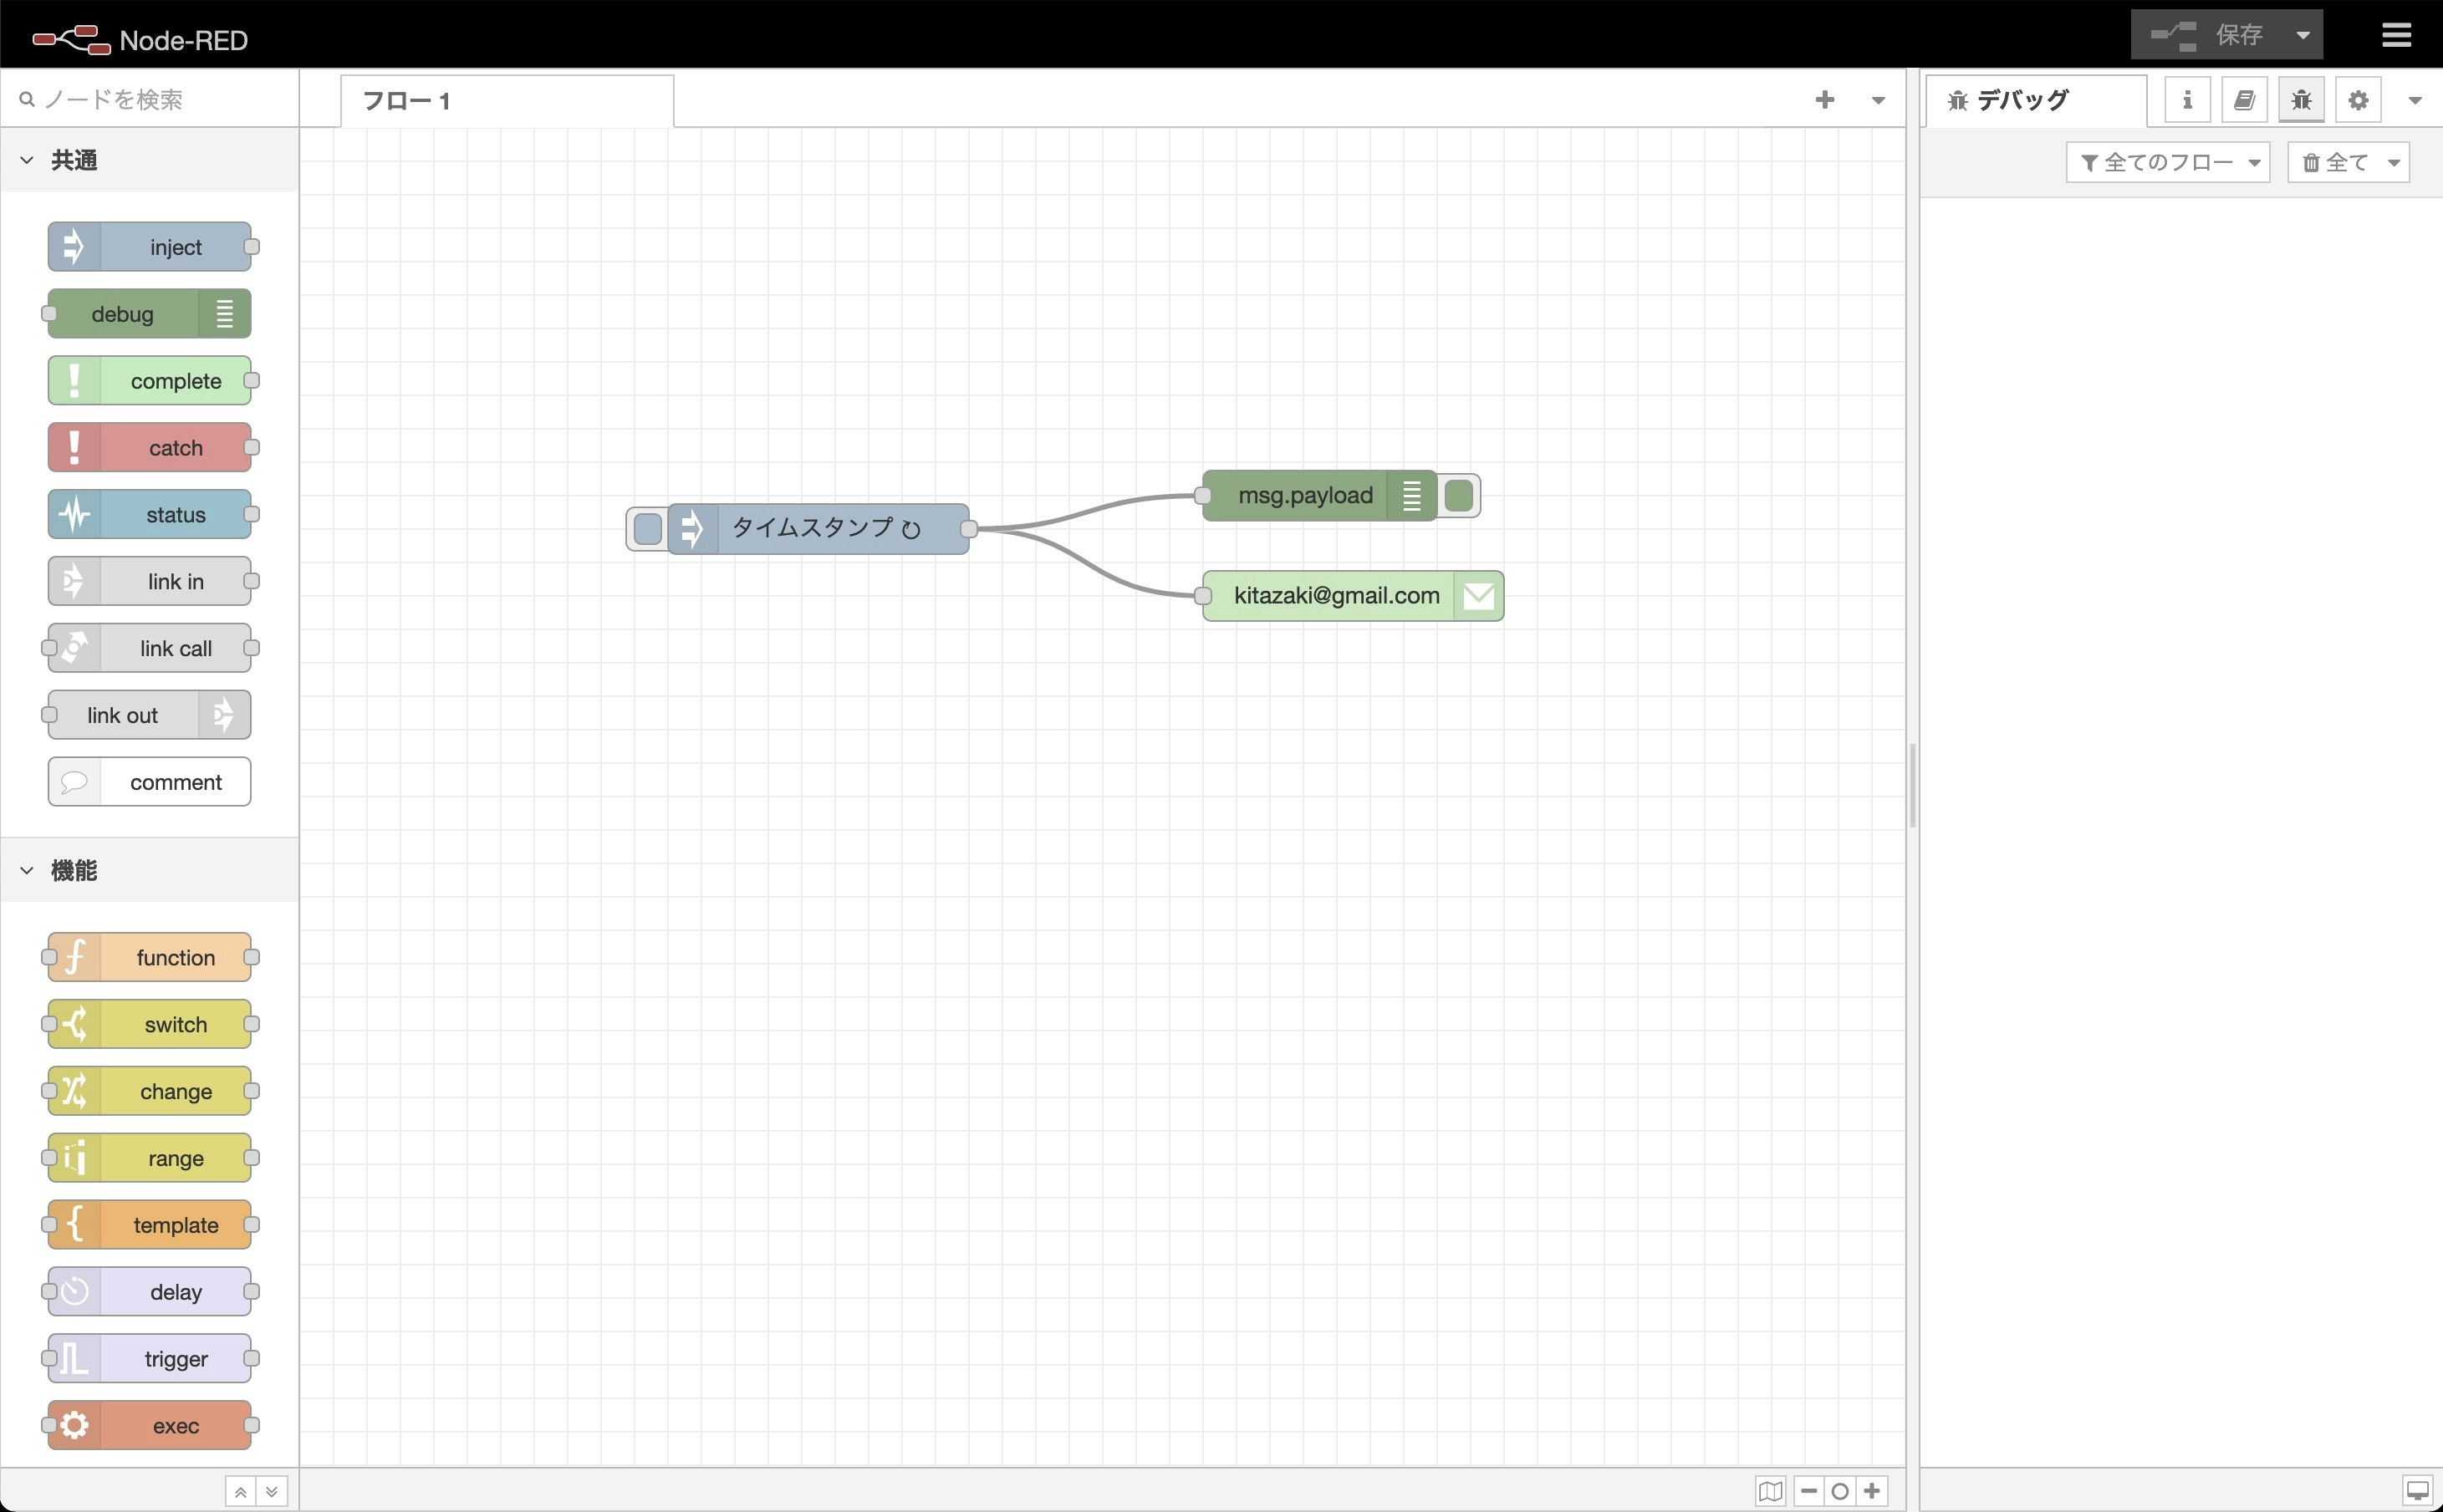
エージェント実行環境でフローエディタ画面を有効にする
enebularのコンソール画面、または、enebular editorからフローをデプロイする使い方が想定されているため、デフォルトではフローエディタ画面が無効化されています。
enebular agentは開発者モードが用意されており、起動モードをノーマルモードから開発者モードへ変更すると、enebular editorのリモートモードでフローを直接編集できます。
しかし、エージェント実行環境は、開発者モードがサポートされていないため、フローを直接編集することができません。
エージェント実行環境でフローを直接編集(フローエディタを有効化)したい場合は、
/home/ubuntu/enebular-runtime-agent/node-red/.node-red-config/settings.js
を変更し、systemctlコマンドでエージェント実行環境をリスタートします。
(変更前)
const fs = require('fs')
const path = require('path')

module.exports = {
  userDir: __dirname,
  flowFile: 'flows.json',
  httpAdminRoot: false
};
(変更後)
const fs = require('fs')
const path = require('path')

module.exports = {
  userDir: __dirname,
  flowFile: 'flows.json',
  httpAdminRoot: '/'
};
$ sudo systemctl restart enebular-agent-ubuntu.service
