はじめに
Azure ServiceFabricをとりあえず動かしてどういうものか知りたいと思って、公式ドキュメント通りだろと思ってみたら、意外とハマったので手順をまとめます。
目標
-
Linux で初めての Service Fabric コンテナー アプリケーションを作成する で以下ができるようになること
- Ubuntu上にServiceFabric開発環境を構築する
- 構築した開発環境で簡単なコンテナ(Helloworldが返却されるRestAPI)を動作させる
手順
Ubuntu上にServiceFabric開発環境を構築する
Linux で初めての Service Fabric コンテナー アプリケーションを作成するの前提に従って以下をインストールします。Ubuntuの場合はSetupServiceFabric.shを実行すれば他のツールもインストールしてくれます。逆にDockerCEが事前にインストールされている場合、前述したシェルの実行に失敗します(DockerCEと何かが競合してしまう。詳細不明)
- Service Fabric SDK
- DockerCE
- Service Fabric CLI
Service Fabric SDK およびツールをUbuntu上に構築します。
前提条件には他にDockerCE、ServiceFabricCLIをインストールすることと記載がありますが、Ubuntuの場合は一括してインストールされるSetupServiceFabric.shを実行すれば別途インストールは必要ありません。
上述したページ、Service Fabric SDK およびツールを抜粋すると以下のコマンドを実行すればOKです。これでローカル環境にServiceFabricクラスターが構築されます。
$ sudo apt-get -y install apt-transport-https
$ sudo curl -s https://raw.githubusercontent.com/Azure/service-fabric-scripts-and-templates/master/scripts/SetupServiceFabric/SetupServiceFabric.sh | sudo bash
$ sudo /opt/microsoft/sdk/servicefabric/common/clustersetup/devclustersetup.sh
上記コマンドが成功したら次は、Linux で初めての Service Fabric コンテナー アプリケーションを作成するでpythonアプリが動作するコンテナをAzureContainerRegistry、以下ACRにpushします(リンク先と同じ操作となるため操作は省略)。
次にServiceFabricのアプリケーションをデプロイするためのジェネレーターをインストールします。
コンテナーとゲスト実行可能ファイルを作成するための Yeoman ジェネレーターをセットアップするを参照します。
抜粋すると以下のコマンドでOKです。
$ sudo add-apt-repository "deb https://deb.nodesource.com/node_8.x $(lsb_release -s -c) main"
$ sudo apt-get -y update
$ sudo apt-get -y install nodejs
$ sudo npm install -g yo
$ sudo npm install -g generator-azuresfcontainer
$ sudo npm install -g generator-azuresfguest
yoコマンドで以下のエラーが出た場合は権限を付与します。参考
root@vagrant:~# yo azuresfcontainer
/usr/lib/node_modules/yo/node_modules/conf/index.js:128
			throw err;
			^
Error: EACCES: permission denied, open '/root/.config/insight-nodejs/insight-yo.json'
:(省略)
# chmod g+rwx /root /root/.config /root/.config/configstore
# chmod 777 -R /root/.config
- yoコマンドがインストールされたら以下を実行してコンテナをServiceFabricにデプロイするためのテンプレートを生成します
# yo azuresfcontainer

     _-----_     ╭──────────────────────────╮
    |       |    │    Welcome to Service    │
    |--(o)--|    │     Fabric Container     │
   `---------´   │   application generator  │
    ( _´U`_ )    ╰──────────────────────────╯
    /___A___\   /
     |  ~  |
   __'.___.'__
 ´   `  |° ´ Y `

  1 <?xml version="1.0" encoding="utf-8"?>
? Name your application mycontainer
  1 <?xml version="1.0" encoding="utf-8"?>
? Name of the application service: myservice
? Input the Image Name: testcicd111601.azurecr.io/samples/helloworldapp
? Commands:
? Number of instances of guest container application: 1
? Enter the container host mapping in the following format, container_port:host_port or press enter if not needed: 80:4000
   create mycontainer/mycontainer/ApplicationManifest.xml
   create mycontainer/mycontainer/myservicePkg/ServiceManifest.xml
   create mycontainer/mycontainer/myservicePkg/config/Settings.xml
   create mycontainer/install.sh
   create mycontainer/uninstall.sh
テンプレートが生成されたらmycontainer/mycontainer/ApplicationManifest.xmlに認証情報(ACRのユーザー名、パスワード)を設定します。
      	        <Policies>
      	            <ContainerHostPolicies CodePackageRef="Code">
+     	                <RepositoryCredentials AccountName="YourAccountName" Password="YourPassword" PasswordEncrypted="false"/>
      	                <PortBinding ContainerPort="80" EndpointRef="myserviceEndpoint"/>
      	            </ContainerHostPolicies>
      	        </Policies>
ローカルに構築したServiceFabricクラスターとACRに接続します
# sfctl cluster select --endpoint http://localhost:19080
# docker login -u <YourAccountName> -p <YourPassword>
アプリケーションをServiceFabricクラスタにデプロイします
# cd mycontainer
# ./install.sh
[1/6] files, ApplicationManifest.xml
Time left: 299 seconds
[2/6] files, _.dir
Time left: 299 seconds
[3/6] files, myservice02Pkg/ServiceManifest.xml
Time left: 299 seconds
[4/6] files, myservice02Pkg/_.dir
Time left: 299 seconds
[5/6] files, myservice02Pkg/config/Settings.xml
Time left: 299 seconds
[6/6] files, myservice02Pkg/config/_.dir
Time left: 299 seconds
Complete
/root/mycontainer02
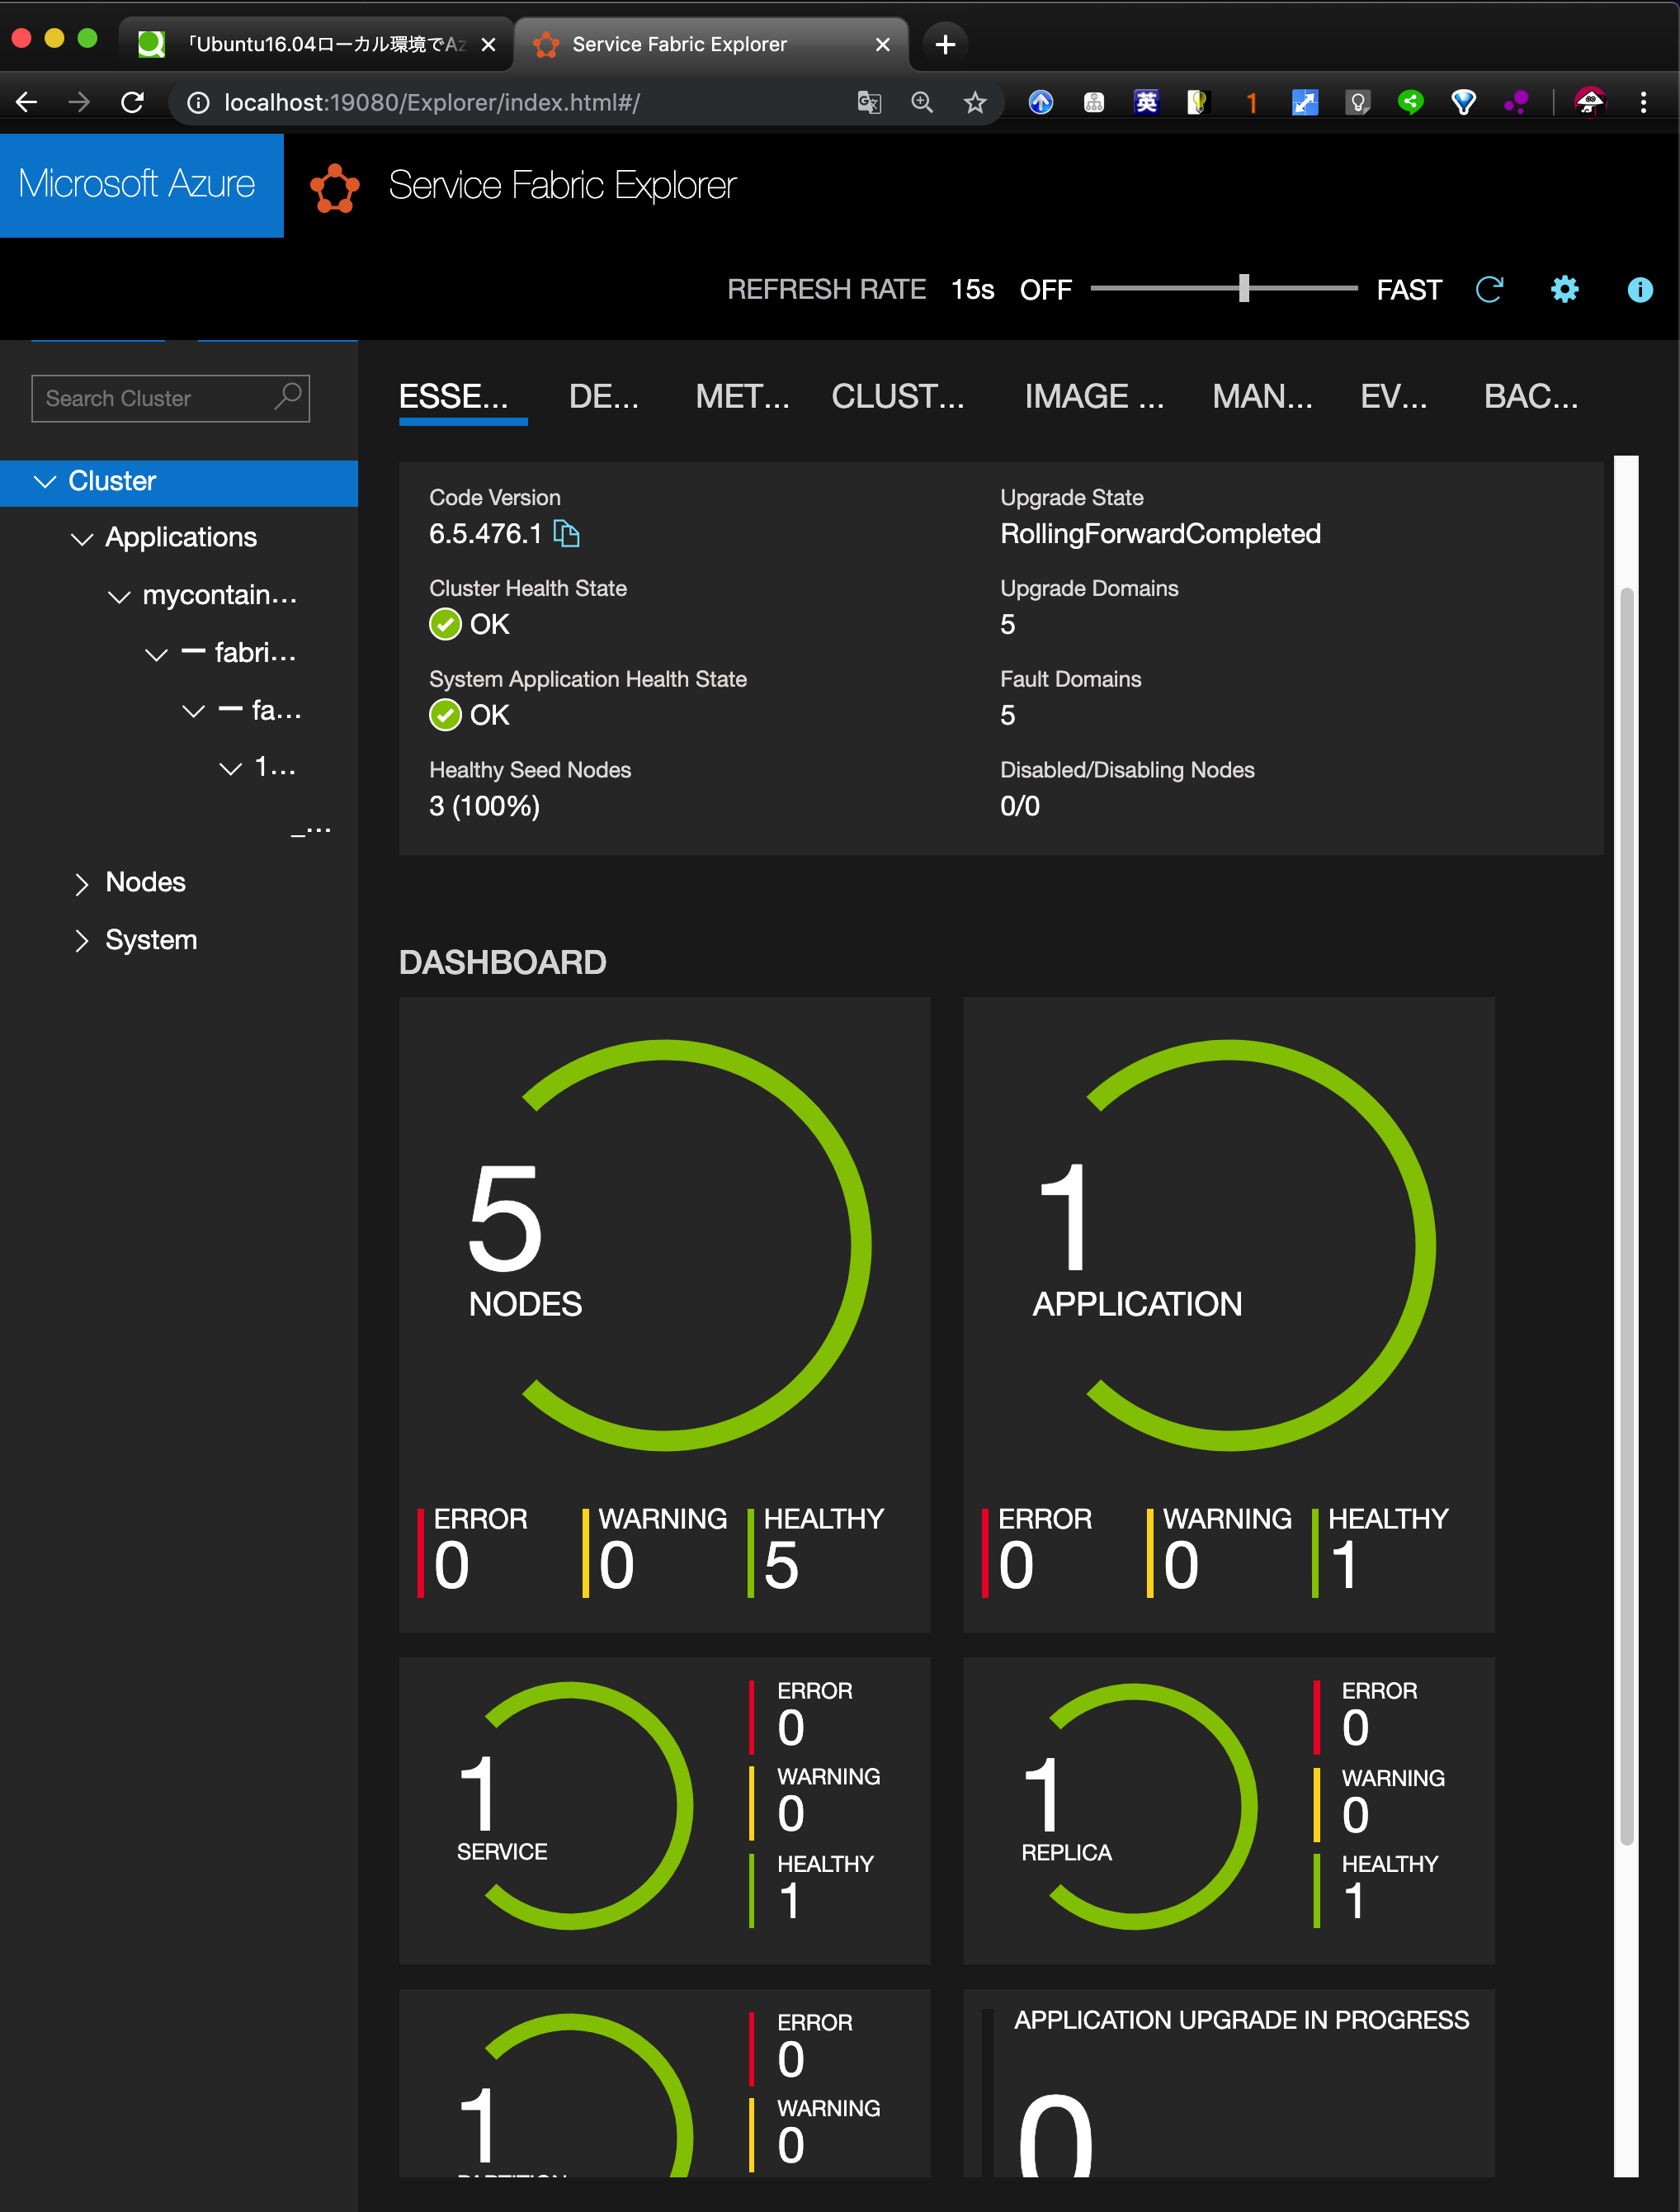
構築した開発環境で簡単なコンテナ(Helloworldが返却されるRestAPI)を動作させる
Service Fabric ExplorerにアクセスすればデプロイしたAPPLICATIONが確認できます。1になっていることを確認します。
念を押しdocker psを実行してローカルにコンテナが配備されていることを確認します。
ServerFabricクラスタが動作しているマシンではコンテナが動作していることが分かります。
# docker ps -a
CONTAINER ID        IMAGE                                             COMMAND             CREATED             STATUS              PORTS                  NAMES
32121cf2902d        testcicd111601.azurecr.io/samples/helloworldapp   "python app.py"     29 seconds ago      Up 28 seconds       0.0.0.0:4000->80/tcp   sf-2-b6b88f8d-512a-744f-ba94-fb402b2abac2
以下を実行してアプリケーションの動作を確認します。
# curl -X GET http://localhost:4000
Hello World!
うまく動きました。
最後に
これでUbuntu16.04上にPythonアプリが動くコンテナがServiceFabricクラスタにデプロイされ、そのアプリが問題なく動くことを確認できました。やっていることはHelloWorldレベルでしたが、開発環境の整備とServiceFabricの基本的なデプロイ方法を動作ベースで薄く理解できました。次はAzure上のクラスタにデプロイして動かしたいと思います。
以上