概要
FirebaseとGoogle Cloud Consoleを使用し、OAuth 2.0 クライアントIDでGoogleログインを実装しました
やること
com.google.android.gms:play-services-authを使用したGoogleサインインが非推奨となるためCredential Manager APIでGoogleサインインを実装する
環境
PC:Mac
Android Studio:Android Studio Ladybug Feature Drop | 2024.2.2
参考資料
Android Document 以前の Google ログインから Credential Manager と AuthorizationClient に移行する
https://developer.android.com/identity/sign-in/legacy-gsi-migration?hl=ja&utm_source=chatgpt.com
Google サインインの移行から始めるCredential Manager 活用
https://2024.droidkaigi.jp/timetable/694563/
Androidドキュメント Auth
https://developer.android.com/identity/sign-in/credential-manager?hl=ja&utm_source=chatgpt.com
一番分かりやすい OAuth の説明
https://qiita.com/TakahikoKawasaki/items/e37caf50776e00e733be
実装
Console周りの設定
Firebase Consoleの設定
1.デバッグキーストアをターミナルから取得
keytool -list -v -keystore ~/.android/debug.keystore -alias androiddebugkey -storepass android
2.アプリレベルのbuild.gradleのapplicationIdを確認しておく
 defaultConfig {
        applicationId = "com.kisayama.TestForFirebase"
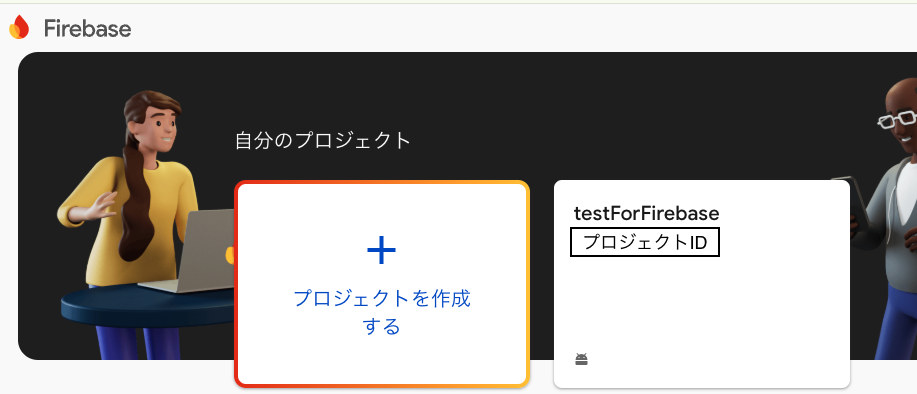
3.Firebaseでプロジェクトを作成する
- アプリの登録
- Androidパッケージ名には2で確認したapplicationIdを入力する
- デバッグ用の署名証明書SHA-1に1を入力する
- 構成ファイルをダウンロードして追加
- google-service.jsonファイルをダウンロードして画面の表示に従いモジュールのルートディレクトリに移動する
- FirebaseSDK
- Firebase関連の依存関係を追加しておく
- ログイン方法のGoogleを有効化する
- 登録したプロジェクトに移動し、ログイン方法→新しいプロバイダを追加→Googleを追加する
4.Google Cloud Console
Google Cloud Consoleが自動作成されているのでプロジェクトIDを確認しておく
Google Cloud Console

Firebase Console
GoogleClodConsoleとFirebase ConsoleのプロジェクトIDが一致していればOK
実装
1.依存関係
Credentials関連の依存関係を追加する
id("com.google.gms.google-services") version "4.4.2" apply false
//Googleサービスプラグイン
plugins {
    id("com.google.gms.google-services")
}
 //認証機能を管理するためのAPI
 implementation("androidx.credentials:credentials:1.5.0-rc01")

 //以下はAndroid 14(API 34)未満で使用されるAPI
 //GooglePlayServicesを使用した認証をサポートする
 implementation("androidx.credentials:credentials-play-services-auth:1.5.0-rc01")
 // 認証したGoogleアカウント情報を取得する
 implementation("com.google.android.libraries.identity.googleid:googleid:1.1.1")
2.コード
タップしたら認証を開始するボタンを用意する

    <com.google.android.gms.common.SignInButton
        android:id="@+id/btn_google_sign_in"
        android:layout_width="wrap_content"
        android:layout_height="wrap_content"
        android:layout_gravity="center"
        app:layout_constraintBottom_toBottomOf="parent"
        app:layout_constraintEnd_toEndOf="parent"
        app:layout_constraintStart_toStartOf="parent"
        app:layout_constraintTop_toBottomOf="@+id/textView" />
suspend fun getSignInWithGoogle(
    context: Context,//アクティビティのConText
    onSuccess: (user: AuthUserData?) -> Unit,//成功した時の処理
    onFailure: (Exception) -> Unit//失敗した時の処理
) {
    try {
        // FirebaseAuthインスタンスの取得
        val auth: FirebaseAuth = FirebaseAuth.getInstance()

        // CredentialManager(資格情報管理)
        val credentialManager = CredentialManager.create(context)

        // gradle.propertiesからクライアントIDを取得
        val googleClientId = BuildConfig.google_client_id

        // Googleサインインリクエストを作成
        val googleIdOption: GetSignInWithGoogleOption = GetSignInWithGoogleOption
            .Builder(googleClientId) // nonceがあれば設定
            .build()

        // GetCredentialRequestを作成
        val request: GetCredentialRequest = GetCredentialRequest.Builder()
            .addCredentialOption(googleIdOption)
            .build()

        // 非同期で資格情報を取得
        val credential = withContext(Dispatchers.IO) {
            try {
                val result = credentialManager.getCredential(context = context, request = request)
                result.credential
            } catch (e: Exception) {
                throw e
            }
        }

        // 取得した資格情報がGoogle IDトークンであるか確認
        if (credential is CustomCredential && credential.type == GoogleIdTokenCredential.TYPE_GOOGLE_ID_TOKEN_CREDENTIAL) {
            val googleIdTokenCredential = GoogleIdTokenCredential.createFrom(credential.data)

            // IDトークンを取得
            val googleIdToken = googleIdTokenCredential.idToken

            // Firebaseの認証情報を作成
            val firebaseCredential = GoogleAuthProvider.getCredential(googleIdToken, null)

            // Firebaseでサインイン処理を実行
            val authResult = auth.signInWithCredential(firebaseCredential).await()

            // サインイン成功時のユーザー情報を取得
            val firebaseUser = authResult.user
            if (firebaseUser != null) {
                val user = AuthUserData(
                    userId = firebaseUser.uid,
                    userName = firebaseUser.displayName
                )
                onSuccess(user)
        }{
        //省略(アカウント情報が見つからない時の処理)

        } catch (e: Exception) {
        onFailure(e)
    }
}
  // CredentialManager(資格情報管理)
        val credentialManager = CredentialManager.create(context)
依存関係部分でも触れましたが
Android14以上(APIレベル34)ではネイティブAPI(androidxで始まるAPI)が使用されます。
implementation("androidx.credentials:credentials:1.5.0-rc01")
14未満ではネイティブAPIとGooglePlay開発者サービスから提供されるライブラリを組み合わせて認証を行います。
implementation("androidx.credentials:credentials-play-services-auth:1.5.0-rc01")
implementation("com.google.android.libraries.identity.googleid:googleid:1.1.1")
3.実装の注意点
// Googleサインインリクエストを作成
val googleIdOption: GetSignInWithGoogleOption = GetSignInWithGoogleOption
        .Builder(googleClientId) // nonceがあれば設定
        .build()
私がかなり悩んだ部分は上記のgoogleClientIDでした。
必ずウェブアプリケーション用のウェブクライアントIDを使用してください。
Android用クライアントIDを設定すると、Google Cloud Consoleの設定が不完全であることを意味するエラー "androidx.credentials.exceptions.GetCredentialCustomException: [28444]Developer console is not set up correctly." が発生します。
4.追記
1.リリース用キーストアの生成
release用のキーストアはAndroidStudio→Build → [Generate Signed Bundle or APK]→App BundleかAPKのどちらかを選択し必要情報を入力したら生成できます。
生成したキーストアはFirebase Consoleに登録しておきます。
2.リリース用キーストアをコードに記入
個人開発の場合、gradle.properties に以下を記入する。build.gradleに直接書くと、Gitにコミットしてしまうリスクがあるので分離しておきます。
gradle.propertiesは必ず.gitignoreに追加すること
gradle.propertiesに必要情報を記入
RELEASE_STORE_FILE=releasekeyStoreのフルパス
RELEASE_STORE_PASSWORD=キーストアのパス
RELEASE_KEY_ALIAS=キーのエイリアス
RELEASE_KEY_PASSWORD=別途設定していなければキーストアのパス
アプリレベルのgradleファイルにプロパティを使用してリリース用キーストアを宣言しておきます。
signingConfigs {
        create("release") {
            storeFile = file(project.properties["RELEASE_STORE_FILE"] as String)
            storePassword = project.properties["RELEASE_STORE_PASSWORD"] as String
            keyAlias = project.properties["RELEASE_KEY_ALIAS"] as String
            keyPassword = project.properties["RELEASE_KEY_PASSWORD"] as String
        }
    }
終わりに
play-services-authの代わりにCredential Managerを使うことで従来のGoogleサインインを使い続けることができます。
また、Googleサインインにセキュリティ強化のためのパスキーやパスワードを付加するサインイン方法もCredential Managerでまとめて実装できます。