本記事は、ノンコーディング IoT × 音声認識 爆速プロトタイピング vol14.5 @ オンラインの補足資料です。
IBM CloudのNode-redを使って簡単にTone AnalyzerAPIを使用し、Noodlと連携する方法について解説します。
IBM Cloudに登録して、インスタンスを作る
下記記事を参考に、「Node-RED開発画面へのアクセス」まで行ってください。
IBM LiteアカウントでNode-REDインスタンスを作成する
ToneAnalyzerをアプリに接続する
1.カタログからToneAnalyzerを探す
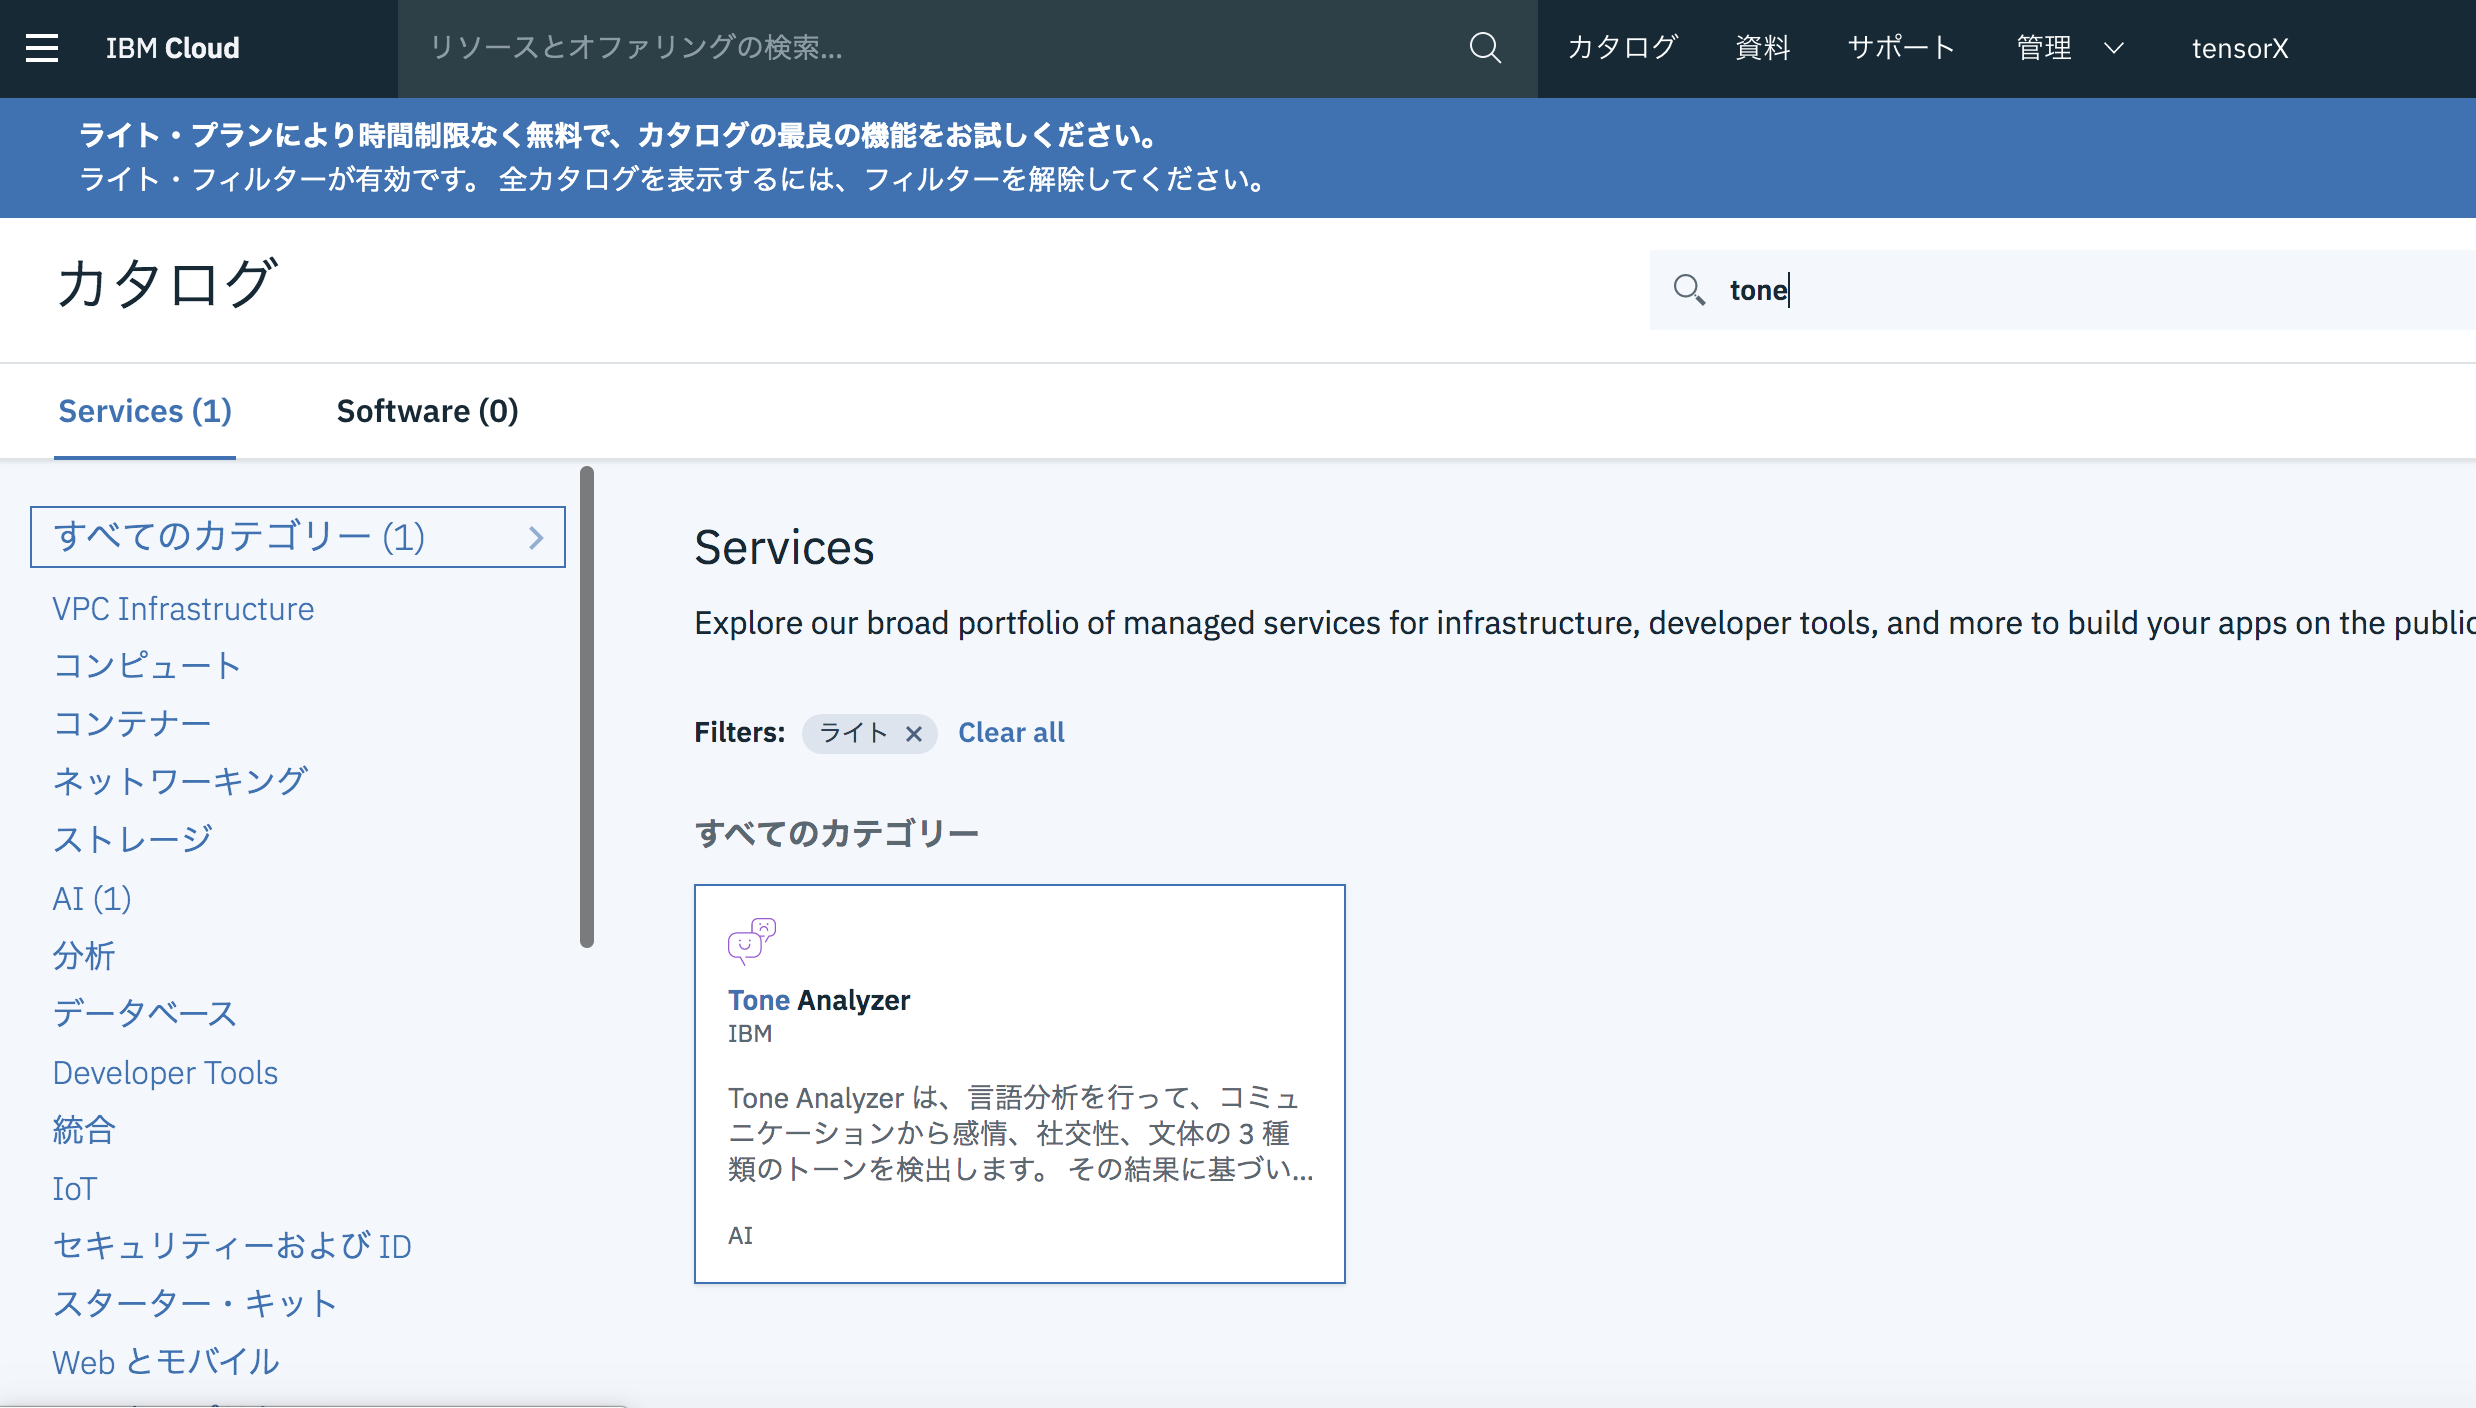
- 作成する

- 先程つくったNode-redのアプリと接続する

接続ボタンを押し、その先でToneanalyzeの「接続」をクリック
ToneAnalyzerとNoodl連携のフローをコピー、デプロイ
- 下記フローをコピーします
Node-redのフロー
[{"id":"bd8daeeb.04366","type":"http request","z":"acd42616.10b0d8","name":"Get Buffer => Binary","method":"GET","ret":"bin","paytoqs":false,"url":"https://raw.githubusercontent.com/watson-developer-cloud/tone-analyzer-nodejs/master/public/data/corporate-announcement.txt","tls":"","persist":false,"proxy":"","authType":"","x":361.66666412353516,"y":408.3332862854004,"wires":[["4a2b6e58.837b6"]]},{"id":"37ec6913.593bc6","type":"inject","z":"acd42616.10b0d8","name":"String","topic":"","payload":"","payloadType":"date","repeat":"","crontab":"","once":false,"x":138.66666412353516,"y":340.3332862854004,"wires":[["cd1c004b.de0f4"]]},{"id":"df2588aa.a8ef48","type":"debug","z":"acd42616.10b0d8","name":"","active":false,"tosidebar":true,"console":false,"tostatus":false,"complete":"response","targetType":"msg","x":824.1667251586914,"y":396.2666206359863,"wires":[]},{"id":"cd1c004b.de0f4","type":"function","z":"acd42616.10b0d8","name":"Prepare Request","func":"var data = \"Hi Team, I know the times are difficult! Our sales have been disappointing for the past three quarters for our data analytics product suite. We have a competitive data analytics product suite in the industry. But we need to do our job selling it!\";\nmsg.payload=data;\nreturn msg;","outputs":1,"noerr":0,"x":373.16666412353516,"y":340.2666358947754,"wires":[["4a2b6e58.837b6"]]},{"id":"25b2eedb.f84da2","type":"inject","z":"acd42616.10b0d8","name":"Buffer Test","topic":"","payload":"","payloadType":"date","repeat":"","crontab":"","once":false,"x":141.66666412353516,"y":408.3332862854004,"wires":[["bd8daeeb.04366"]]},{"id":"bfc954a.1419aa8","type":"comment","z":"acd42616.10b0d8","name":"Link to the Lab instructions","info":"See corresponding Lab instructions in the link below :\n\n- [Watson Tone Analyser Lab](https://github.com/watson-developer-cloud/node-red-labs/tree/master/basic_examples/tone_analyser)\n","x":162.66666412353516,"y":292.3332862854004,"wires":[]},{"id":"6a311889.94b758","type":"comment","z":"acd42616.10b0d8","name":"Make sure you bind Tone Analyser Service to Node-RED App !","info":"When running in IBM Cloud, the credentials for the service will be filled-in from IBM Cloud credentials management.\nFor this to work, the Tone Analyser Service has to be bound to the Node-RED application.\n","x":699.6666641235352,"y":292.3332862854004,"wires":[]},{"id":"4a2b6e58.837b6","type":"watson-tone-analyzer-v3","z":"acd42616.10b0d8","name":"","tones":"all","sentences":"true","contentType":"false","tone-method":"generalTone","interface-version":"2016-05-19","inputlang":"en","default-endpoint":false,"service-endpoint":"","x":619.1666641235352,"y":395.3332862854004,"wires":[["df2588aa.a8ef48","3740f780.ca4c08"]]},{"id":"43776d4.b77f294","type":"http in","z":"acd42616.10b0d8","name":"","url":"/noodl","method":"post","upload":false,"swaggerDoc":"","x":211.66666412353516,"y":488.3332862854004,"wires":[["9c7491c0.ed214"]]},{"id":"3c6f5ce1.4e8db4","type":"debug","z":"acd42616.10b0d8","name":"","active":true,"tosidebar":true,"console":false,"tostatus":false,"complete":"true","targetType":"full","x":611.6666641235352,"y":548.3332862854004,"wires":[]},{"id":"9c7491c0.ed214","type":"change","z":"acd42616.10b0d8","name":"","rules":[{"t":"set","p":"payload","pt":"msg","to":"payload.text","tot":"msg"}],"action":"","property":"","from":"","to":"","reg":false,"x":441.66666412353516,"y":488.3332862854004,"wires":[["4a2b6e58.837b6","3c6f5ce1.4e8db4"]]},{"id":"21857b6e.a68c94","type":"http response","z":"acd42616.10b0d8","name":"","statusCode":"","headers":{},"x":951.6666641235352,"y":468.3332862854004,"wires":[]},{"id":"3740f780.ca4c08","type":"change","z":"acd42616.10b0d8","name":"","rules":[{"t":"set","p":"payload","pt":"msg","to":"response","tot":"msg"}],"action":"","property":"","from":"","to":"","reg":false,"x":741.6666641235352,"y":468.3332862854004,"wires":[["21857b6e.a68c94","b07d64ff.878ce8"]]},{"id":"b07d64ff.878ce8","type":"debug","z":"acd42616.10b0d8","name":"","active":true,"tosidebar":true,"console":false,"tostatus":false,"complete":"false","x":951.6666641235352,"y":528.3332862854004,"wires":[]}]
- Node-redのメニュー(ハンバーガーアイコン)から、「読み込み」を選択
- コピーしたフローを貼り付け、「読み込み」を押す

- 画面右上のデプロイをクリック
Noodlと連携
1.プロジェクトの作成
こちらからNoodlプロジェクトをダウンロードして、「2.5prj_03」をNoodlで読み込む
2.RESTノードの設定
- Endpoint: 「アプリUIにアクセス」のリンクURL(画像参考)
 - Resource: /noodl
詳細は後日動画リンクをアップします!