SAMPLE
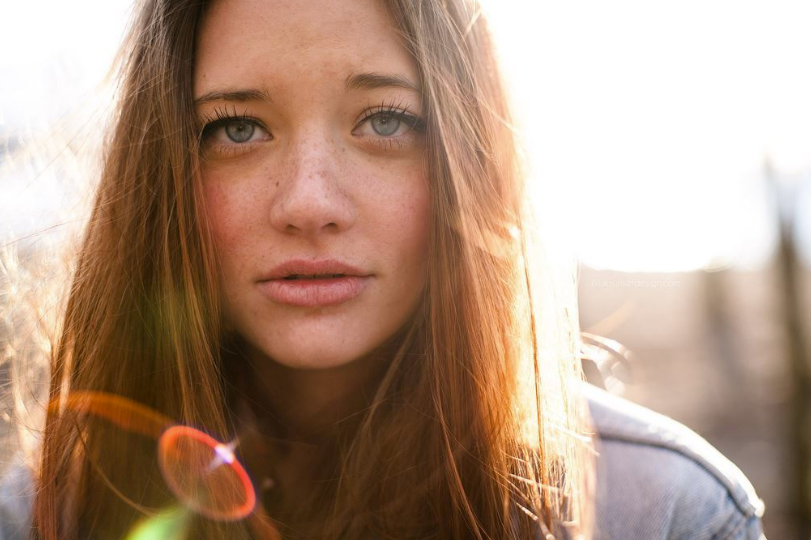
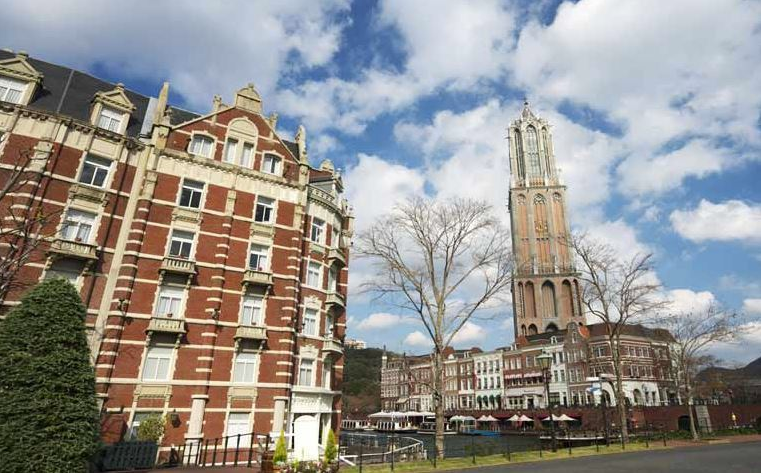
これが
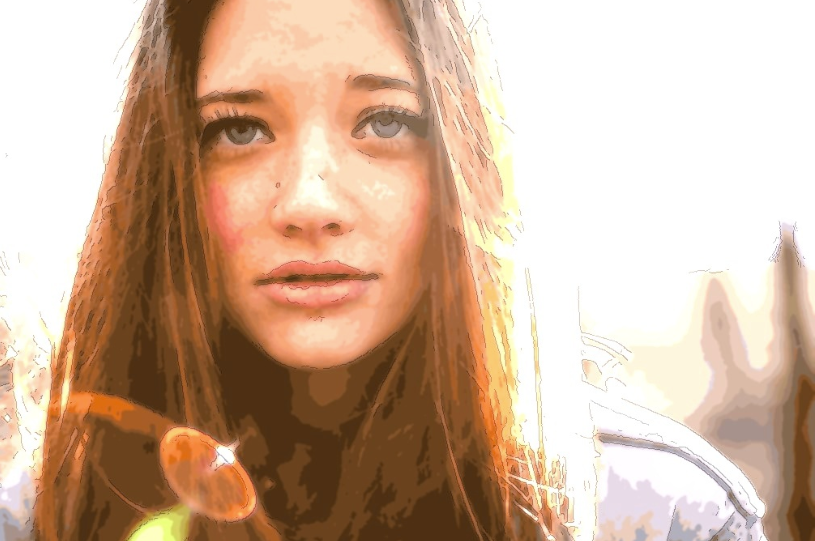
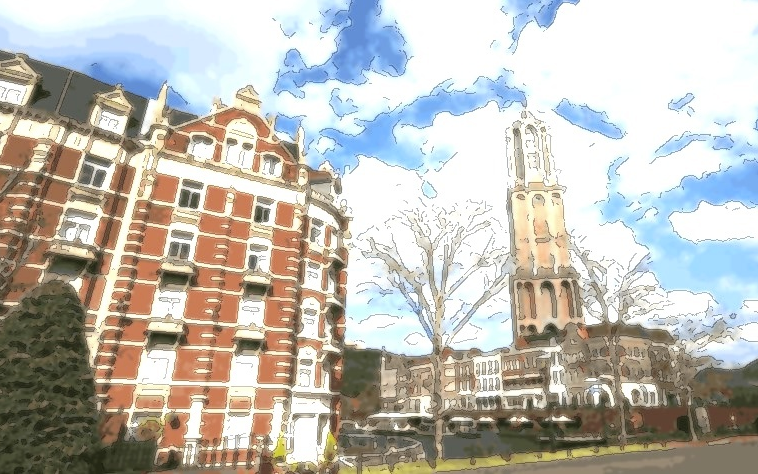
こうなります。
PYTHON
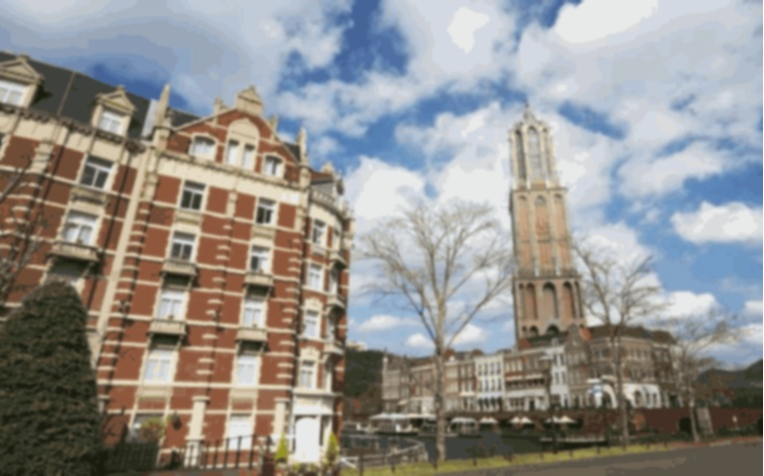
- 画像に減色処理を施した上で任意の画素数で平滑化します。
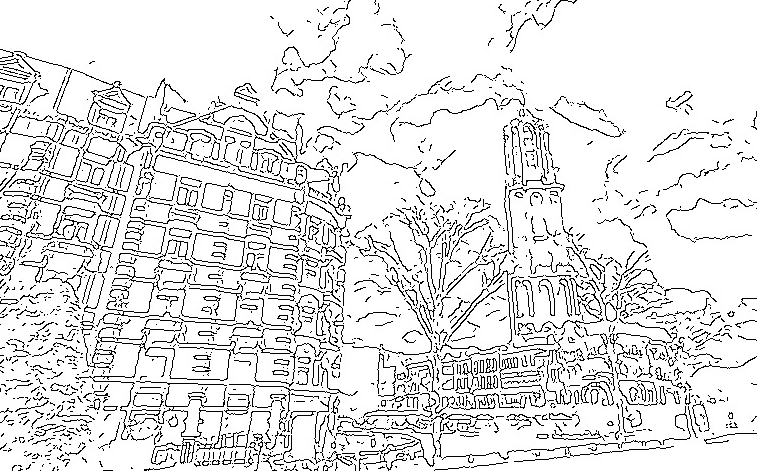
- 画像からエッジを検出し反転させたものを線画として上記に透過します。
- 2に減色処理後の画像を再度重みづけながら合成します。
初期設定を変更することで水彩画具合を調整できます。
import cv2
import numpy as np
import os.path
import matplotlib.pyplot as plt
from PIL import Image

##### 初期設定
## 読み込み画像
f = 'filename.jpg'
## 平滑化を行う画素のサイズ
average_square = (5, 5)
## x軸方向の標準偏差
sigma_x = 0
## 減色処理の際の配列サイズ
reshape_size = (-1, 3)
## 減色処理の際の停止条件
criteria = (cv2.TERM_CRITERIA_EPS+cv2.TERM_CRITERIA_MAX_ITER, 10, 1.0)
## 減色処理数
k=100
## 線画抽出の際の平滑化サイズ
line_average = (9, 9)
## 線画抽出の際のx軸方向の標準偏差
line_sigma_x = 0
## エッジ検出の際のthreshold1
threshold1 = 50
## エッジ検出の際のthreshold2
threshold2 = 55
## エッジを反転させる際の平滑化サイズ
edges_average = (1, 1)
## エッジを反転させる際のx軸方向の標準偏差
edges_sigma_x = 0
## 二値化の際のthresh
thresh = 90
## 二値化の際のmax_pixel
max_pixel = 255
## エッジを明るくする際のガンマ
gamma = 5.0
## 合成画像の重み
multi_w = 0.5
## 彩色表現の重み
paint_w = 0.9
## ガンマ
gamma = 1.5
##### 初期設定終わり

## 画像の読み込み
image = cv2.imread(f, 1)
## ファイル名と拡張子を取得
file, ext = os.path.splitext(f)

##### 彩色表現
def paint(filename):
    ##画像をぼかす
    image_blurring = cv2.GaussianBlur(filename, average_square, sigma_x)
    ##減色処理
    z = image_blurring.reshape(reshape_size)
    z= np.float32(z)
    ret,label,center=cv2.kmeans(z, k, None, criteria, 10, cv2.KMEANS_RANDOM_CENTERS)
    center = np.uint8(center)
    res = center[label.flatten()]
    image_reshape = res.reshape((image_blurring.shape))
    ##再度ぼかす
    return cv2.GaussianBlur(image_reshape, average_square, sigma_x)

##### 線画抽出
def line(filename):
    ##エッジを検出
    image_preprocessed  = cv2.cvtColor(cv2.GaussianBlur(filename, line_average, line_sigma_x), cv2.COLOR_BGR2GRAY)
    image_edges = cv2.Canny(image_preprocessed, threshold1 = threshold1, threshold2 = threshold2)
    ##エッジを反転させる
    image_h = cv2.GaussianBlur(image_edges, edges_average, edges_sigma_x)
    _, image_binary = cv2.threshold(image_h, thresh, max_pixel, cv2.THRESH_BINARY)
    image_binary = cv2.bitwise_not(image_binary)
    return image_binary

paint = paint(image)
cv2.imwrite(file + "_paint" + ext, paint)
line = line(image)
cv2.imwrite(file + "_line" + ext, line)

## 乗算
def mul(input_color,mul_color):
    return int(round(((input_color*mul_color)/255),0))

## 合成
def multiple(image1, image2):
    ##Pillowに変換
    pixelSizeTuple = image1.size
    image3 = Image.new('RGB', image1.size)
    for i in range(pixelSizeTuple[0]):
        for j in range(pixelSizeTuple[1]):
            r,g,b = image1.getpixel((i,j))
            r2,g2,b2 = image2.getpixel((i,j))
            img_r = mul(r,r2)
            img_g = mul(g,g2)
            img_b = mul(b,b2)
            image3.putpixel((i,j),(img_r,img_g,img_b))
    return image3

image1 = Image.open(file + "_paint" + ext).convert("RGB")
image2 = Image.open(file + "_line" + ext).convert("RGB")

multi = multiple(image1, image2)
multi.save(file+"_multi"+ext)

## 重みあり合成
def dodge(multi, paint):
    d = cv2.addWeighted(multi, multi_w, paint, paint_w, gamma)
    return d

multi_image = cv2.imread(file+"_multi"+ext,1)
output = dodge(multi_image, paint)

cv2.imwrite(file + "_output" + ext, output)
EXAMPLE
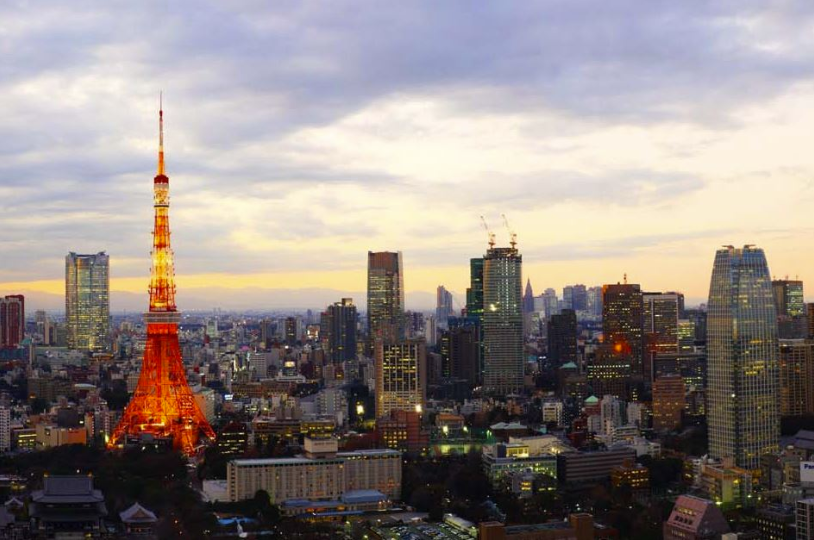
加工する前の画像です。
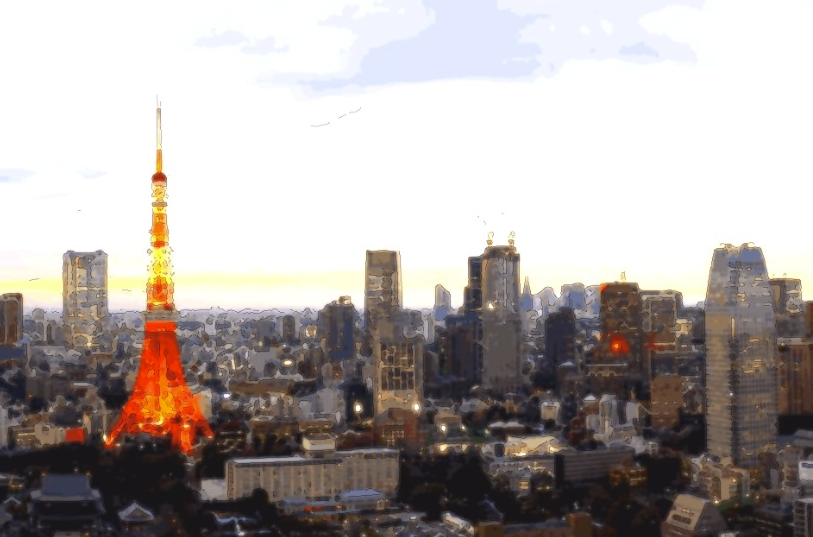
減色処理を施し平滑化しました。
画像からエッジを検出し反転しました。
減色処理した画像にエッジを反転させた画像を投下しました。
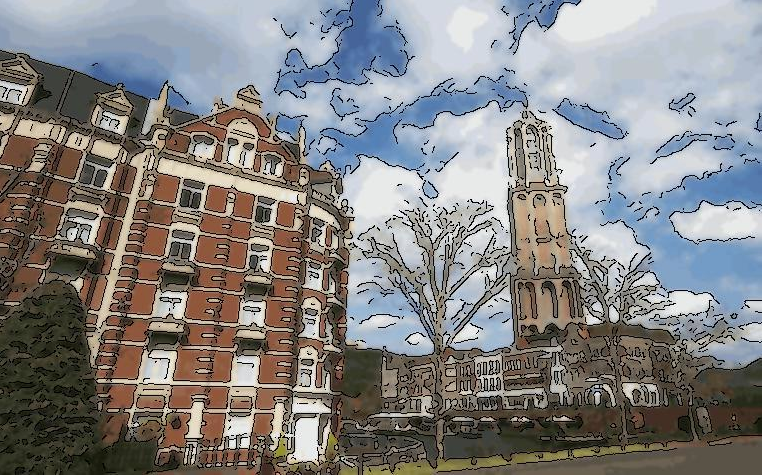
再度減色処理した画像を重みを調整しながら合成しました。完成です。
女の子の画像です。