概要
以前、 Mac で GPG を使うための環境設定をしました。
その中で SSH に PGP 認証鍵を使うようにしましたが、、パスフレーズや card の PIN を聞くプロンプトをうまく出すのに苦労しました。
二、三時間ほど格闘することになったので、原因と解決法をまとめておきます。
TL;DR
pinentry-program として pinentry-mac を使う。
brew install pinentry-mac
which pinentry-mac # 出力をメモする
enable-ssh-support
pinentry-program /opt/homebrew/bin/pinentry-mac # 先ほどメモしたパス
詳細
問題発生の背景
SSH を PGP 鍵で行うための設定として、 gg って出てきたものを適当に突っ込んだ 1 。以下抜粋。
enable-ssh-support
{鍵 keygrip}
gpg-connect-agent updatestartuptty /bye > /dev/null
export SSH_AUTH_SOCK="$(gpgconf --list-dirs agent-ssh-socket)"
export GPG_TTY=$(tty)
これらのうち正しい (必要な) 設定もあったが、間違いもあったため余計に苦しむこととなった。
問題
上記の設定で gpg-agent 経由で SSH 公開鍵認証を行おうとすると、プロンプトがおかしなことになる。
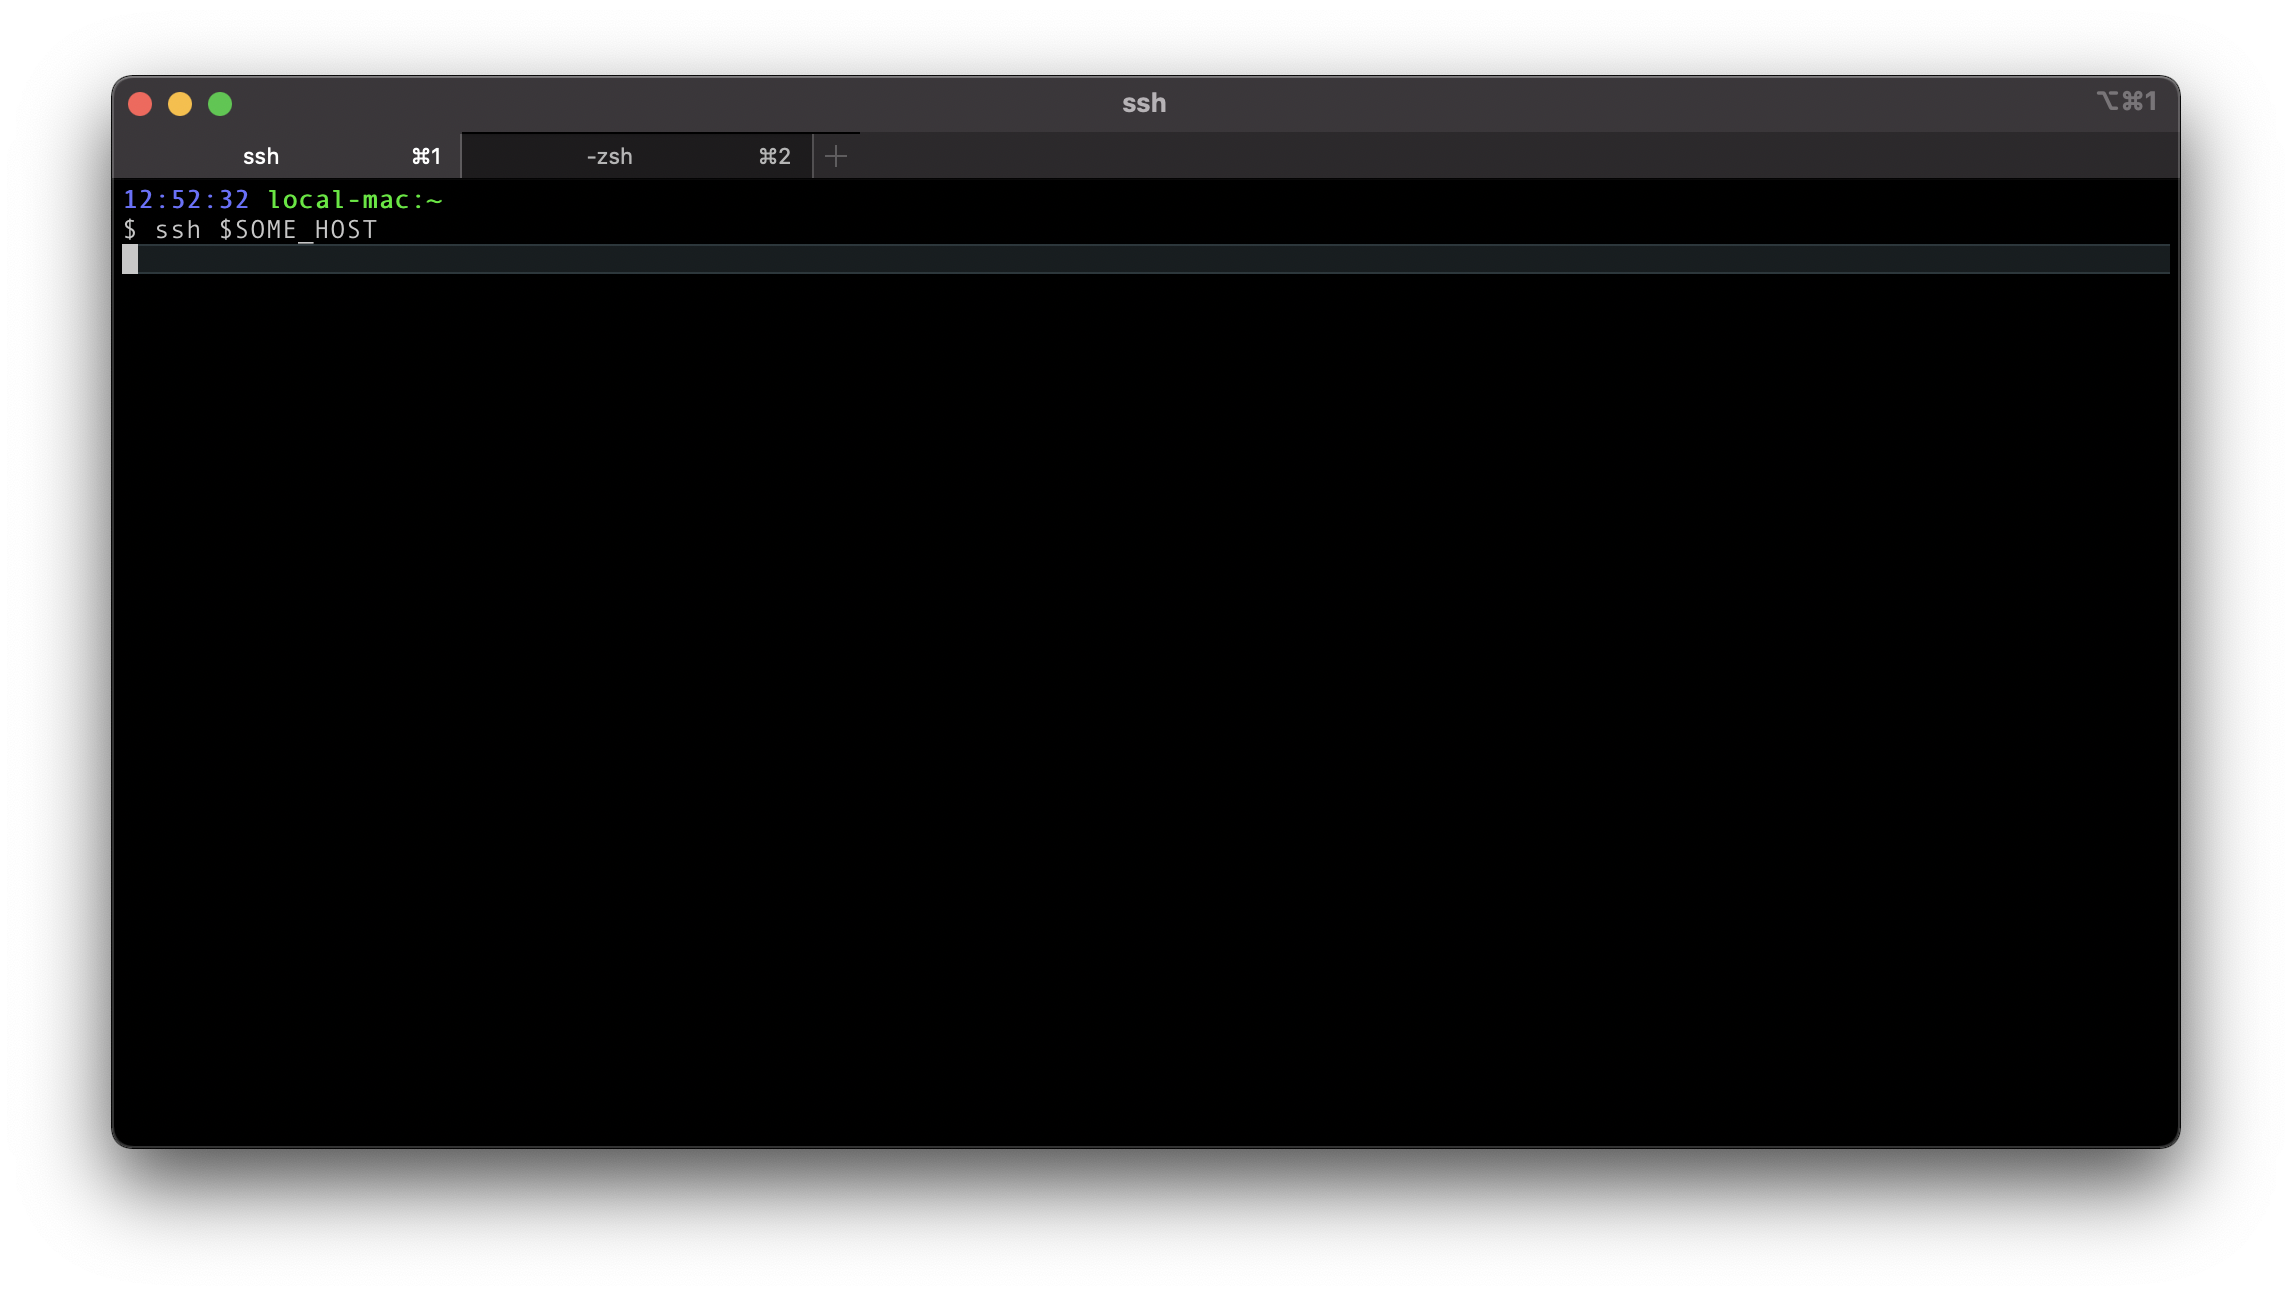
たとえば、二つのタブ 1, 2 を持つターミナルのウィンドウがあるとする。
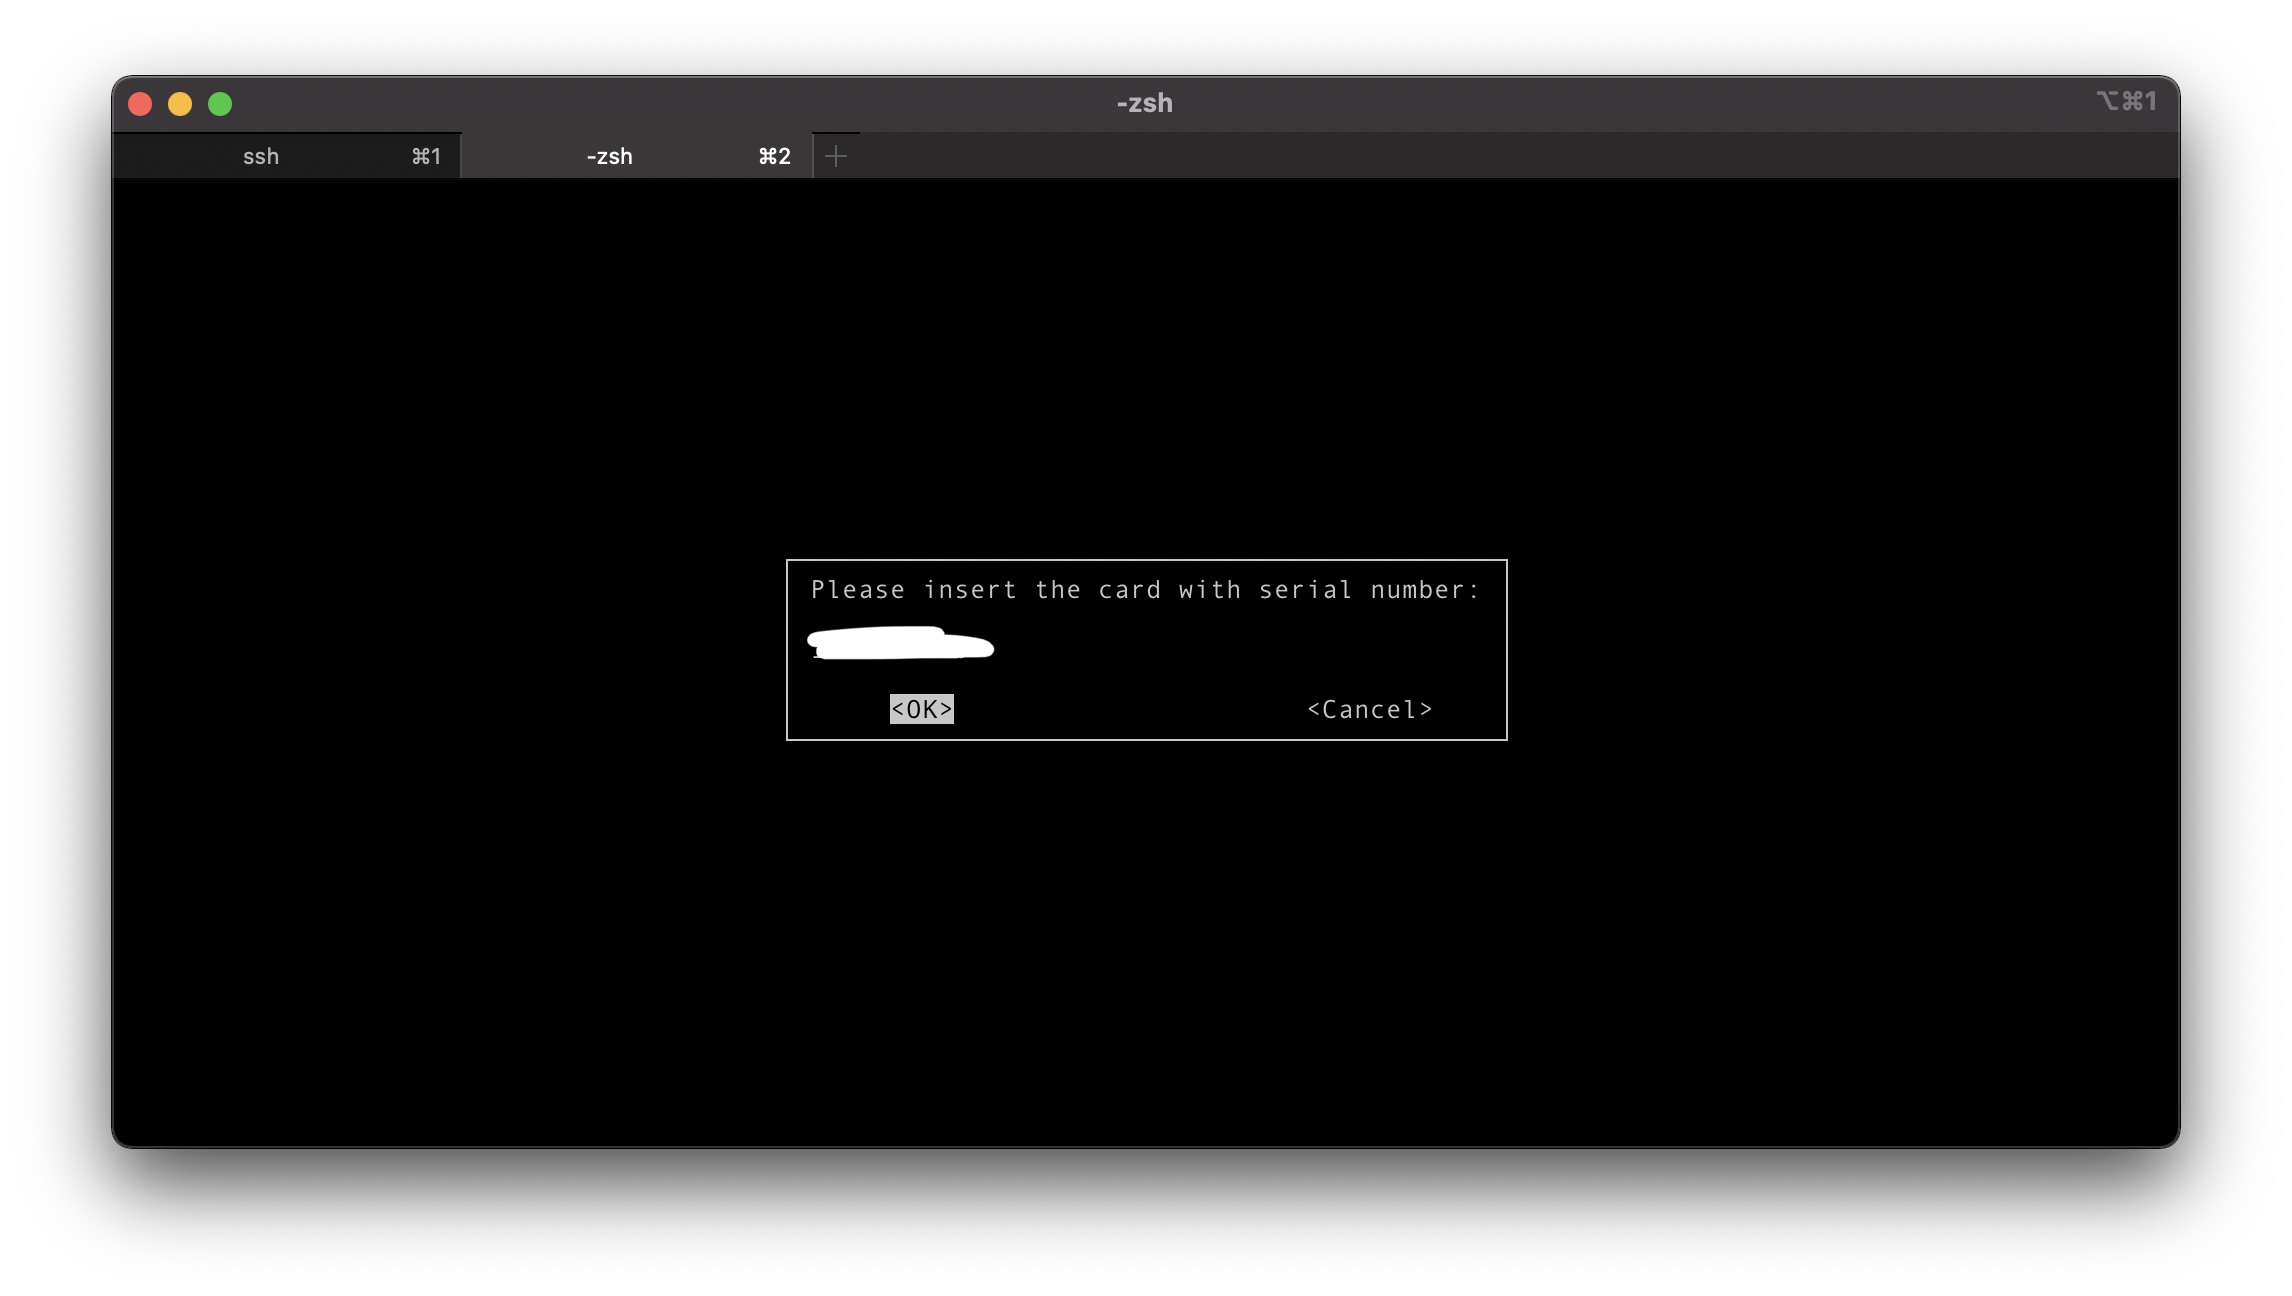
ターミナルのタブ 1 で ssh をしようとすると、なぜかタブ 2 で card PIN のプロンプトが出てしまう。 (画像)
最初はそういう仕様なのかとも思ったが、実はこのプロンプトではキー操作がまともにできず、矢印キーが効いたり効かなかったりする。
したがって、意図した挙動ではないことが推測できた。
解決策1: プロンプトを出すターミナルを指定する方法
gg ったところ、ある Stack Overflow の質問 を見つけた。
そこでは、 SSH する前に以下のコマンドを実行することで解決が図れるとしていた。 2
gpg-connect-agent updatestartuptty /bye
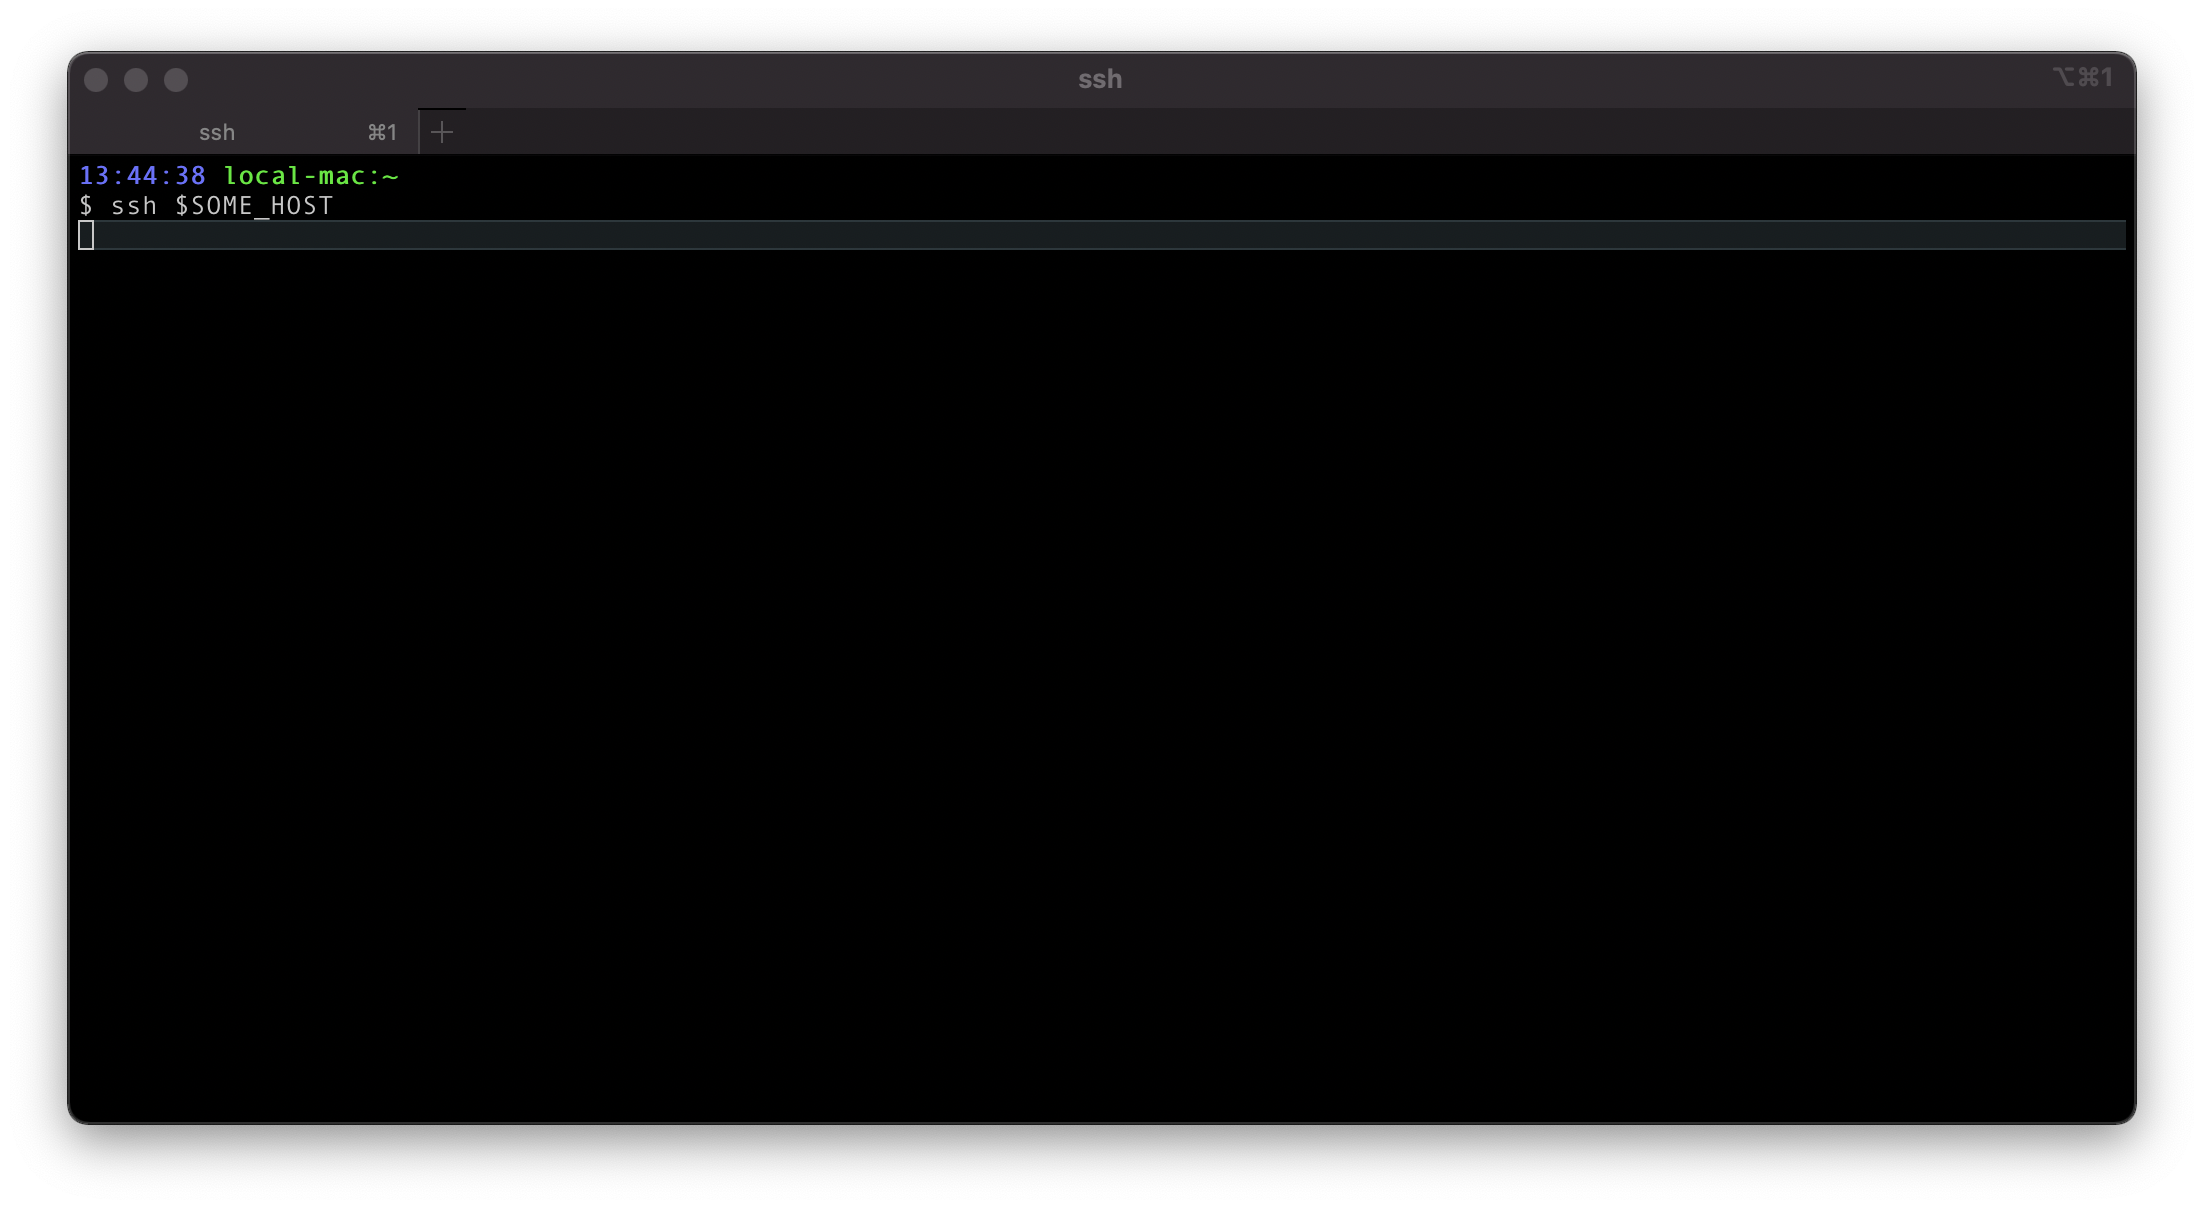
たしかに、これを実行してから SSH すると、プロンプトが同じタブで表示される。
回答からリンクされている gpg-agent の man ページ を 抜粋する。
Note: in case the gpg-agent receives a signature request, the user might need to be prompted for a passphrase, which is necessary for decrypting the stored key. Since the ssh-agent protocol does not contain a mechanism for telling the agent on which display/terminal it is running, gpg-agent’s ssh-support will use the TTY or X display where gpg-agent has been started. To switch this display to the current one, the following command may be used:
gpg-connect-agent updatestartuptty /bye
要約すると、
- PGP 認証鍵を使うためにはユーザがパスフレーズを入力しないといけない
- しかし SSH Agent プロトコルは、自分が動いているディスプレイやターミナルを伝える手段を持たない
- つまり、どのディスプレイ/ターミナルにプロンプトすればいいかわからない
- そのため、
gpg-agentは、とりあえず自身が起動された TTY / X ディスプレイ を使う
そして、プロンプトが出されるウィンドウ/ターミナルを変えるためのコマンドが gpg-connect-agent updatestartuptty /bye というわけである。
これを実行することで、 gpg-agent からするとどのターミナルにプロンプトを出せばいいのかを知ることができ、ユーザの意図通りのタブにプロンプトが現れるという流れであるらしい。 3
これで問題の解決自体は達成できたが、ぶっちゃけ毎回打ち込むのは面倒であるし、むやみに alias も増やす等もできれば避けたい。 4
そのため、別の解決法を探った。
解決策2: pinentry を変える
さらに別の情報を探したところ、 HomeBrew の GitHub リポジトリに立てられた issue に遭遇した。
issue 主はどうやら筆者と似たことで悩んだようである。
コメントでは、ざっくり pinentry を変えろ、という指摘がされていた。
pinentry とは、
pinentry is a small collection of dialog programs that allow GnuPG to read passphrases and PIN numbers in a secure manner. There are versions for the common GTK and Qt toolkits as well as for the text terminal (Curses).
らしい。(GNU の公式ページ より) 5
つまりダイアログを出すためのプログラムのようだ。
したがって上掲の issue では、 gpg-agent が使うプロンプト用プログラム = pinentry を変えることでいい感じにできそうだ、というアドバイスがされていると理解できる。
また、デフォルトが pinentry-curses で、ほかに pinentry, pinentry-mac があるようなことが書いてある。
これに従って、使用する pinentry プログラムを変えてみることにする。
pinentry は CLI らしいが、どうせなら人間の使いやすいインタフェースがいいので、 pinentry-mac を使ってみることにした。
手順は以下の通りである。
まず、 pinentry-mac をインストールする。
brew install pinentry-mac
which pinentry-mac # 出力をメモする
そして、 ~/.gnupg/gpg-agent.conf を編集し、以下を追記する。
```~/.gnupg/gpg-agent.conf`
pinentry-program ${さっきメモしたパス}
その後、 gpg-agent の設定をリロードする。

```sh
gpgconf --reload gpg-agent
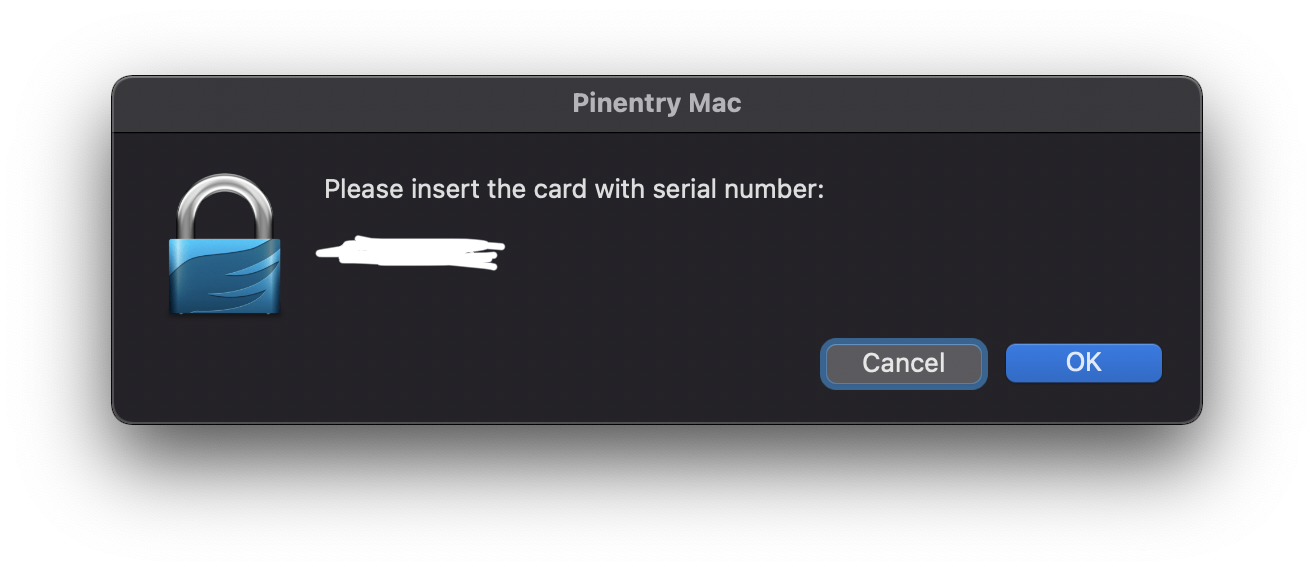
このようにすることで、 gpg-agent が pinentry-mac を使うように指定でき、次回の SSH から、以下のように人間らしいインタフェースが現れる。
これで、当初の目的通りプロンプトをいい感じに出すことに成功した。
まとめ
gpg-agent を使って SSH の認証を行う際に、パスフレーズや PIN のプロンプトがうまく出ない問題を解決した。
解決法としては大きく二つあるが、筆者としては二つめの pinentry を変える方法がよいように思われた。
以上です。誰かの参考になれば嬉しいです。


