環境
- Visual Studio Code: Version 1.20.1
- OS: Mac OS High Sierra Version 10.13.2
- 言語設定: OS, VSCode 共に English
記事内で説明しているショートカットはMacのものなので、他OSの方は適宜読み替えてください。
※2018年2月18日時点のVersion 1.20.1の内容なので、ショートカットや画面は現在とは変わっている可能性があります。
やり方
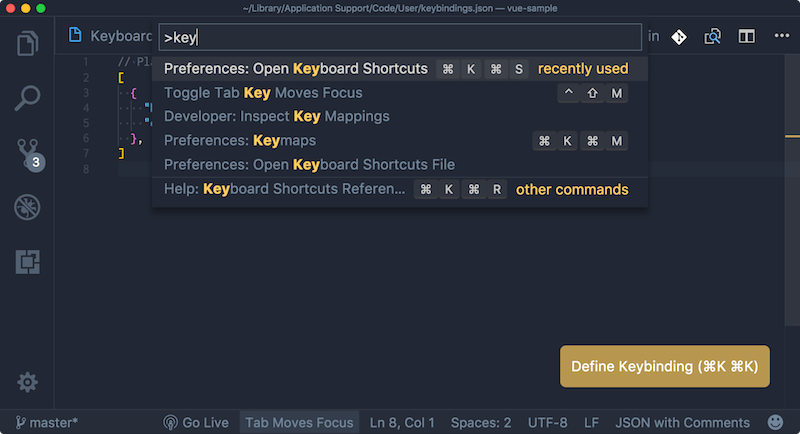
shift+cmd+p でコマンドパレットを開く。key と打って表示される Preferences: Open Keyboard Shortcuts を選択してキーバインド一覧(というよりアクション一覧?)を表示。
cmd+k cmd+s (cmd+k 入力した後に cmd+s) でも表示されます。
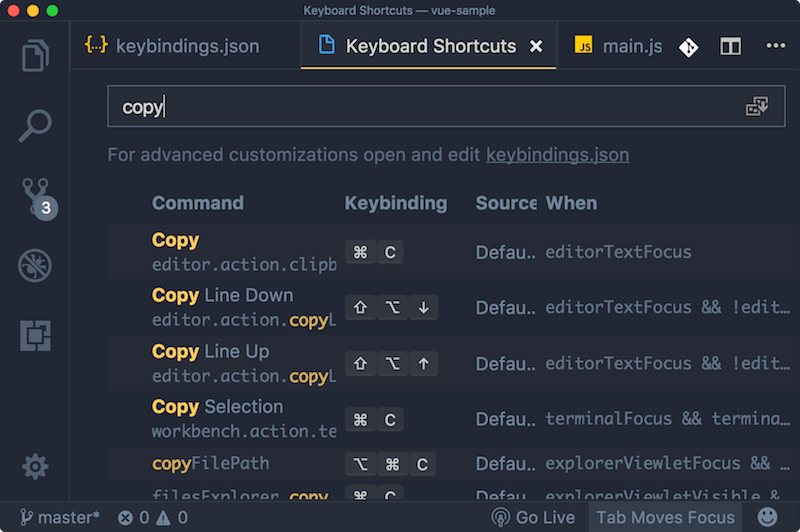
キーバインドを変更または追加したいアクションを検索し、左の鉛筆マークをクリックするか該当アクションをダブルクリック。
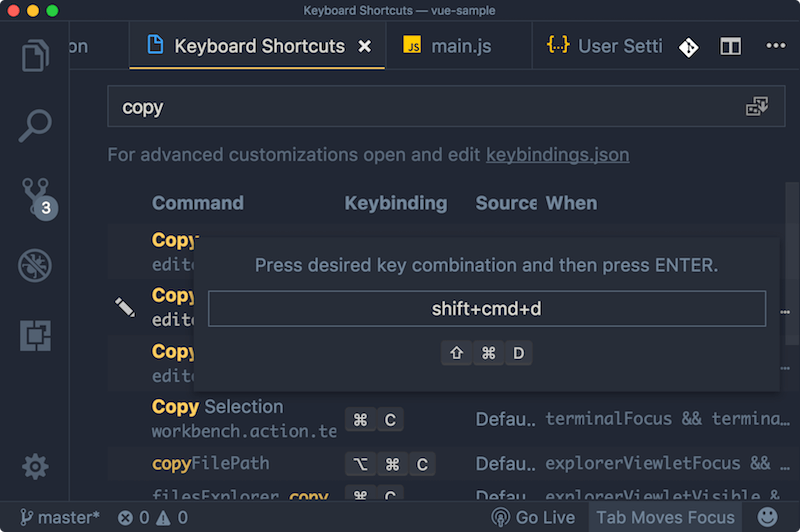
ポップアップが出るので希望するキーバインドを入力してエンター。
以上です。
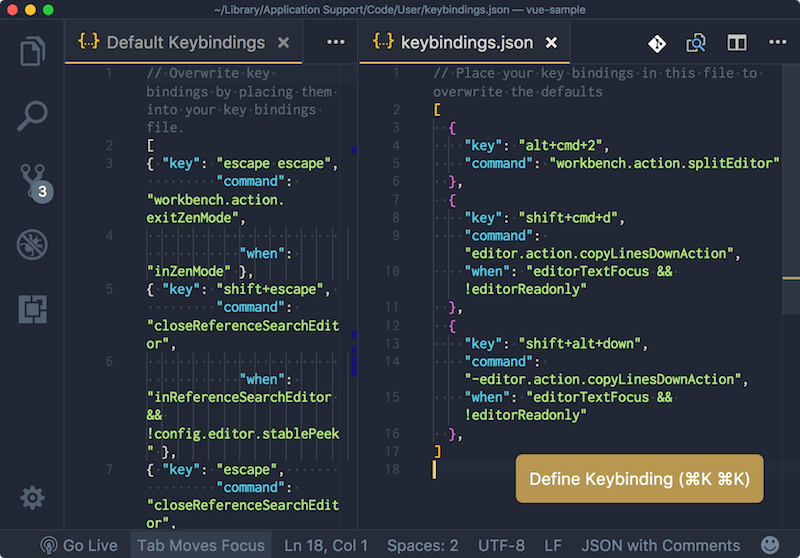
この作業で keybindings.json に変更が追加されています。
もちろんこのファイルを自分で編集してもいいのですが、めんどくさい&間違えやすいので、Preferences: Open Keyboard Shortcuts から変更した方が楽かと思います。when だけはこちらで細かく設定するといいかもしれませんね。
その他
keybindings.json を開いているときに cmd+k cmd+k (cmd+kを二回) と入力すると、キーバインドを入力するポップアップが出ます。そこでキーバインドを入力してエンターを押すと、以下のコードが挿入されます。あとは command と when を自分で設定すればOKです。
知っておくと便利かもしれません。
{
  "key": "入力したキー",
  "command": "commandId",
  "when": "editorTextFocus"
}
参考
キーバインドについて詳しくは公式ドキュメントをご覧ください。
Visual Studio Code Key Bindings


