はじめに
【Vonage】コミュニケーションAPIを使ってみよう、Vonageのことなら何でも共有しよう! by Vonage Advent Calendar 2023の23日目です ![]()
この機会に初めてVonageAPIを使ってみました。その時の様子をお伝えします ![]()
概要
準備
アカウント登録(無料)
APIKey,APIシークレットの取得
以下リンクよりダッシュボードにいくと一番上にあります ![]()
FB_RECIPIENT_IDの取得
ダッシュボード > トラブルシューティングと詳細 > デベロッパーツール > Messageサンドボックス より、Facebook Messengerのsend invite emailを押下すると、
以下のメールが届きます ![]()


まずcurlで試してみる
※fromの100614398987044はVonage Sandbox V1のFB_RECIPIENT_IDです。
$ curl -X POST https://messages-sandbox.nexmo.com/v1/messages \
> -u '{API key}:{APIシークレット}' \
> -H 'Content-Type: application/json' \
> -H 'Accept: application/json' \
> -d '{
>     "from": "100614398987044",
>     "to": "{FB_RECIPIENT_ID}",
>     "message_type": "text",
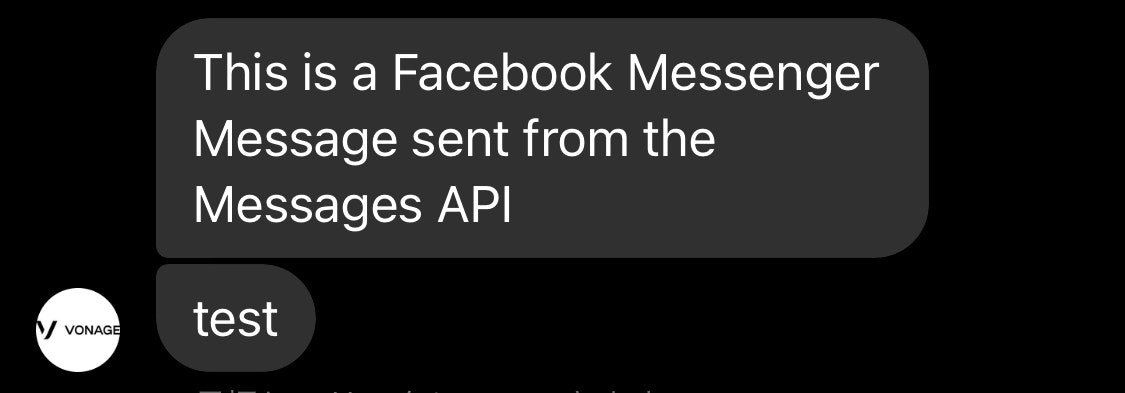
>     "text": "This is a Facebook Messenger Message sent from the Messages API",
>     "channel": "messenger"
>   }'
{"message_uuid":"xxxxxxxx-xxxx-xxxx-xxxx-xxx"}
Vonage Sandbox V1からメッセージが来ましたー ![]()
![]()
![]()

参考
PHPで実装していくー!
PHP Client(vonage/client)が用意されているのでそれを使います。
Symfony Consoleを使って、コマンドでメッセージを送信できるように実装していきます。
$ symfony new vonage_exam --version="7.0.*"
$ composer req --dev maker
$ symfony console make:command
$ composer require vonage/client:^4.0
実装したコマンドがこちら!!!
<?php

namespace App\Command;

use Symfony\Component\Console\Attribute\AsCommand;
use Symfony\Component\Console\Command\Command;
use Symfony\Component\Console\Input\InputInterface;
use Symfony\Component\Console\Input\InputOption;
use Symfony\Component\Console\Output\OutputInterface;
use Symfony\Component\Console\Style\SymfonyStyle;
use Symfony\Component\DependencyInjection\Attribute\Autowire;
use Vonage\Client as VonageClient;
use Vonage\Messages\Channel\Messenger\MessengerText;

#[AsCommand(
    name: 'app:send-messenger',
    description: 'Commands to send text messages in Facebook Messenger',
)]
class SendMessengerCommand extends Command
{
    public function __construct(
        #[Autowire(env: 'VANAGE_API_KEY')] private readonly string $vonageApiKey,
        #[Autowire(env: 'VANAGE_API_SECRET')]  private readonly string $vonageApiSecret,
    )
    {
        parent::__construct();
    }

    protected function configure(): void
    {
        $this
            ->addArgument('to_fb_page_id', null, InputOption::VALUE_REQUIRED, 'to fb_page_id')
            ->addArgument('from_fb_recipient_id', null, InputOption::VALUE_REQUIRED, 'from fb_recipient_id')
            ->addOption('text', null, InputOption::VALUE_OPTIONAL, 'send message text')
        ;
    }

    protected function execute(InputInterface $input, OutputInterface $output): int
    {
        $io = new SymfonyStyle($input, $output);

        try {
            $client = new  VonageClient(
                new VonageClient\Credentials\Basic($this->vonageApiKey, $this->vonageApiSecret),
                ['base_api_url' => 'https://messages-sandbox.nexmo.com']
            );
            $client->messages->send(
                new MessengerText(
                    $to = $input->getArgument('to_fb_page_id'),
                    $from = $input->getArgument('from_fb_recipient_id'),
                    $text = $input->getOption('text') ?: 'hello world! from Vonage PHP SDK'
                )
            );
        } catch (\Exception $e) {
            $io->error('error. exception message: ' . $e->getMessage());

            return Command::FAILURE;
        }

        $io->success('Your facebook messenger has been sent.' . PHP_EOL
            . 'to: ' . $to . PHP_EOL
            . 'from: ' . $from . PHP_EOL
            . 'text: ' . $text);

        return Command::SUCCESS;
    }
}
コマンドを実行すると...
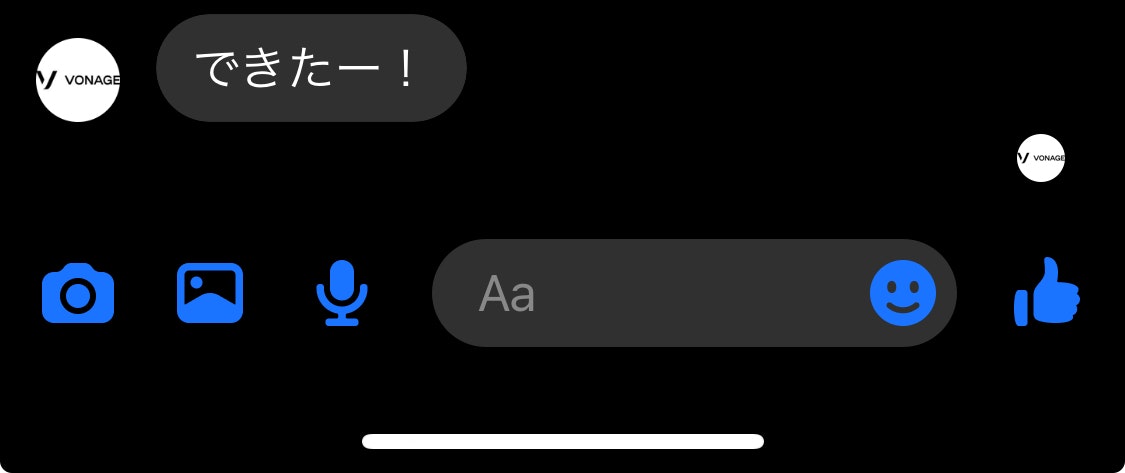
$ symfony console app:send-messenger {fb_recipient_id} 100614398987044 --text=できたー!


 [OK] Your facebook messenger has been sent.
      to: 6797460817029912
      from: 100614398987044
      text: できたー!
参考:
- https://github.com/Vonage/vonage-php-sdk-core
- https://developer.vonage.com/en/messages/code-snippets/messenger/send-text?lang=php
最後に
PHPドキュメントもあったので、PHPerの私にはとっても助かりました。
しかし、なぜかサンプルコードのsend-text.phpには、メッセンジャーテキストを作る部分の実装のみで送信部分がなかったので少し苦戦しました ![]()
SymfonyのNotifier ComponentがVonageに対応していることを知ったので、こちらも使ってみたいなと思いました!
https://github.com/symfony/symfony/blob/7.0/src/Symfony/Component/Notifier/Bridge/Vonage/README.md
