はじめに
Next.js を使って個人開発をしようと思ったので Firebase Cloud Functions と Firestore を使ってサーバーレス環境を構築しました。
備忘録を兼ねた手順書として投稿します。
Firebase プロジェクトを作成
1. 初期化コマンドを実行
$ firebase init
2. 使用する機能を選択
→ Functions と Hosting を選択して Enter
? Which Firebase CLI features do you want to set up for this folder? Press Space to select features, then Enter to confirm your choices.
 ◯ Database: Deploy Firebase Realtime Database Rules
 ◯ Firestore: Deploy rules and create indexes for Firestore
 ◉ Functions: Configure and deploy Cloud Functions
❯◉ Hosting: Configure and deploy Firebase Hosting sites
 ◯ Storage: Deploy Cloud Storage security rules
 ◯ Emulators: Set up local emulators for Firebase features
3. 既存の Firebase プロジェクトを使用するか
→ 今回は既存のプロジェクトを使用する
? Please select an option: (Use arrow keys)
❯ Use an existing project
  Create a new project
  Add Firebase to an existing Google Cloud Platform project
  Don't set up a default project
4. どのプロジェクトを使用するか
? Please select an option: Use an existing project
? Select a default Firebase project for this directory: (Use arrow keys)
❯ Project ID (Project Name)
5. JavaScript と TypeScript どちらの形式で記述するか(今回は TypeScript )
? What language would you like to use to write Cloud Functions?
  JavaScript
❯ TypeScript
6. TSLint を使用するか(自由に選択して OK )
? Do you want to use TSLint to catch probable bugs and enforce style? (Y/n) Y
7. このタイミングで npm モジュールをインストールしておくか(後でもできる)
? Do you want to install dependencies with npm now? (Y/n) Y
8. デプロイ対象となるディレクトリを指定する(任意)
? What do you want to use as your public directory?
9. SPA かどうか
? Configure as a single-page app (rewrite all urls to /index.html)? (y/N) y
10. コマンドが終了したらローカルサーバを起動
→ 表示された URL をコピー
$ yarn serve
...
✔  functions[api]: http function initialized (http://localhost:5000/react-firebase/us-central1/api).
11. 別のターミナルから接続確認
- コピーした URL +
/helloでリクエストを送信
→Hello Express!が返ってくれば成功
$ curl http://localhost:5000/react-firebase/us-central1/api/hello
Hello Express!
Firestoreの 構築
Firebase Admin SDK の設定
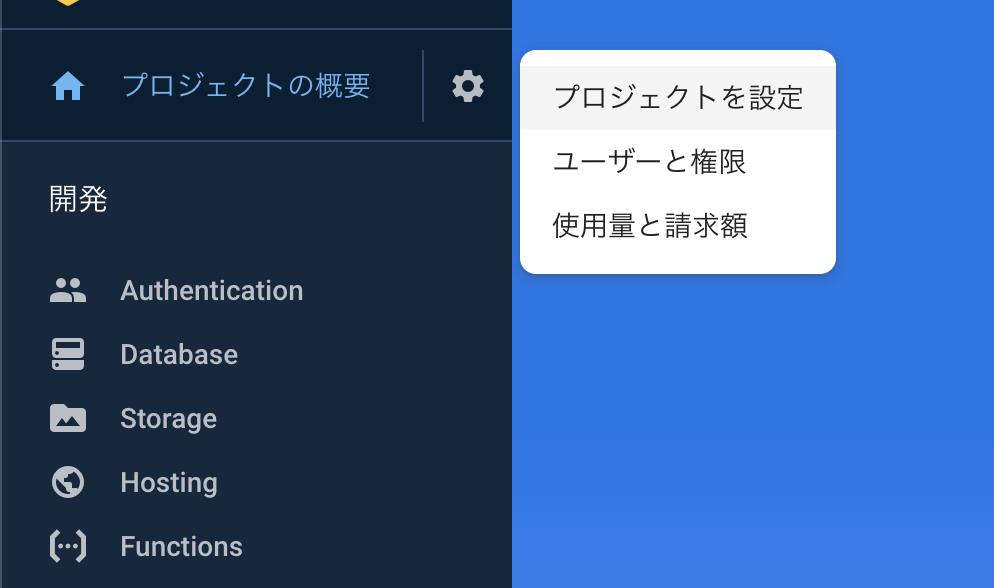
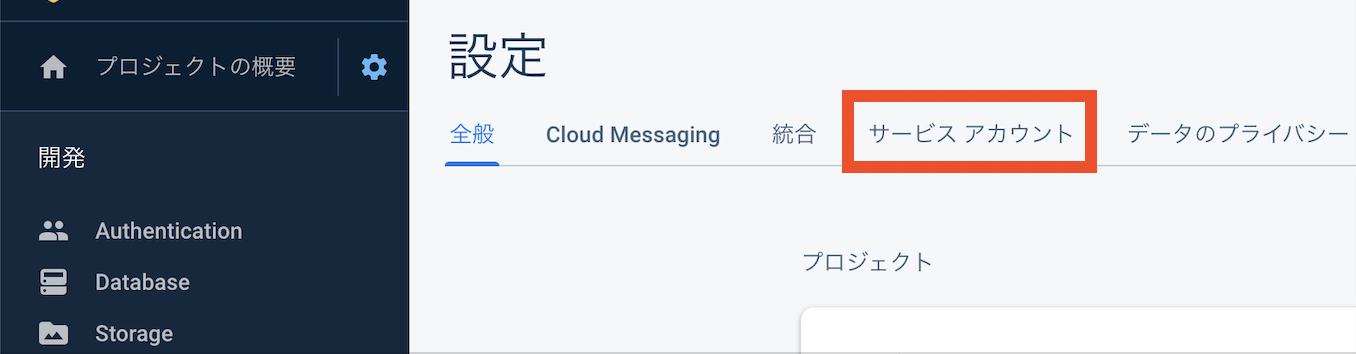
1. サービスアカウント画面を開く
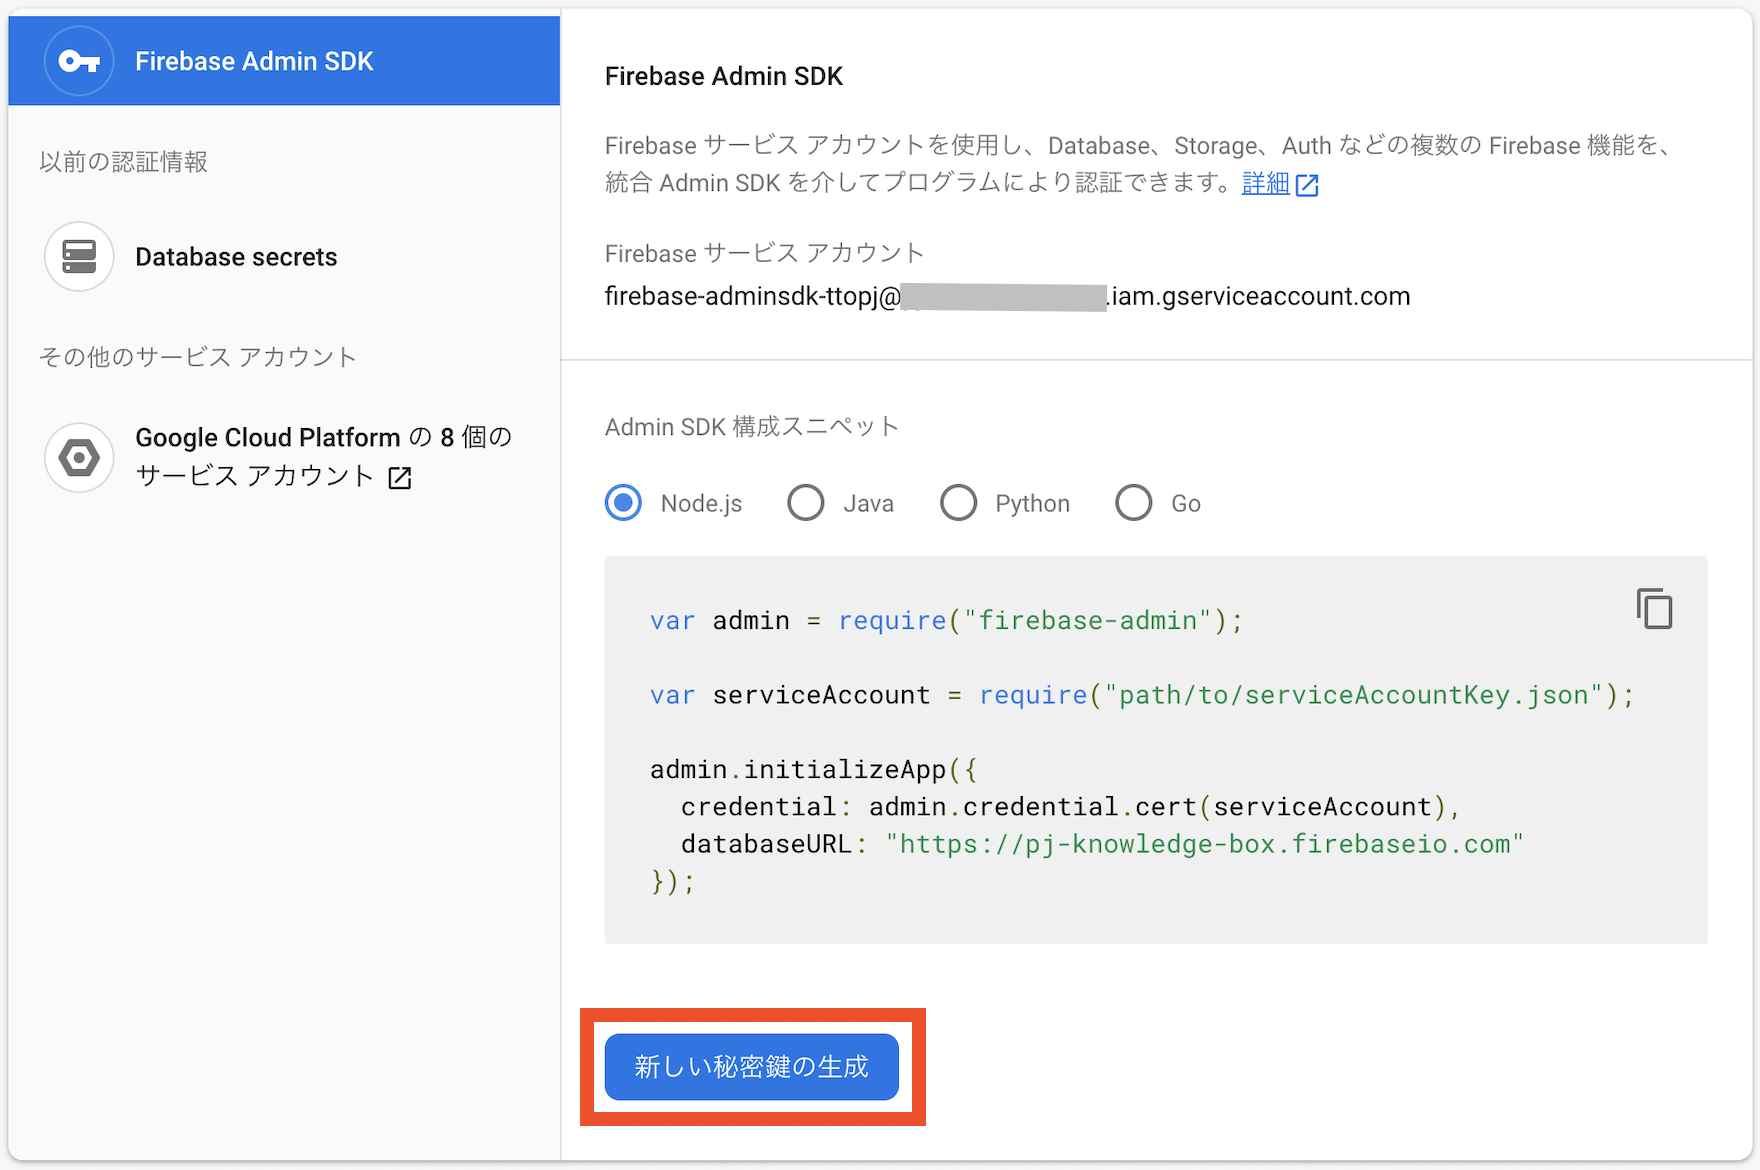
2. 秘密鍵を作成する
3. functions ディレクトリ直下に model ディレクトリを作成し、先程取得した秘密鍵(JSON形式)を配置する
4. Admin SDK 構成スニペットをコピーする
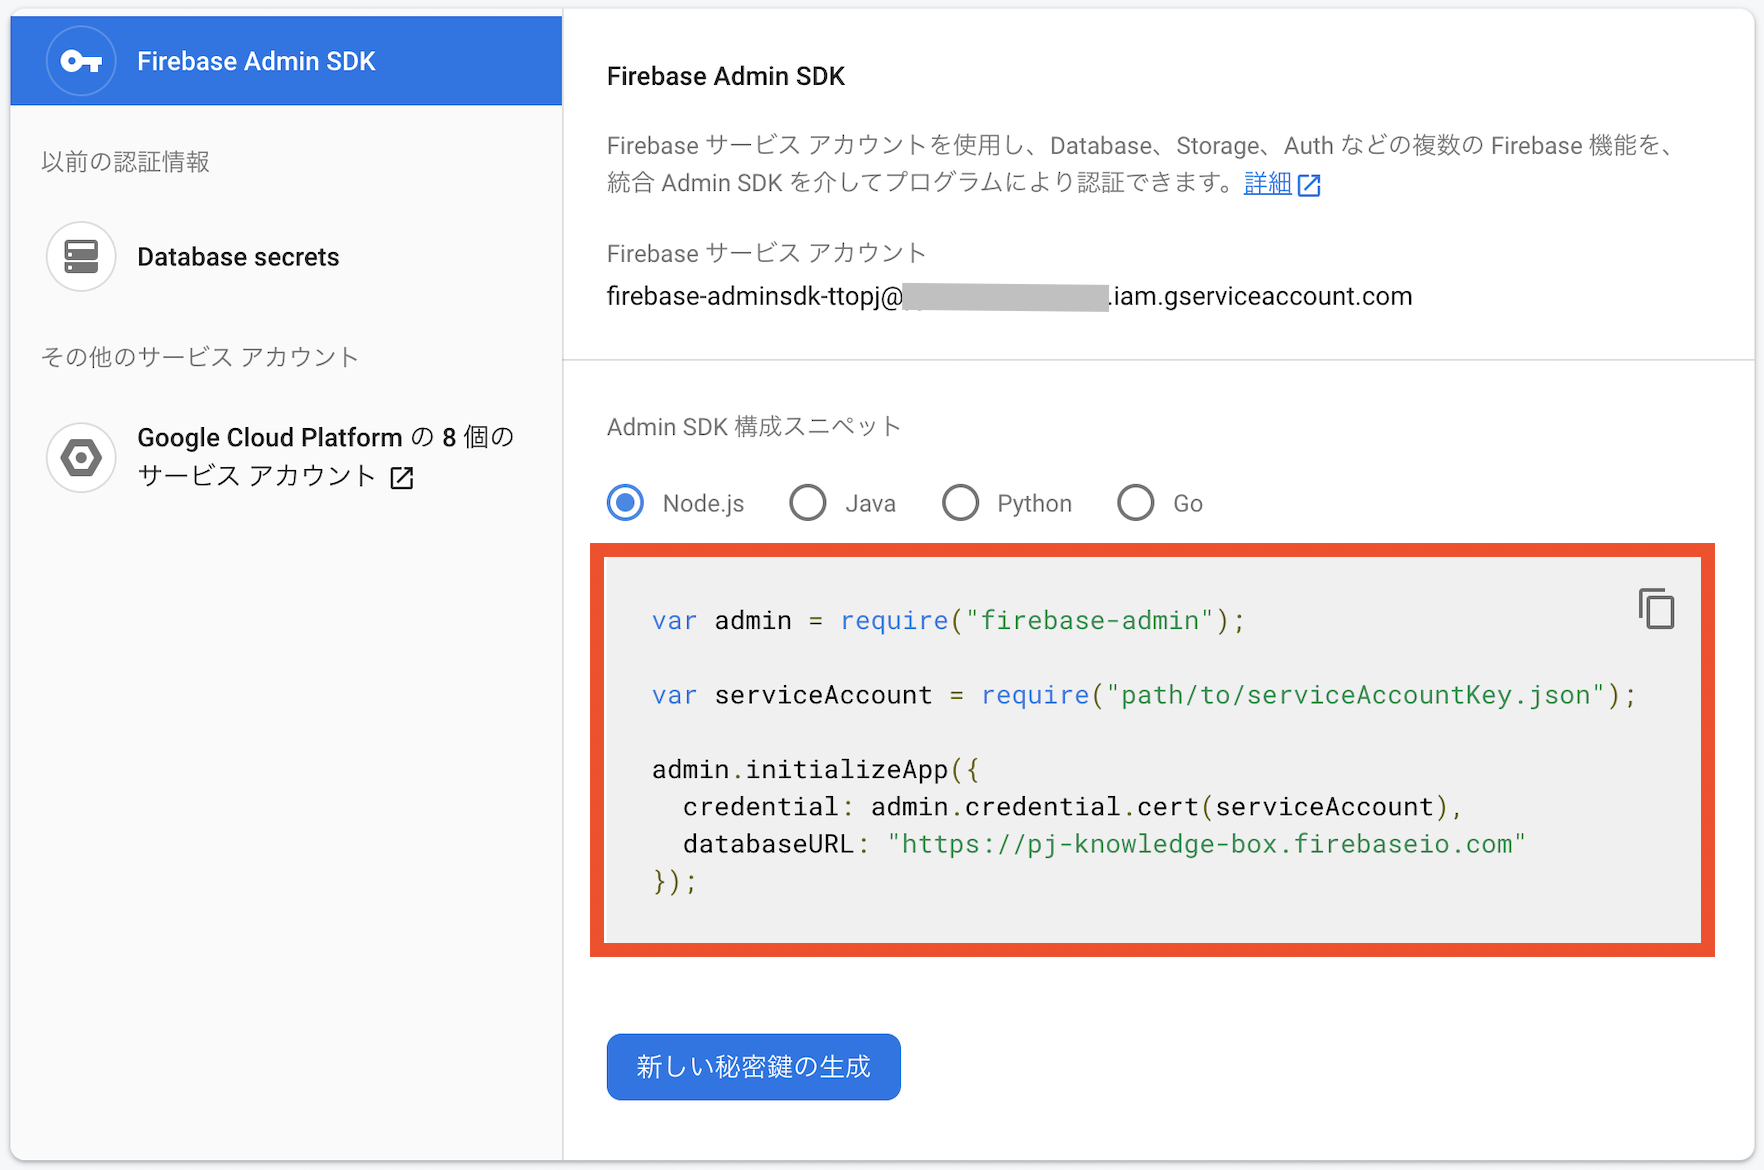
5. functions/model ディレクトリ直下に firebase.js ファイルを作成し、コピーしたスペニットを貼り付ける
6. 貼り付けたスペニットを以下の通りに(2箇所)修正する
-
path/to/serviceAccountKey.jsonを取得した秘密鍵のパスとファイル名に合わせる - 一番下の行に
module.exports = admin;を追記する
var admin = require("firebase-admin");

var serviceAccount = require("path/to/serviceAccountKey.json"); // 1. パスとファイル名を修正

admin.initializeApp({
    credential: admin.credential.cert(serviceAccount),
    databaseURL: "https://test-1-72855.firebaseio.com"
});

module.exports = admin; // 2. module.exports = admin; を追記
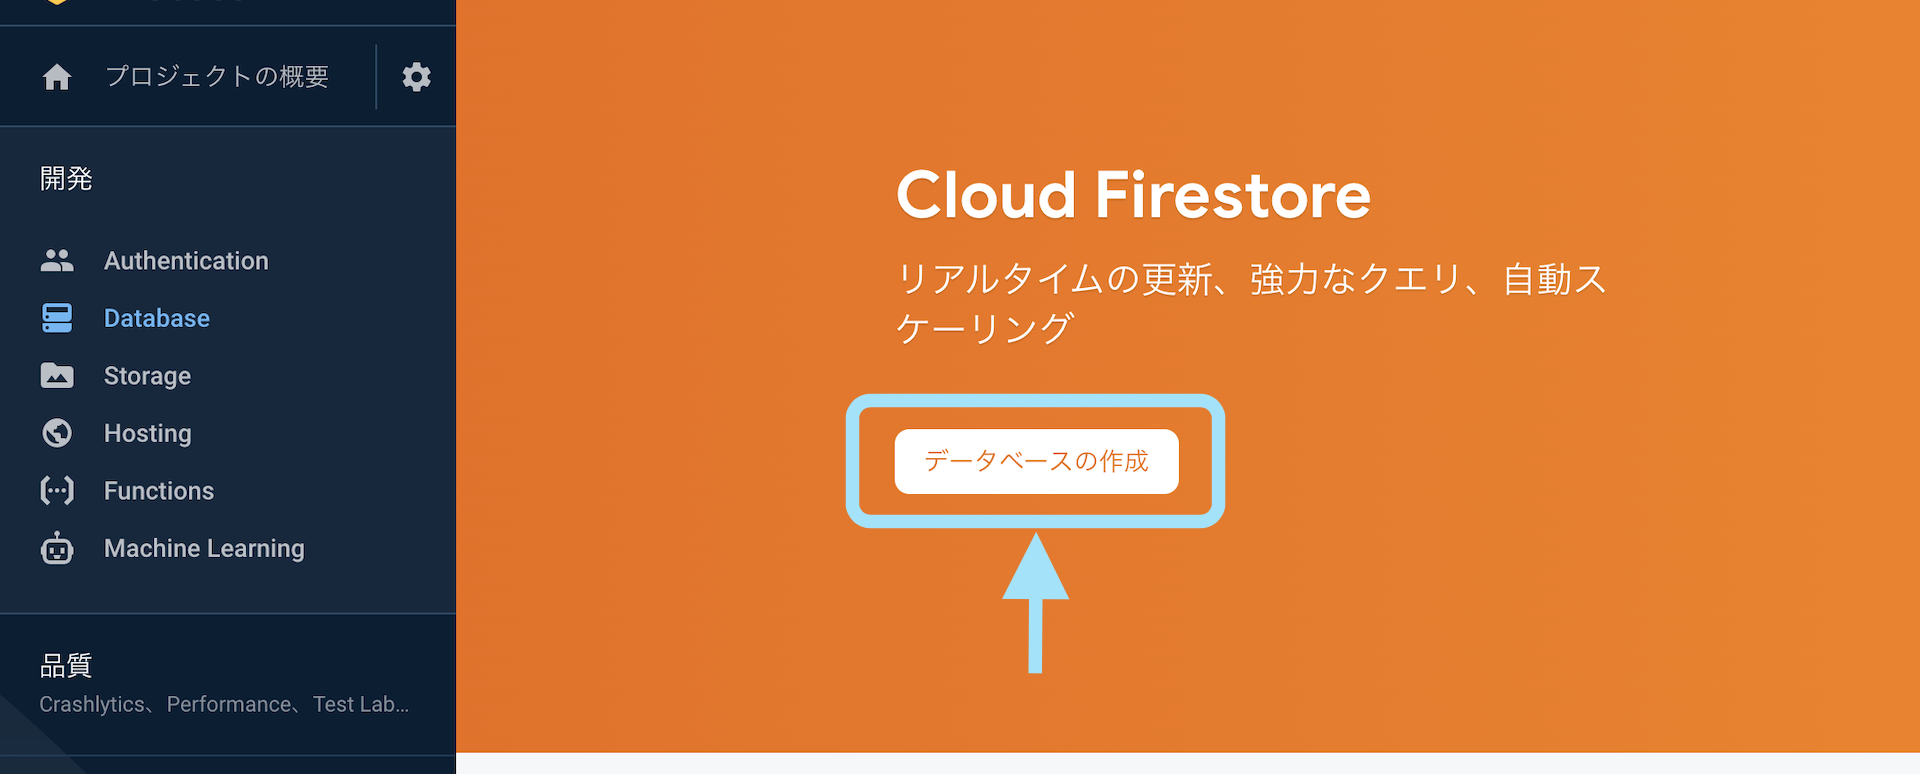
データベースの作成
1. Firebase コンソールの Database メニューのトップから「データベースの作成」を始める
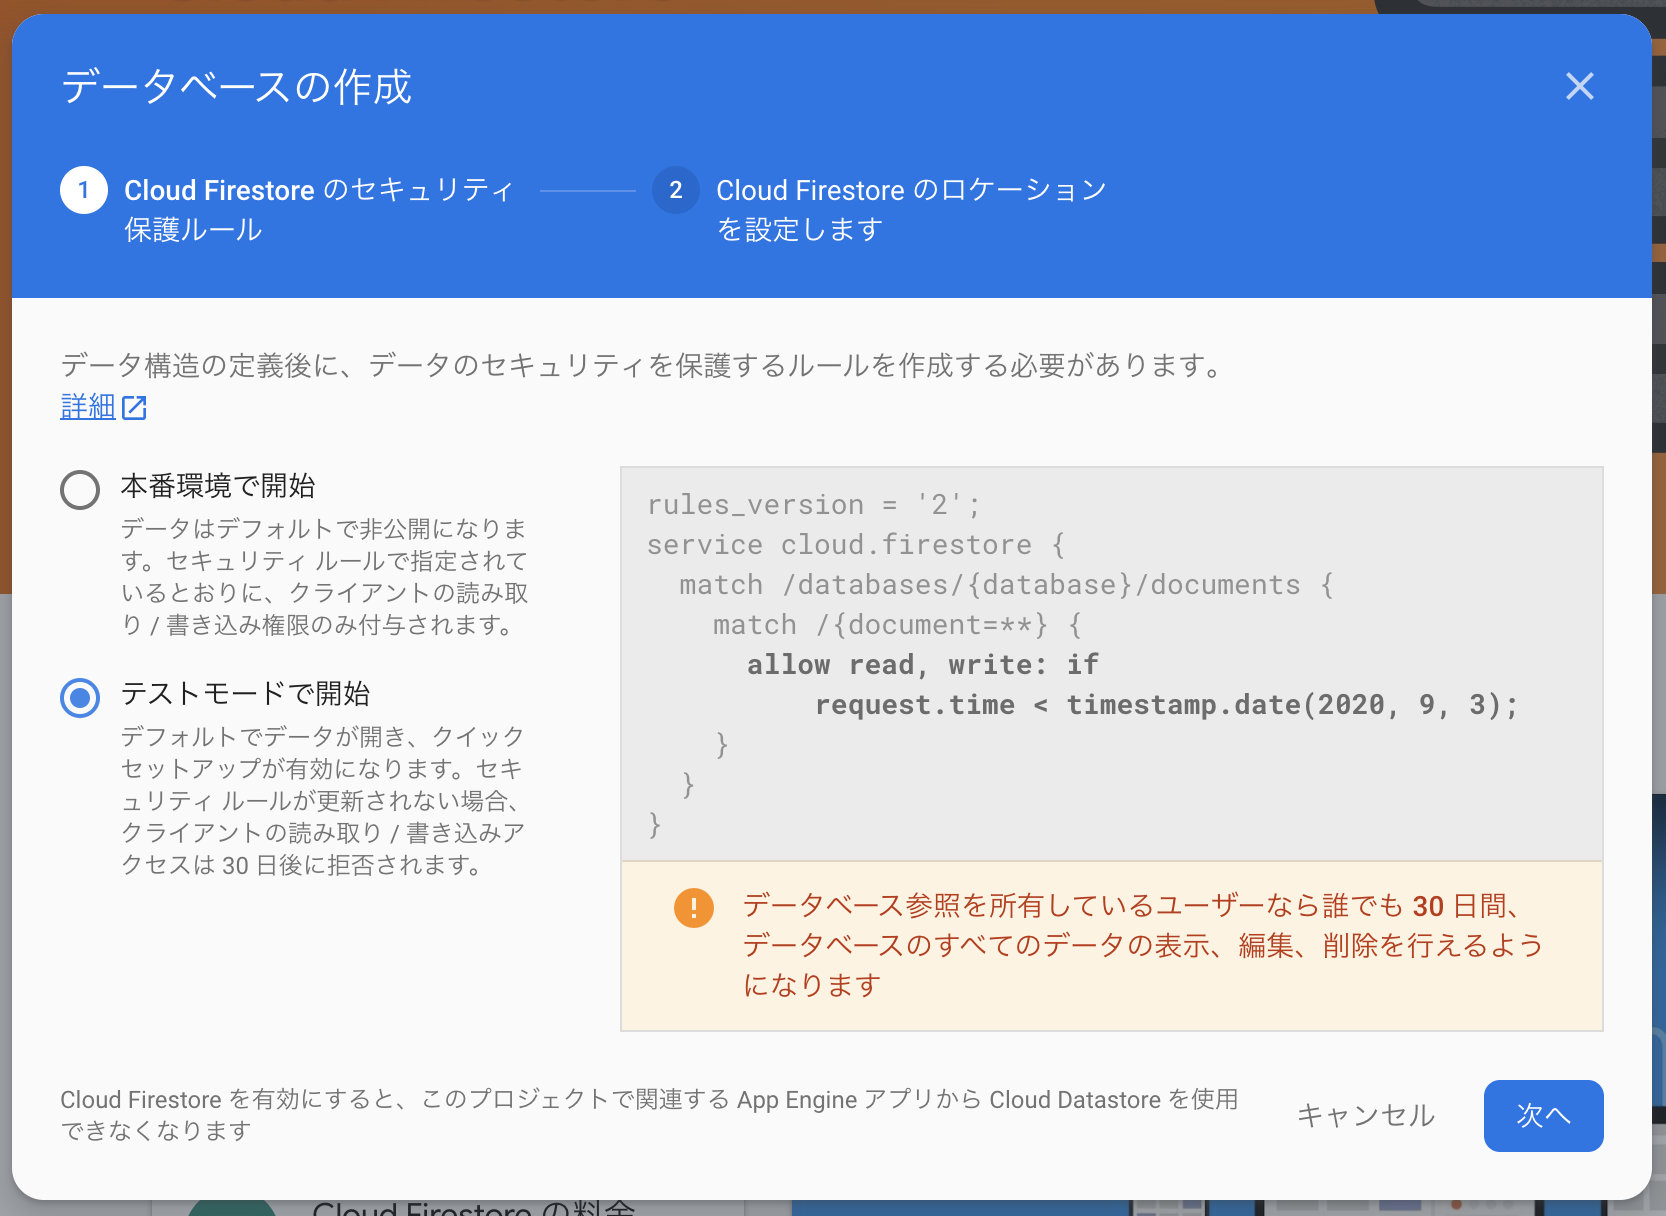
2. 今回は「テストモードで開始」を選択する
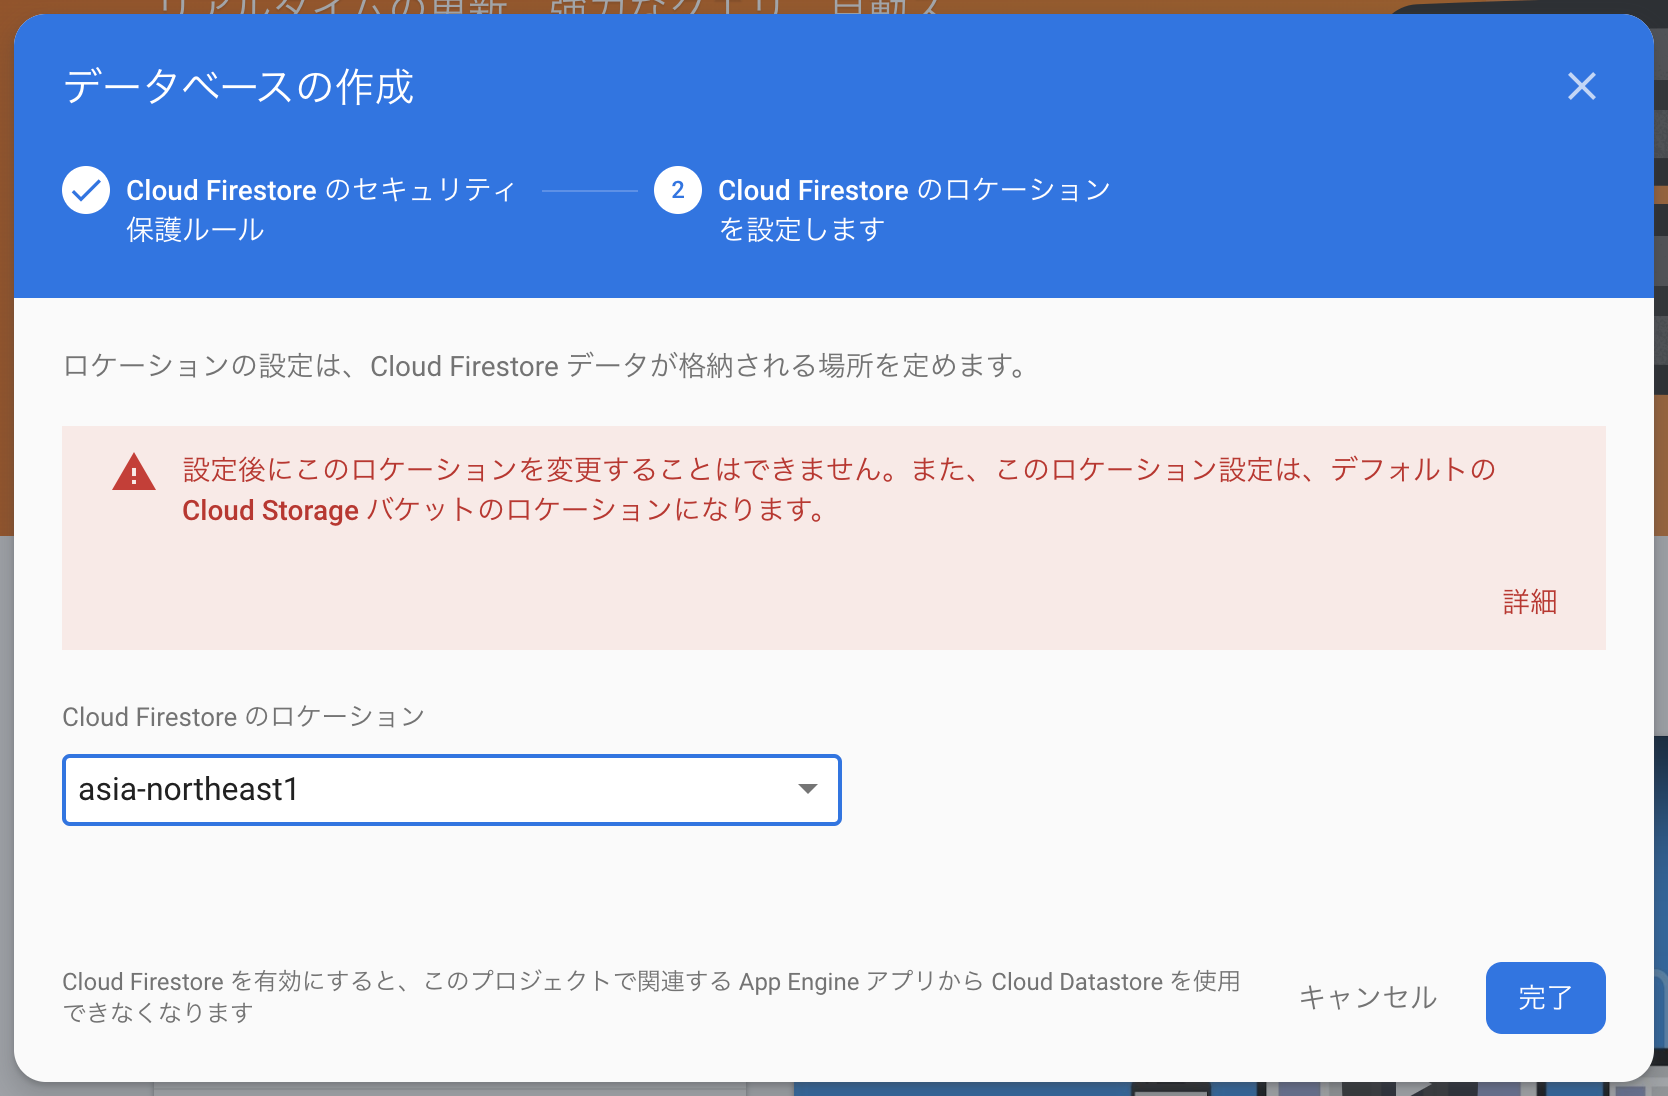
3. ロケーションを選択して完了
→ asia-northeast1 は 東京
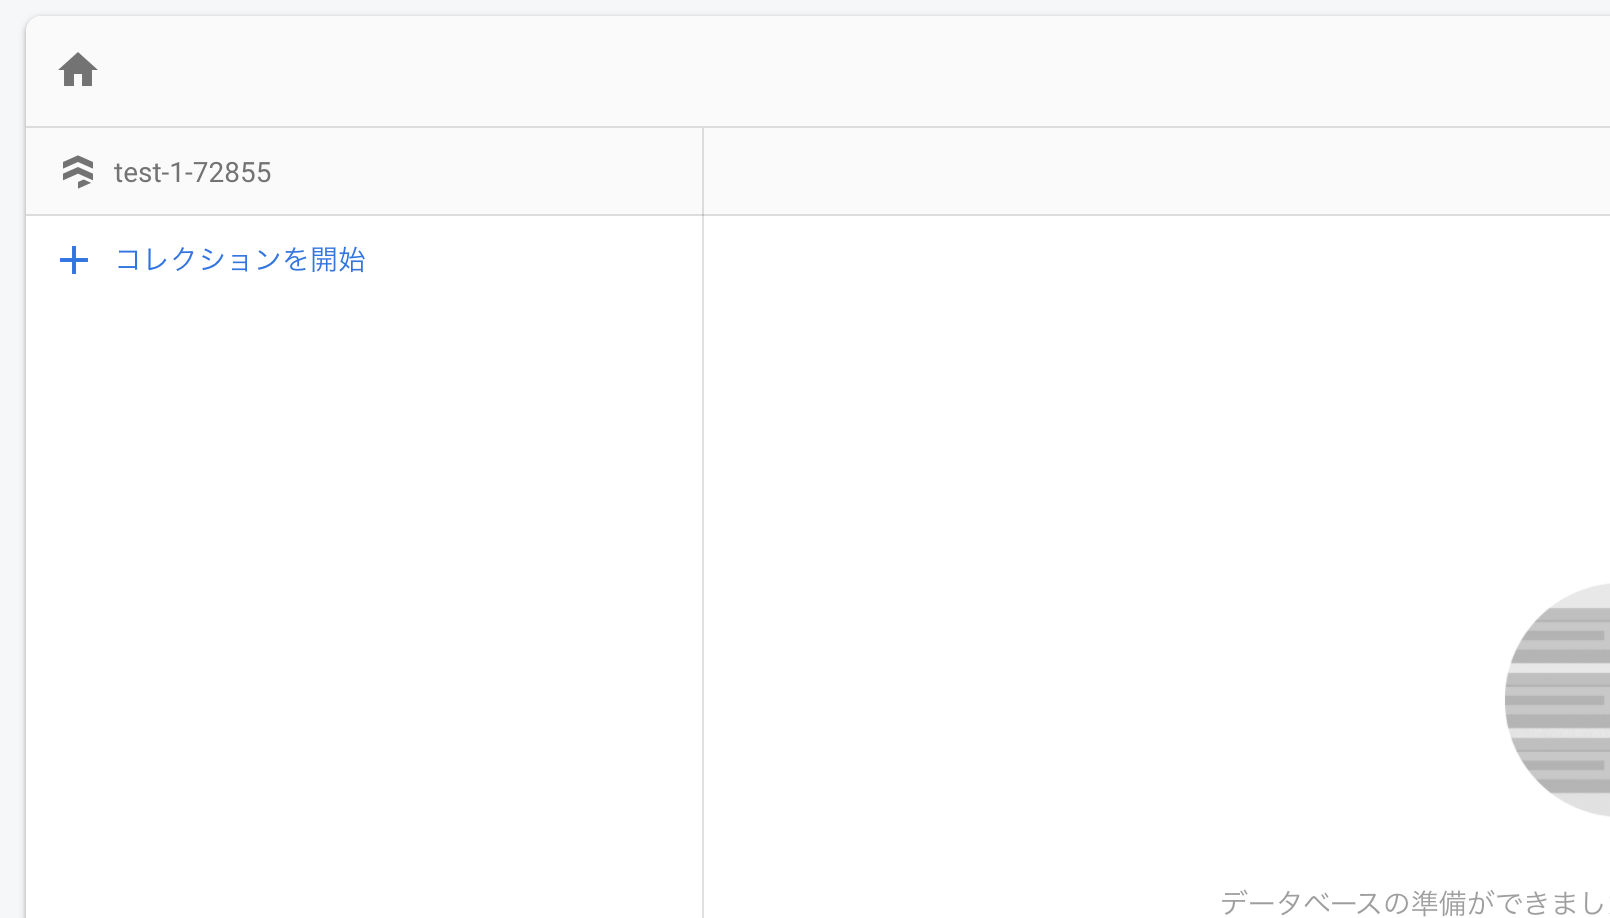
データの準備
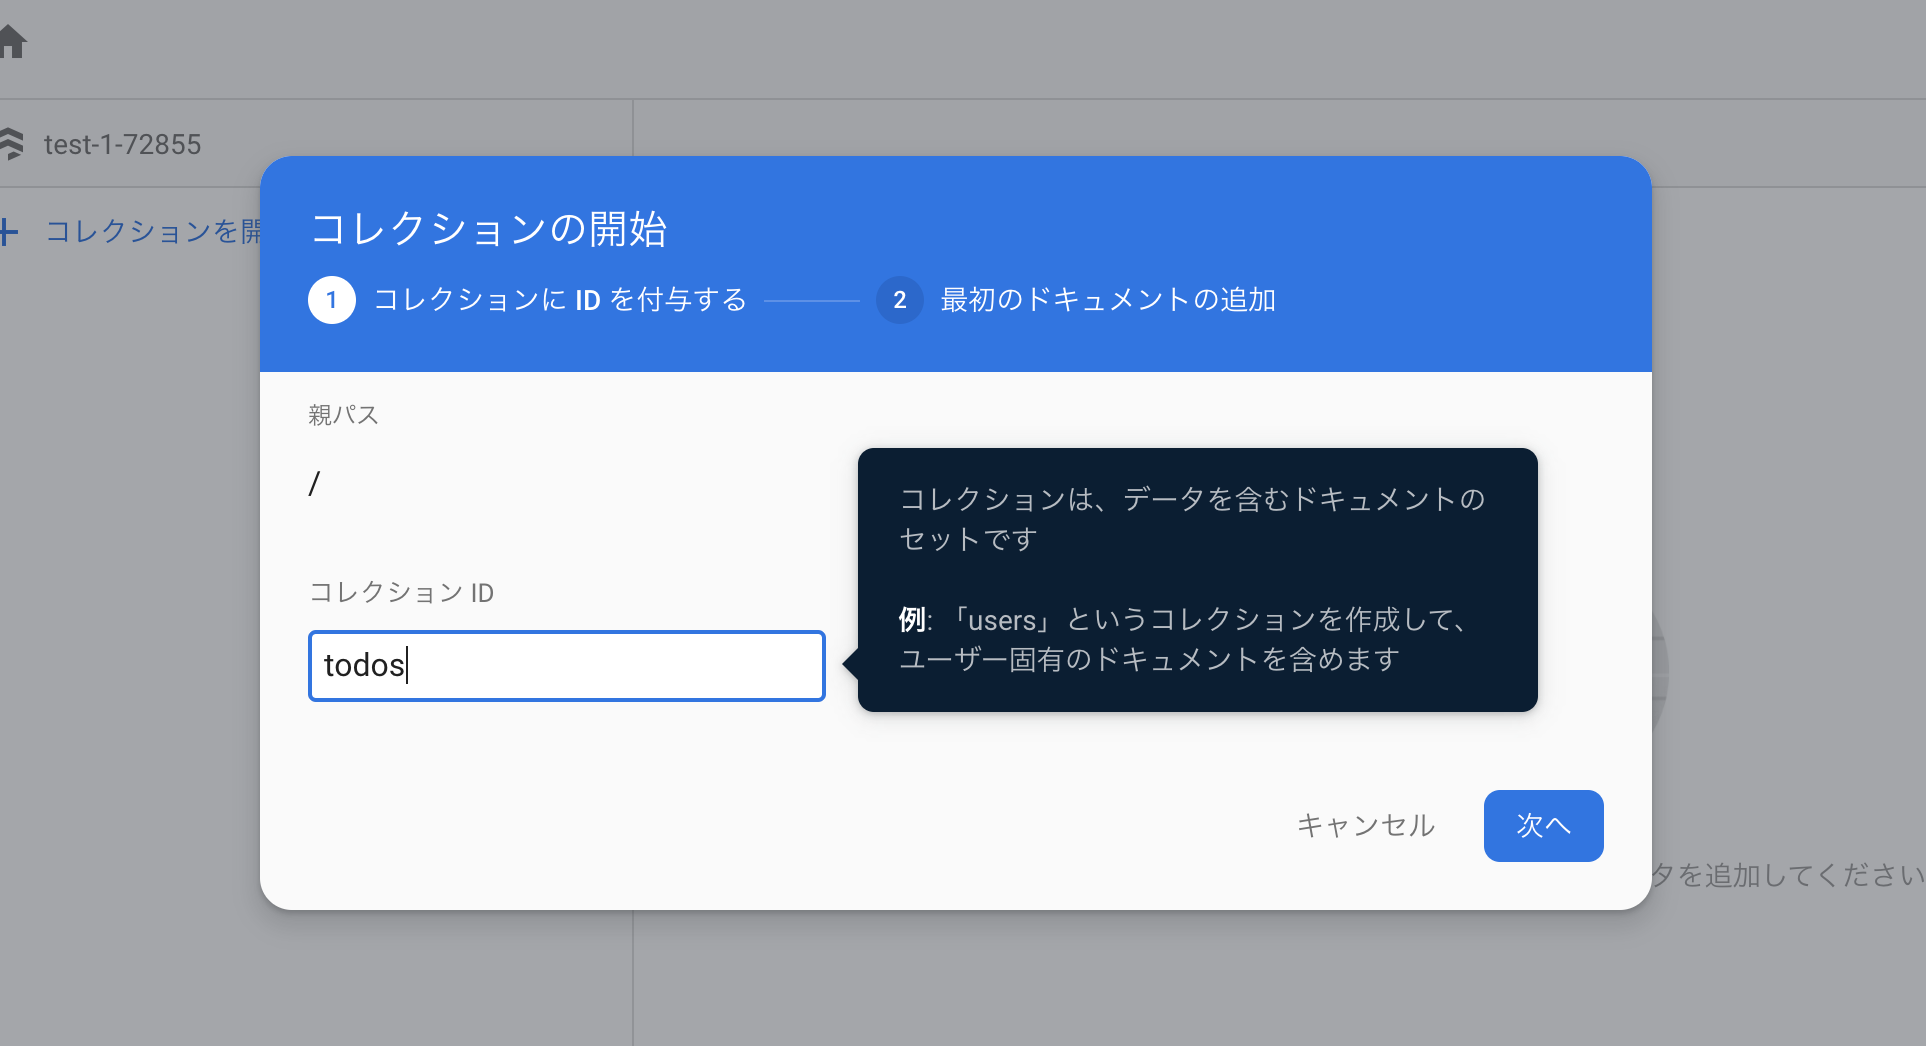
1. コレクションを開始をクリック
2. コレクション ID に todos を入力し次へ
3.ドキュメント ID、フィールド、タイプ、値を入力して保存
- ドキュメント ID : 0001
- フィールド : todo
- タイプ : string
- 値 : テスト

Functions から Firestore の情報を取得する
1. Express と cors の導入
$ cd functions
$ yarn add express cors
$ yarn add -D @types/cors
2. functions/index.ts を以下の内容に修正する
→ todos コレクションの情報を全取得する
import * as functions from 'firebase-functions';
import * as express from 'express';
import * as cors from 'cors';
// @ts-ignore
import * as admin from '../model/firebase';

const db = admin.firestore();
const app = express();

app.use(cors());
app.get('/', async (req, res, next) => {
    try {
        const todoSnapshot = await db.collection('todos').get();
        const todos = todoSnapshot.docs.map((x: any) => {
            return {
                id: x.id,
                data: x.data()
            };
        });
        res.send(todos);
    } catch (e) {
        next(e);
    }
});

const api = functions.https.onRequest(app);
module.exports = {api};
3. ローカルサーバを起動
→ 表示された URL をコピー
$ yarn serve
...
✔  functions[api]: http function initialized (http://localhost:5000/react-firebase/us-central1/api).
4. 別のターミナルから接続確認
- コピーした URL でリクエストを送信
→[{"id":"0001","data":{"todo":"テスト"}}]が返ってくれば成功!
$ curl http://localhost:5000/react-firebase/us-central1/api
[{"id":"0001","data":{"todo":"テスト"}}]
参考記事
以下の記事を参考にさせて頂きました。