背景
WindowsPCをルータとして動作させ、有線接続した別のPCをインターネットに繋げたかったので備忘録かねて。
やりたいこと
無線LANにつないだPC1からLANケーブルを伸ばしPC2と接続、PC2からインターネットへアクセスするために、PC1でルーティングさせたい。
環境
PC1(Windows)側の設定
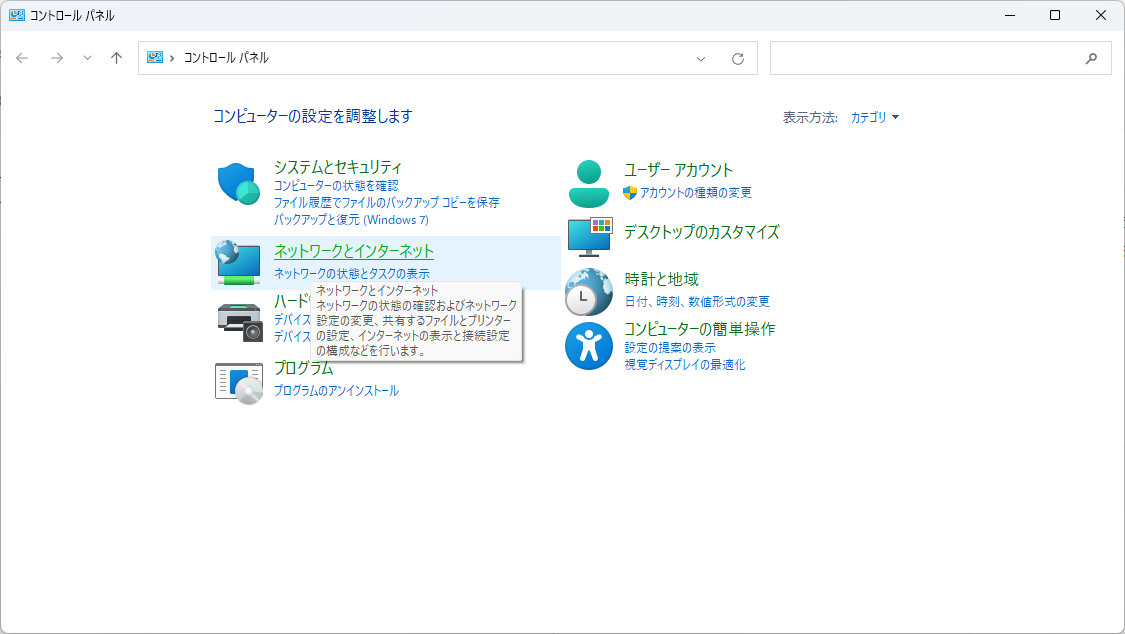
コントロールパネルから「ネットワークとインターネット」を開く

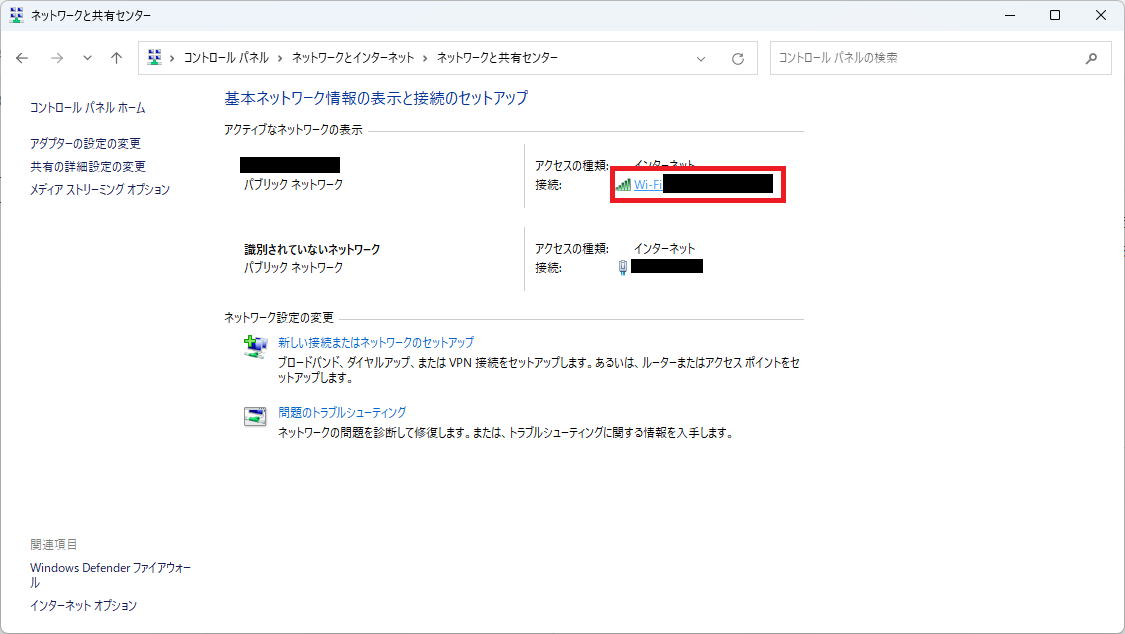
「ネットワークと共有センター」から使用しているWifiを選択

WiFiの「プロパティ」を選択して、「共有」タブの「ネットワークのほかのユーザーに、このコンピュータのインターネット接続をとおしての接続を許可する」にチェックを入れます。(管理者権限が必要になります。)


「OK」を押すと下記のようなホップアップが表示されます。これはPC1とPC2を接続している部分のIPアドレスが192.168.137.1になるということを表しています。(サブネットは/24)
なので、PC2側のNICにも192.168.137.0/24の範囲でアドレスを割り当てる必要があります。
またPC2側のNICのデフォルトゲートウェイは192.168.137.1になります。

もう一つ、ウィンドウズキーとRを同時に押し、「services.msc」を実行します。

サービスから「Routing and Remote Access」を選択し、サービスを開始します。


以上でPC1(Windows)側の設定は終了です。
PC2(Linux)側の設定
PC2側では、NICに192.168.137.2を割り当て、デフォルトゲートウェイをPC1のIPに設定します。
sudo nmcli connection modify {コネクション名} ipv4.address "192.168.137.2"
sudo nmcli connection modify {コネクション名} ipv4.gateway "192.168.137.1"
sudo nmcli connection up {コネクション名}
以上でPC2(Linux)側の設定は終了です。
上記のように設定することでPC1でルーティングさせることができました。
参考資料
