Cloudflare の Private LB
Cloudflare では WARP クライアントからの通信に対して、Private-to-Private な負荷分散サービスを提供できます。
これまで負荷分散サービスは、公開ドメインに紐づけてサービス提供することが多かったですが、公開ドメインがない場合での Cloudflare Zero Trust と組み合わせた Private-to-Private なユースケースにも対応しています。

IP Session Affinity における課題
Cloudflare Zero Trust と内部ロードバランサーを組み合わせた際には、IP Session Affinity に関して、以下のような課題が出る場合があります。
- 1 つの Cloudflare Tunnel ルートに対して、複数の
cloudflaredレプリカで冗長性とスケーラビリティを確保したい
-
ただし、その場合
cloudflaredを経由する通信は SNAT されるため、その背後にある既存の内部ロードバランサーからすると、同じクライアントからの通信であっても、異なるレプリカを経由すると送信元 IP が変わって見える -
既存の内部ロードバランサーで IP Session Affinity を採用している場合、 クライアントからはランダムに
401 Unauthorizedのようなセッションエラーが散見される
解決案
その場合、以下のような解決策が考えられます。
① 既存の内部ロードバランサーで Cookie Session Affinity を採用する
② SNAT フリーな WARP Connector を採用する
③ Cloudflare の Private LB を使うことで、cloudflared レプリカの前段で負荷分散する
特に③では、IP Session Affinity を継続採用しつつ、既存の内部ロードバランサーに関する運用負担も軽減できる構成になっているため、以下のような構成を検証します。
API トークン作成
Cloudflare の Private LB は、API 操作で作成する必要があります。
以下の Permission でアカウント API トークンを作成します。

変数設定
API 操作に必要なパラメータをセットします。
export ACCOUNT_ID='YOUR_ACCOUNT_ID'
export APITOKEN='YOUR_APITOKEN'
前提となる構成
以下のドキュメントに従って、WARP-to-Tunnel のパスで通信できるように構成してください。
その際に作成された Virtual Network の ID を取得して、変数設定します。
curl -sX GET "https://api.cloudflare.com/client/v4/accounts/$ACCOUNT_ID/teamnet/virtual_networks" \
    -H "Authorization: Bearer $APITOKEN" \
    -H "Content-Type: application/json" | jq

export VNET_ID='YOUR_VNET_ID'

Monitor 作成
まずヘルスチェックをおこなうための Monitor を、以下のコマンドで作成します。
HTTP ポート 80 に対して、パス / への GET リクエストのレスポンスコードが 200 であることを想定します。
curl -sX POST "https://api.cloudflare.com/client/v4/accounts/$ACCOUNT_ID/load_balancers/monitors" \
    -H "Authorization: Bearer $APITOKEN" \
    -H "Content-Type: application/json" \
    -d '{
      "description": "HTTP Monitor",
      "type": "http",
      "port": 80,
      "interval": 60,
      "retries": 2,
      "timeout": 5,
      "expected_body": "",
      "expected_codes": "200",
      "follow_redirects": false,
      "allow_insecure": false,
      "probe_zone": "",
      "path": "/",
      "header": {},
      "method": "GET"
    }'| jq
Monitor 取得
作成した Monitor は以下のコマンドで取得できます。
取得した Monitor の ID を変数設定して使用します。
curl -sX GET "https://api.cloudflare.com/client/v4/accounts/$ACCOUNT_ID/load_balancers/monitors" \
    -H "Authorization: Bearer $APITOKEN" \
    -H "Content-Type: application/json" | jq

export MONITOR_ID='YOUR_MONITOR_ID'
Pool の作成
次に、負荷分散先となるオリジンプールを Monitor と紐づけて作成します。
オリジンの IP アドレスは Virtual Network 内で定義されたルートの範囲内にあるものを使用します。
origin_steering の policy を hash にすることで IP Session Affinity となります。
また、1つのプール内で同じ重みづけをすることで、Active-Active な負荷分散を想定します。
Create a load balancer with a single pool (
primary) with multiple endpoints (endpoint-1andendpoint-2) and set the sameWeightfor each endpoint.
export MONITOR_ID='YOUR_MONITOR_ID'
export VNET_ID='YOUR_VNET_ID'

curl -sX POST "https://api.cloudflare.com/client/v4/accounts/$ACCOUNT_ID/load_balancers/pools" \
    -H "Authorization: Bearer $APITOKEN" \
    -H "Content-Type: application/json" \
    -d '{
      "description": "HTTP-Pool",
      "enabled": true,
      "minimum_origins": 1,
      "monitor": "'$MONITOR_ID'",
      "name": "HTTP-Pool",
      "check_regions": [
        "NEAS"
      ],
      "origin_steering": {
        "policy": "hash"
      },
      "origins": [
        {
          "name": "HTTP-Origin-1",
          "address": "10.148.0.10",
          "enabled": true,
          "weight": 1,
          "virtual_network_id": "'$VNET_ID'"
        },
        {
          "name": "HTTP-Origin-2",
          "address": "10.148.0.20",
          "enabled": true,
          "weight": 1,
          "virtual_network_id": "'$VNET_ID'"
        }
      ]
    }' | jq
Pool の取得
作成した Pool は以下のコマンドで取得できます。
取得した Pool の ID を変数設定して使用します。
curl -sX GET "https://api.cloudflare.com/client/v4/accounts/$ACCOUNT_ID/load_balancers/pools" \
    -H "Authorization: Bearer $APITOKEN" \
    -H "Content-Type: application/json" | jq
Account-level Private LB 作成
最後に、Account-level の Private LB を Pool と紐づけて作成します。
fallback_pool と default_pools には、同じ Pool を設定していますが、別途メンテナンスページを表示する Pool を用意して設定することもできます。
export POOL_ID='YOUR_POOL_ID'

curl -sX POST "https://api.cloudflare.com/client/v4/accounts/$ACCOUNT_ID/load_balancers" \
    -H "Authorization: Bearer $APITOKEN" \
    -H "Content-Type: application/json" \
    -d '{
      "description": "HTTP-Private-LB",
      "proxied": true,
      "enabled": true,
      "session_affinity": "none",
      "steering_policy": "off",
      "fallback_pool": "'$POOL_ID'",
      "default_pools": [
        "'$POOL_ID'"
      ]
    }' | jq
Account-level Private LB 取得
作成した Private LB は以下のコマンドで取得できます。
取得した Private LB の ID を変数設定して使用します。
curl -sX GET "https://api.cloudflare.com/client/v4/accounts/$ACCOUNT_ID/load_balancers" \
    -H "Authorization: Bearer $APITOKEN" \
    -H "Content-Type: application/json" | jq
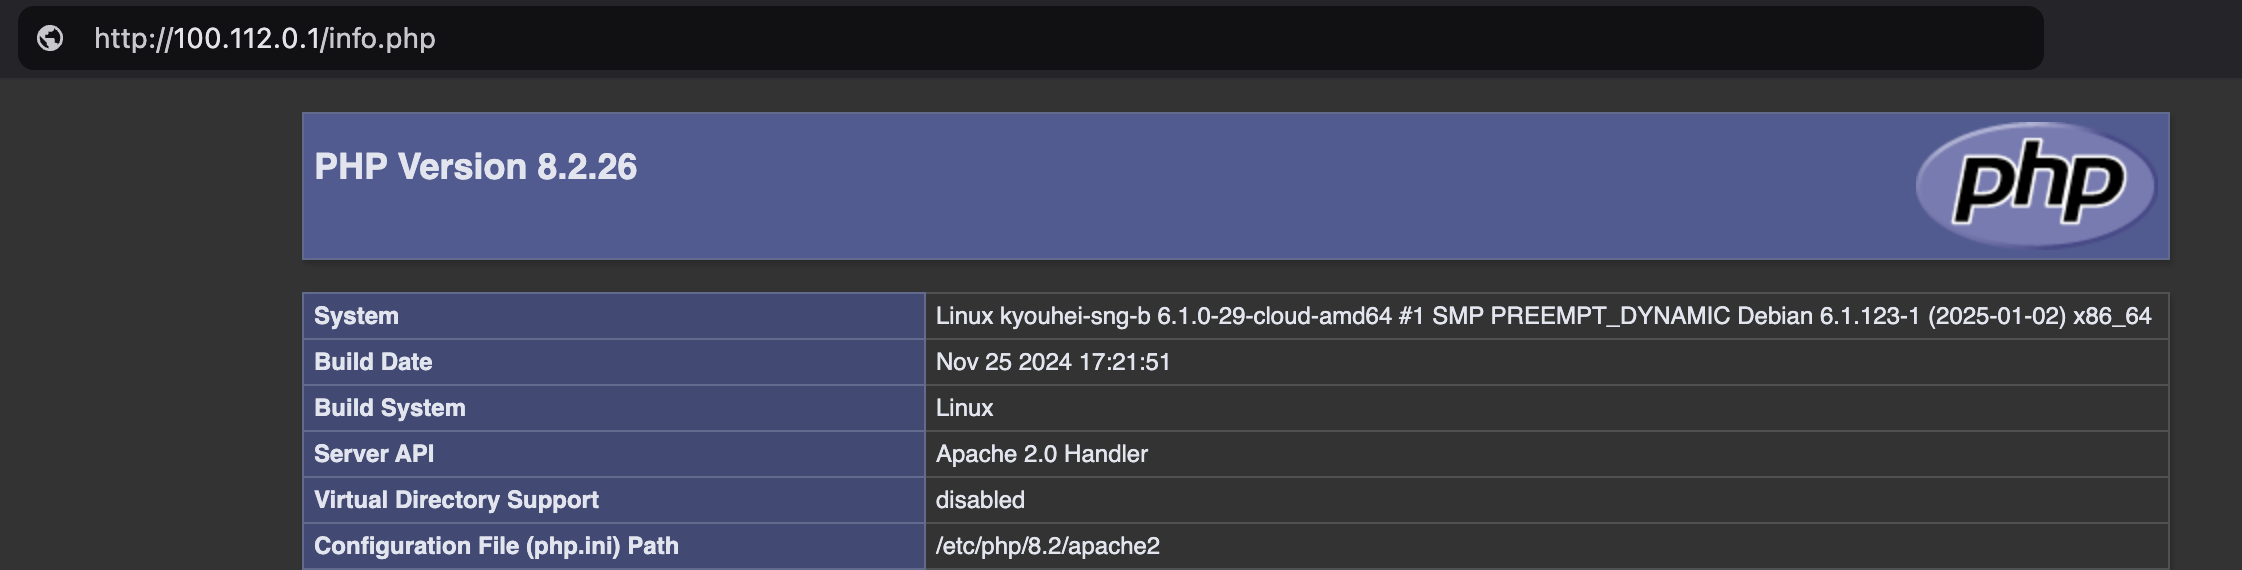
Private LB VIP 取得
以下のように 100.112.0.x の IP アドレスで、VIP が作成されます。
curl -sX GET "https://api.cloudflare.com/client/v4/accounts/$ACCOUNT_ID/teamnet/routes" \
    -H "Authorization: Bearer $APITOKEN" \
    -H "Content-Type: application/json" | jq -r '.result[] | select(.tun_type == "load_balancer" and .deleted_at == null)'
{
  "id": "97d99c24-aa91-49dd-b156-853bd3c0514e",
  "tun_type": "load_balancer",
  "network": "100.112.0.1/32",
  "tunnel_id": "312ce628-b249-4eaf-8efd-cb01afefc6f9",
  "comment": "automatically generated route for load balancer",
  "created_at": "2025-01-30T17:40:19.722081Z",
  "deleted_at": null,
  "virtual_network_id": "6ea83ca4-4272-4e8b-8443-7c34e69cb7bf",
  "tunnel_name": "load-balancing-tunnel-for-824cfe8a1f627de2e9481200a789a024",
  "virtual_network_name": "default"
}
動作確認
WARP = ON の状態で、Private LB 経由でページが表示されることを確認できました。
内部 DNS
100.112.0.x と内部の FQDN www.example.internal と紐づけるには、以下のいづれかの方法で対応可能です。
- DNS policies - Override · Cloudflare Zero Trust docs
- Resolver policies · Cloudflare Zero Trust docs
- Local Domain Fallback · Cloudflare Zero Trust docs
- Cloudflare で Internal DNS を使う #dns - Qiita
まとめ
Cloudflare の Private LB を使えば、IP Session Affinity を継続採用しつつ、既存の内部ロードバランサーに関する運用負担も軽減できます。
オンプレのネットワーク機器を含めた構成を検討する良い機会になればと思います。