目的
Google Cloud で VyOS を使おうと検索すると、以下の方法が見つかりますが、月額 $100 するのでちょっとした検証には使いづらい。
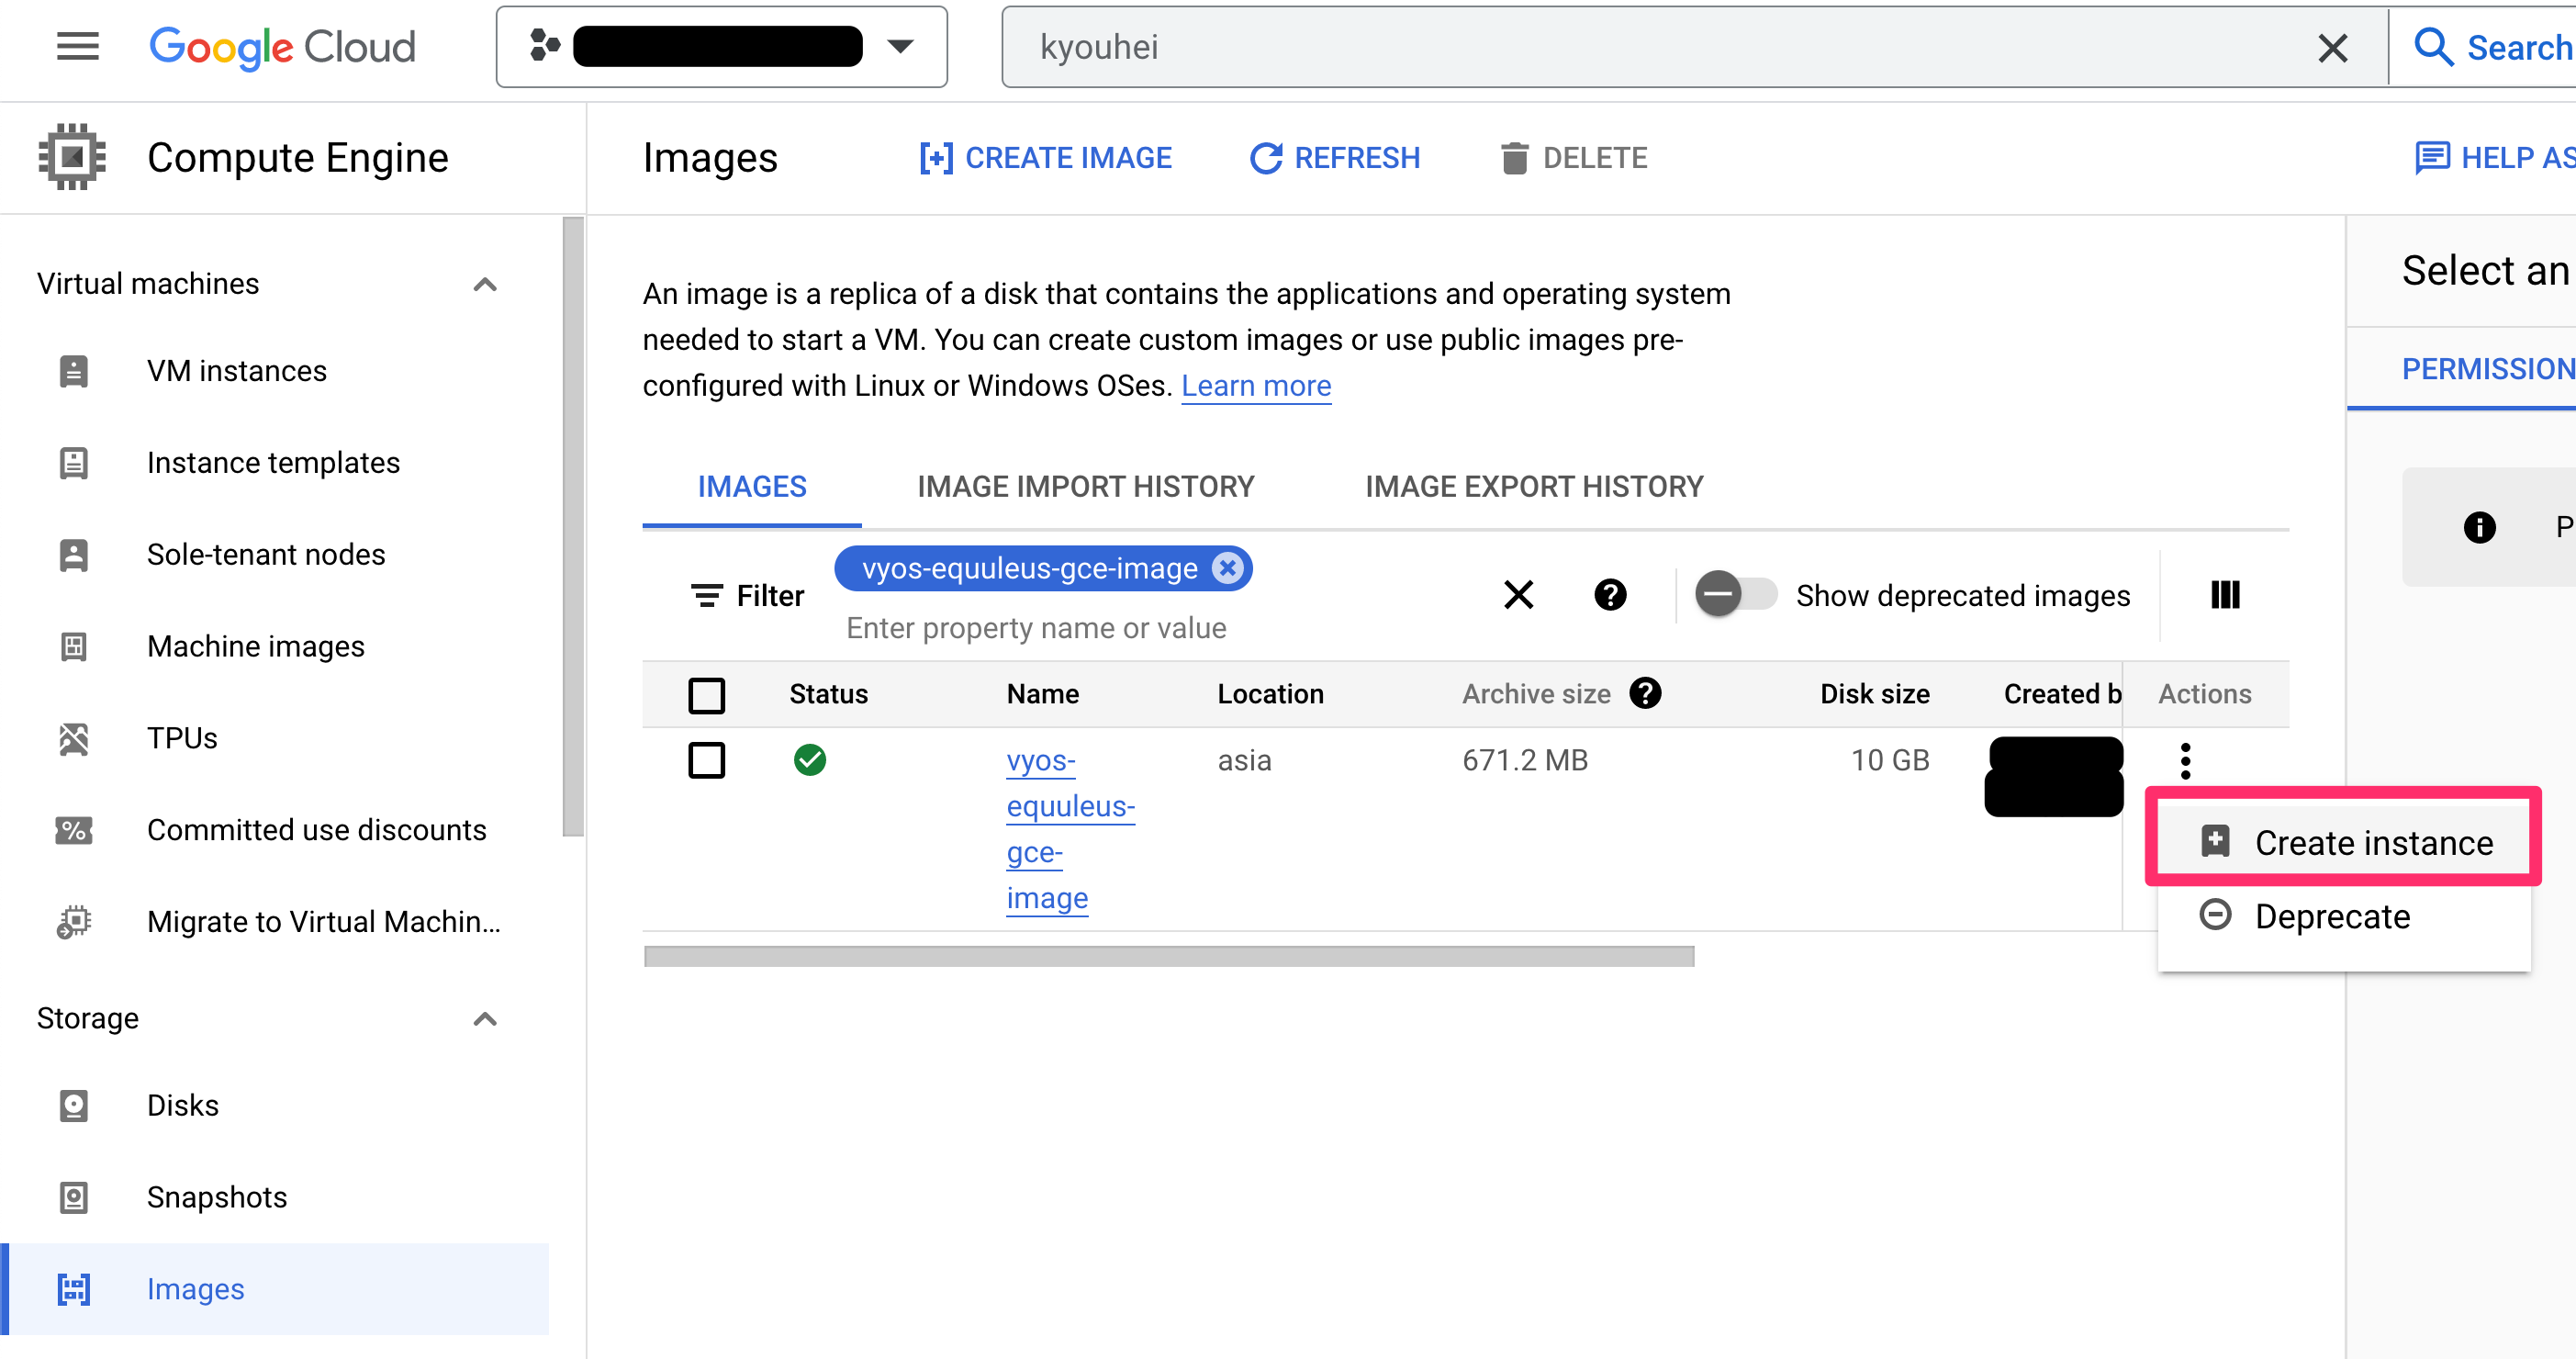
と思って調べると、同じことを思って Google Compute Engine 向けに VyOS 1.3.x (equuleus) のカスタムイメージを公開してくれている人を見つけたのでデプロイまでしてみます。
ダウンロード
以下のコマンドで約 670 MBのカスタムイメージをダウンロードします。
curl -L -o ~/Downloads/vyos-equuleus-gce-image.tar.gz https://github.com/albertogeniola/terraform-gce-vyos/releases/download/20221003124535/vyos-equuleus-gce-image.tar.gz
Google Cloud Storage にアップロード
以下のコマンドで Google Cloud Storage にアップロードします。
export BUCKET_NAME='YOUR_BUCKET'
gcloud storage cp ~/Downloads/vyos-equuleus-gce-image.tar.gz gs://$BUCKET_NAME
Google Compute Engine へのイメージのインポート
以下のコマンドで Google Compute Engine へイメージをインポートします。
その際に MULTI_IP_SUBNET を有効にしておきます。
gcloud compute images create vyos-equuleus-gce-image-multi-ip-subnet \
--source-uri gs://$BUCKET_NAME/vyos-equuleus-gce-image.tar.gz \
--guest-os-features MULTI_IP_SUBNET
- Google Cloud (GCP)におけるネットワーキングの必修ポイントとは? | 株式会社トップゲート
ちなみに、サブネットの中に作る VM は全て /32 の単位でサブネットマスクが払い出されます。ただし、ソフトウェアの種類によっては /32 では正常に動かない場合がありますが、この時は MULTI_IP_SUBNET を定義することで単位を調整できます。
カスタムイメージを指定して Google Compute Engine として VyOS をデプロイ
-
カスタムイメージを指定する
-
-
So far, the VyOS image has been tested only on n2 or n1 instance families. Other instance families might not be supported.
-
以外は、通常の Google Compute Engine のデプロイと同じです。
コンソール
gcloud コマンド
VM のネクストホップとして機能させるためには --can-ip-forward の有効化が必要です。
### gcloud compute instances create VM_NAME --address=IP_ADDRESS

PROJECT='your-project'
ZONE=asia-northeast2-b
SUBNET=kyouhei-osaka-mwan
NAME=kyouhei-osaka-vyos
IPADDR=x.x.x.x

gcloud compute instances create $NAME \
--project=$PROJECT --zone=$ZONE \
--machine-type=n1-standard-1 \
--network-interface=address=$IPADDR,network-tier=PREMIUM,subnet=$SUBNET \
--maintenance-policy=MIGRATE \
--service-account=xxx-compute@developer.gserviceaccount.com \
--scopes=https://www.googleapis.com/auth/devstorage.read_only,https://www.googleapis.com/auth/logging.write,https://www.googleapis.com/auth/monitoring.write,https://www.googleapis.com/auth/servicecontrol,https://www.googleapis.com/auth/service.management.readonly,https://www.googleapis.com/auth/trace.append \
--create-disk=auto-delete=yes,boot=yes,device-name=$NAME,image=projects/$PROJECT/global/images/vyos-equuleus-gce-image,mode=rw,size=10,type=projects/$PROJECT/zones/$ZONE/diskTypes/pd-balanced \
--reservation-affinity=any --can-ip-forward

Created
NAME                ZONE               MACHINE_TYPE   PREEMPTIBLE  INTERNAL_IP  EXTERNAL_IP   STATUS
kyouhei-osaka-vyos  asia-northeast2-b  n1-standard-1               10.202.0.4   xx.xx.xx.xxx  RUNNING
ログインしてデフォルト設定を確認
デプロイ後は gcloud compute ssh でログインできます。
% gcloud compute ssh kyouhei-osaka-vyos
Welcome to VyOs
=========================================================================
Please note the following:
    * This image is integrated with Google Ops Agent and supports metadata
ssh-keys login;
    * You can still manage vyos configuration using the Serial Console,
logging in as vyos credentials: vyos/vyos;
    * Note: vyos ssh plaintext/password is disabled.

Built using https://github.com/albertogeniola/terraform-gce-vyos
=========================================================================
kyouhei@kyouhei-osaka-vyos:~$
設定作業をするときには vyos ユーザに切り替えておこないます。
su vyos # パスワードは vyos
初期設定は以下のようになっています。
$ show configuration
interfaces {
    ethernet eth0 {
        address dhcp
    }
    loopback lo {
    }
}
service {
    ssh {
        disable-password-authentication
        listen-address 0.0.0.0
        port 22
    }
}
system {
    config-management {
        commit-revisions 100
    }
    conntrack {
        modules {
            ftp
            h323
            nfs
            pptp
            sip
            sqlnet
            tftp
        }
    }
    console {
        device ttyS0 {
            speed 38400
        }
    }
    host-name vyos-gce
    login {
        banner {
            post-login "Welcome to VyOs\n=========================================================================\nPlease note the following:\n    * This image is integrated with Google Ops Agent and supports metadata\nssh-keys login;\n    * You can still manage vyos configuration using the Serial Console,\nlogging in as vyos credentials: vyos/vyos;\n    * Note: vyos ssh plaintext/password is disabled.\n\nBuilt using https://github.com/albertogeniola/terraform-gce-vyos\n========================================================================="
        }
        user admin {
        }
        user vyos {
            authentication {
                encrypted-password ****************
                plaintext-password ****************
            }
        }
    }
    name-server 169.254.169.254
    name-server 8.8.8.8
    name-server 8.8.4.4
    ntp {
        server time1.vyos.net {
        }
        server time2.vyos.net {
        }
        server time3.vyos.net {
        }
    }
    static-host-mapping {
        host-name metadata.google.internal {
            inet 169.254.169.254
        }
    }
    syslog {
        global {
            facility all {
                level info
            }
            facility protocols {
                level debug
            }
        }
    }
}
グローバル IP 確認
$ curl -4 -s https://cloudflare.com/cdn-cgi/trace | grep ip | awk -F'=' '{print $2}'
xx.xx.xx.xxx
チューニング
エラー表示を抑制するために、以下のコマンドを実行します。
sudo sh -c 'echo 127.0.1.1 $(hostname) >> /etc/hosts'
Terraform を使っていないので、以下のサービスは停止・自動起動無効化します。
sudo systemctl stop conf_reloader.service
sudo systemctl disable conf_reloader.service
OS Config agent も無効化します。
sudo systemctl stop google-osconfig-agent
sudo systemctl disable google-osconfig-agent
Let's VyOS
ここからは configure して set コマンドを実行 --> commit して save するなど、一連の VyOS 設定を実施できます!
自分の書いた懐かしい記事を振り返りつつ、この VyOS を使って Cloudflare Magic WAN に接続する等、進めてみたいと思います。
