0
0

Delete article

Deleted articles cannot be recovered.

Draft of this article would be also deleted.

Are you sure you want to delete this article?

More than 5 years have passed since last update.

Processingで3次元空間に画像を貼り付ける方法

Last updated at Posted at 2017-12-01

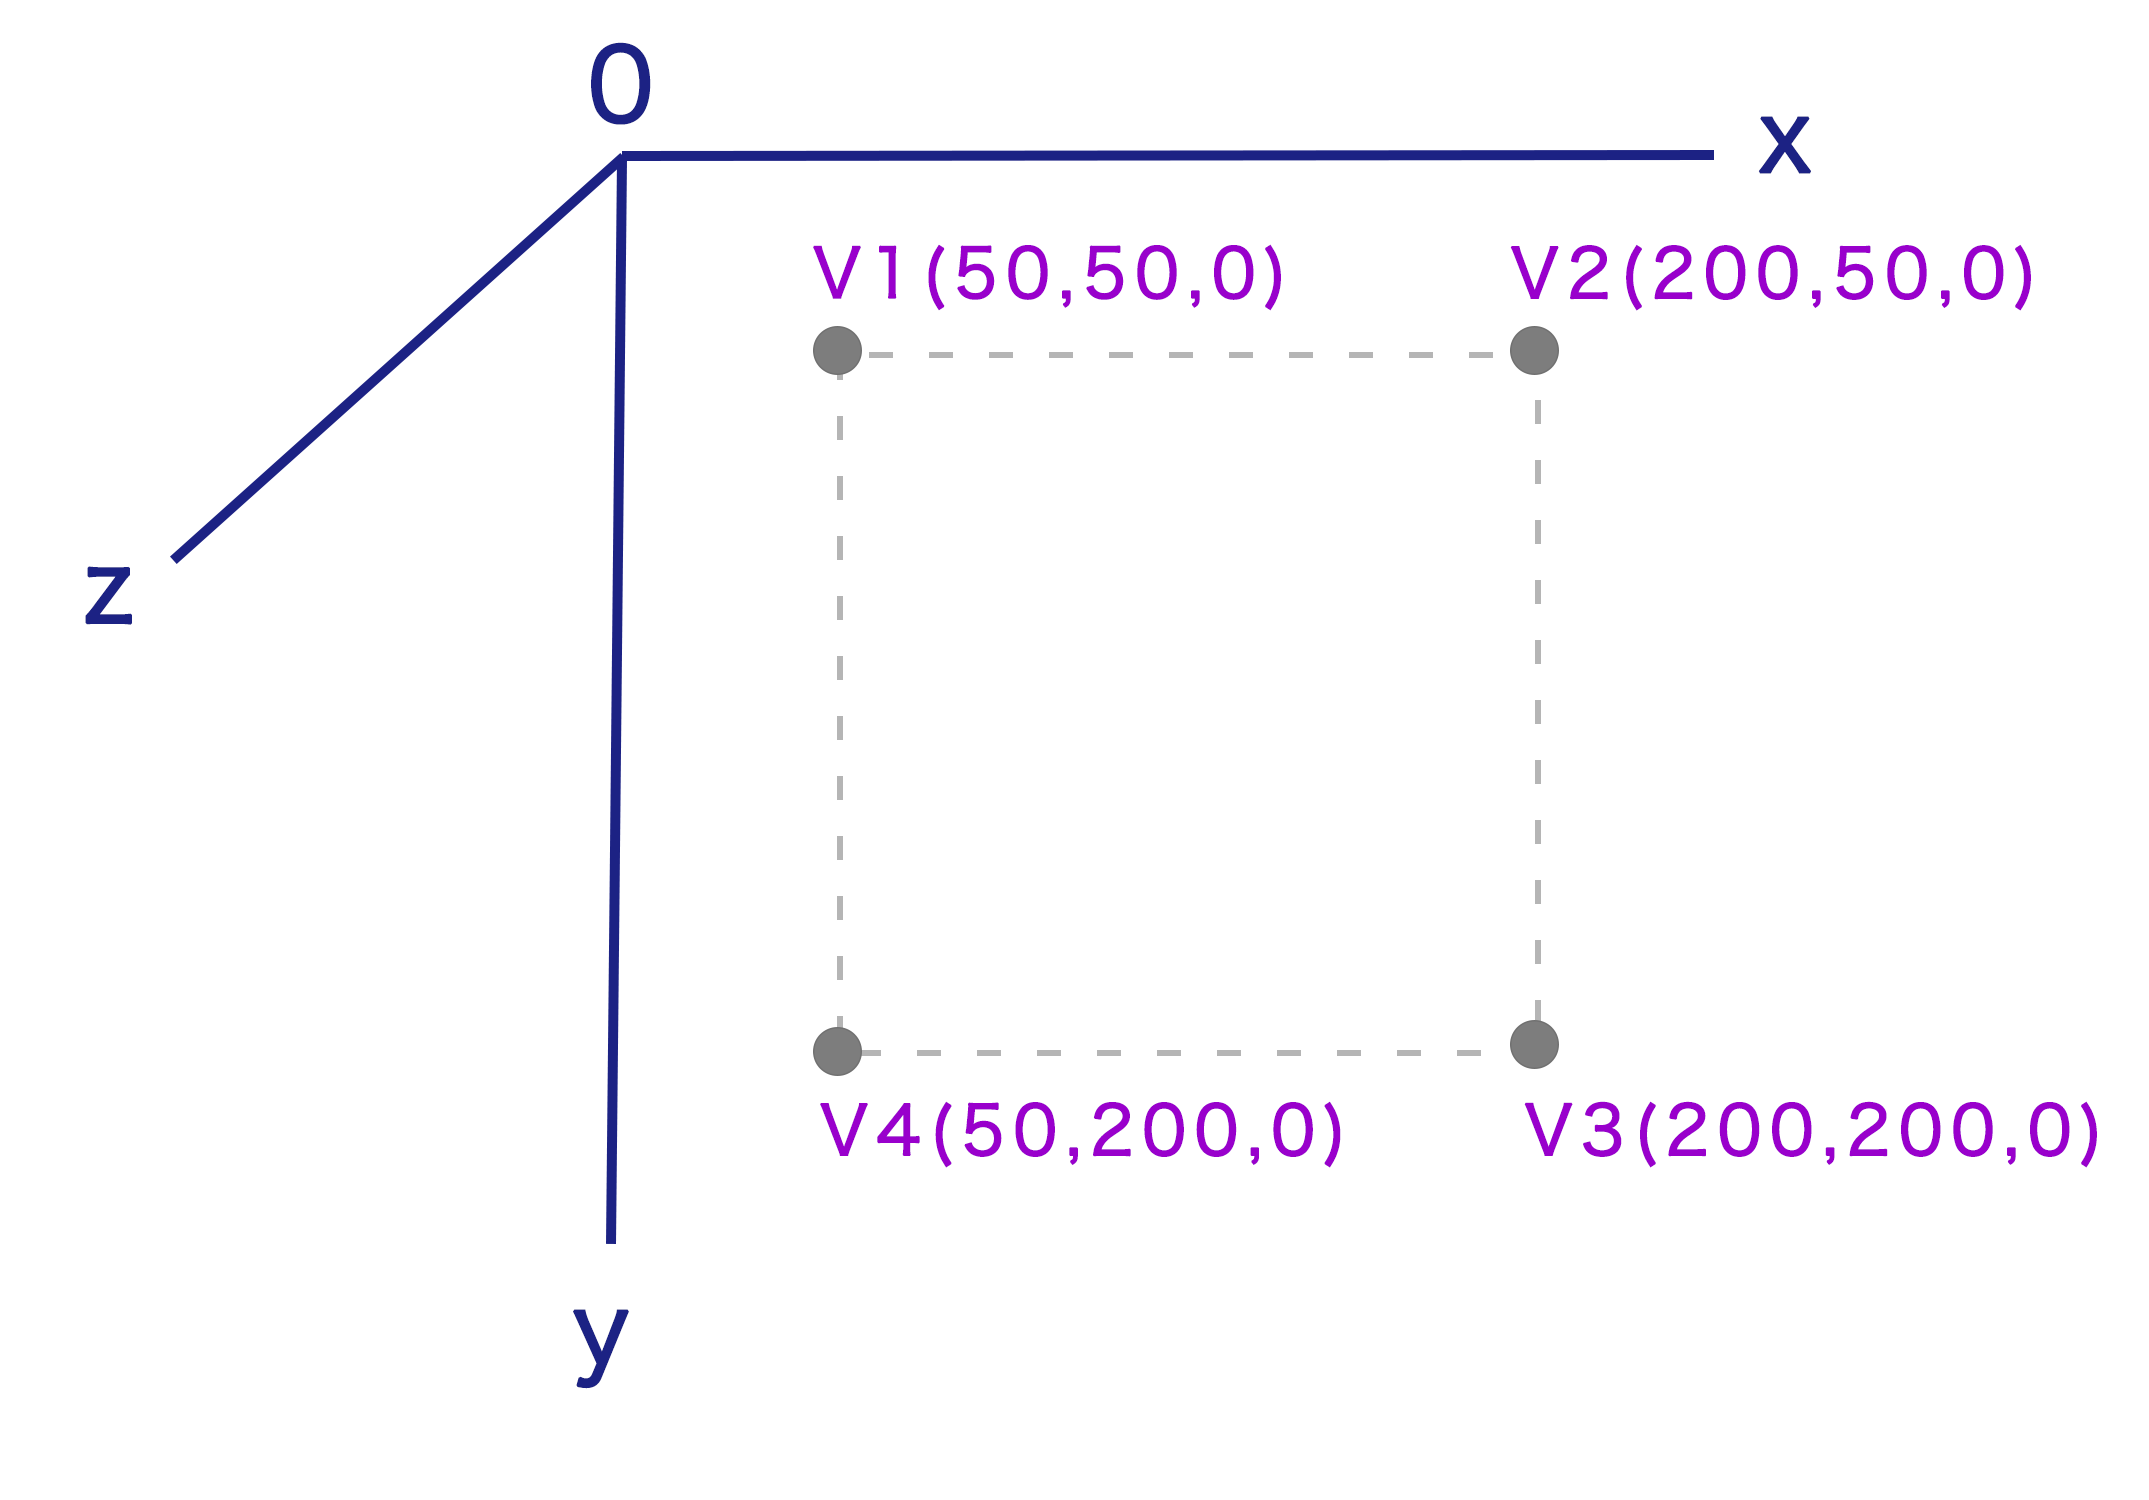
#1. 貼り付ける位置の座標を決める
coord.png
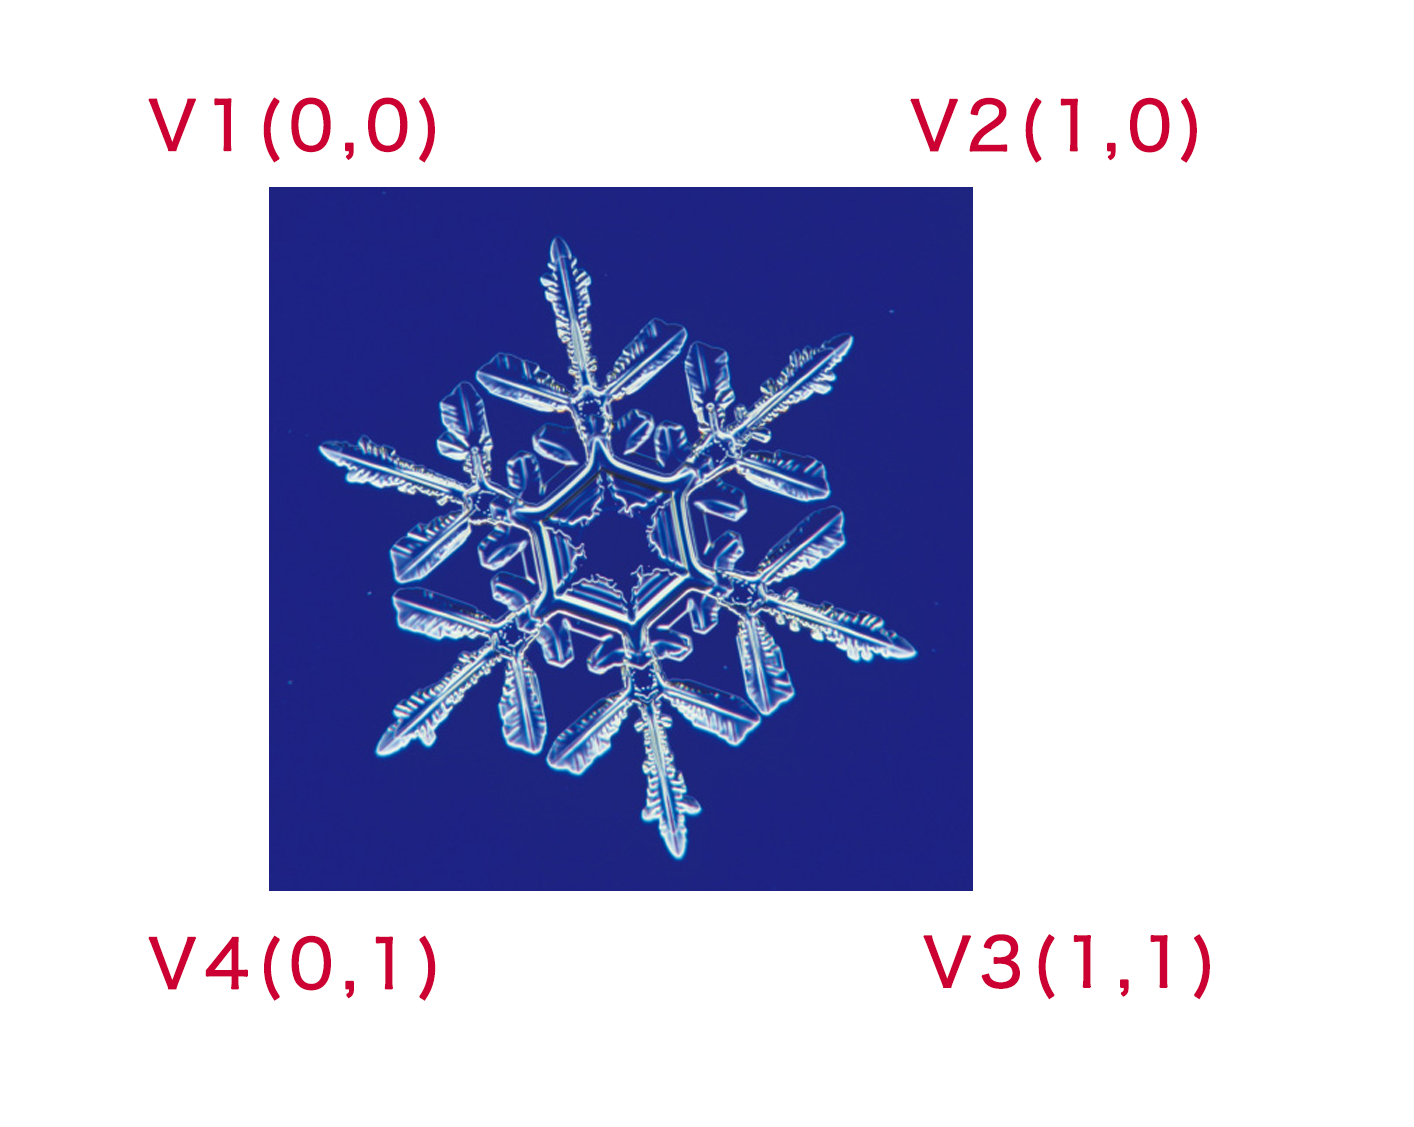
#2. 画像を用意する
texture.png
ここでは正方形の画像を正方形の領域に貼り付けようとしています。NORMALモードで行うので0と1で指定しています。DefaultのIMAGEモードを使う場合は、画像のサイズ(pixel)を指定してください。
#3. コードを書く
・vertexのパラメータ5個の前半はxyz座標(x,y,z)、後半は画像の座標(u,v)。

PImage snowParticleImage;

void setup(){
  size(300,300,P3D);
  snowParticleImage = loadImage("flake.png");
  textureMode(NORMAL); // NORMALモードを使用
}

void draw(){
  lights();
  rotateY(0.5);
  beginShape();
  texture(snowParticleImage); 
  vertex(50,50,0,0,0); //V1
  vertex(200,50,0,1,0); //V2
  vertex(200,200,0,1,1); //V3
  vertex(50,200,0,0,1); //V4
  endShape();
}
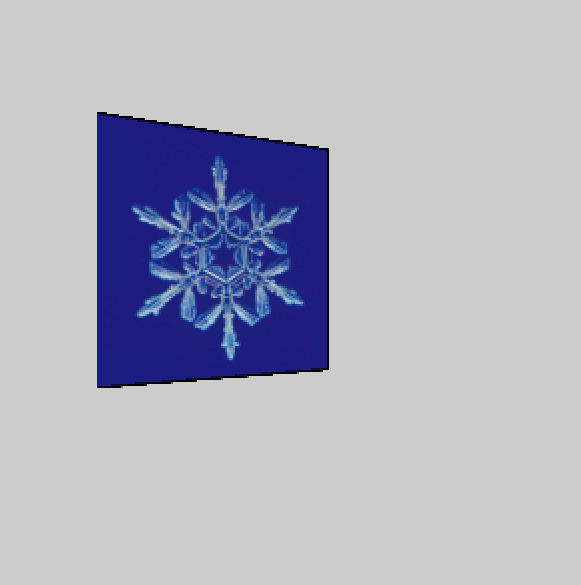
#4. 実行結果
スクリーンショット 2017-12-01 11.15.36.png

0
0
0

Register as a new user and use Qiita more conveniently

  1. You get articles that match your needs
  2. You can efficiently read back useful information
  3. You can use dark theme
What you can do with signing up
0
0

Delete article

Deleted articles cannot be recovered.

Draft of this article would be also deleted.

Are you sure you want to delete this article?