はじめに
本記事はVolare Advent Calendar 2019の17日目の担当分です。
当記事では、Pythonを初めて使う人がPython3でHello Worldすることが出来るまでを取り扱います。
もくじ
- この記事の対象
- 前提
- 手順
- Homebrewの導入
- pyenv/Pythonの導入
- PythonでHello Worldする
この記事の対象
macOS
Windowsは対象じゃありません、ごめんなさい。
前提
Xcodeがmacにインストールされている。
アプリケーション一覧から確認してなかったら、AppStoreからXcodeをインストールをしてください。
ターミナルが利用できる
commandキー+spaceキーでSpotlight検索を開いてterminalを起動します。
出てきた黒い画面(白い画面)にコマンドを入力し、環境構築を進めていきます。
手順
1. Homebrewの導入
HomebrewとはmacOS用のパッケージマネージャーです。
Pythonを動作させる環境もパッケージのひとつなのでHomebrewを用いてインストールする準備をします。
公式サイトはコチラです。
まず、Homebrewが導入されているか以下のコマンドで確認します。
$ which brew
/usr/local/bin/brewと表示されているとすでにインストール済みなのでこのステップは飛ばして大丈夫です。
なにも表示されなければインストールされていないので以下のスクリプトをターミナルで実行してインストールしてください。
/usr/bin/ruby -e "$(curl -fsSL https://raw.githubusercontent.com/Homebrew/install/master/install)"
もう一度以下のコマンドを実行して/usr/local/bin/brewと表示されればHomebrewのインストールは完了です。
$ which brew
2. pyenvの導入
先ほどインストールしたhomebrewを用いて、pyenvをインストールします。
以下のスクリプトをターミナルで実行。
$ brew upgrade
$ brew install pyenv
.bash_profileに追記
export PYENV_ROOT=/usr/local/var/pyenv
if which pyenv > /dev/null; then eval "$(pyenv init -)"; fi
以下のコマンドを実行して/usr/local/bin/pyenvと表示されたらpyenvのインストールは完了です。
$ which pyenv
次にインストールしたpyenvを使ってPythonをインストールします。
Atcoderで使われているPythonはPython3.4.3なので以下のように設定します。
$ source ~/.bash_profile
$ pyenv install 3.4.3
$ pyenv global 3.4.3
以下のコマンドを実行して設定したPythonのバージョンが表示されたらPythonのインストールは完了です。
$ python -V
3.PythonでHello Worldする
エディターを使ってプログラムを書いていきます。
この記事では、Microsoft社の無料のエディタであるVScodeを使って進めていきます。
以下のリンク先からVSCodeをダウンロードする。
Download Visual Studio Code
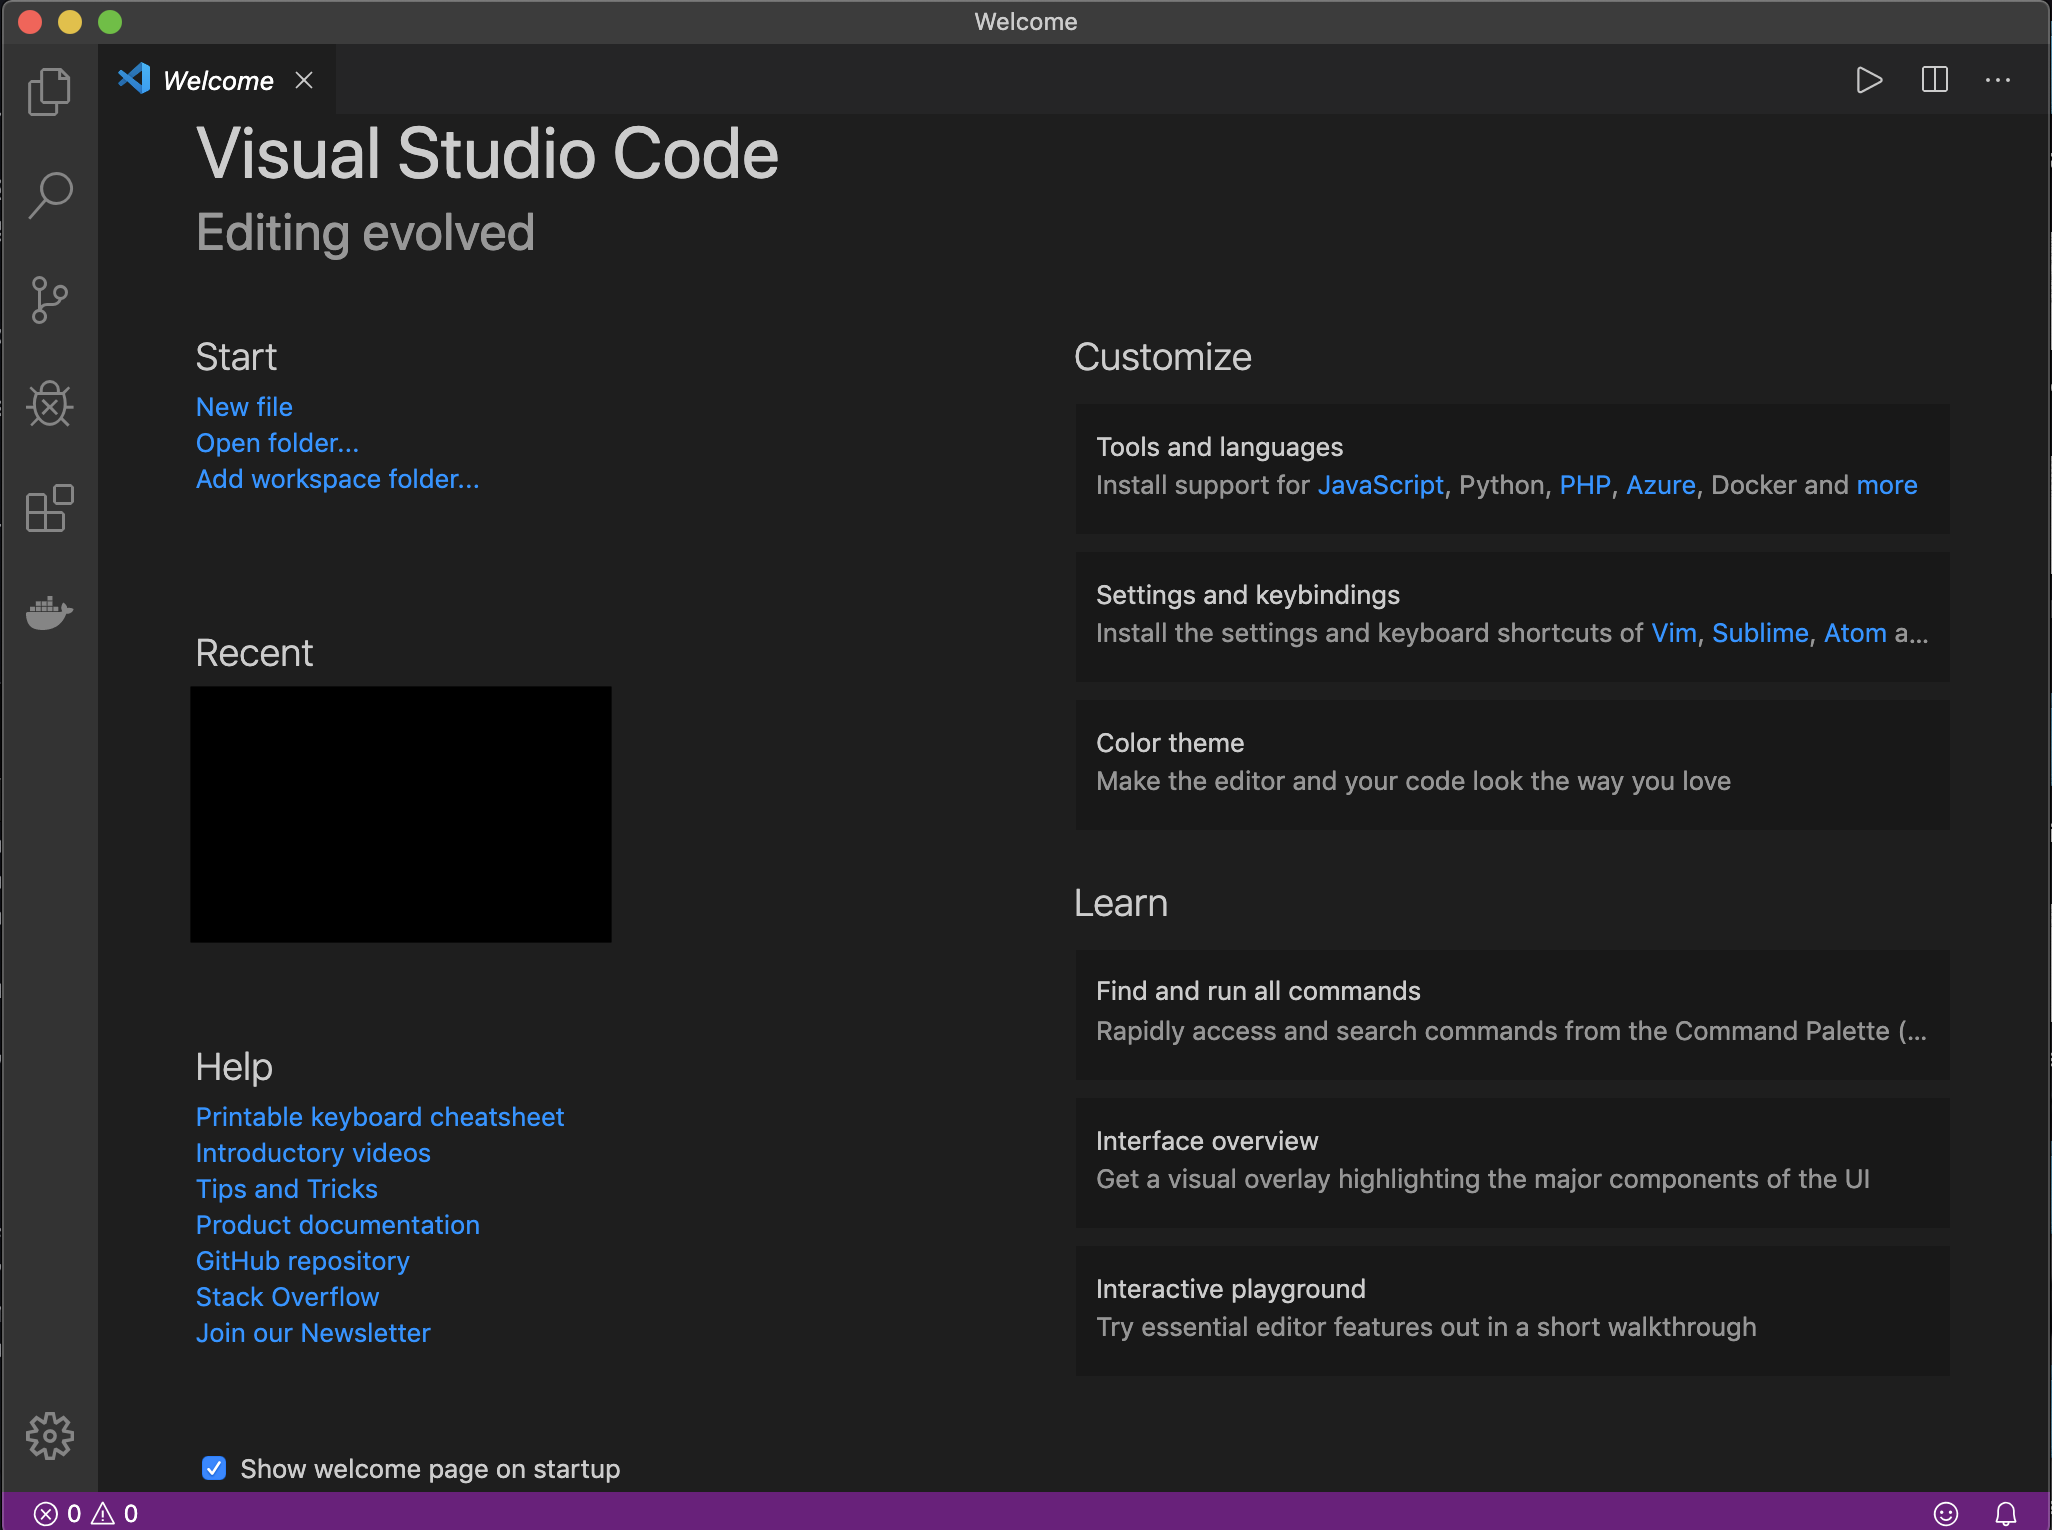
Visual Studioを起動する

こんなかんじで起動できたらOK
一旦ターミナルに戻ってフォルダを作るために以下のコマンドを入力。
操作が終わった後もターミナルは消さずに残しておく。
$ cd ~/Desktop
$ mkdir Study_Python
$ cd Study_Python
$ touch main.py
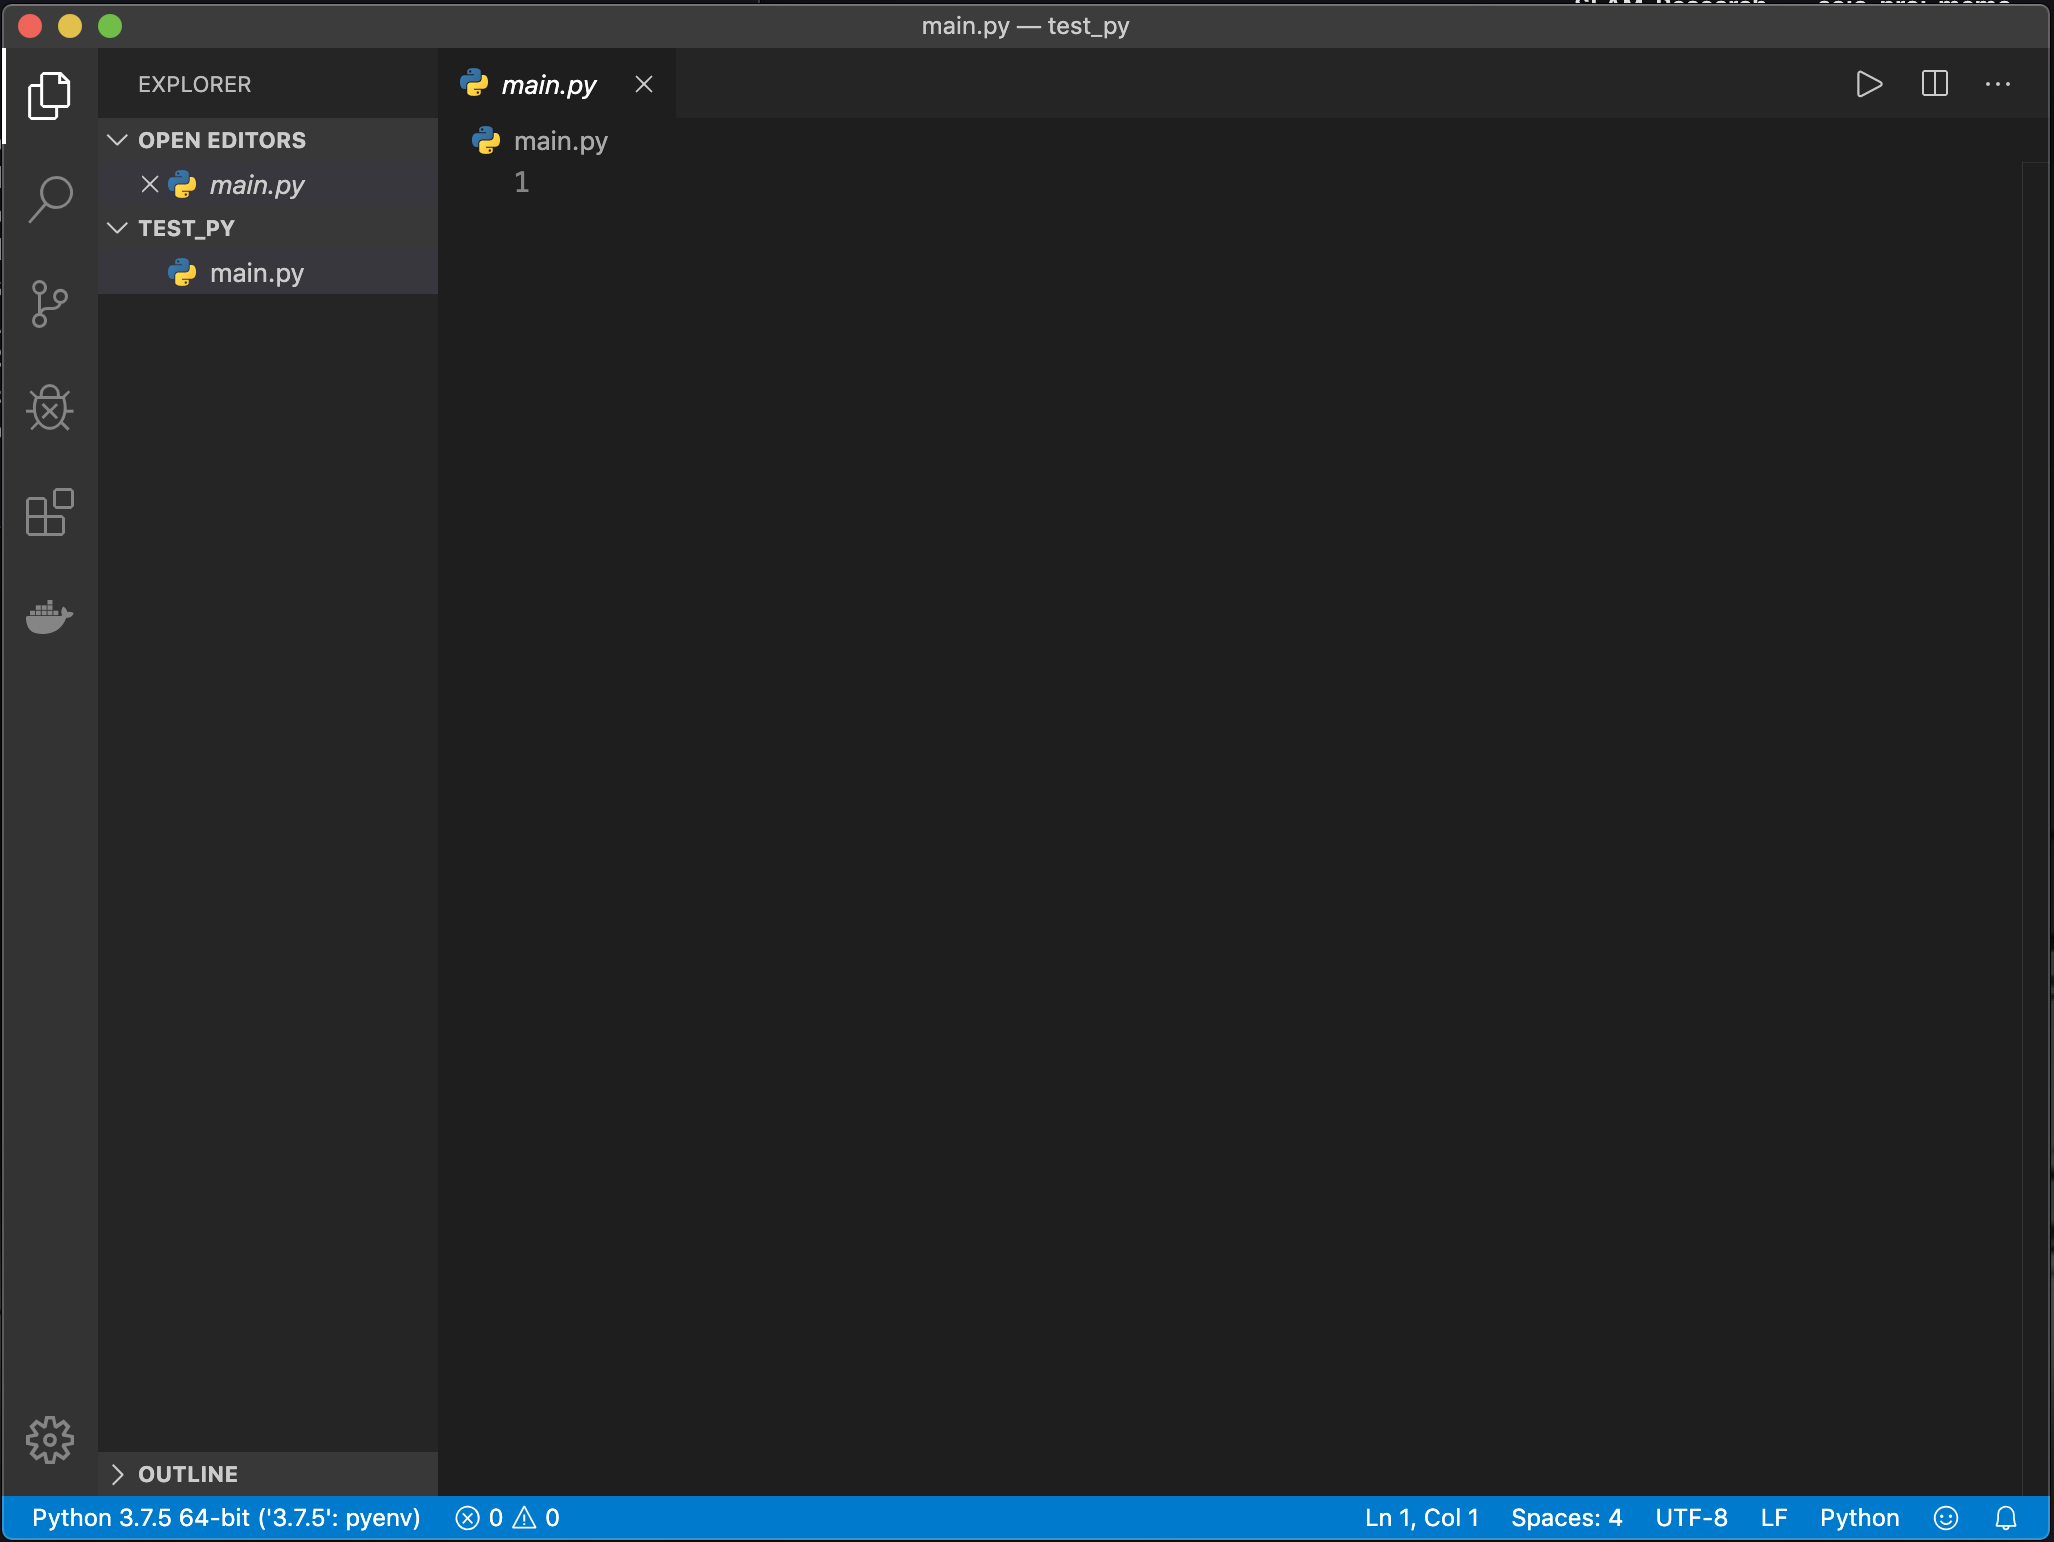
デスクトップに出来たStudy_PythonフォルダをVScodeにドラッグする。
VScodeの画面左端のmain.pyを押して以下のようになってるとOK

ここに以下のプログラムを記入
print('Hello World')
ターミナルに以下のコマンドを入力
python main.py
うまくいっているとターミナルにHello Worldが出力されていると思います。
今後ここにプログラムを書いて今後のプログラムの学習を進めていきましょう!