Rails Tutorial 第2章で(。´・ω・)ん?って思ったところ
演習
CSSを知っている読者へ: 新しいユーザーを作成し、ブラウザのHTMLインスペクター機能を使って「User was successfully created.」の箇所を調べてみてください。ブラウザをリロードすると、その箇所はどうなるでしょうか?
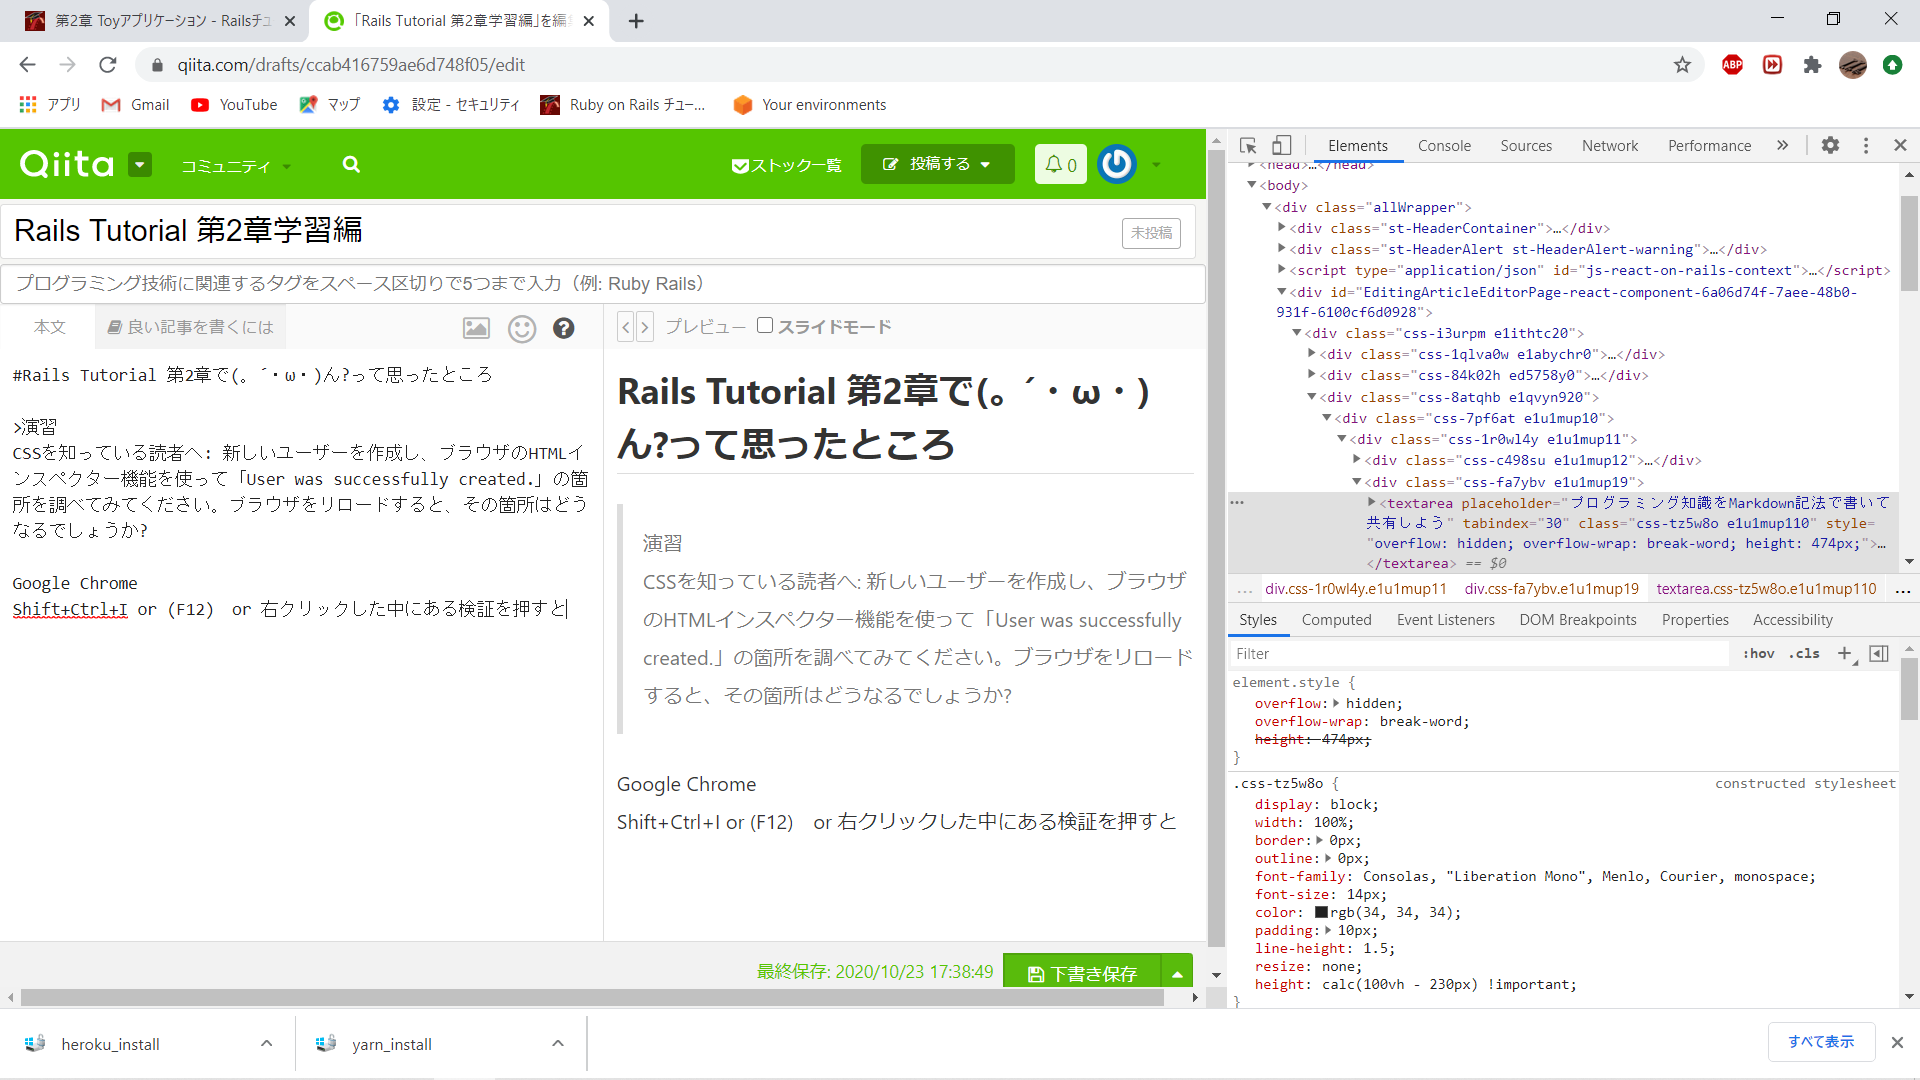
Google Chrome Shift+Ctrl+I or (F12) or 右クリックした中にある検証をクリック

HTML・CSSコードが見れます、
この機能を使って「User was successfully created.」を調べろって事だと思います('ω')ノ
もう少し詳しく知りたい方は⇒こちらをどうぞ
簡単な内容のおさらい。
ユーザー登録機能を作る
魔法のコマンド 『 Rails g scaffold 』( scaffoldは日本語で足場という意味 )
$ rails generate scaffold User name:string email:string
$ rails db:migrate
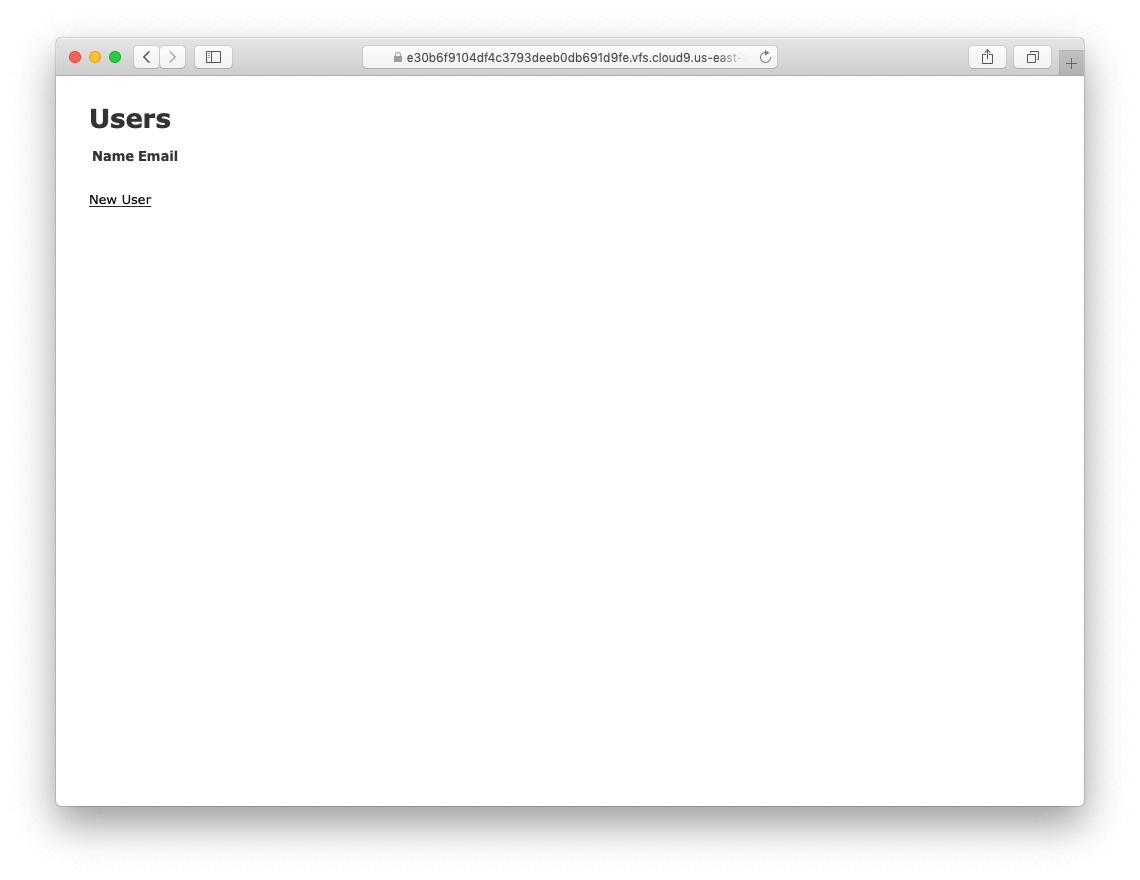
このたった2つコマンドを叩くだけでこんなページが出来上がる。
ユーザー登録が出来る・・・もはや魔法の領域。

Scaffoldの欠点
- データ検証がない。(空欄・でたらめなアドレスでも登録できちゃう)
- ユーザー認証がない。(ログイン・ログアウト機能はない。誰でもユーザーページにアクセスできちゃう)
- レイアウトやスタイルが整っていない。
- テストが書かれていない。
- 理解が困難。
投稿機能を作る
$ rails generate scaffold Micropost content:text user_id:integer
$ rails db:migrate
先ほどと同じく2つコマンドを叩くだけとはいかない。
※ルーティングを追加する必要がある。
Rails.application.routes.draw do
  resources :microposts # ←これを追加するとurl/micropostで投稿ページにアクセスできる
  resources :users
  root 'users#index'
end
models/micropost.rbにvalidatesを追加する事で検証機能を実装できる
class Micropost < ApplicationRecord
  validates :name, length: { maximum: 140 } #入力できる文字列は140文字まで
                   presence: true #文字列が入力されている事を確認する
end
異なるデータモデル同士の関連付ける
class User < ApplicationRecord
# ユーザーはマイクロポストを沢山持ってるのでhas many :micropostを追加
  has_many :microposts
end
class Micropost < ApplicationRecord
# マイクロポストはユーザーに紐づいているのでbelongs_to :userを追加
  belongs_to :user
  validates :content, length: { maximum: 140 }
end
これでRDBの関連付けが完了する。わ~い簡単( *´艸`)
Rails Console (Railsアプリを対話的に操作できる便利ツール)
# Rails コンソール
$ rails c
>> #ここにRubyコード記述をすると実行してくれる

>> first_user = User.first # Userテーブルからidが1のユーザーを変数first_userに格納

コマンドの処理内容
User.first
↓ (自動的にデータベースを操作するSQLコマンドに変換される。)
User Load (0.2ms)  SELECT "users".* FROM "users" ORDER BY "users"."id" ASC
  LIMIT ?  [["LIMIT", 1]]
↓ SQLの実行結果
 => #<User id: 1, name: "Michael Hartl", email: "michael@example.org",
 created_at: "2020-10-23 00:39:14", updated_at: "2020-10-23 00:41:24">
↓
SQLの実行結果をfirst_userに格納

>> first_user.microposts #先ほどのユーザーが投稿したmicropostを全部取り出す。
Micropost Load (3.2ms)  SELECT "microposts".* FROM "microposts" WHERE
  "microposts"."user_id" = ? LIMIT ?  [["user_id", 1], ["LIMIT", 11]]
 => #<ActiveRecord::Associations::CollectionProxy [#<Micropost id: 1, content:
 "First micropost!", user_id: 1, created_at: "2020-10-23 02:04:13", updated_at:
 "2020-10-23 02:04:13">, #<Micropost id: 2, content: "Second micropost",
 user_id: 1, created_at: "2020-10-23 02:04:30", updated_at: "2020-10-23
 02:04:30">]>

>> micropost = first_user.microposts.first #first_userの1番目の投稿を変数micropostに格納
感想
この章はあまり躓かなかったです。('ω')ノ
git&herokuの便利さに惚れ惚れしてきました。